How to make a wardrobe in the hallway with your own hands?
A sliding wardrobe is the best option for storing things in apartments with limited living space. In the hallway or in the corridor, it is necessary to place a spacious functional storage. The process of manufacturing the structure is quite simple, so you can save money by doing the design and assembly yourself.
Drafting a project
The peculiarity of the structure of these cabinets is that their doors move apart, like compartment doors on a train, and do not open in the usual way. Due to this, such a structure can be conveniently located in a cramped hallway or in a narrow corridor. Typical dimensions offered in furniture showrooms may not in all cases fit into the room space.
You can make a wardrobe to order by designing the drawings yourself, taking into account the footage and the height of the ceilings of your own premises, but the price of such a product will be at least 2 times overstated. In order not to spend money on purchasing a ready-made cabinet, you can assemble a homemade structure. It is recommended to make a cabinet if you have minimal construction skills and the ability to use all the tools.

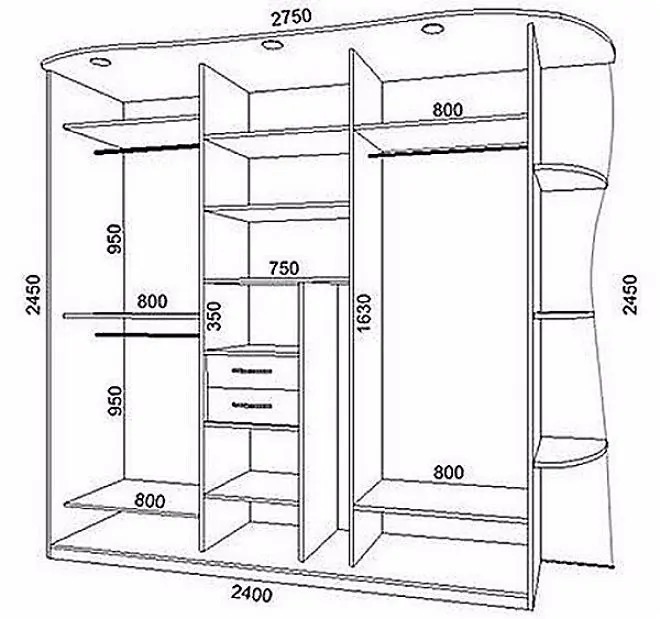
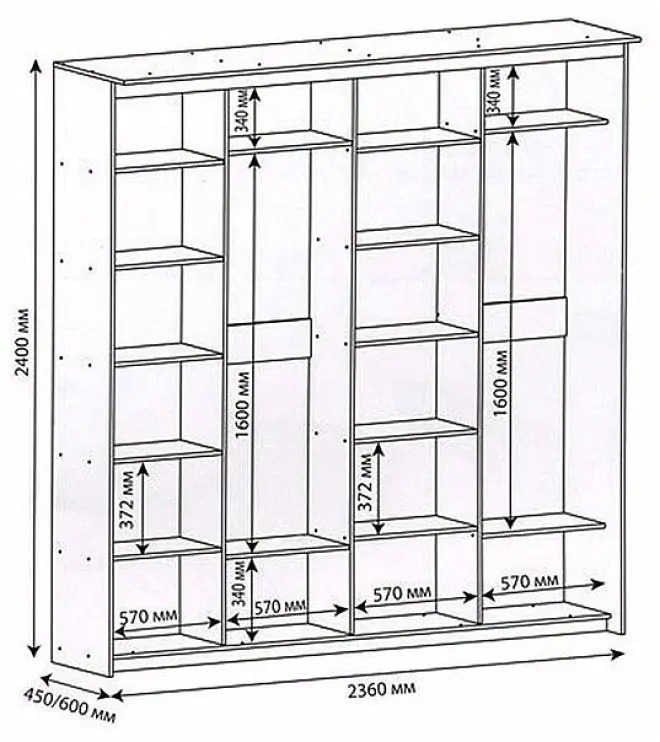
To make new furniture yourself, you need to write a description and perform calculations. Removing the dimensions should be taken very seriously, since the assumption of miscalculations will entail difficulty or impossibility of assembly.
Therefore, it is recommended to use ready-made drawings or special programs on the Internet, for example, "BAZIS-Furniture".
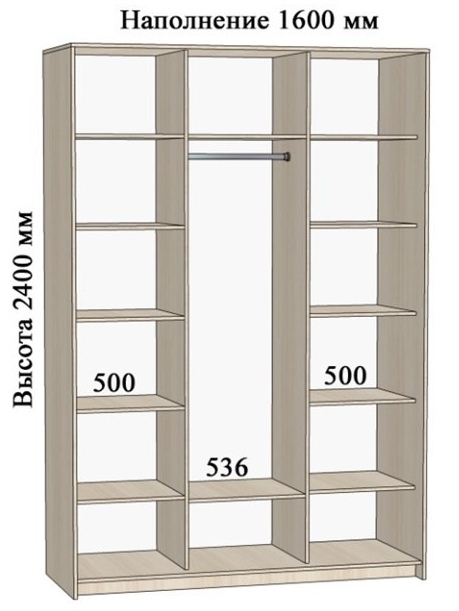
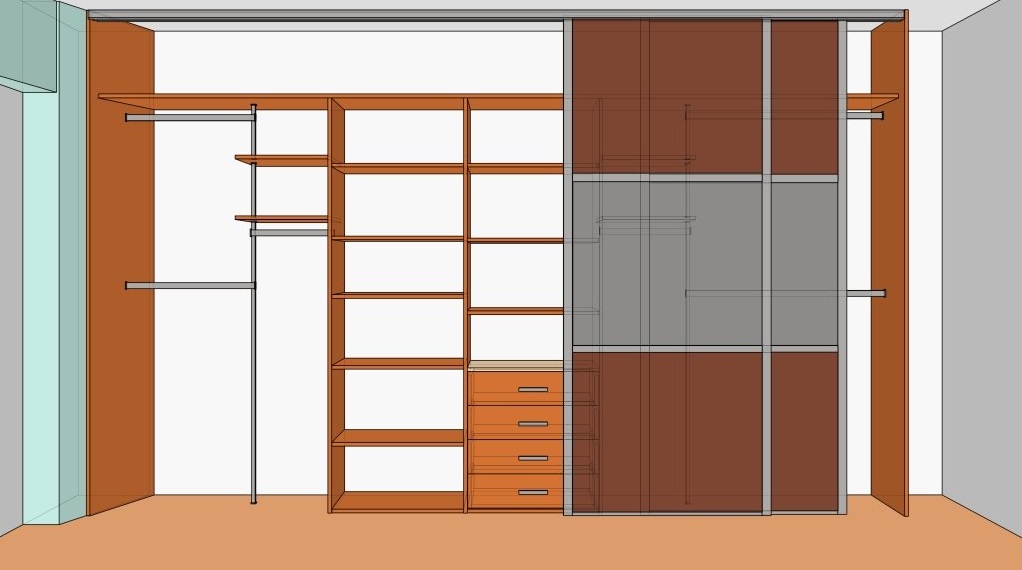
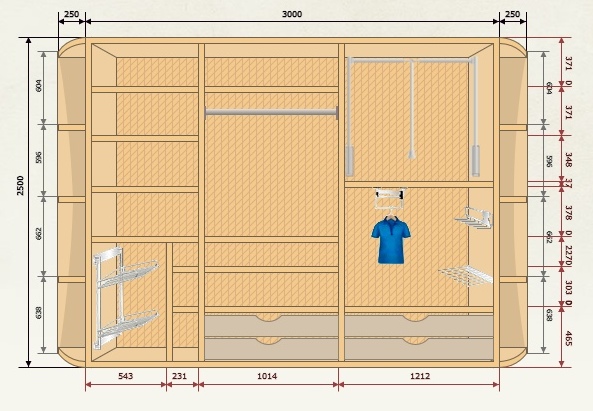
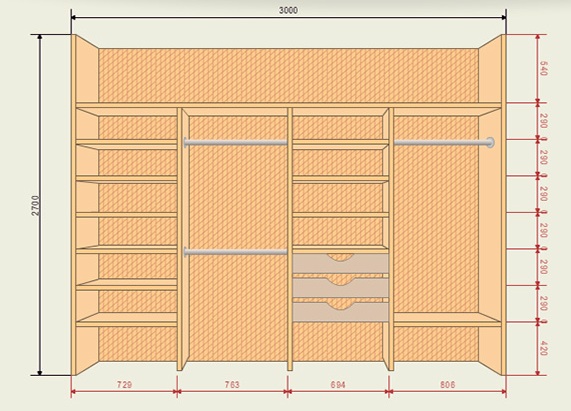
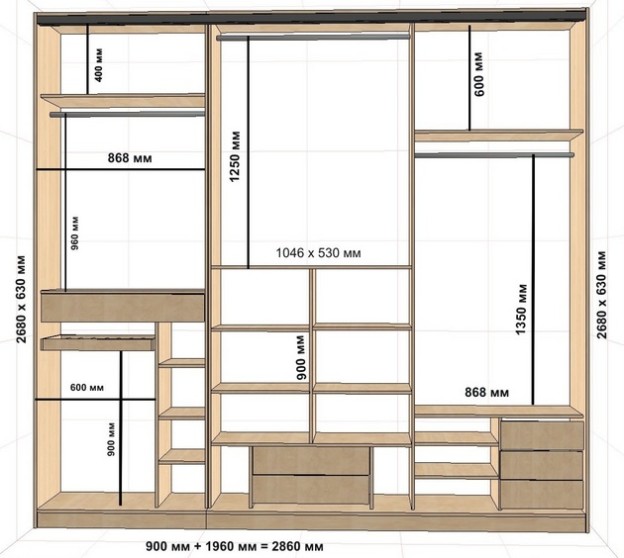
At the initial design stage, it is necessary to decide on the purpose of installation and methods of using the cabinet. It is important to come up with a convenient arrangement of the shelves so that it is comfortable to use the furniture and fill it with things.
The number of doors directly depends on the width of the free space. The minimum size of the canvas in width must be at least 50 cm. The depth of the cabinet, in accordance with the requirements of the standard, must be at least 60-70 cm.
The cabinet can be positioned in several ways.
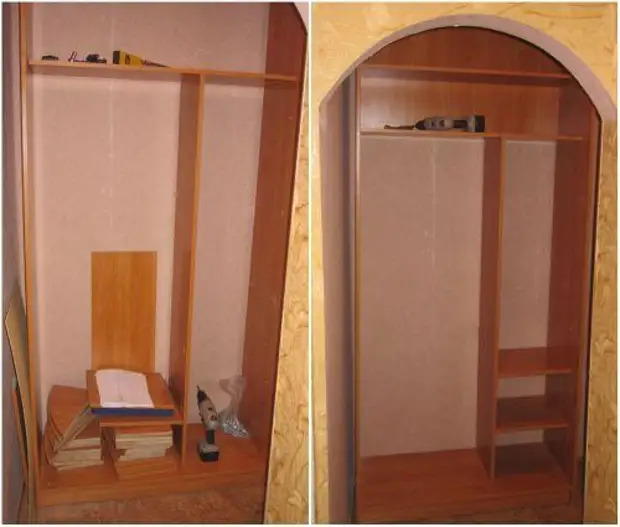
- Installation in a niche. If there is such a protrusion in the wall in the hallway, it is recommended to use it with benefit for placing a sliding cabinet. You will need to put guides for the doors, purchase the doors themselves and furniture fittings. When choosing this project, the cost of purchasing materials will be minimal, since the built-in structure will go from the floor.
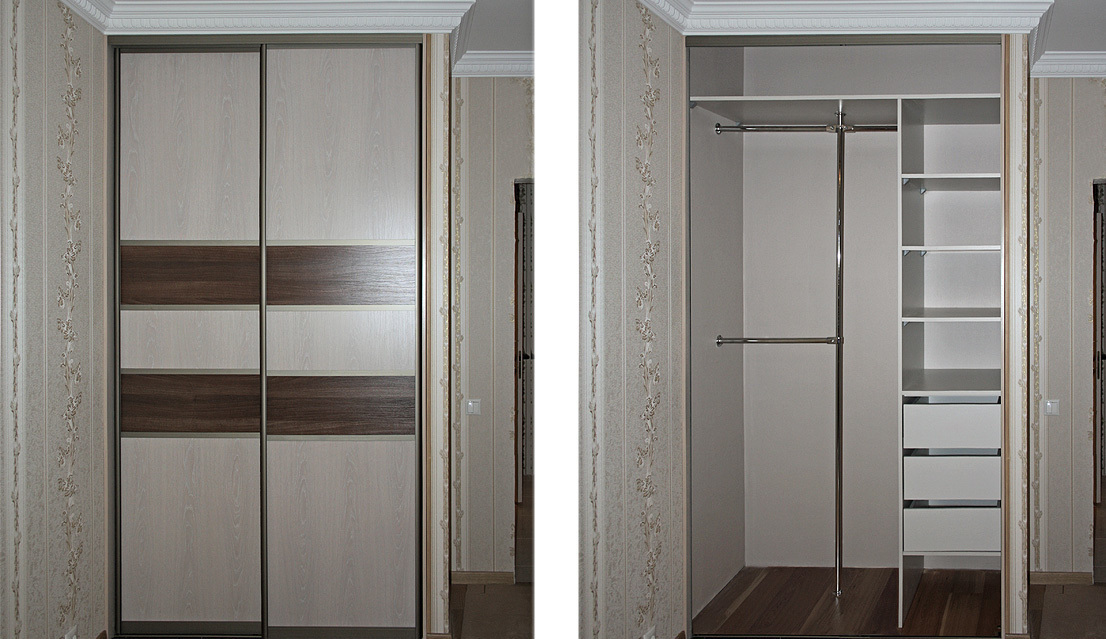
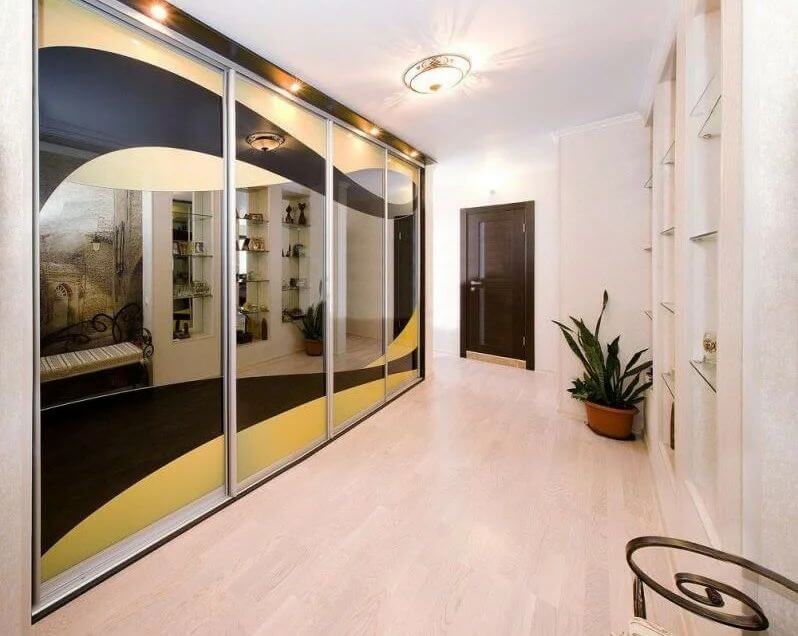
- Along the entire length of the wall. Allows you to visually preserve the spaciousness of the room. This option is multifunctional and will serve to store various household items. In such projects, a through sliding door is installed in the central part of the cabinet, and compartments for clothes with rods for hangers are located on the sides.
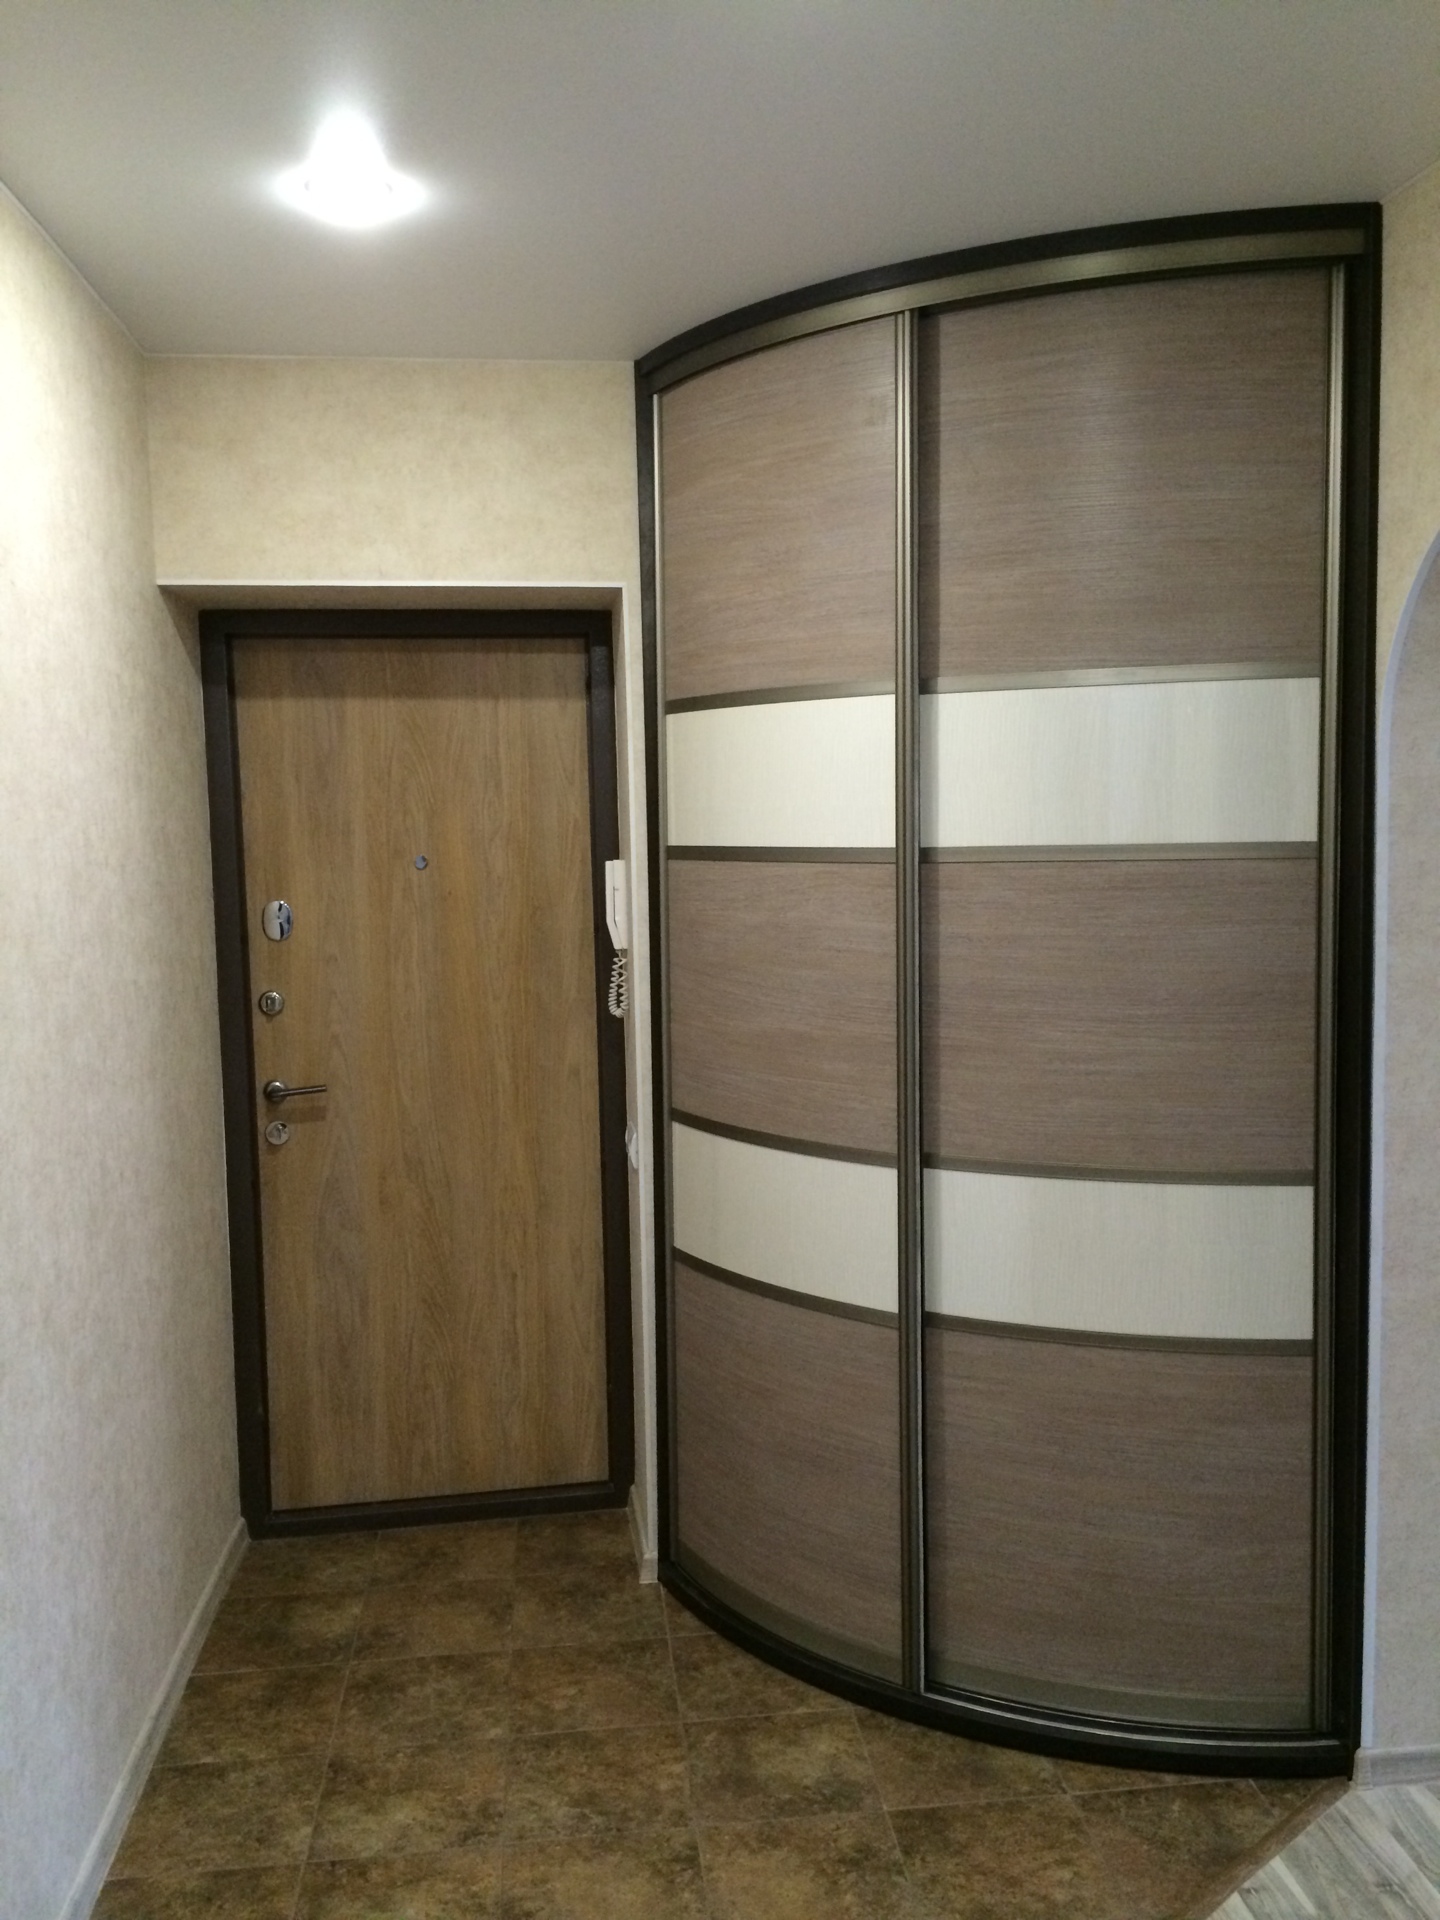
- In the corner of the room. In this case, you do not need to purchase materials for one side and back wall. The simplest design consists of a frame with a front and rear frame screwed onto self-tapping screws. It is possible to install shelves and partitions fixed to the transverse rails.
Tools and materials
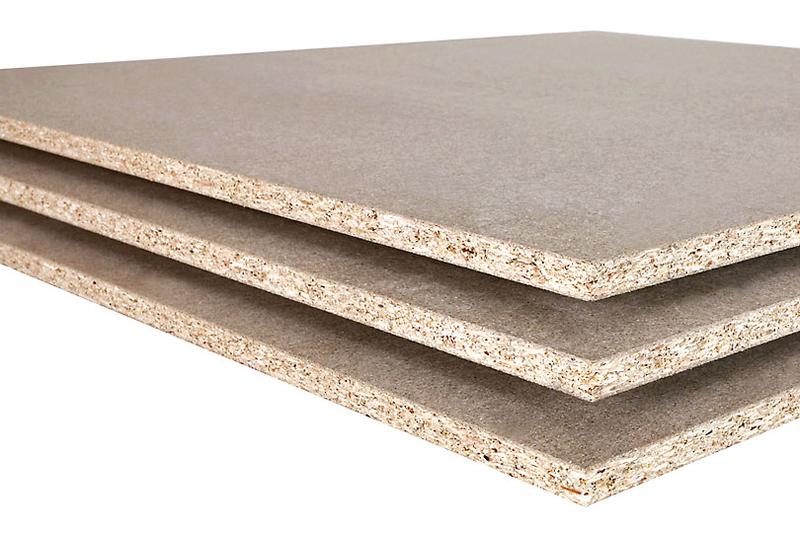
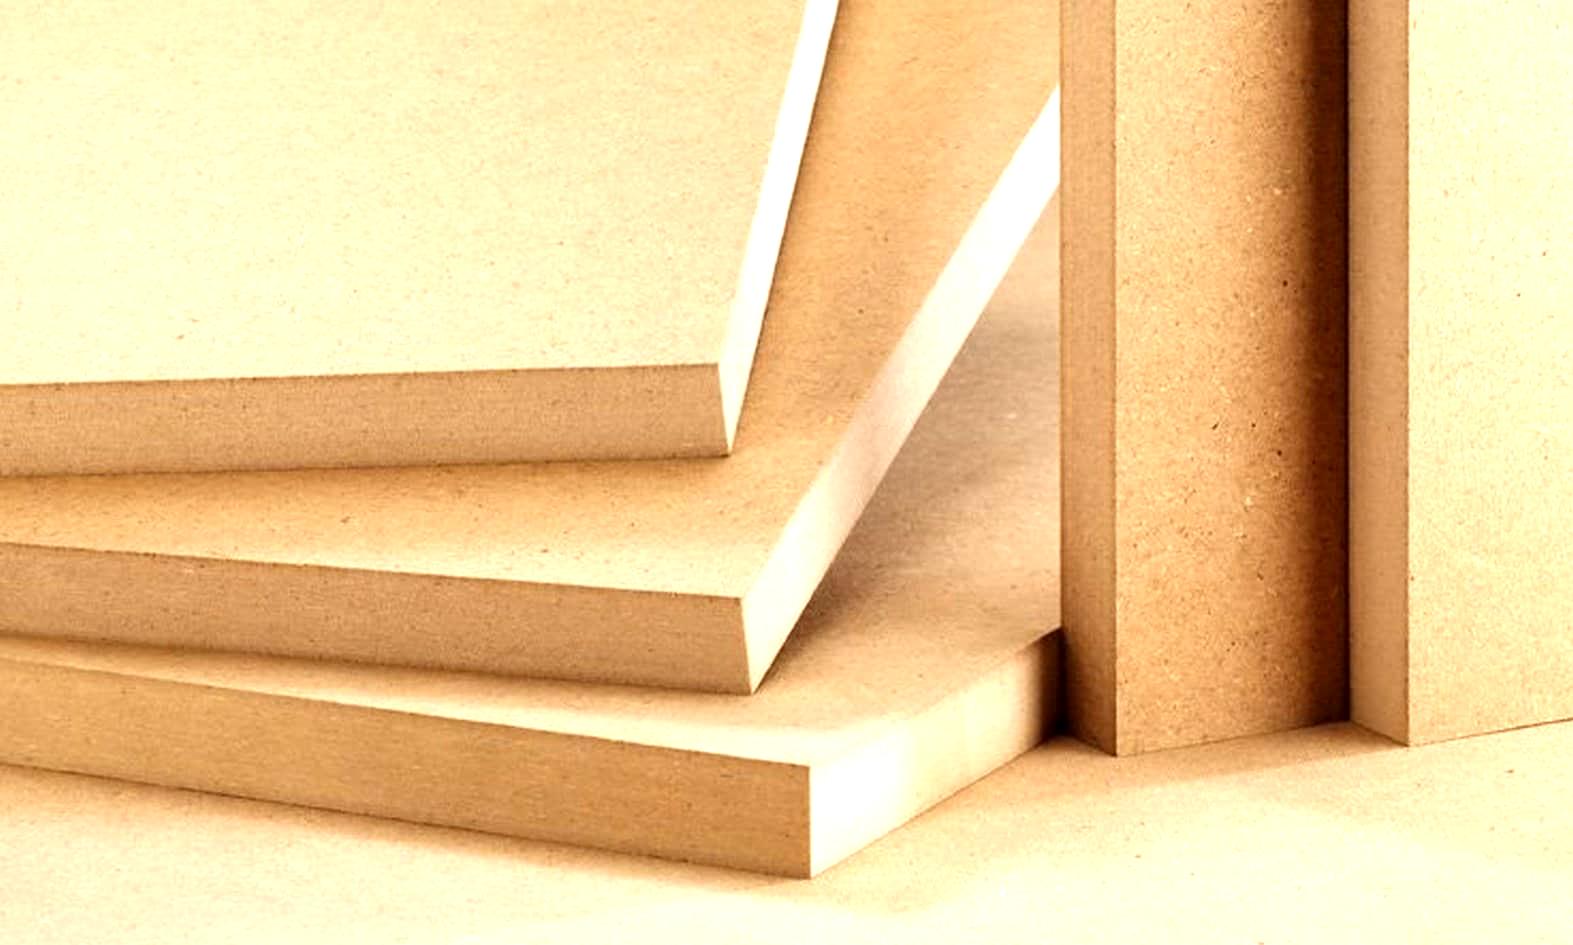
The most suitable material for designing a wardrobe is considered to be chipboard material with a laminated coating of the E-1 category and MDF with high or medium density. It is still better to give preference to the second material, since chipboard has significant drawbacks: weakly holds screws and emits toxic substances when heated. Fiberboard will be needed for the manufacture of back walls.Wooden blocks are needed to make the frame.
When installing wooden components, it is important to take into account the humidity in the hallway, since natural material is characterized by poor moisture resistance. Also, you should not take drywall, because it is not able to withstand the supporting structures.
As tools for making your own cabinet, you will need to use:
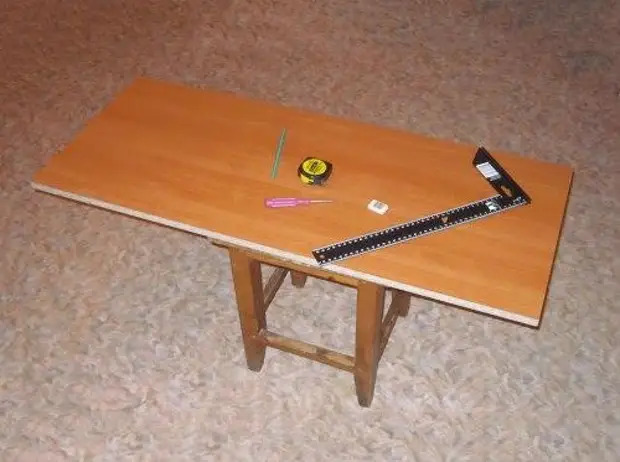
- a standard set of tools (a screwdriver, a tape measure, a drill, a level, a jigsaw, a wood saw, a key for confirmations, a mallet, a square and a clamp);
- guides for drawers;
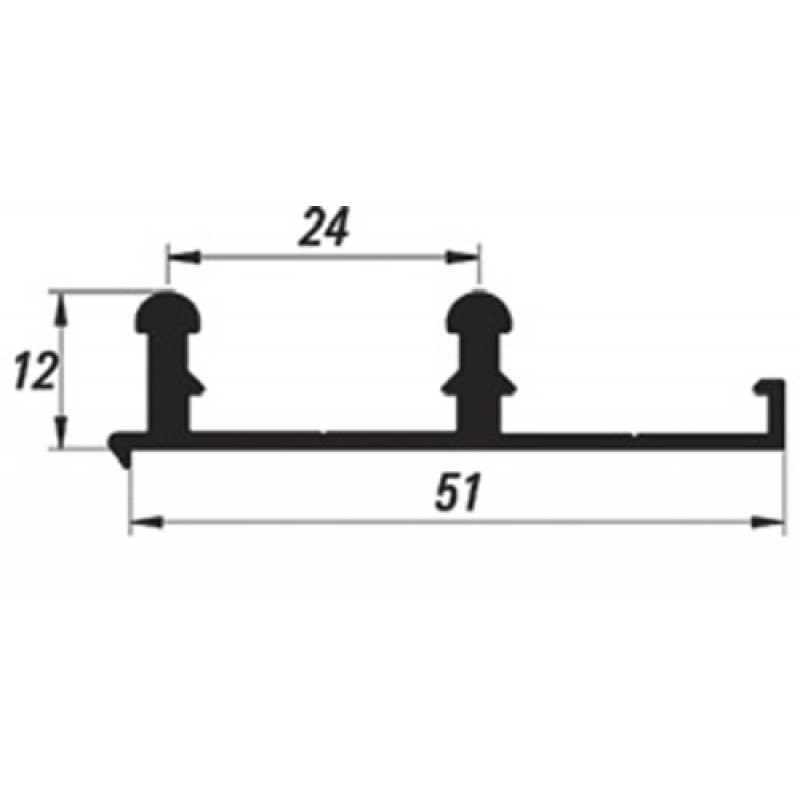
- tires for the sliding system;
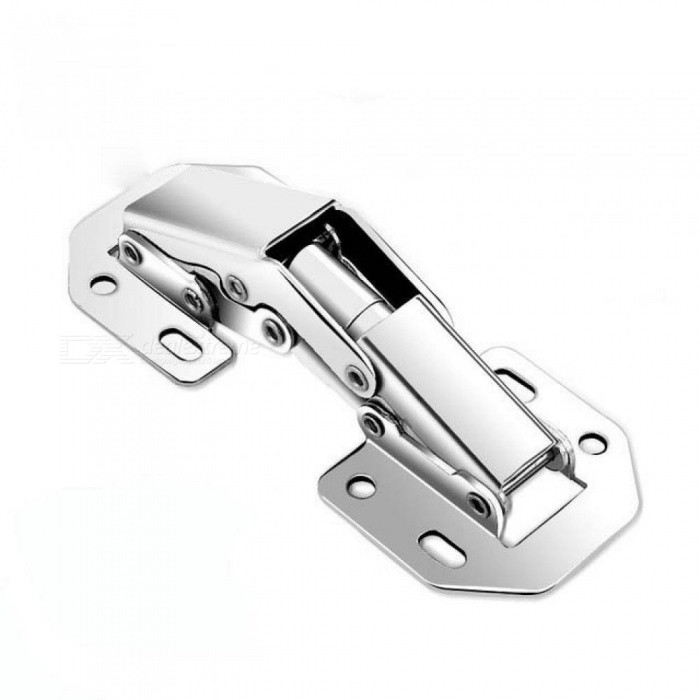
- door handles, hinges and hooks;
- fasteners: confirmations and dowels;
- furniture corners and screw caps;
- the required number of screws, screws and nails;
- support wheels and bolts for fixing them.
Step-by-step instruction
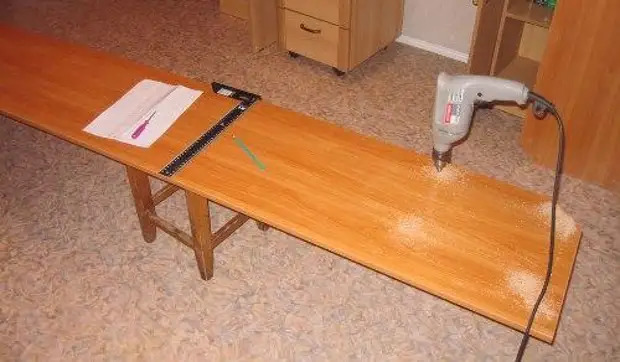
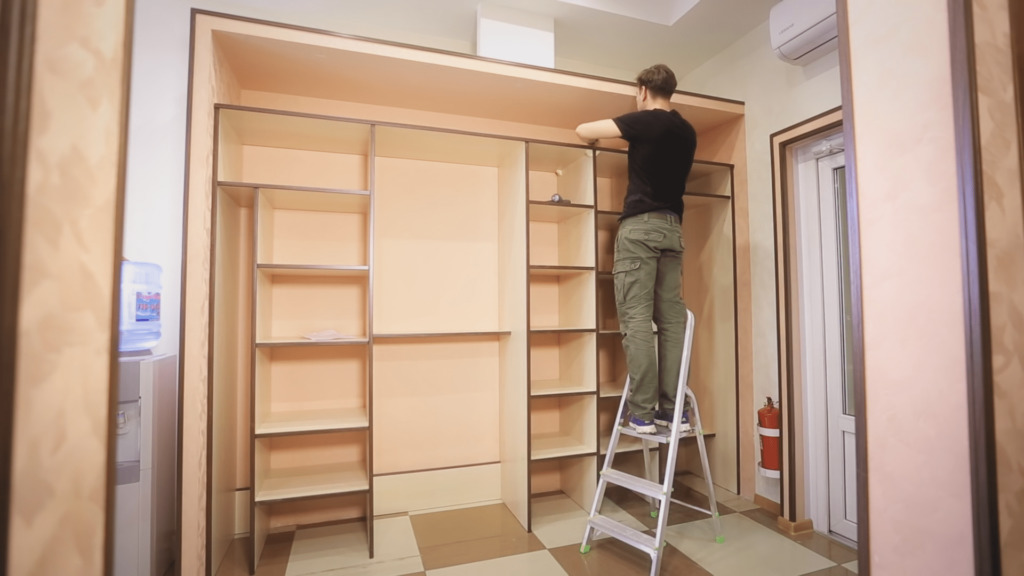
The main principle of the assembly is that first the base of the structure is assembled, and then proceeds to fixing the shelves and elements of the internal filling. The shelves are attached to the panels using furniture corners. First, you need to check the evenness of the position of the attached parts by applying a level.
If the cabinet is mounted in a niche, and the rear panels will not be provided, it is recommended to prepare the surface of the walls before erecting the structure.
They should be flat, painted or pasted over with wallpaper.
Before assembling the frame, it is important to measure the diagonal distances with a tape measure. The values must be exactly the same, otherwise the furniture will turn out to be skewed.
When mounting the cabinet vertically to the ceiling, follow the instructions in the instructions.
- Making markings in the places where the frame is installed and drilling holes for fasteners according to the scheme.
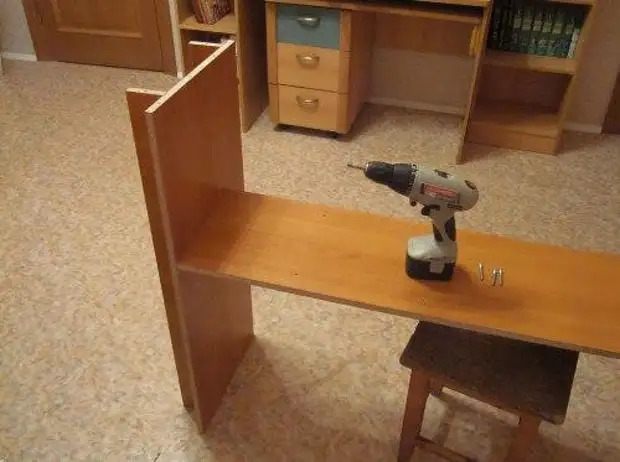
- Next, the installation of the wooden frame is carried out.
- All the corner elements are pre-assembled and the main sheets are pulled together with confirmations. The semi-assembled structure must be attached to the wall.
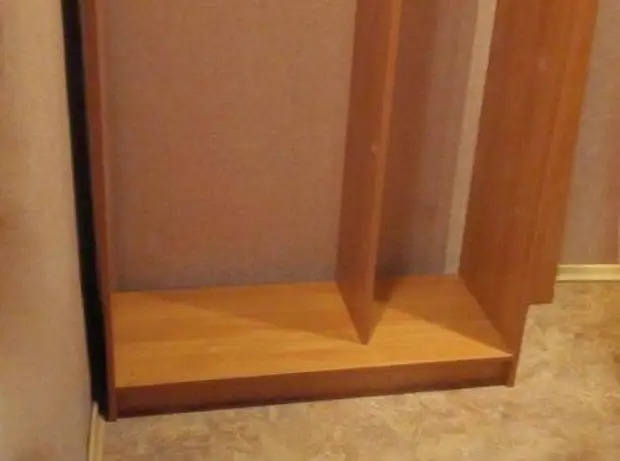
- Go to the installation of the side section. If the markings are accurate, then you can fix the structure to the ceiling and floor.
- Now you should install the central part of the structure, then finally fix all the assembled elements.
- Marks are made for placing the metal rod, after which it is installed.
- Hooks for clothes are screwed on, pull-out systems are inserted. Handles for drawers and doors are also screwed in.
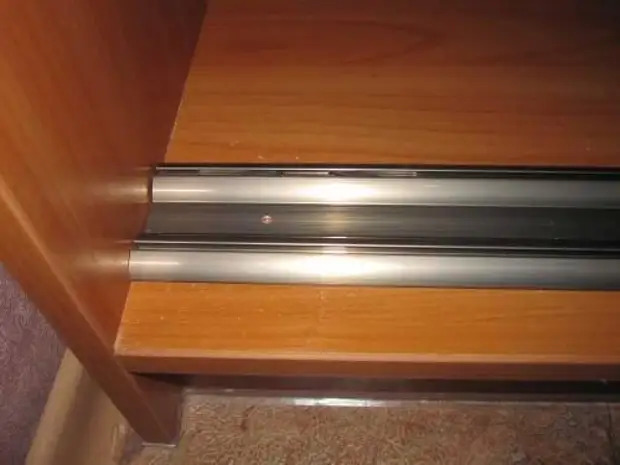
- At the final stage of work, they begin to hang sliding doors and adjust them so that they move freely along the guides. To do this, the upper side is pushed in one by one, then the lower one is pushed up so that the roller fits into the groove. Also, do not forget about the installation of the stoppers in the lower rail.
- If the door has been installed exactly vertically and does not require adjustment of the rollers, the rail can be secured.
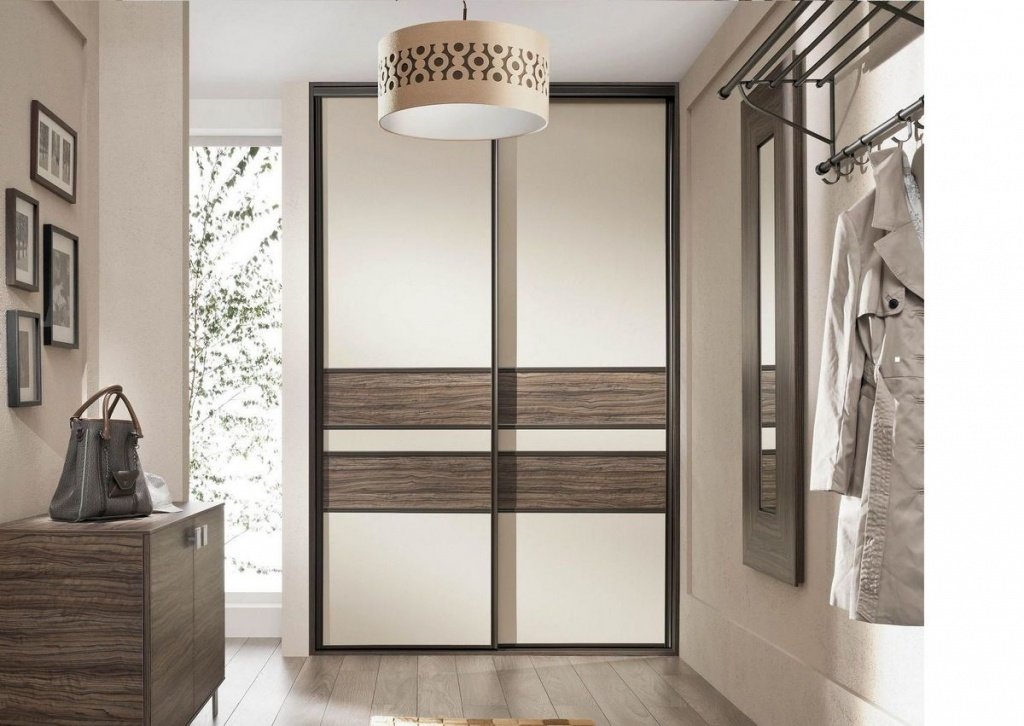
- After finishing the assembly, you should start decorating the compartment. Glass with a matte or patterned texture can be inserted into the door frame, which will bring lightness to the room interior.
Recommendations
If you want to save money, you can draw up a preliminary design of the cabinet, and then order ready-made components from the masters. If you wanted to design a wardrobe in the hallway with your own hands, you must take into account the following nuances.
- To ensure the rigidity of the structure, it is necessary to install transverse ribs on the back of the cabinet, since without them the furniture will loosen.
- Place a 10 cm indent on the sliding door system. The depth of the wardrobe is calculated by the formula: 10 cm is added to the width of the largest hanger for convenient hanging of clothes and another 10 cm is left on the door mechanism.
- If the assembly is carried out on the floor, then the height of the walls should be at least 10 cm less than the height of the ceilings, so that later the cabinet can be mounted in a vertical position.
- When installing drawers, you need to lay a gap of 7 mm between the facades on the protruding rail width at the bottom, otherwise the structure will not close.
- If the cabinet is not from the floor, but is placed on support legs, then you will need to lay a place in the calculation of no more than 30 cm from the nearest partition.
- If the longitudinal bar does not fit, lay the sections for the crossbar. You can also replace them with a pull-out system.
- The distance between the shelves should not be less than 30 cm.
- When drafting the interior sections, it is important to take into account the width of the sliding structure.
- In hardware stores, you can inexpensively cut parts for the future compartment. Edged elements will increase strength and last longer.
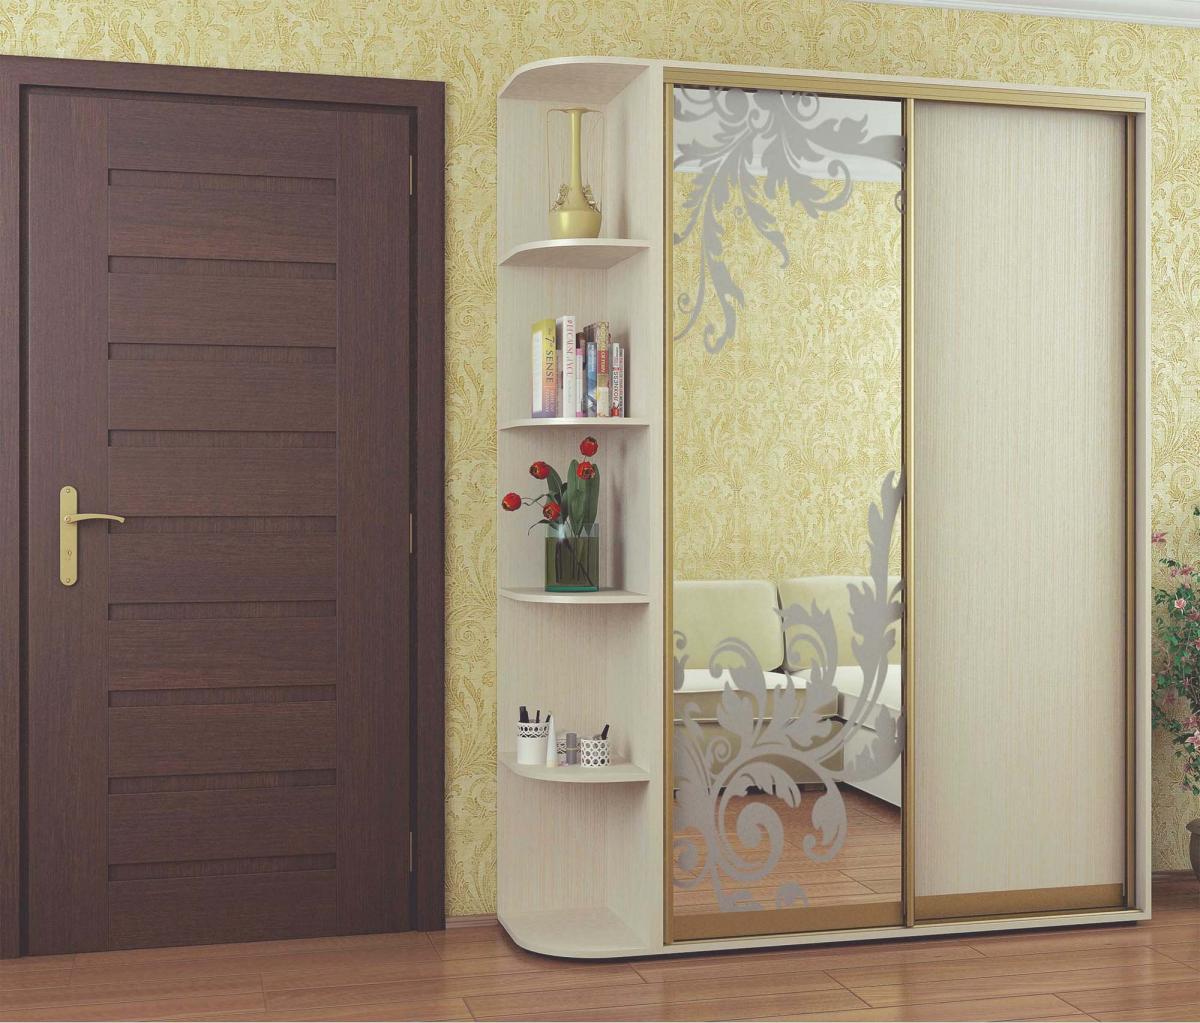
- When selecting material for the manufacture of doors when located in the hallway, it is recommended to insert a mirror, since it allows you to visually expand the space and increase the functionality of the cabinet. Sandblasted doors are no less successful option. The most budgetary option is chipboard material. If you want to add personality to the project, you can decorate the doors with photo-printed images.
How to make a wardrobe with your own hands, see the video.


