Glassage of shoes at home
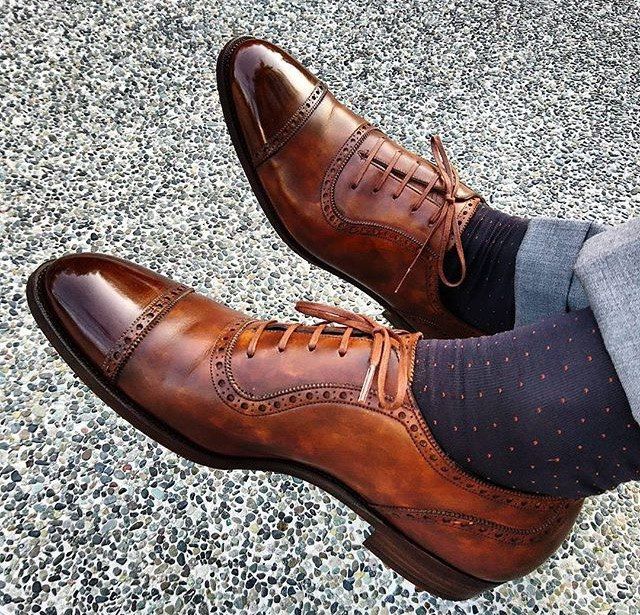
Men's shoes made of genuine leather are of high quality, comfortable to wear, and attractive. But one way or another, in the process of use, wrinkles, scratches or cracks can form on the shoes. Most often, these injuries occur on the toes of the shoes.
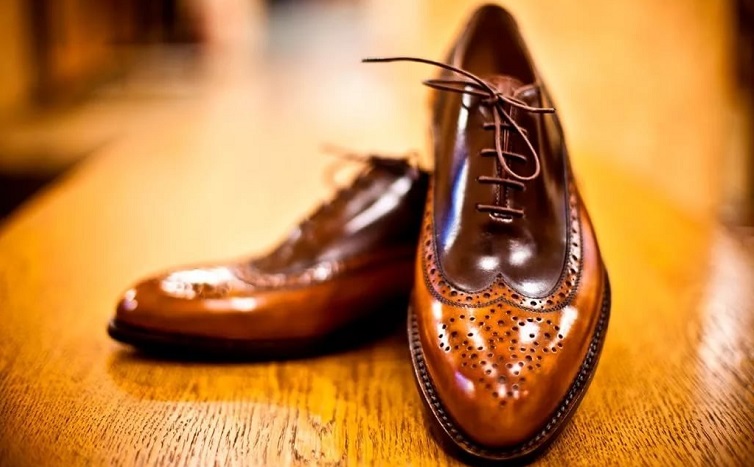
Glasses can help to hide scuffs on shoes. In addition, polishing shoes using this technique will add elegance and nobility to leather shoes.
What is Glassage
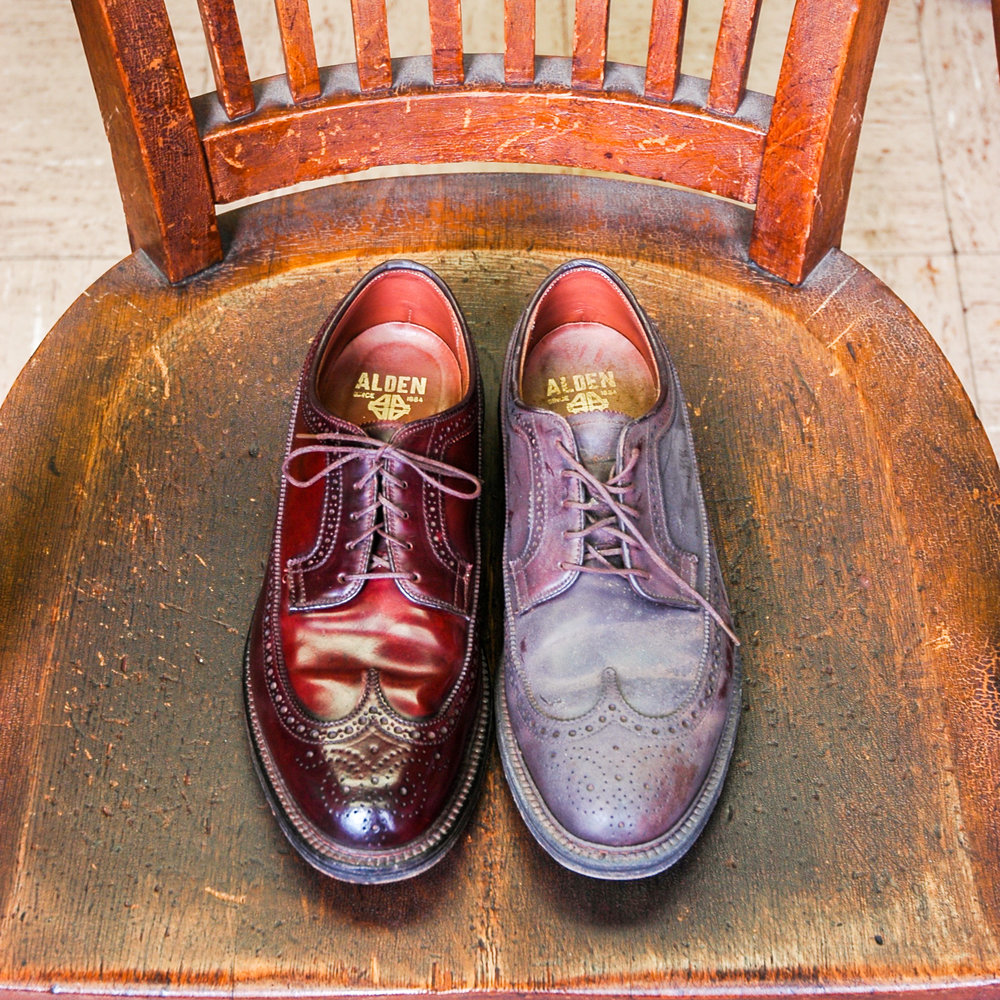
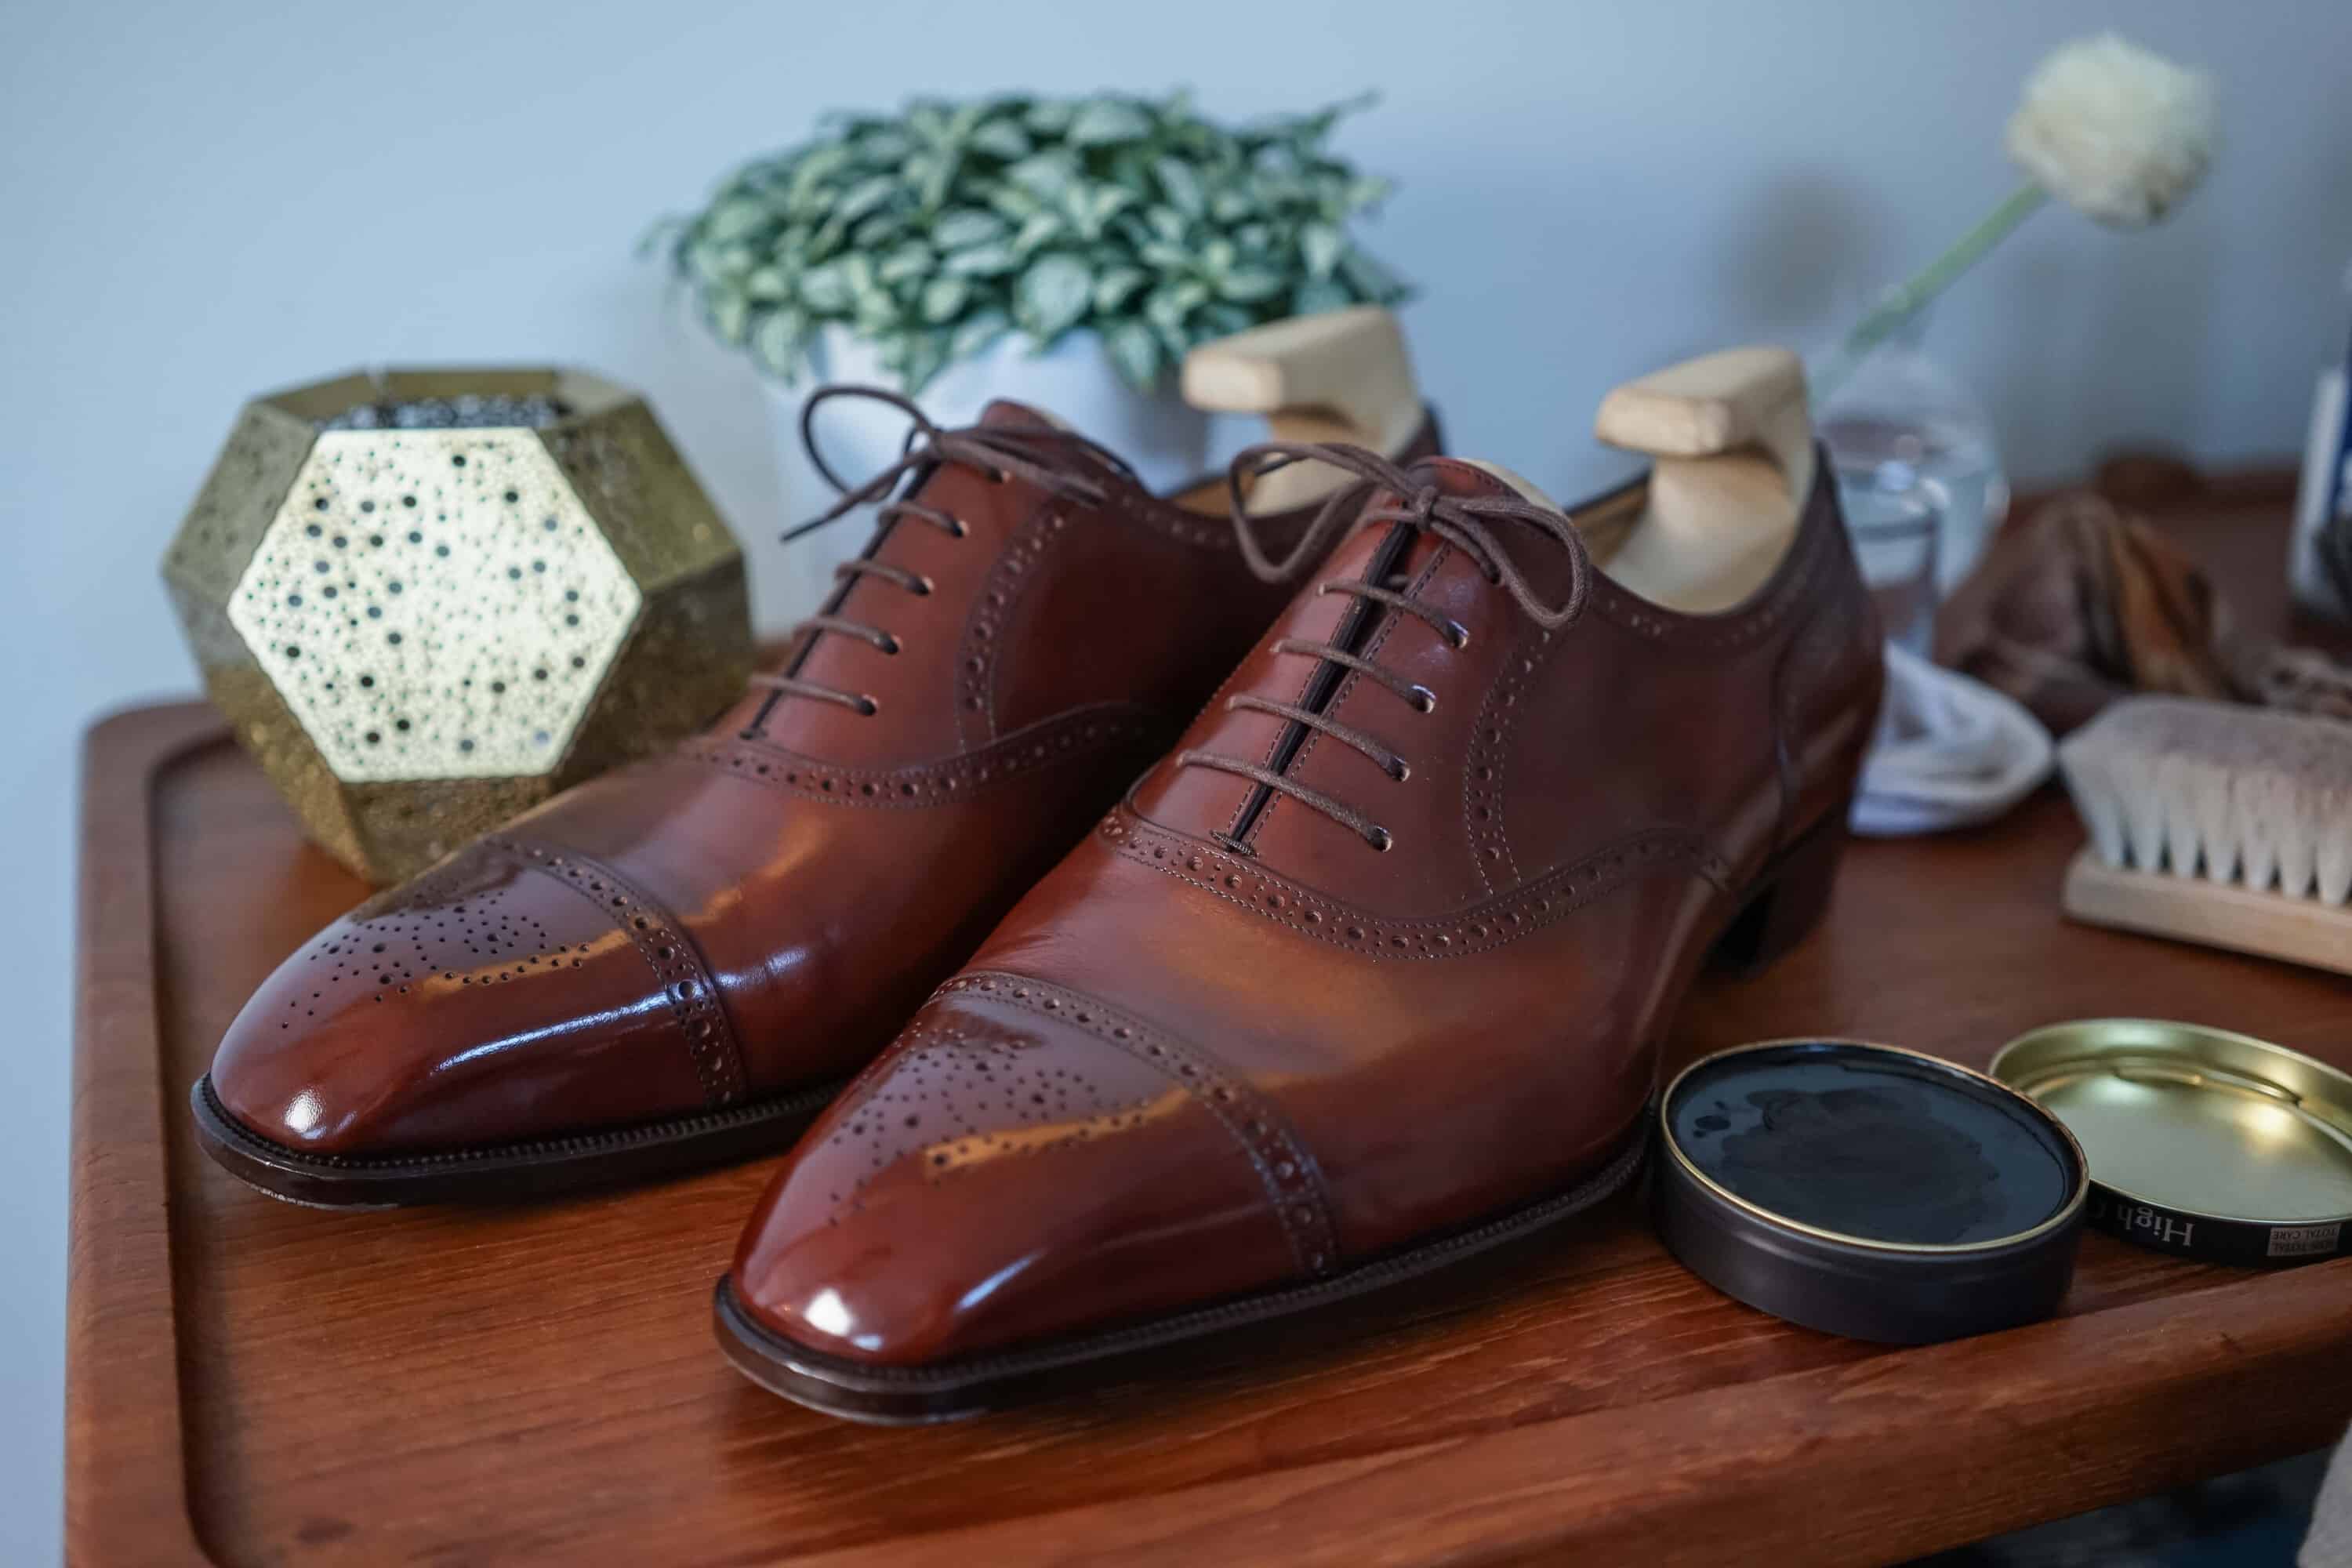
In translation, the word "glassage" means polishing. Glassage is performed using a special technique applying a mixture of water and shoe polish to shoes. The essence of this method lies in the fact that these components are alternately applied to the surface of the shoe, and with the correct application technique, the shoe acquires a glossy sheen that is able to stay on the shoe for a long time. In addition, glassage will hide imperfections and protect shoes from moisture, scratches and other damage. Most often, the toe is polished with the help of a glassage.
Sometimes the backdrop is performed. However, it is believed that polishing the heel of the shoes is pointless, since the constant rubbing of this part of the shoe on the bottom of the trousers erases the polishing very quickly.
Types of glassage
The polishing of men's leather shoes can be divided into 2 types:
- Professional glassage.
- Amateur voice.
Professional polishing most often performed at a shoe-making enterprise or manufacturer's company store. Professional ironing requires a lot of experience, quality shoe care products, good physical fitness. The time spent on professional glassage of 1 pair of shoes will take at least 30-40 minutes. In the process of polishing, the specialist applies layers of shoe polish and water one after the other on the toe. After the completion of the procedure, a persistent glossy effect is achieved, which can last up to 1 year. The disadvantages of professional glassage are its high cost and the fact that not all manufacturing firms can provide such a service.
An amateur voice can be done independently at home. The shoe polishing process will be the same as for professional polishing.
But in the absence of experience, the time spent can reach 3 hours. And the effect will be less pronounced and with frequent wear it will last no more than a month.
How to make glassage at home?
To achieve a well-groomed look for men's boots, you can try to do the glassage yourself. Each time the polishing experience will accumulate, the time spent will decrease.
Preparing shoes
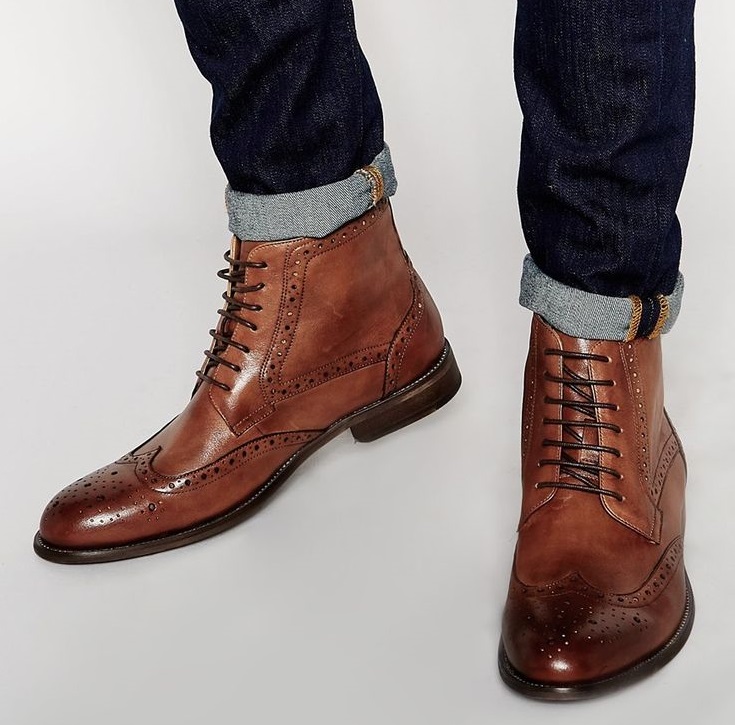
Any pair of boots can be polished with water and shoe polish with the necessary skill. Glassage will look great on shoes made of smooth natural leather. It will add extra chic to new boots. But even if the shoes are old, and the toe is badly worn, the glassage is able to eliminate these shortcomings.
Before you start polishing, you need to prepare your shoes. The result of the glassage and its durability depend on the initial preparation. Before you start polishing the toe, you must:
- Clean shoes from dirt and dust. To do this, first wipe the surface and sole with a damp cloth, then with a dry cloth.
- Dry well. For leather shoes to dry well, you need to stuff newspaper sheets or any other paper that absorbs moisture well into the shoes. Then leave the boots like this for at least 12 hours. You can also use a special electric dryer.
- Lubricate the entire surface of the boots with shoe cream, let it soak for 1-2 hours.
- Brush shoes with natural bristles. This will help remove dust residues and allow the cream to fully absorb into the skin.
You should not resort to drying leather shoes on a radiator or near heating appliances. Since the skin can dry out and become rough from strong heat, cracks and bleached spots can appear on it.

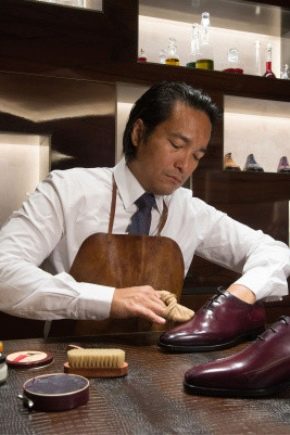
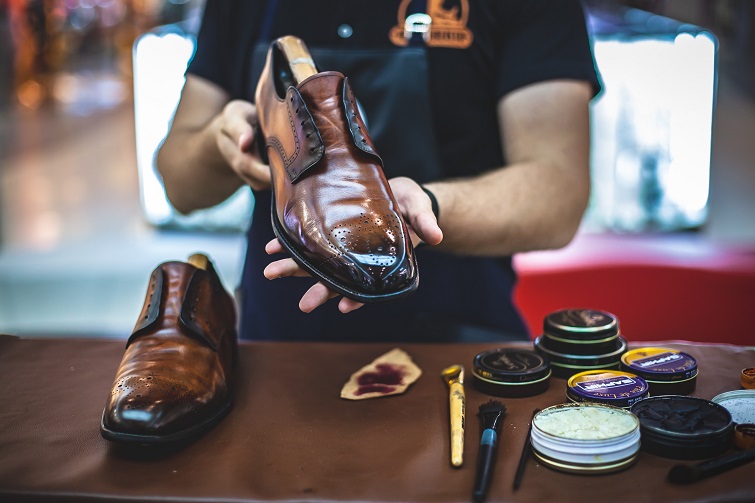
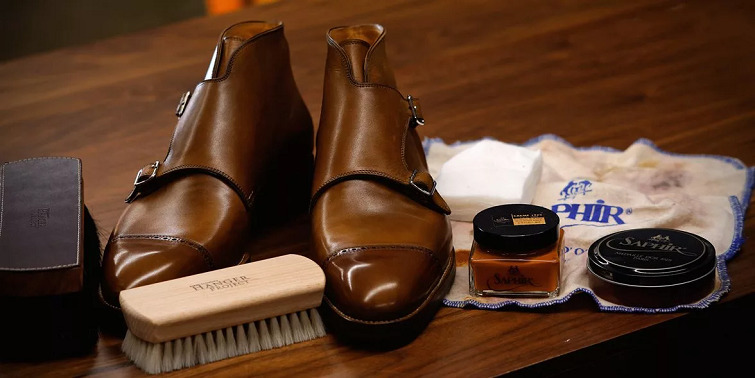
Necessary tools and devices
For a home ironing, you will need almost the same devices as for a professional one. All means and devices must be prepared in advance and be at hand. For the procedure you will need:
- Soft tissue flap size 20x20 cm. The fabric should not be very coarse and should not stretch too much.
- Rubber gloves or finger rests. They will protect your hands from the effects of shoe polish.
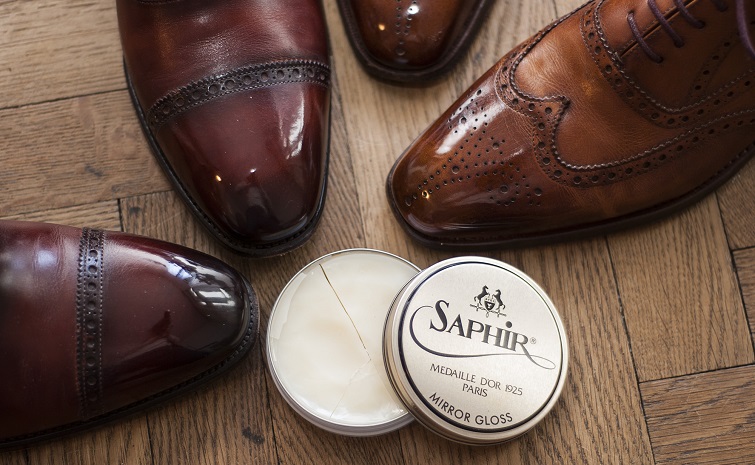
- Low-wax shoe polish. The less wax it contains, the easier it will be to achieve a long-lasting glossy effect. Also shoe polish should be chosen in the same color as your shoes. The shade of shoe polish, which is very different from the shoe, can leave unnecessary streaks or stains with an unprofessional approach.
- Pure water room temperature.
Having prepared everything you need, you can start polishing the toe.
Execution stages
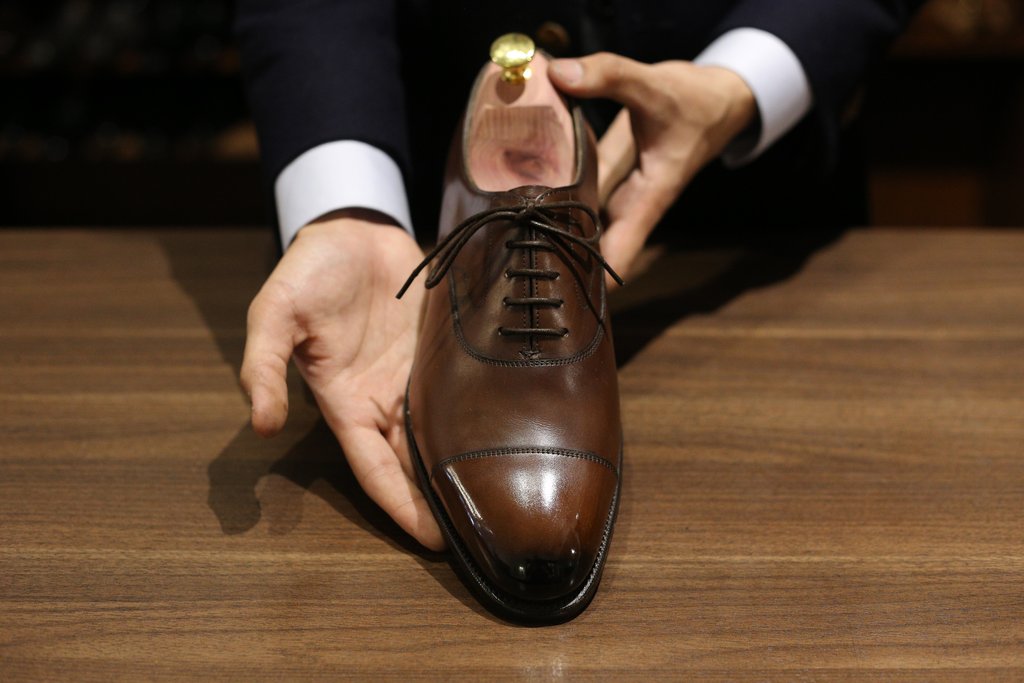
Glossy shine on the toes of the boots, as well as an improvement in the appearance of the shoes, can be achieved if the necessary sequence of actions is followed correctly. Before proceeding, it is important to remember that rubbing shoe polish and water should be done without strong pressure, as excessive pressure on the skin can lead to damage that cannot be disguised.
Further, fixing the boot with one hand, you must:
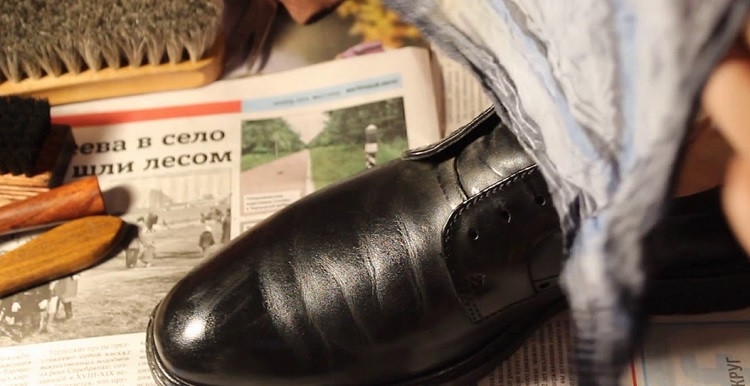
- Take the fabric in the other hand. Wrap the index finger with it, and squeeze the remaining ends in a fist.
- Pry a small amount of shoe polish with the tip of your index finger, wrapped in a cloth. Its volume should not exceed the size of a match head.
- Then, in quick circular movements, distribute the shoe polish over the entire surface of the toe until it is completely absorbed.
- Then apply 1-2 drops of water to the toe. It is best to use a thin metal needle to apply the liquid. With its help, you can easily control the amount of liquid: with excessive moisture, the water will mix with shoe polish, and it will not be possible to achieve a glossy shine.
- Water also needs to be rubbed into the surface of the polished area on the shoe in a circular motion.
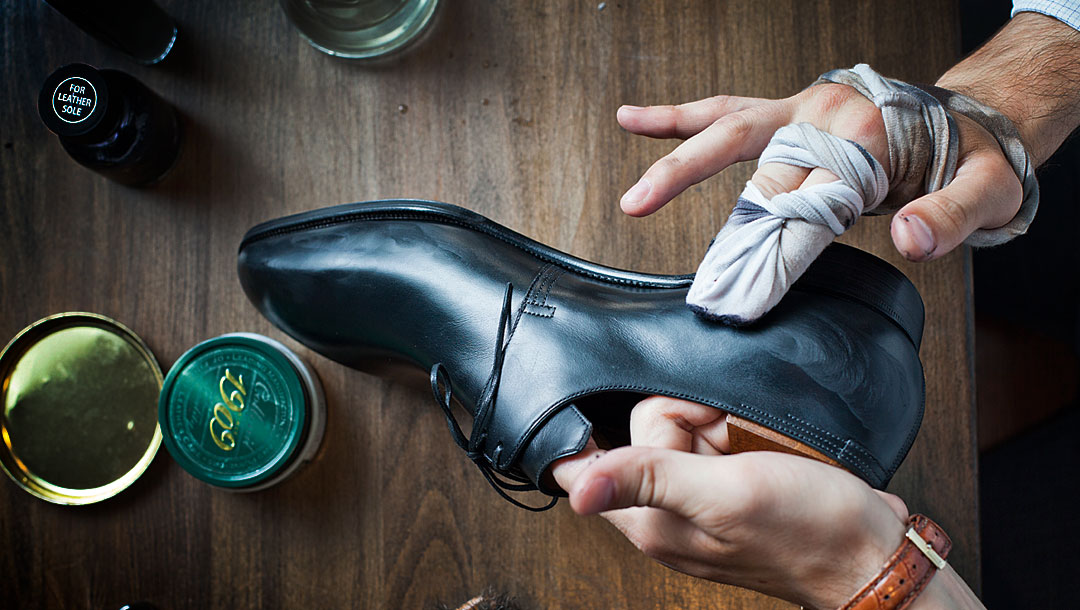
It is necessary to alternate the application of shoe polish and water until a mirror shine appears on the toe. Once the desired result is achieved, the surface of the shoe should be wiped with a dry soft cloth. Then the whole sequence of actions must be repeated with the second shoe. It should be borne in mind that in the absence of experience, glassage may require considerable effort and a long time. And the desired result may not be achieved the first time.
In case of failure, the applied care products should be brushed off the shoes with a soft brush. Re-polishing should be done no earlier than after 4 hours. This time is needed for the complete absorption of the previously applied shoe polish.
For information on how to make shoe glass at home, see the next video.


