How to make a wardrobe in the hallway with your own hands?
Knowing how to make a wardrobe in the hallway with your own hands, you can do this work in a short time and without problems. You just need to figure out how to make it out of drywall according to the drawings yourself. It is also useful to study the step-by-step instructions for making a homemade cabinet in a wooden corridor.
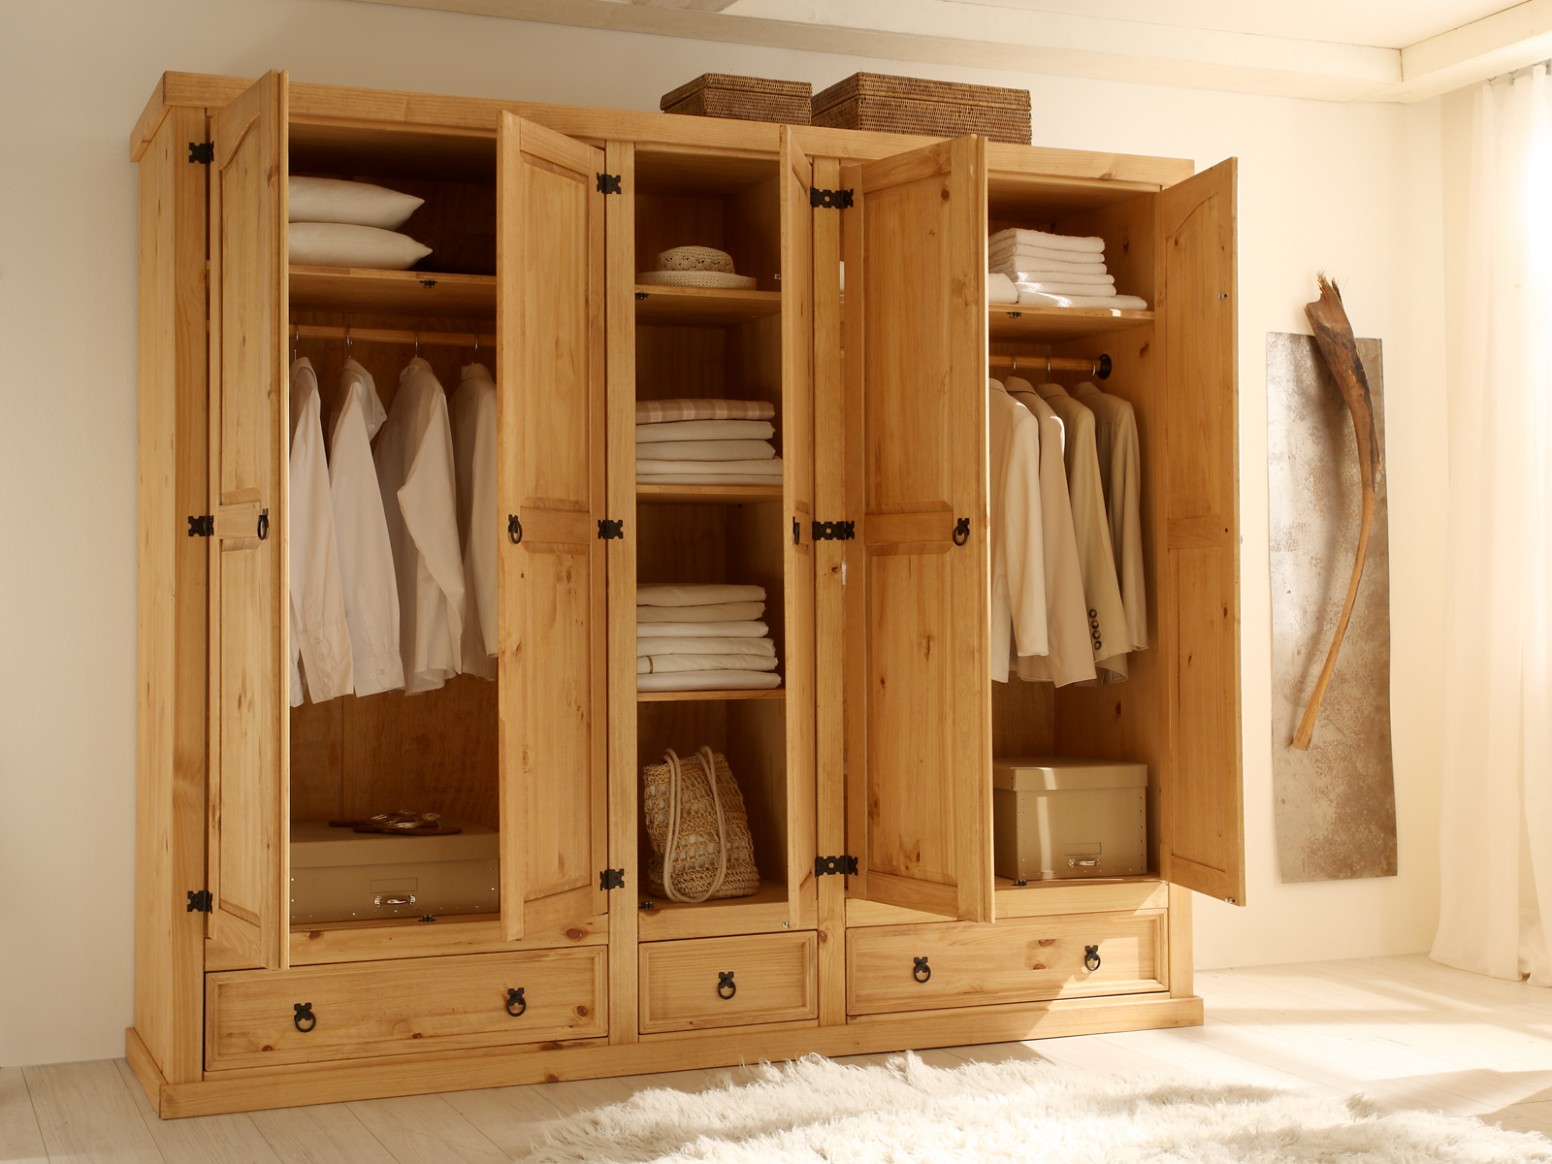
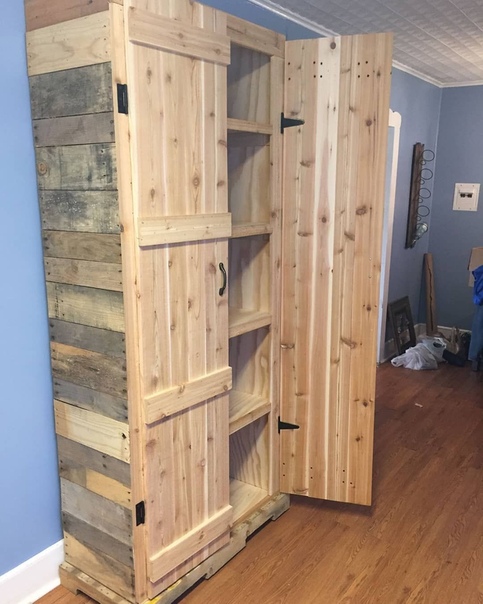
Homemade wardrobe made of wood
There are many models of furniture on the market, including wardrobes. But some of them are expensive, others are unreliable, and still others fit in design but not in size (or vice versa). The agony of choice can be bypassed very simply - to assemble the wardrobe in the hallway with your own hands according to step-by-step instructions. Anyone can do this, if they have serious intentions and due diligence. To work, you need a relatively small number of tools.
Before starting work, you need to carefully select the specific type of cabinet. It's not about studying in detail the descriptions of models in furniture stores. Of course, assembling them with your own hands will be relatively cheap, but hardly as reliable and beautiful as in the professional segment. The point is different - you need to give preference:
-
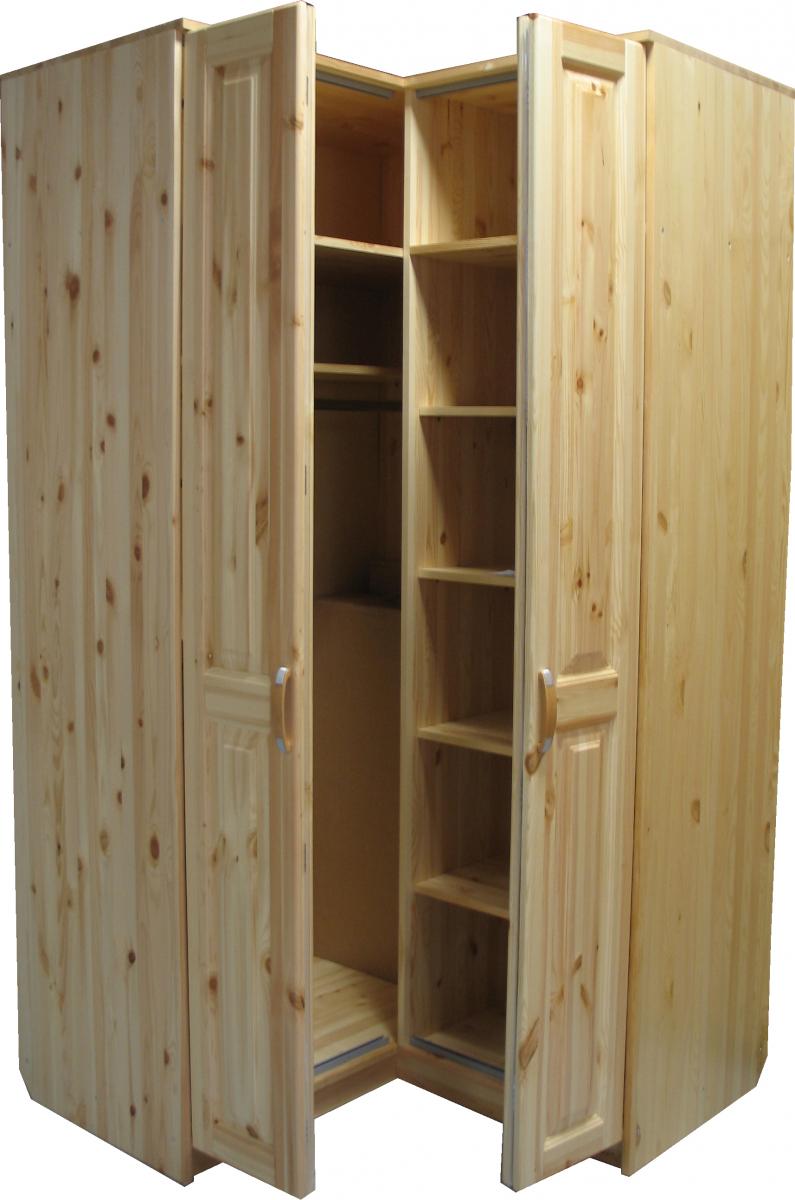
angular;
-
free-standing;
-
built-in models.
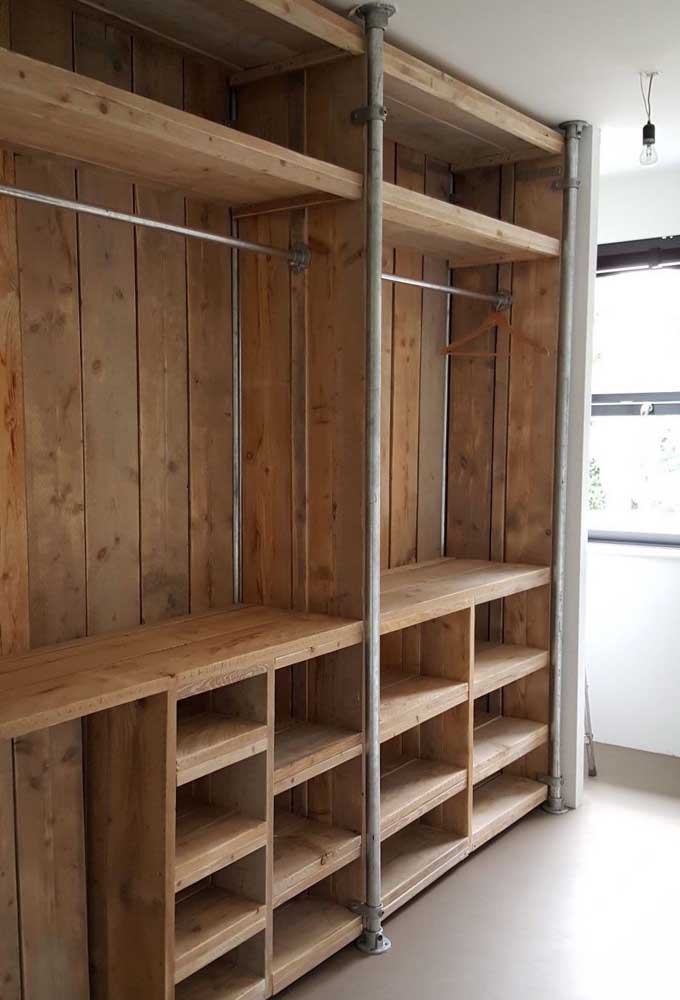
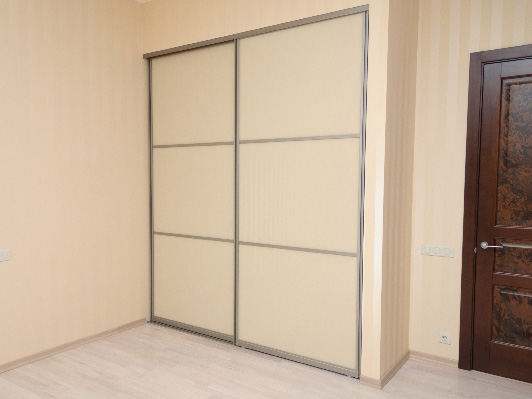
Each of these solutions has its own advantages and disadvantages, which should be discussed separately. For small families, single-door sliding wardrobes with a couple of sections are quite enough. A large family needs a larger and more impressive product. It will take significantly more material to make it. Important: without a well-thought-out scheme, there is very little chance of making a high-quality comfortable wardrobe.
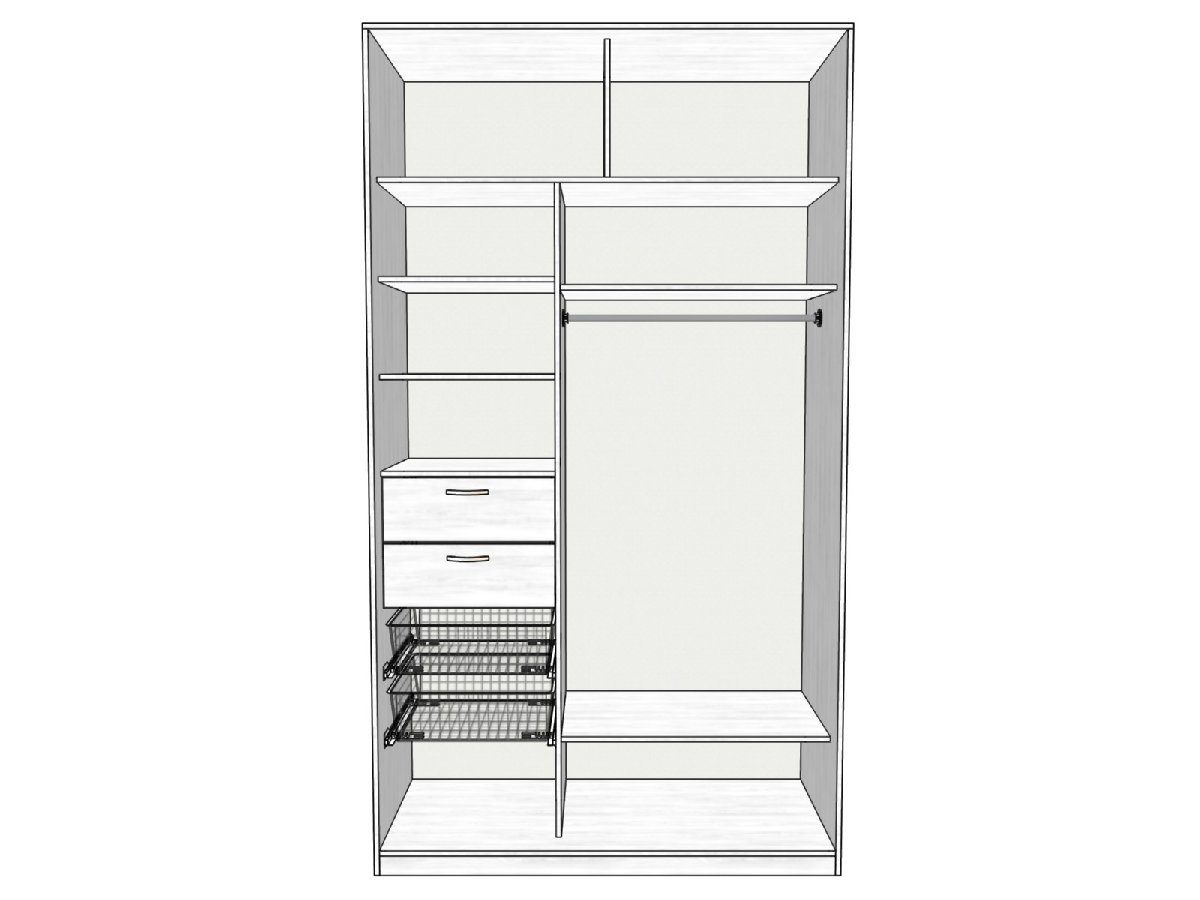
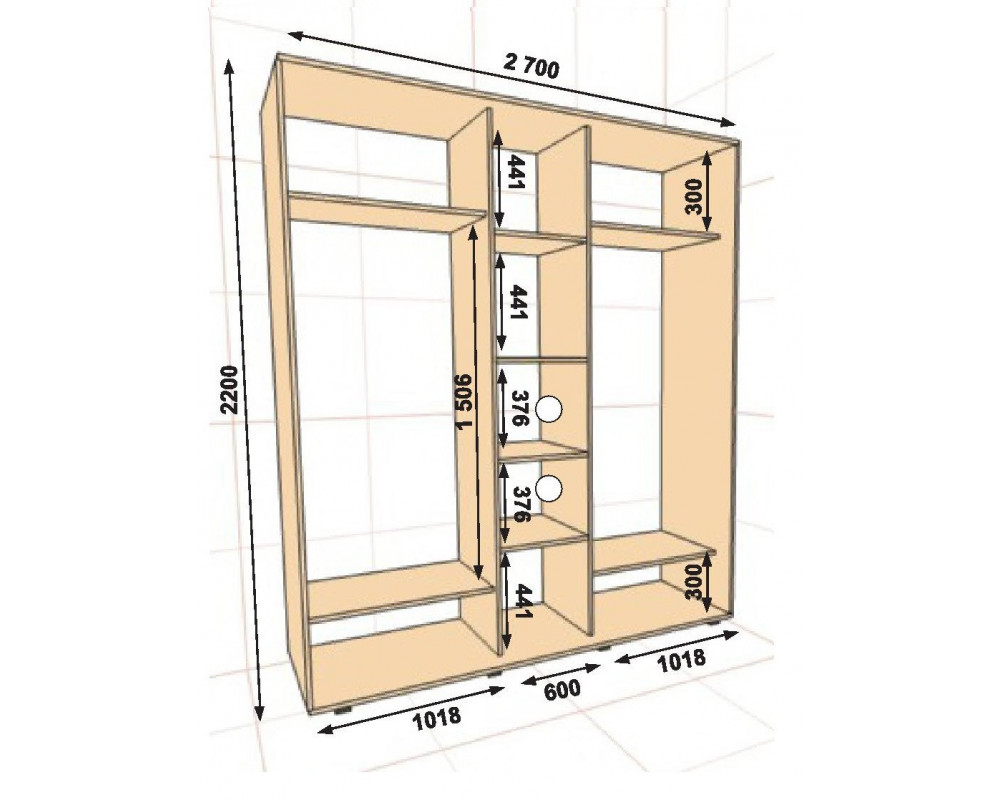
Drawing preparation involves measuring parts. There are no clear rules, although it is still better to brush up on technical drawing. If there is no experience, it is better to use any ready-made drawings. Having chosen the sizes, you need to further prepare:
-
upper and lower strips;
-
a pair of back walls;
-
sidewalls (but when creating a built-in wardrobe, there is no need for them).
For work you will need:
-
edging tape;
-
ratchet wrench;
-
tape measure and ruler;
-
Super glue;
-
pencil (marker is better);
-
drill or screwdriver;
-
pliers;
-
jigsaw (if materials are planned to be cut at home).

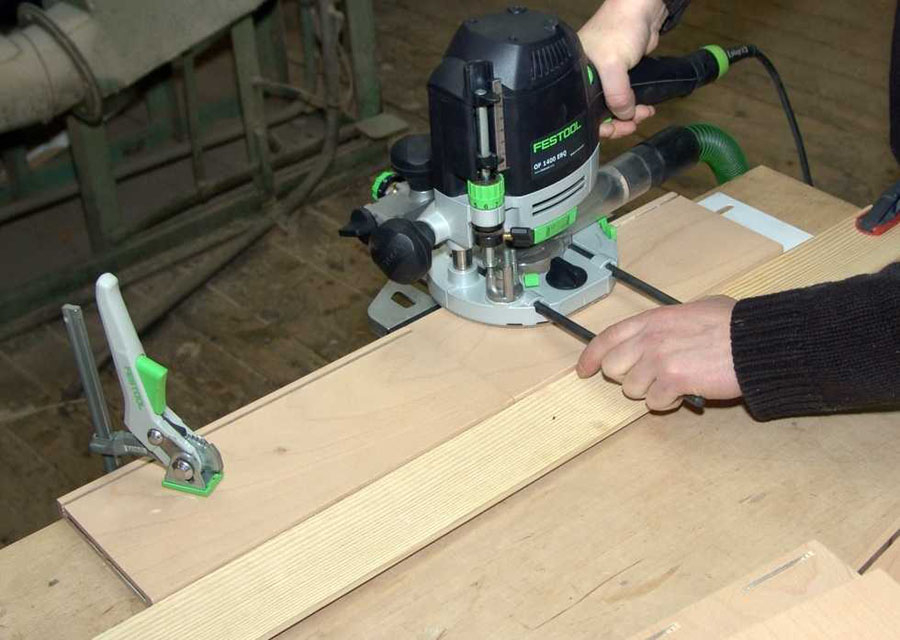
It is much better and more pleasant to use professionally cut materials. The assembly itself normally begins with marking for fasteners.
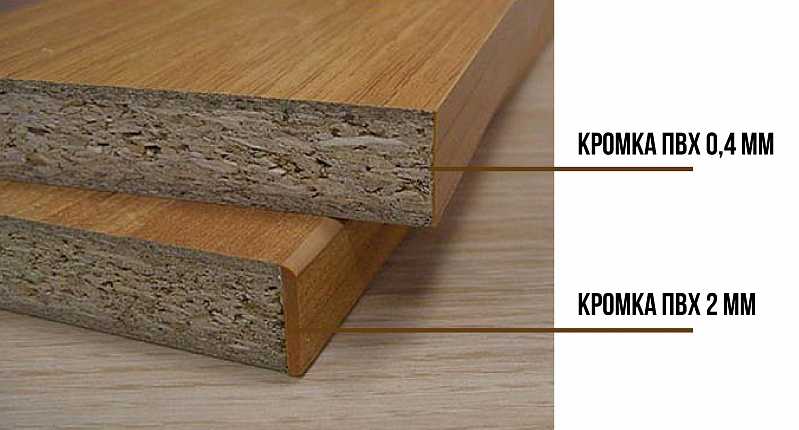
This should be done as carefully as possible. When the parts are cut, it is time for the edging with a special PVC tape. It will have to be heated with a hot iron.
Then you need:
-
check the accuracy of all dimensions;
-
put the walls and bottom on the relying places;
-
prepare holes that will allow you to fix the base and partitions;
-
put the base and partitions themselves;
-
wrap the confirmations in the bottom of the sidewalls;
-
install the upper shelves, which ensure the rigidity of the frame and make the structure more convenient;
-
reinforce the cabinet with a back wall.
The cover must not be fixed with a screwdriver. It is baited by hand (with pliers). You will also have to tighten the fastening with a wrench - the mentioned ratchet or a hexagon. Then they are engaged in the installation of the side shelves. Use 2 confirmations on each side; but if the shelf coincides in level with the inner shelf or bottom, dowels should be used instead of confirmations.
The dowels should be inserted into the previously made grooves. They are cooked both in the walls and in the shelves. Then it's time to install the rear door. Important: its installation is verified by level. Next, you need to fix the upper level with 2 supports and a running lower profile.
The rear door is assembled with a set of fittings, usually including:
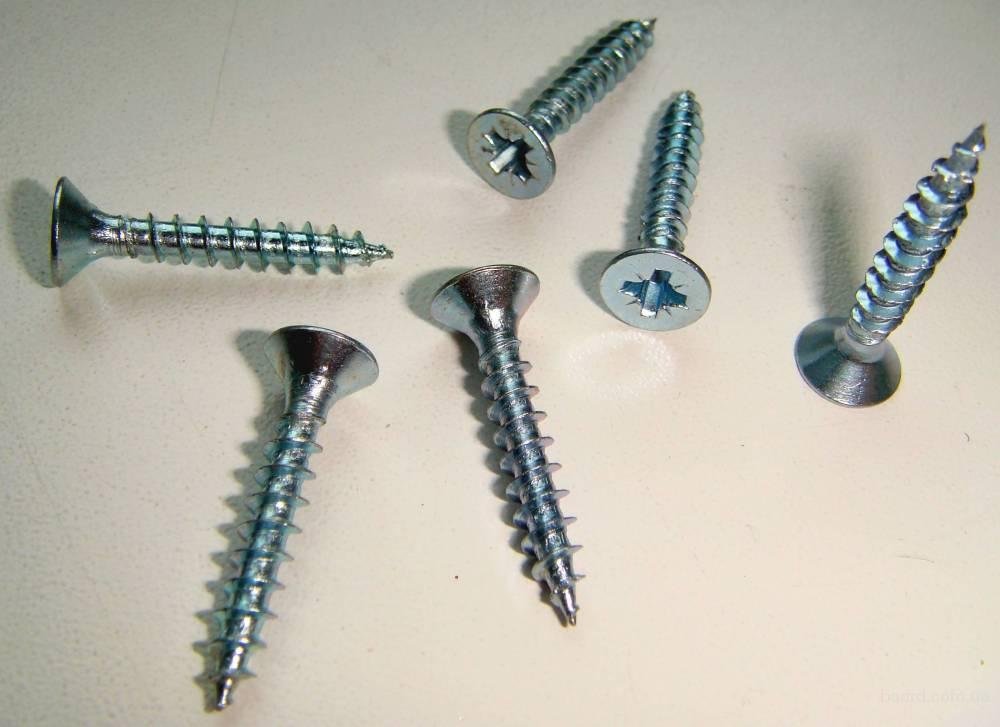
-
screws 4x25 and 4x16;
-
screws;
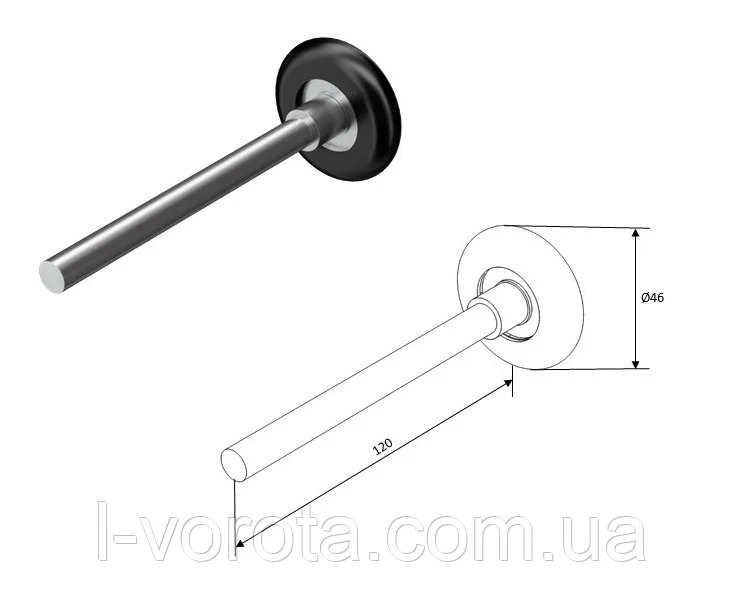
-
running rollers;
-
sealant.
The installation of glasses or mirrors implies the fastening of the seal exactly along the length of the dividing profile. But if chipboards are installed, the seal is not required. A door with dissimilar elements is assembled using dividing profiles. The rear door is hung on the running profile, after which they proceed to the installation of the front door.
It requires the already described fittings set, the sequence of work also does not differ.
After that, it will remain:
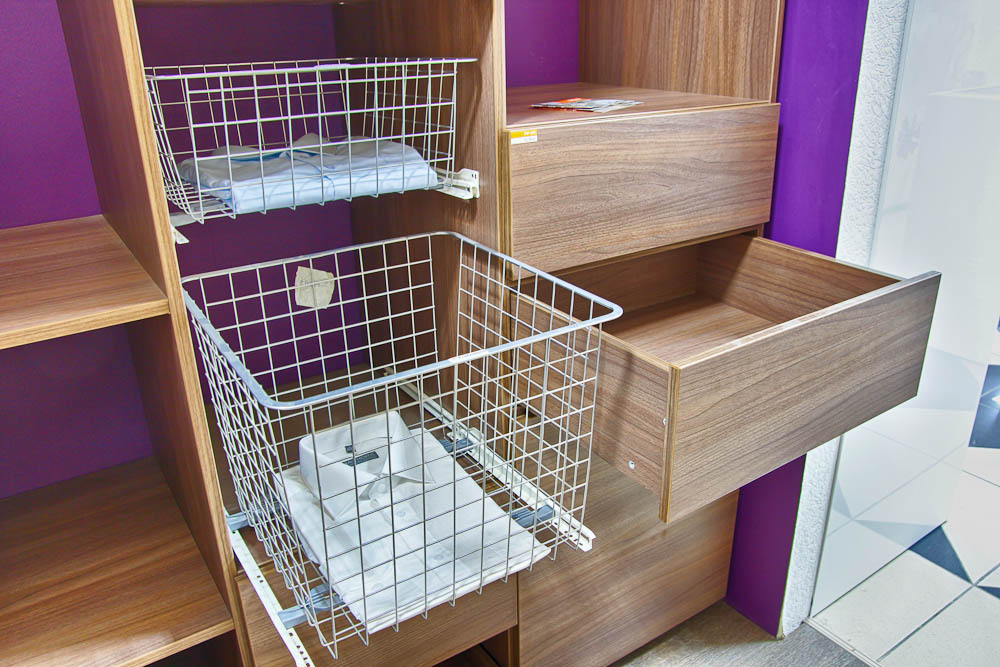
-
mount baskets and hangers;
-
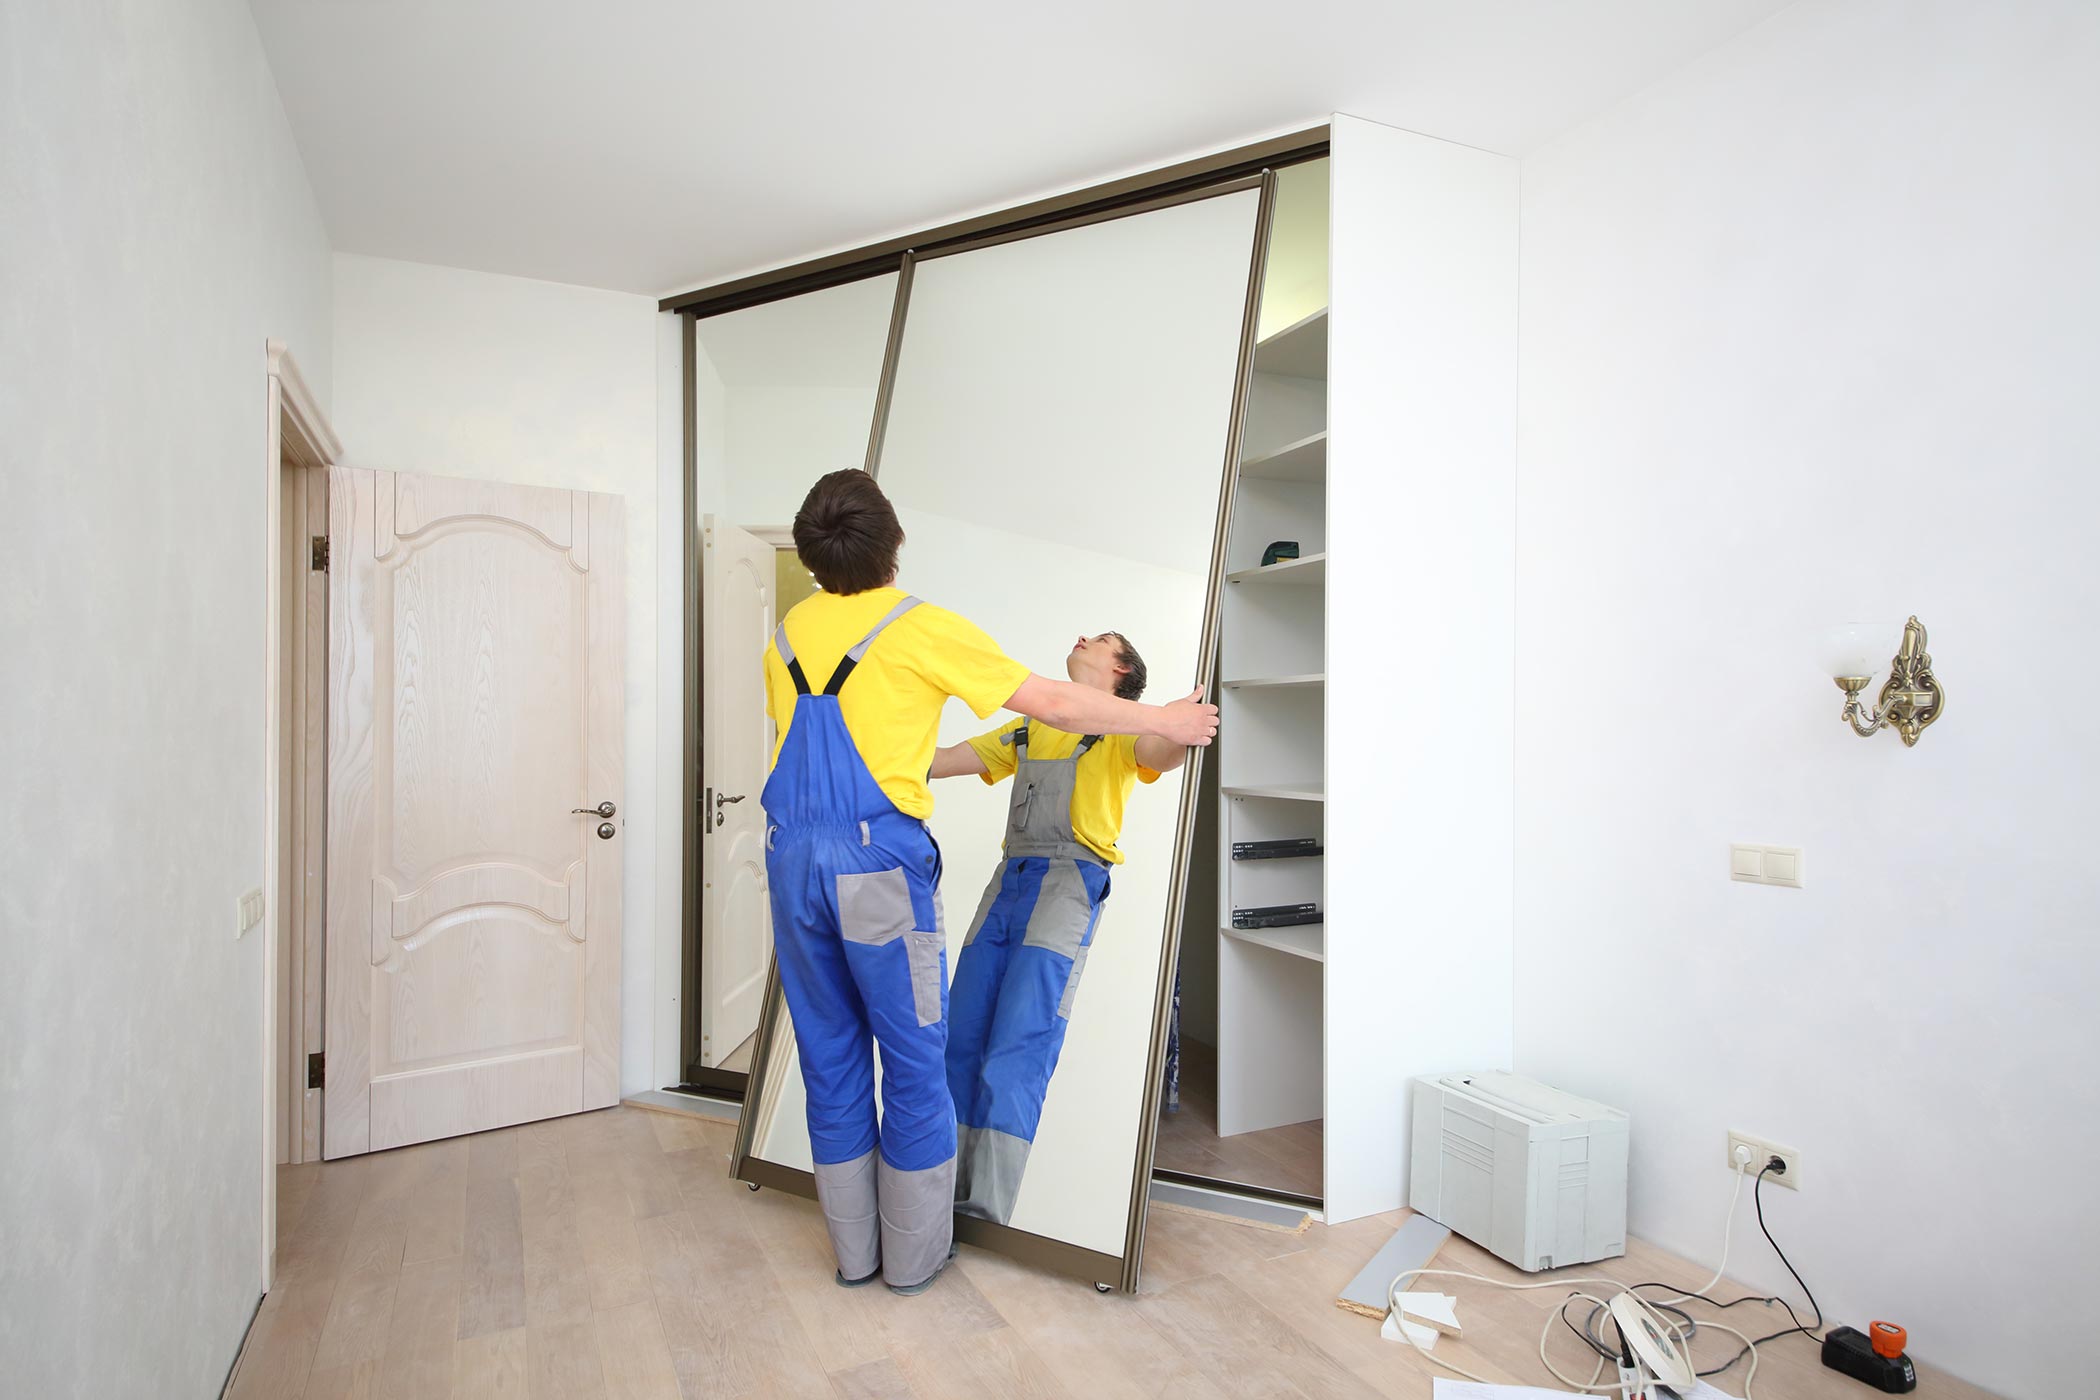
test the functionality of the doors;
-
when detecting difficulties in movement, extraneous sounds, eliminate the shortcomings.
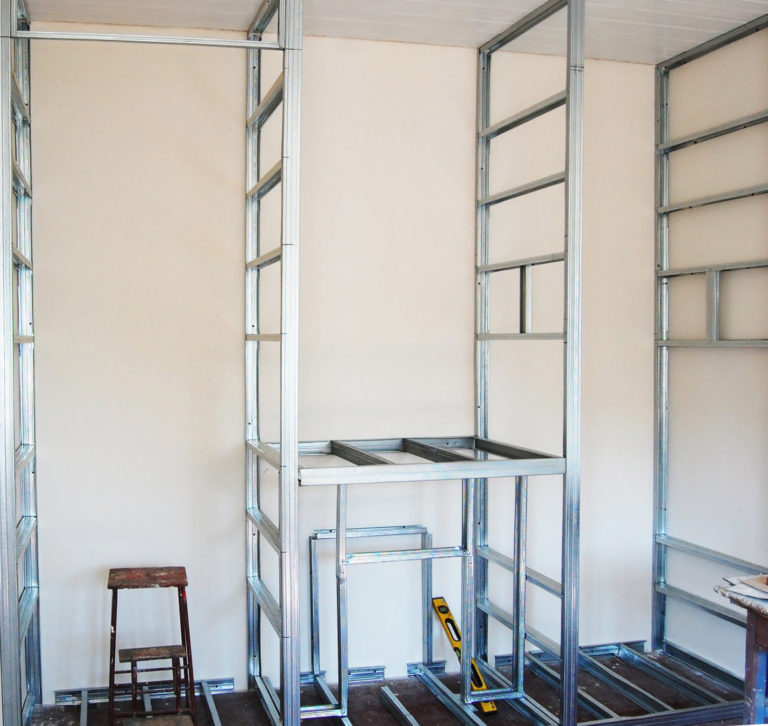
Manufacturing from plasterboard
You can also make a cabinet in the corridor on the basis of a drywall sheet. But there are a number of nuances in the work that will have to be taken into account. Drywall allows you to change the size and configuration of products without limit. Therefore, it will not be difficult to place each shelf or cabinet in the most convenient way. The cutting of the gypsum board normally takes place according to the real dimensions removed from the frame, and not according to those included in the drawings - after all, during the assembly, various shifts are almost inevitable.

As in the case of a tree, you need to very carefully consider the linear dimensions and appearance of the structure. We'll have to carefully determine where she will stand. Therefore, again, it is impossible to do without drawings. A good drawing allows by itself, without other materials, to scrupulously calculate the need for material. Further it is required:
-
prepare the walls and floor where the cabinet will stand;
-
transfer all lines of installation of profiles to the surface;
-
lay all the wires simultaneously with the assembly;
-
mark the installation points of the fixtures;
-
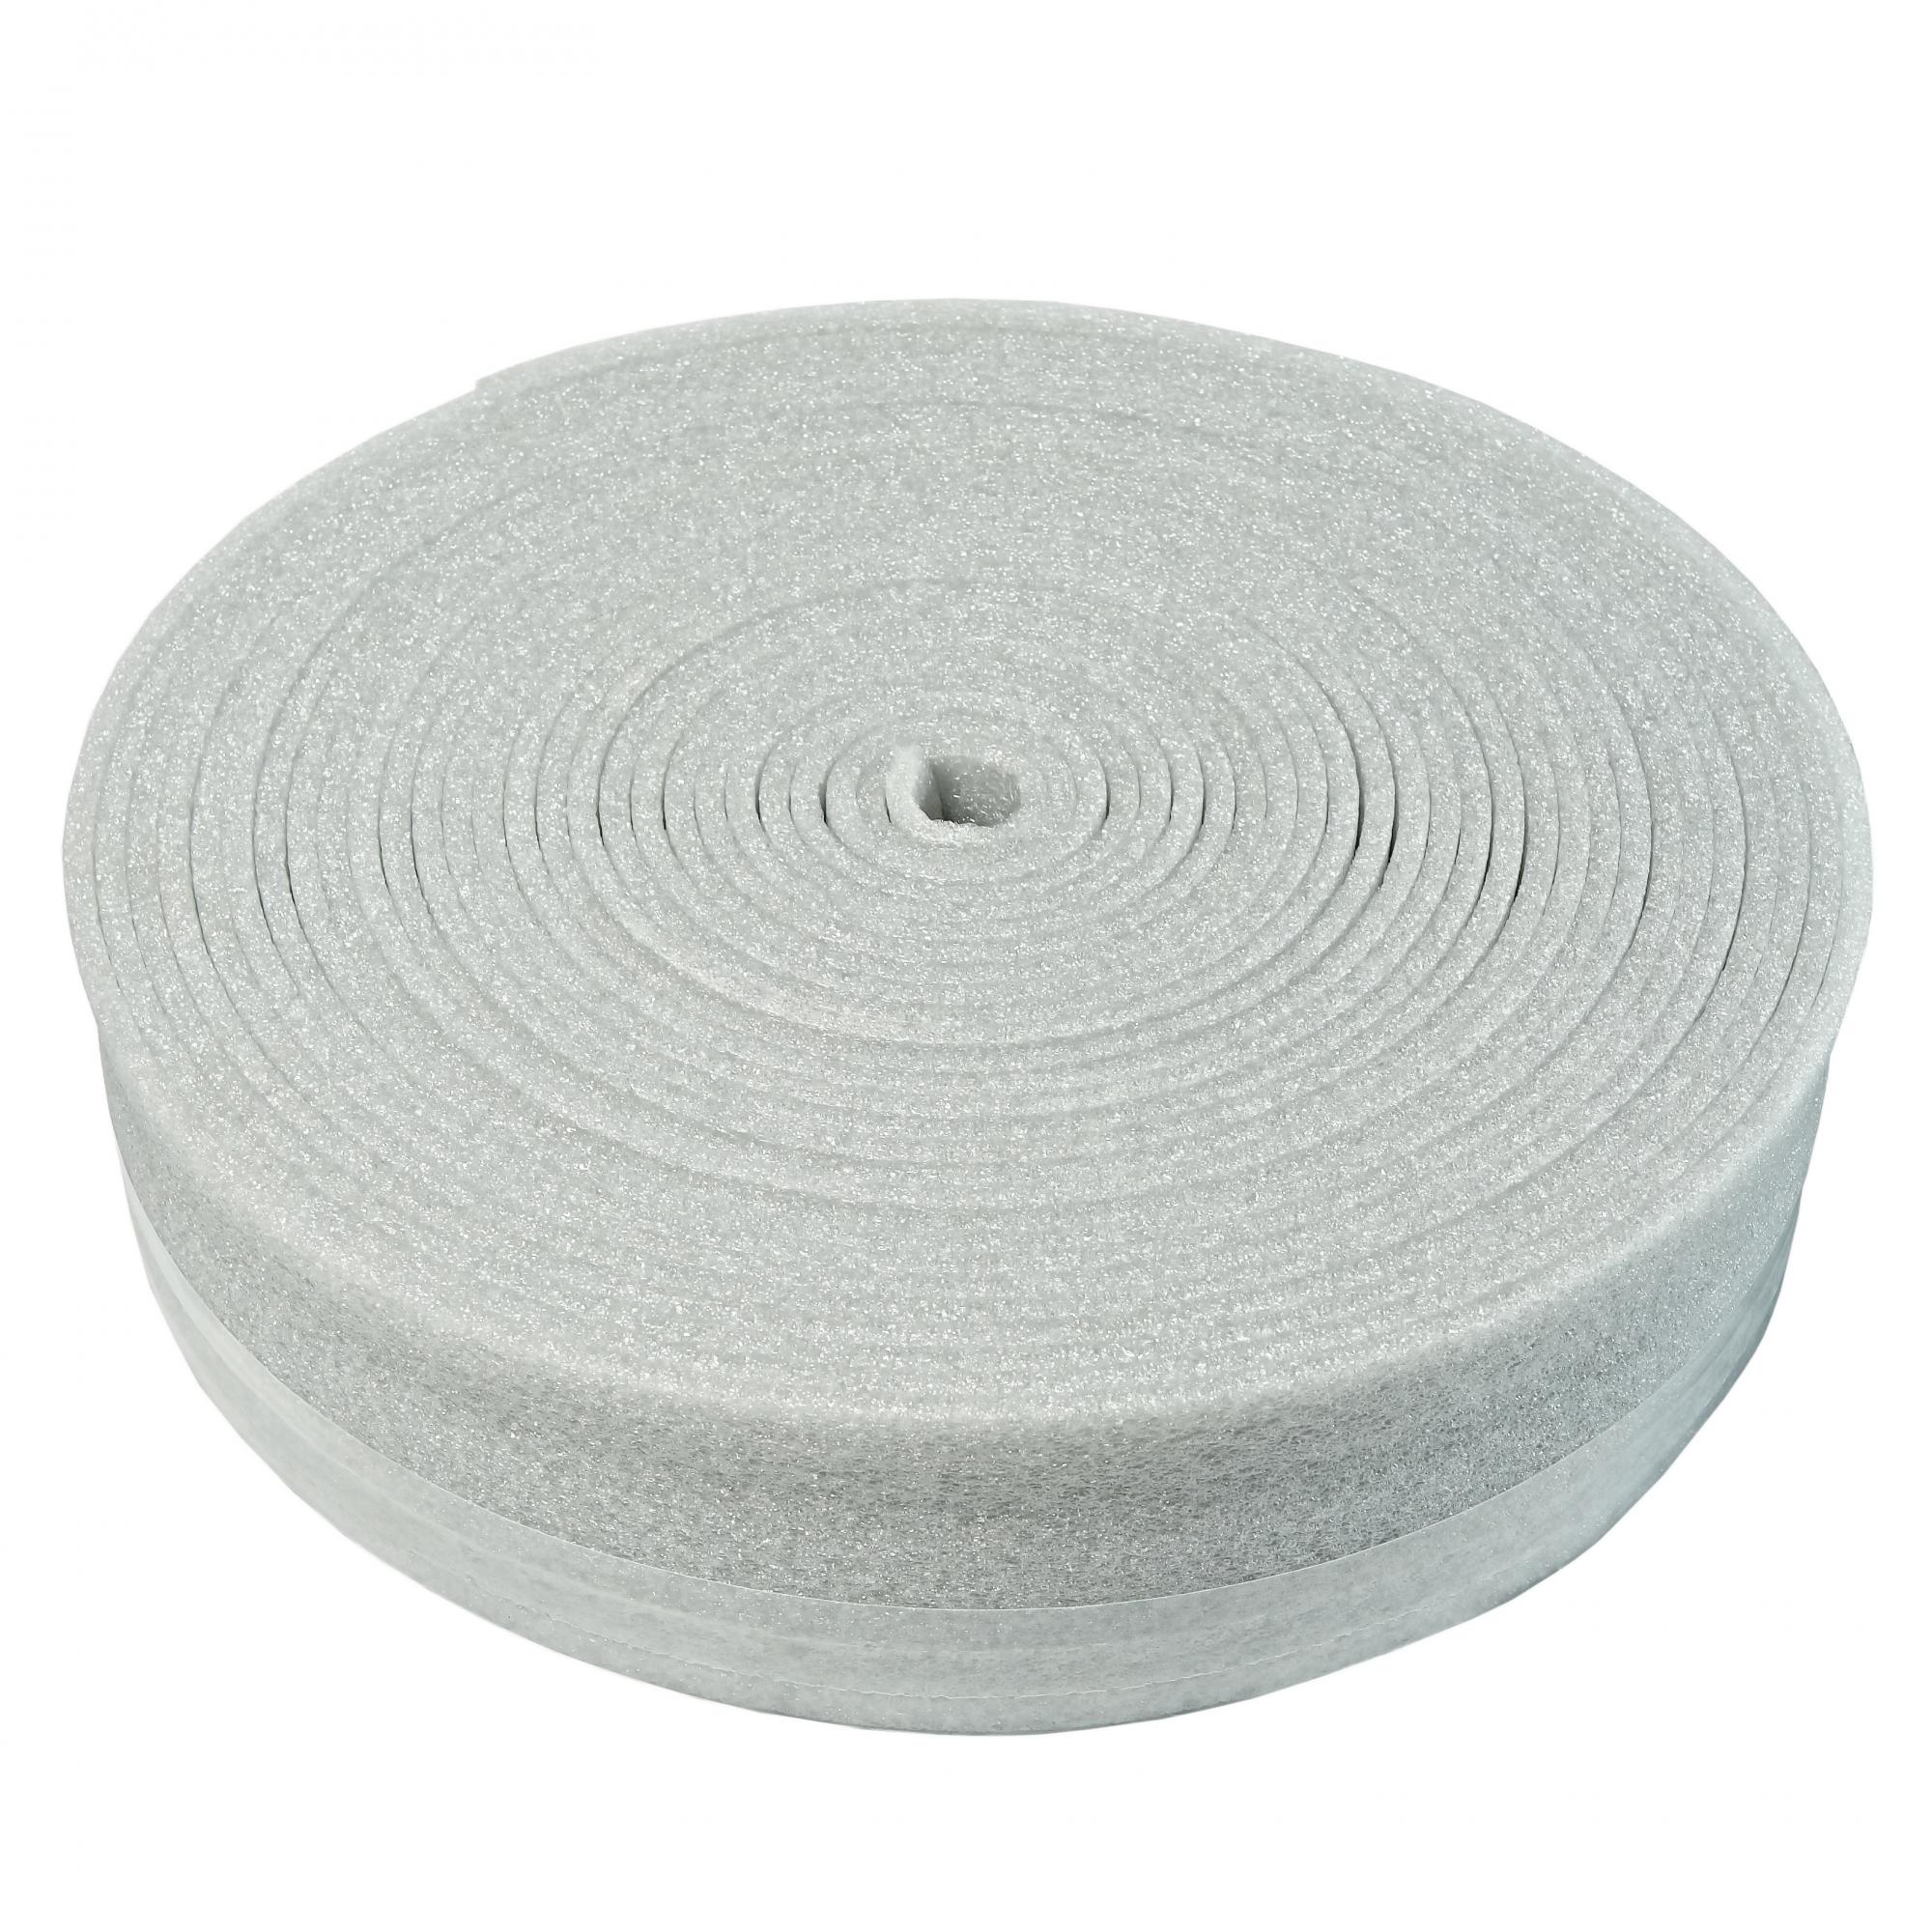
peel off the sealing tape;
-
attach the guides with a pitch of 40 cm between the vertical posts;
-
put vertical profiles on guides using "bugs";
-
install jumpers in the horizontal plane;
-
reinforce the installation sites of the shelves with wooden or metal parts.
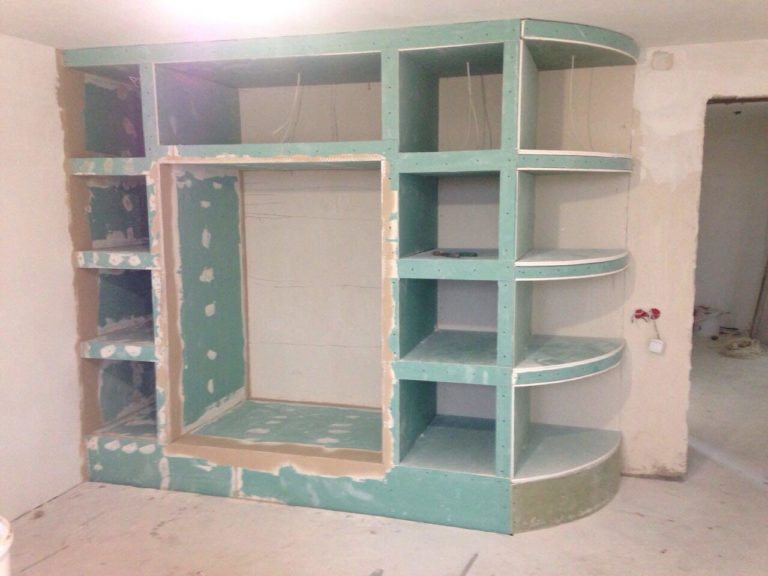
Cutting through the gypsum board is permissible with a simple hacksaw. However, the use of a painting knife allows you to reduce the processing time of the slices. After the cut, the sheet is simply cracked neatly, and then cut off on the other side. When using self-tapping screws, the heads will have to be slightly drowned in drywall.
At the corners, you should definitely put metal corners with perforations; the seams will have to be glued with a serpentine, after which they are coated with putty on the screw heads.
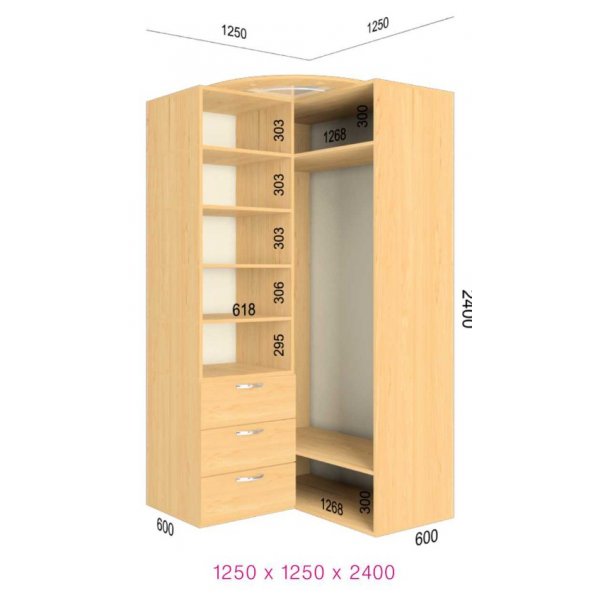
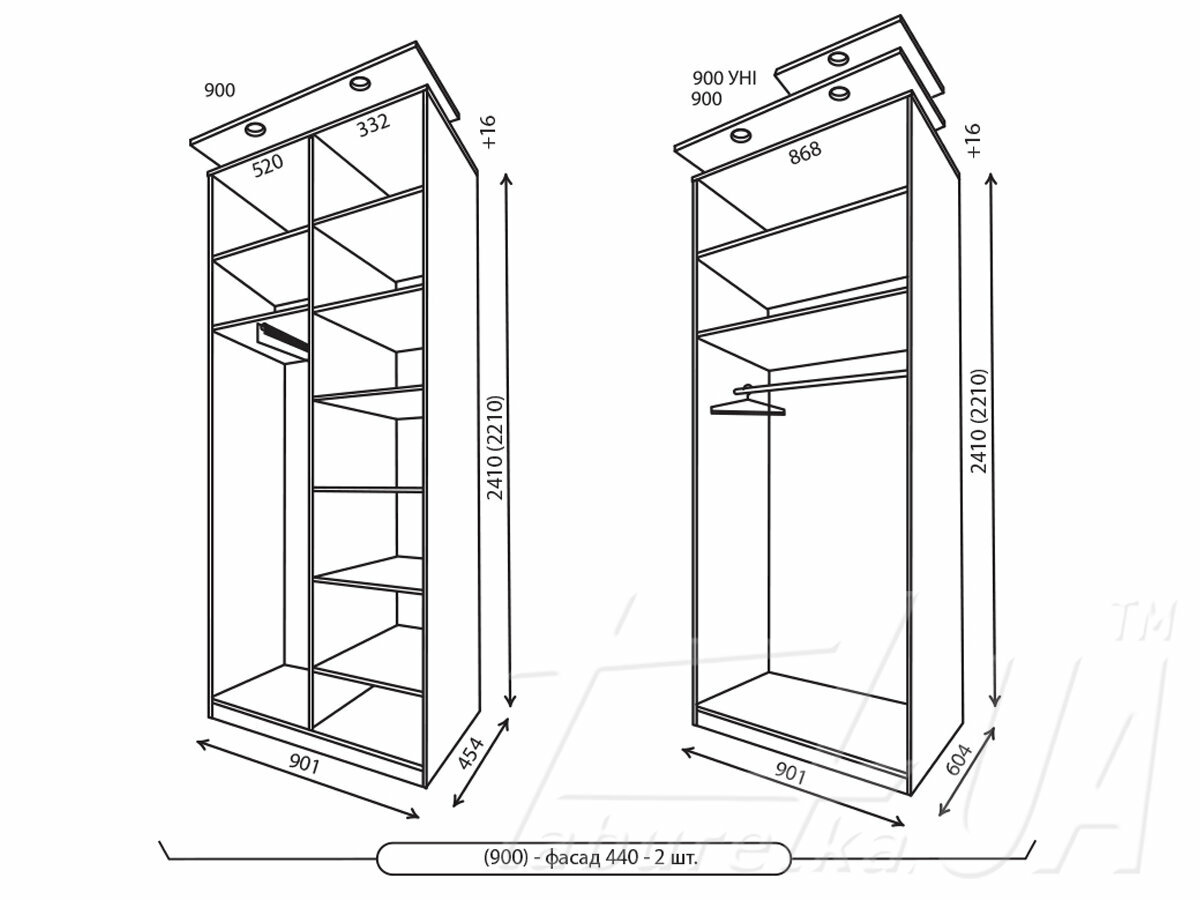
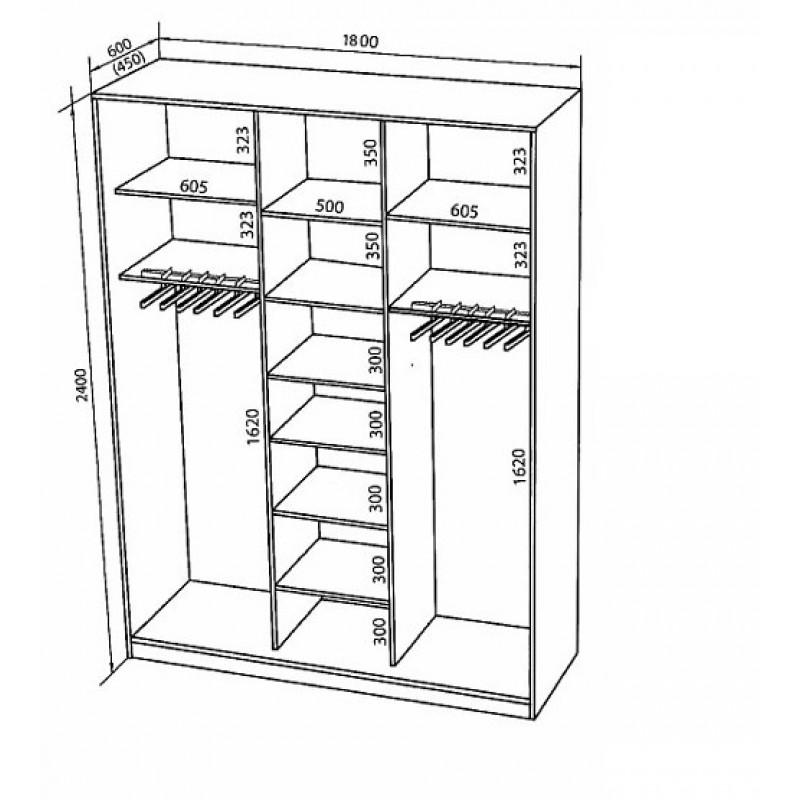
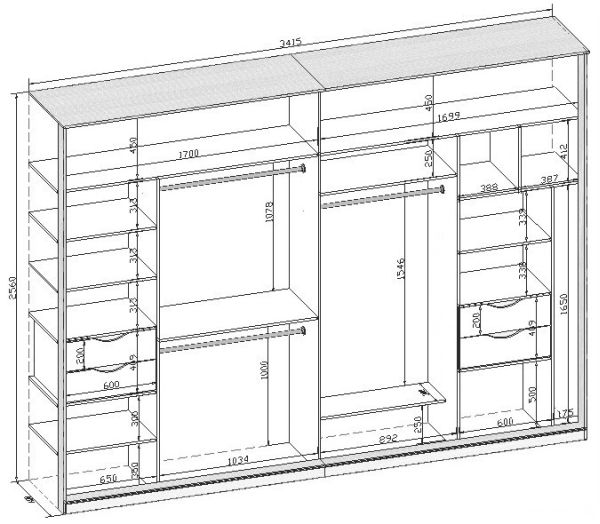
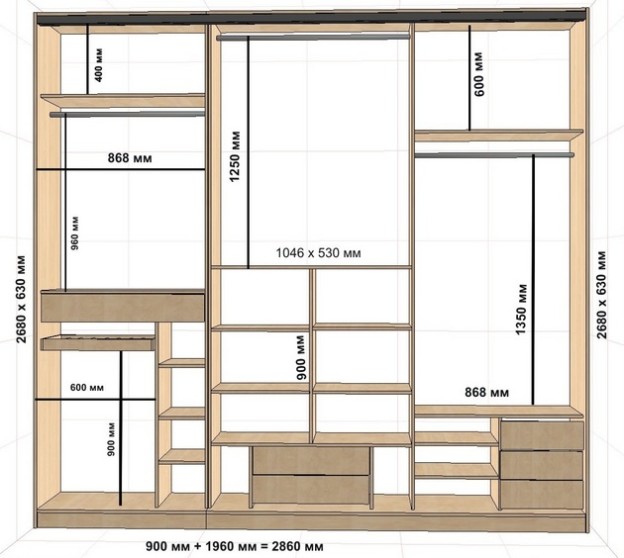
A good cabinet drawing implies sidewalls measuring 268x63 cm. The height of the upper shelves in this version is 40 and 60 cm. The upper middle section has dimensions of 104.6x53x125 cm. The width of the side sections second from the top is 86.8 cm. The width of the cabinet above and below is 286 cm; it is worth taking a closer look at two other schemes.
Helpful hints
It is necessary to work with chipboard very carefully - this material can crumble when fasteners are cut into it. The type of fasteners is selected taking into account the main structural material. The mirror can be hung using double-sided tape. Acrylic glue is also suitable for this purpose, moreover, its use makes it possible to exclude damage to the amalgam. It is permissible to apply the sealant both in dots and in stripes, but always retreating from the edge.
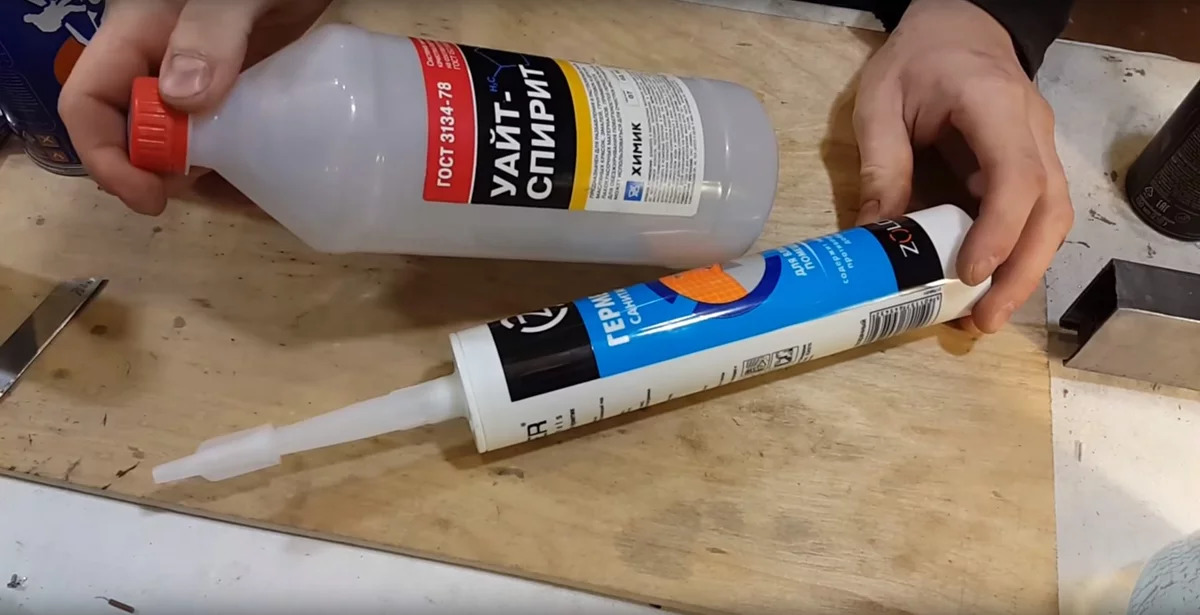
In some cases, mirrors are hung with colorless construction silicone. It is smeared in thin stripes across. Theoretically, hardware in the form of fixing paws is also acceptable. But the fact that they are visible can spoil the whole idea. If you need to use a screwdriver, you will definitely need the "asterisk" bits. Before starting work, you need to make sure that you have all the necessary set of tools and fasteners at hand.
Assemble the cabinet on a firm, clean and level surface. It is very important to provide excellent lighting.It is better to work with MDF with a hand tool. Electrical apparatus can split it. It is very important to control the diagonals during installation work and change them as needed.

It only makes sense to put under the ceiling built-in wardrobes. Other modifications should not reach it at least 15-20 cm. Shelves less than 55 cm deep are completely impractical. It is advisable to measure for installation at three points along all three axes. Only this approach guarantees the absence of unjustified errors.
Corner hallway made of wood in the video below.


