How to make an ottoman in the hallway with your own hands?
An ottoman in the hallway is not only a place where you can sit down to calmly put on or take off your shoes. Ottomans can be an interesting interior detail, and many of them also include additional storage space. But it so happens that you cannot find a model that suits you. Or its price does not suit you. The solution to this problem is simple and quite obvious - to make an ottoman yourself, with your own hands.


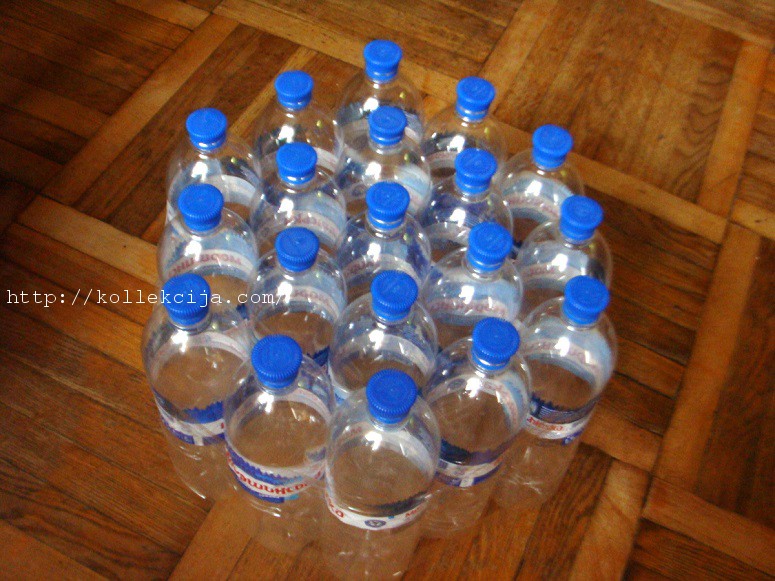
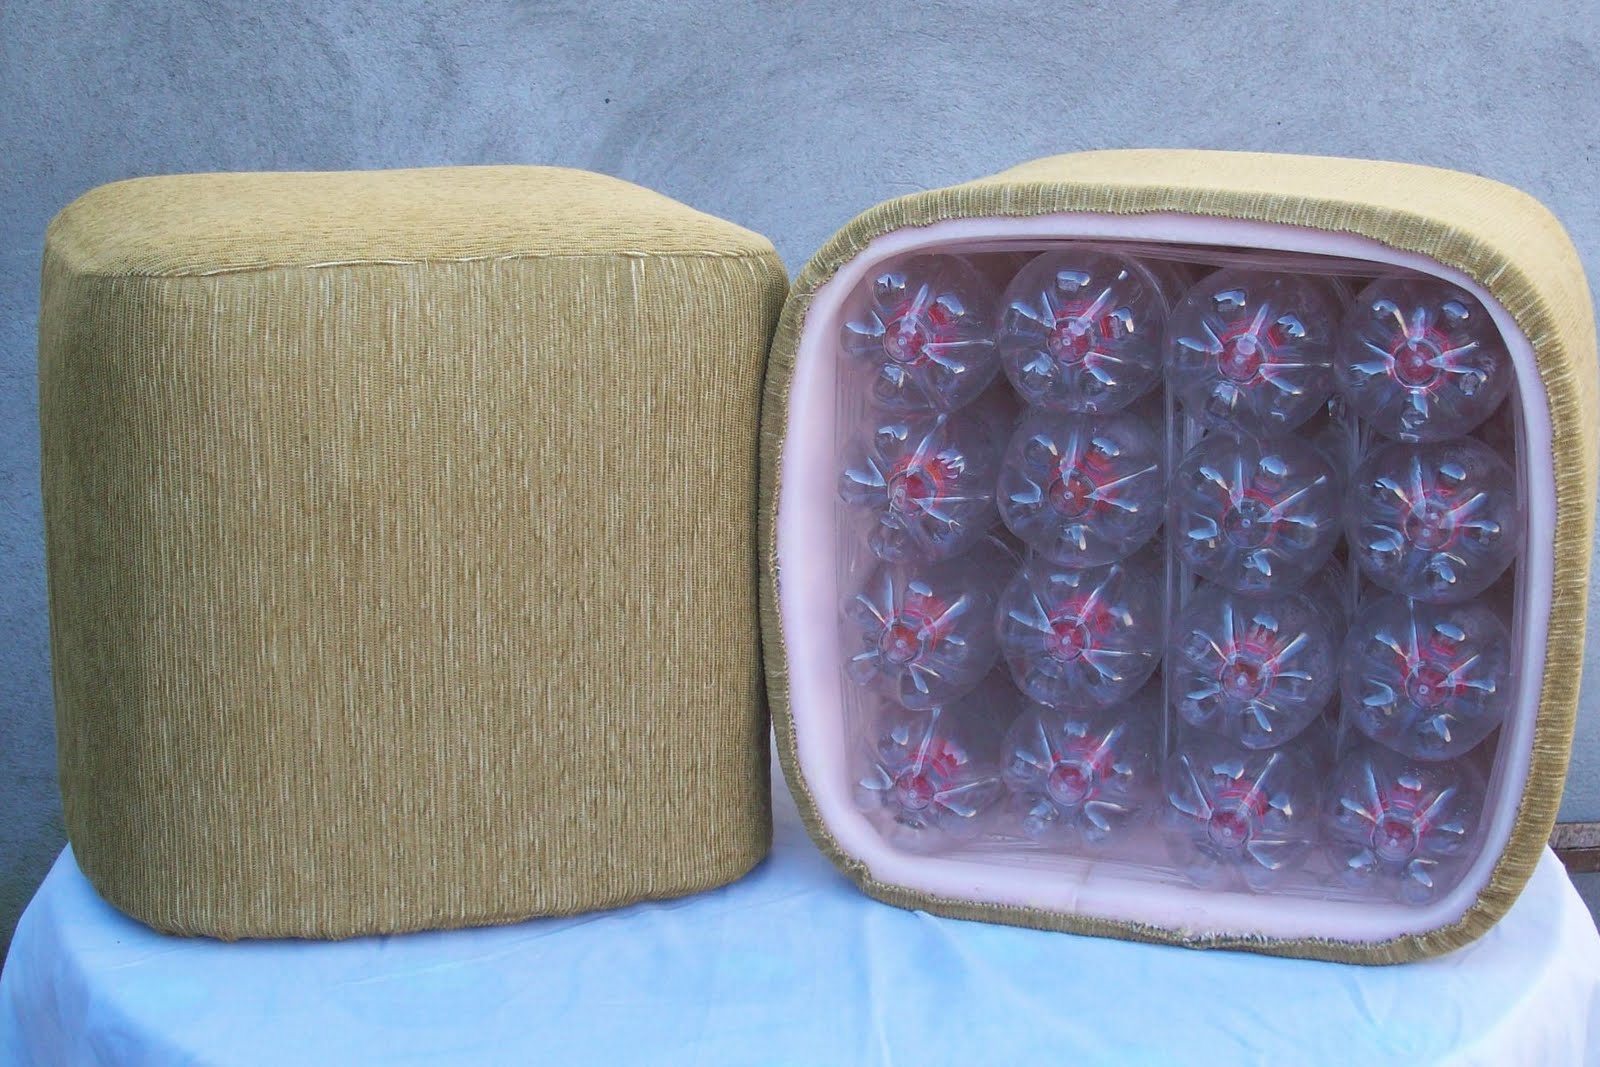
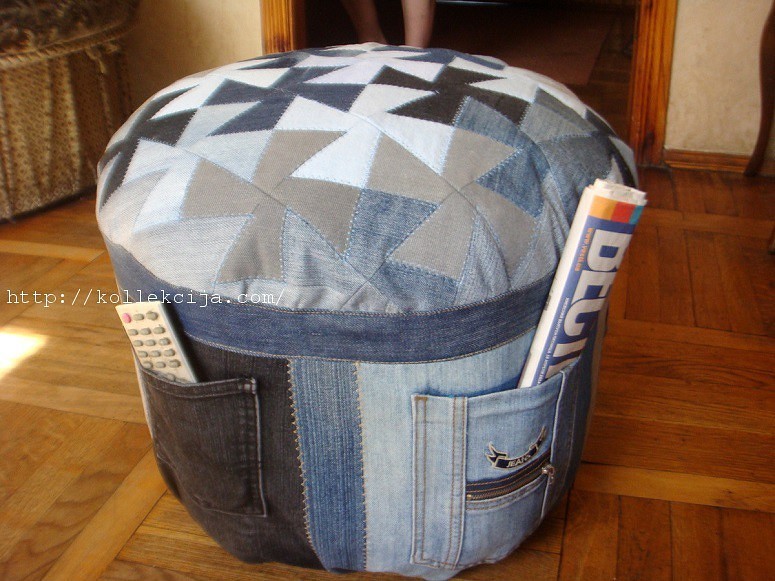
Manufacturing from plastic bottles
Workshops on making an ottoman from plastic bottles will help to make a light and round ottoman in the corridor at minimal cost.
Pros:
- light weight;
- minimum material costs;
- ease of work;
- ease of cleaning and the ability to change the upholstery at any time.
Minuses:
- time spent.
Materials:
- upholstery fabric;
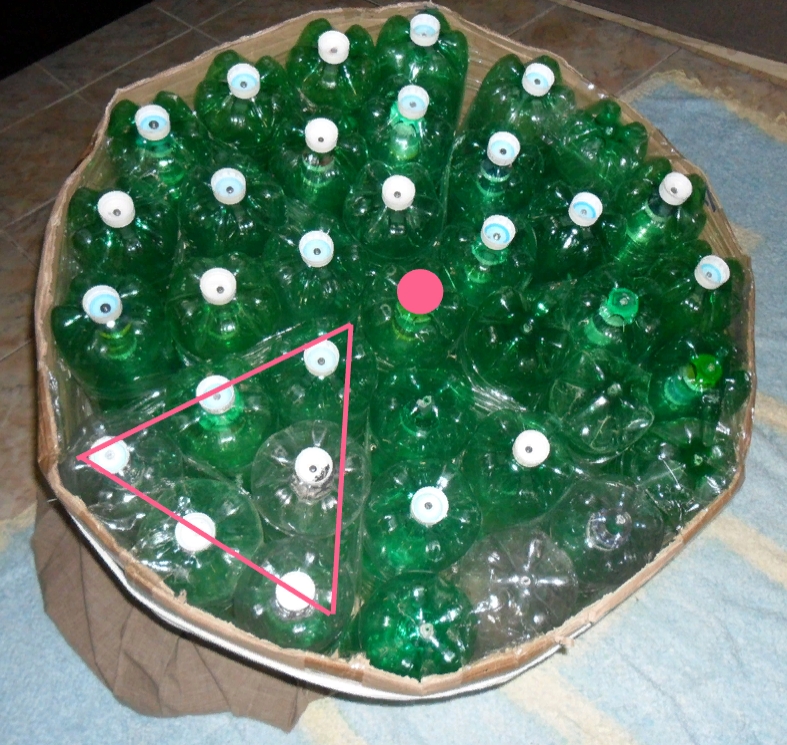
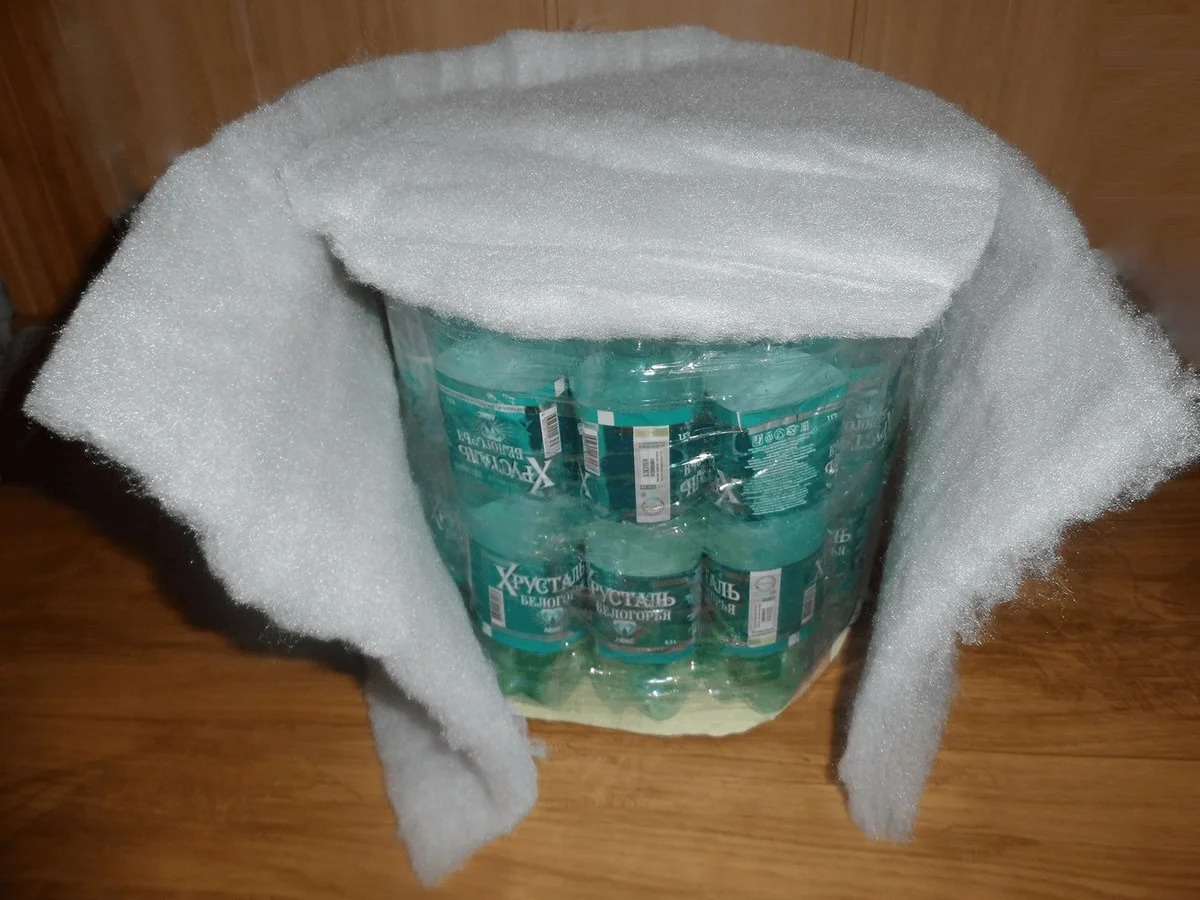
- about 20 plastic bottles;
- double-sided tape or glue gun;
- foam rubber;
- plywood or thick cardboard;
- construction stapler;
- sewing machine or thread with a needle.
The work progress is as follows.
- Choose the shape you need: the ottoman can be square, round or even triangular.
- When choosing a material, take a closer look at curly bottles: they are more convenient and more durable.
- Prepare bottles in advance, hold them near the battery, freeze or fill a third with sand. The bottles will become stiffer and more stable.
- If the ottoman is large, it is better to fasten the bottles in groups of 3.
- Connect the bottles with tape or a glue gun. You need to collect the ottoman from the center.
- Cut out the seat cover from thick cardboard or plywood.
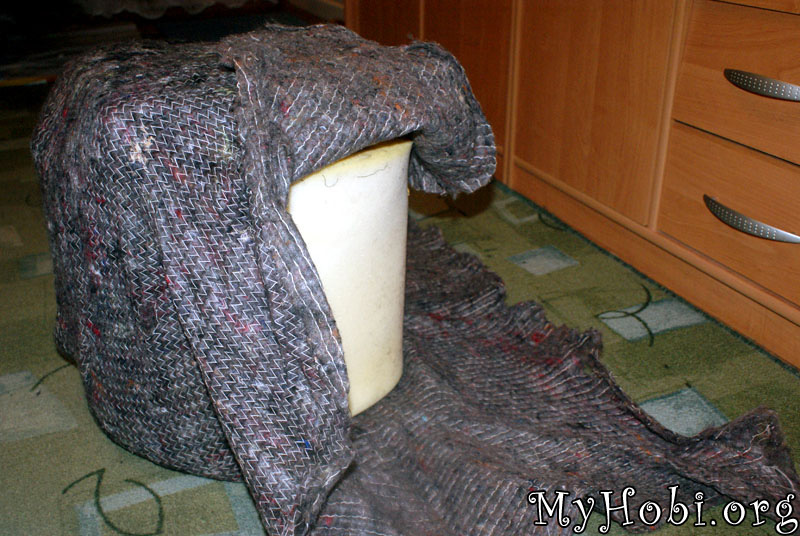
- Wrap the structure with foam rubber.
- Make a pattern of the cover to fit your design. When choosing a fabric, make sure it is a non-staining material that will not wipe quickly. The ideal option is upholstery fabric or raincoat fabric.

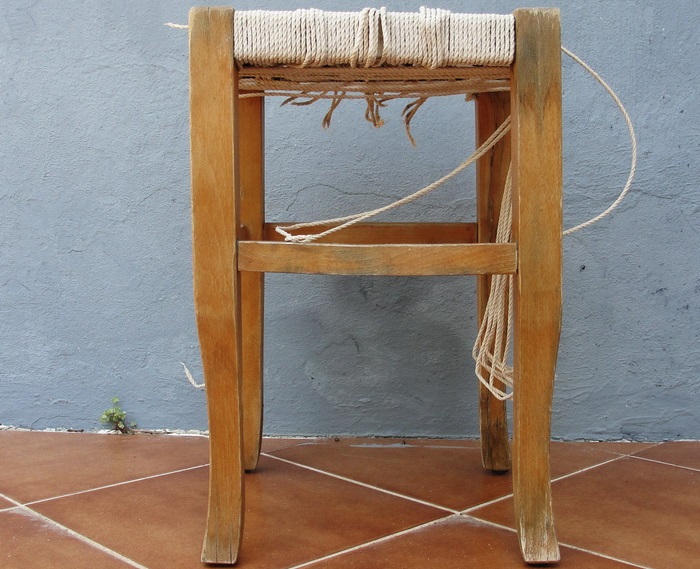
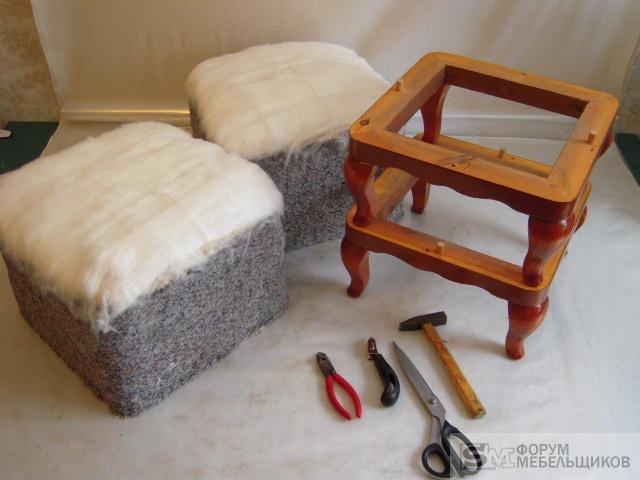
How to make from an old stool?
Creating an ottoman from an old stool is one of the easiest ways, because we already have a ready-made base with a shape and a seat. On this "skeleton" we will collect the ottoman.
Materials:
- stool;
- chipboard sheet;
- fabric for upholstery, always with a margin;
- furniture stapler;
- foam rubber or synthetic winterizer;
- building level;
- hacksaw;
- Velcro tape;
- self-tapping screws;
- screwdriver;
- decor elements and accessories.
Now let's look at the progress of the work.
- We shorten the legs of the stool to the required length. We use the building level so that our ottoman "stands firmly on its feet."
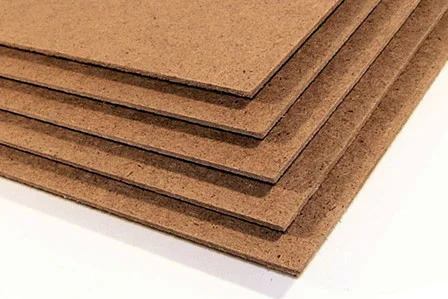
- We cut out the walls from the chipboard. Chipboard can be replaced with thick cardboard.
- We fix the walls with self-tapping screws.
- We make the bottom of the ottoman in the same way.
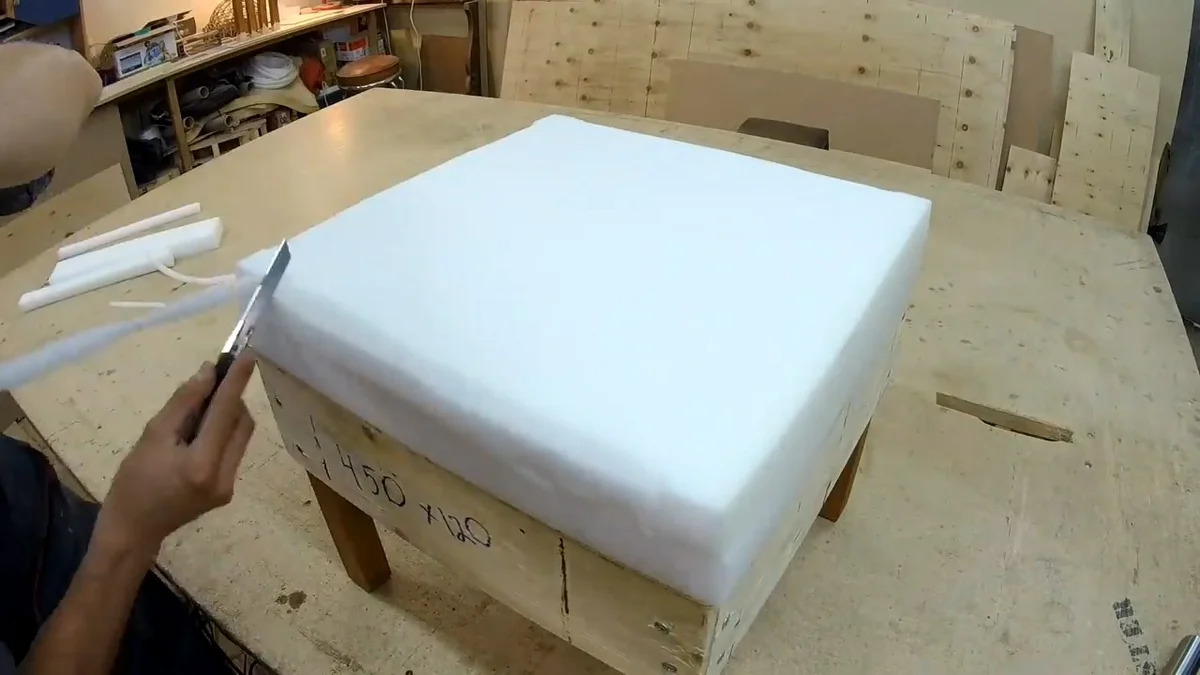
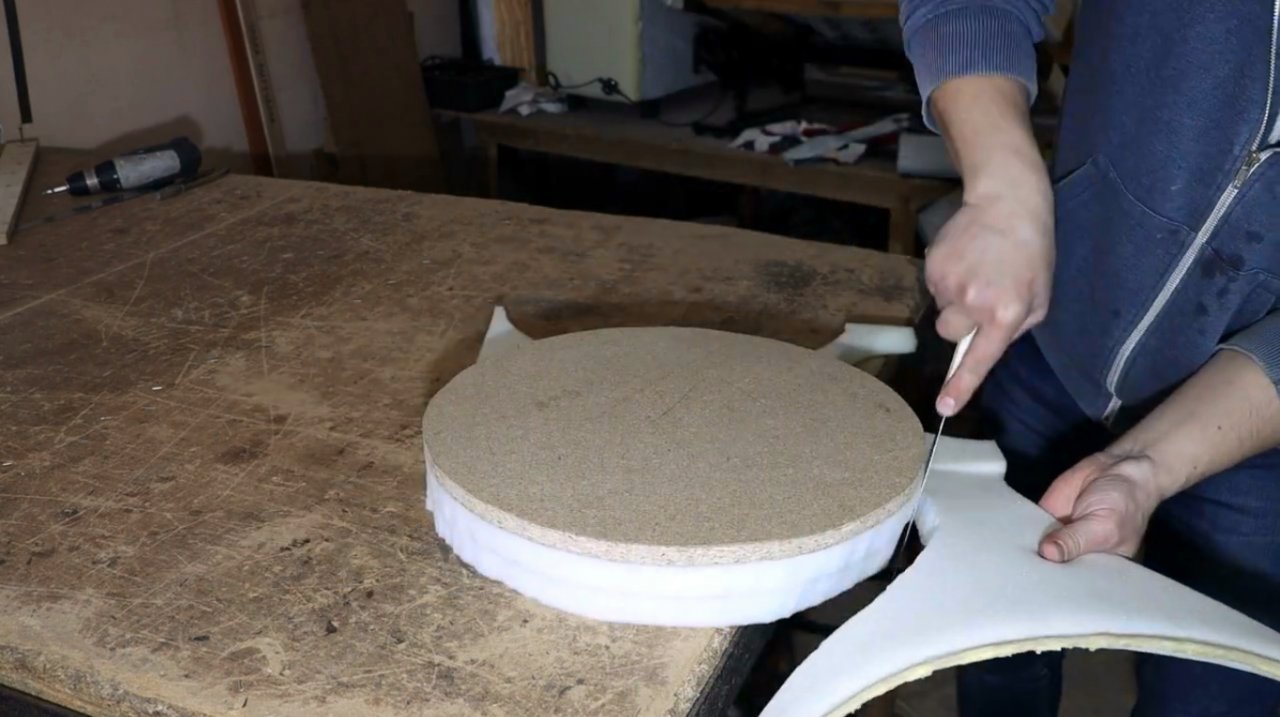
- To make the seat soft, cut out a part slightly larger than the seat itself from the foam rubber. The allowance is 6 cm.
- If you want storage space in the ottoman, cut off the seat. Later you can fasten it to the loops or sew on loops and buttons.
- We wrap the base with filler, after going over it with glue. To prevent the foam from climbing on all sides, you can fix it with slats.

The rest is up to you: the cover can be made removable or attached with a stapler. To soften the shape of the ottoman, make the cover in the form of a knitted bag. The interior, if a box is supposed to be in the pouf, can be decorated with the same fabric as the main area of the product, but no one forbids taking a contrasting or patterned one.
Recesses from staples, studs or screws are well hidden by large buttons.
This option for creating an ottoman looks the most simple. But this is by no means the only way.
Homemade pouf made of plywood
For the following options, it will be a good idea to create blueprints based on any of the ones you like. Make them yourself, giving the ottoman the shape that is right for you.
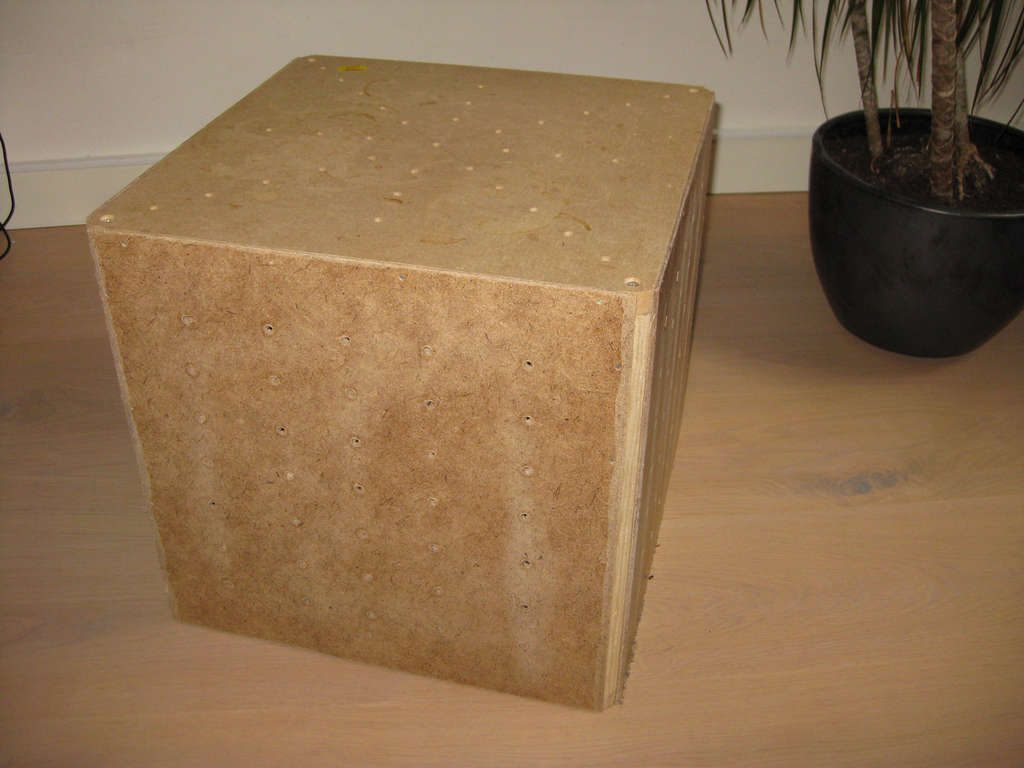
Making an ottoman out of plywood is the most time consuming option, but it also opens up the widest scope for the embodiment of your ideas.
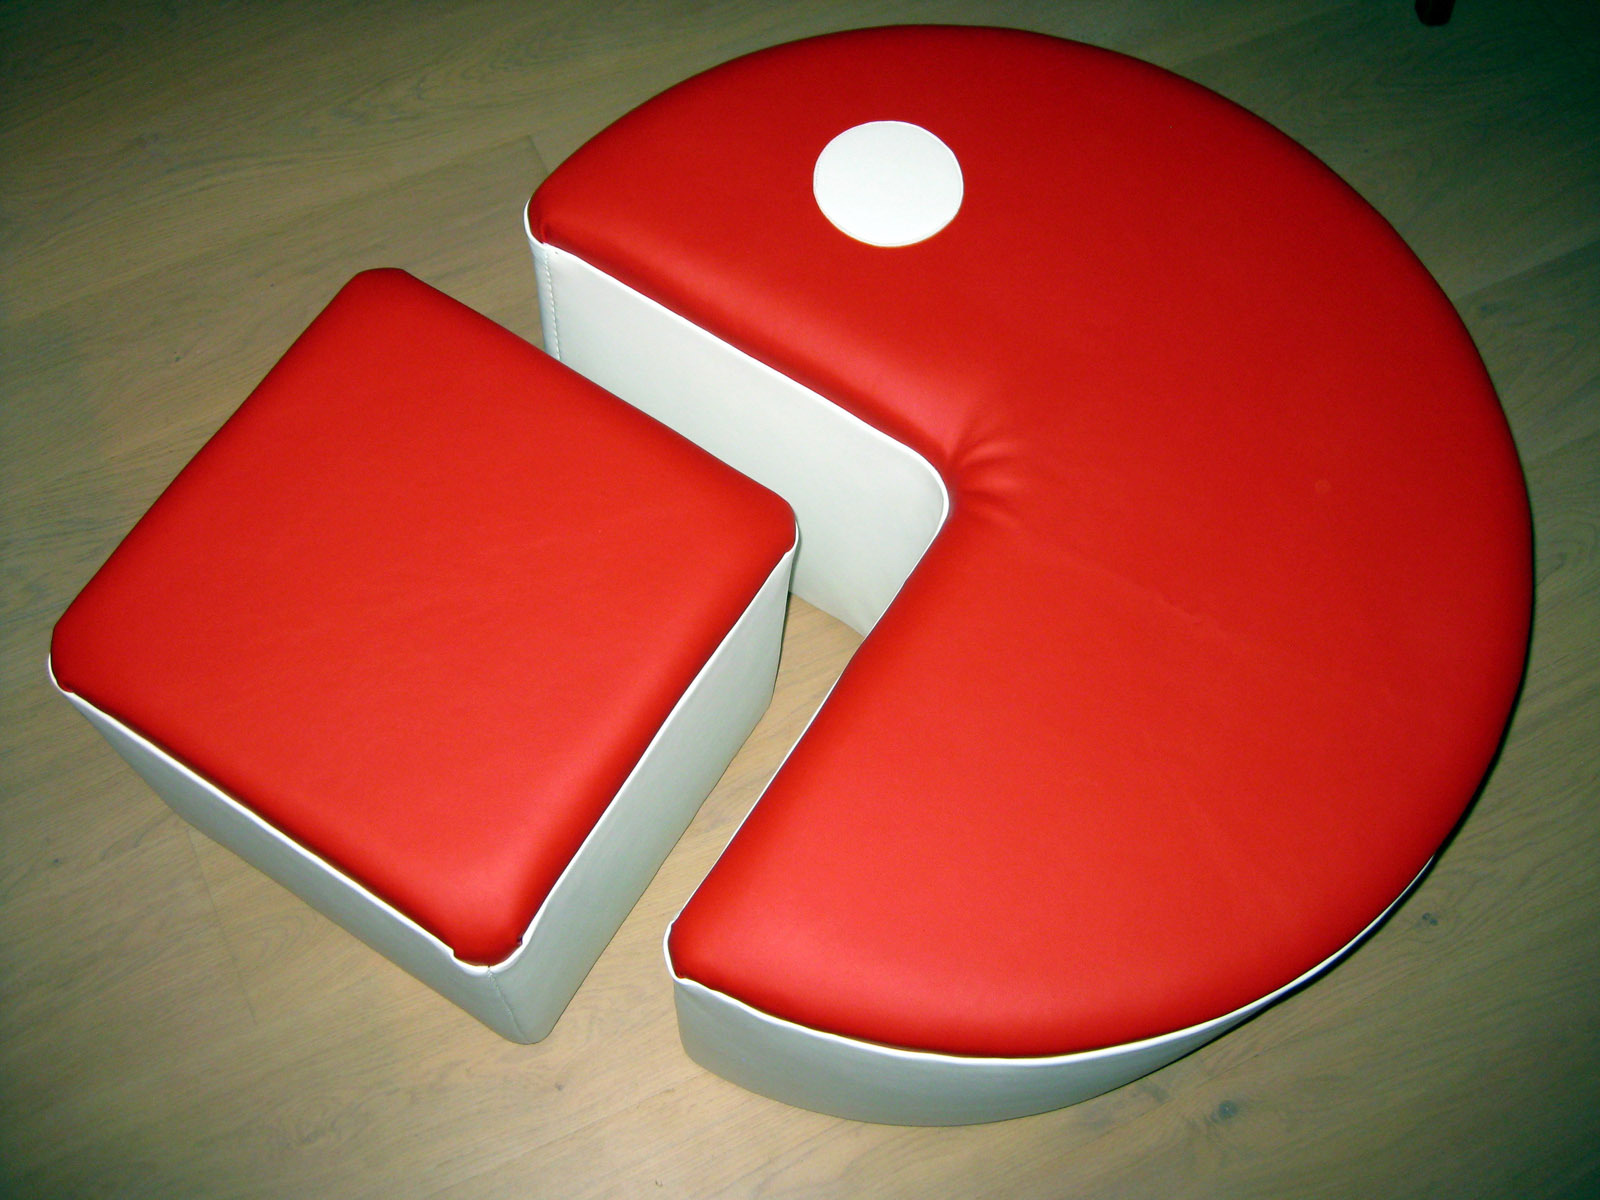
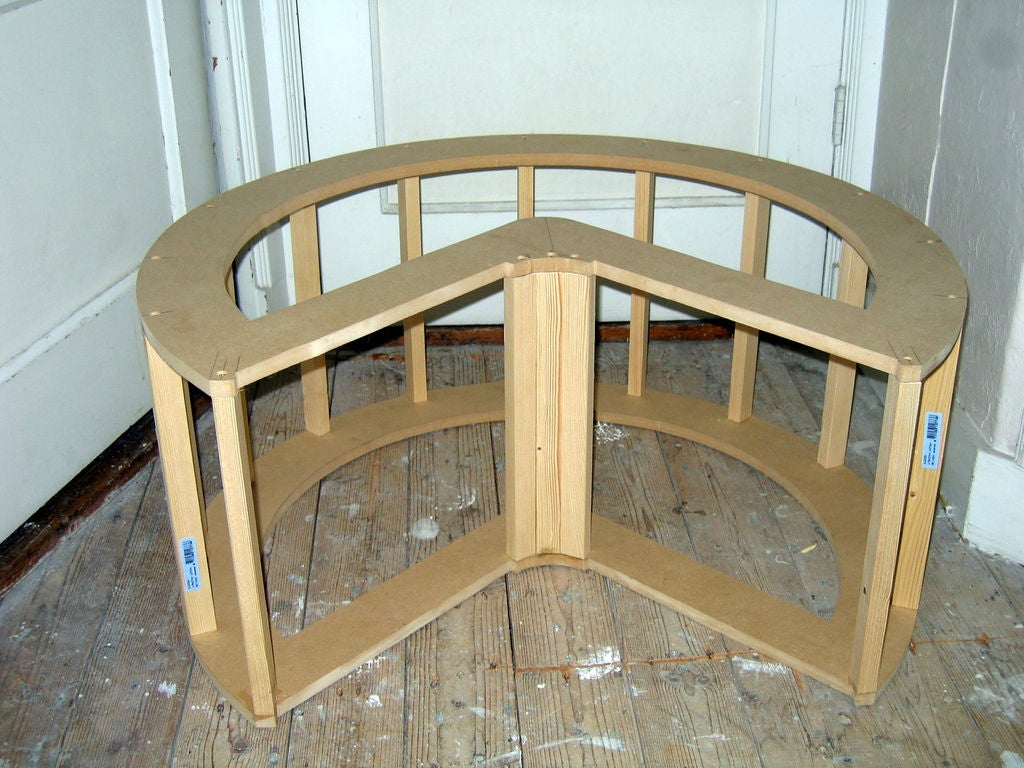
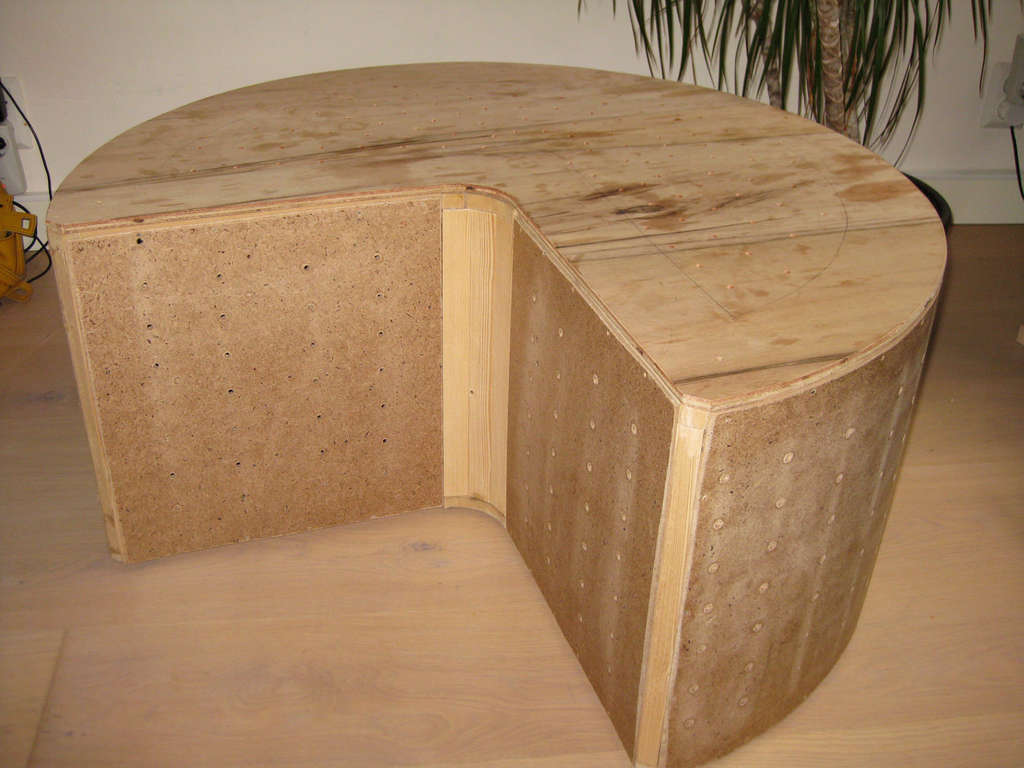
In the form of Pac-Man
Here is an example of an ottoman that will delight retro game lovers. After all, he will be in the form of the well-known Pac-Man.
Materials:
- MDF;
- plywood;
- timber;
- cardboard;
- upholstery fabric in 2 colors;
- foam rubber;
- drill;
- jigsaw;
- construction stapler;
- consumables for the tool;
- hardware;
- construction knife;
- glue;
- sandpaper;
- pencil or marker for marking.

Step by step execution:
- determine the size of the product based on your needs and free space;
- draw a curve on a sheet of plywood, step back about 7 cm from it and draw another one;
- mark the points of attachment of the supports;
- cut out 2 squares: the bottom and the lid;
- in the corners, attach the racks to the glue and screws;
- install the sidewalls;
- make holes on the sides;
- sand the surface;
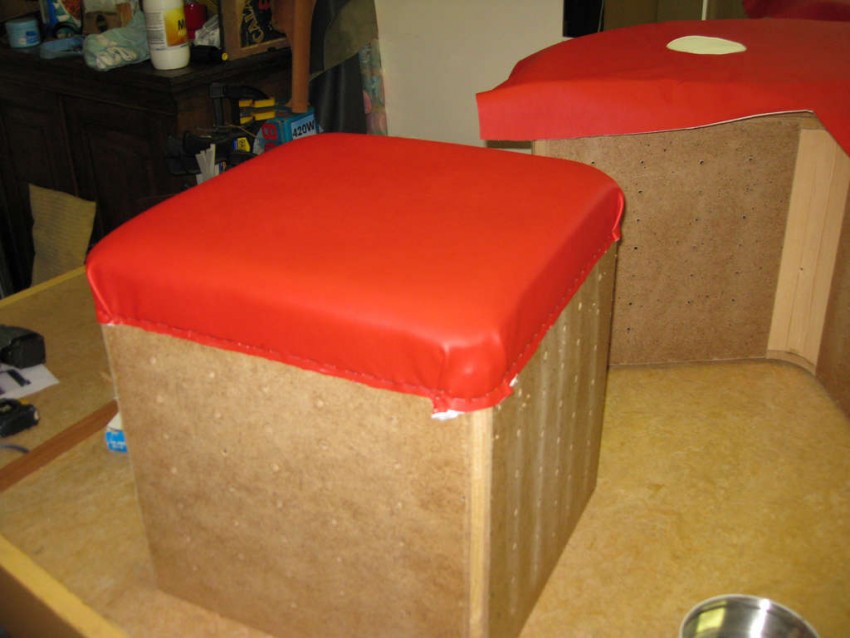
- on the surface of the cover, sew a circle in a contrasting color for the upholstery in the place where Pac-Man will have an eye;
- glue the foam rubber on the upper edge;
- cover the surface with wood glue, fix the foam rubber after 10-20 minutes;
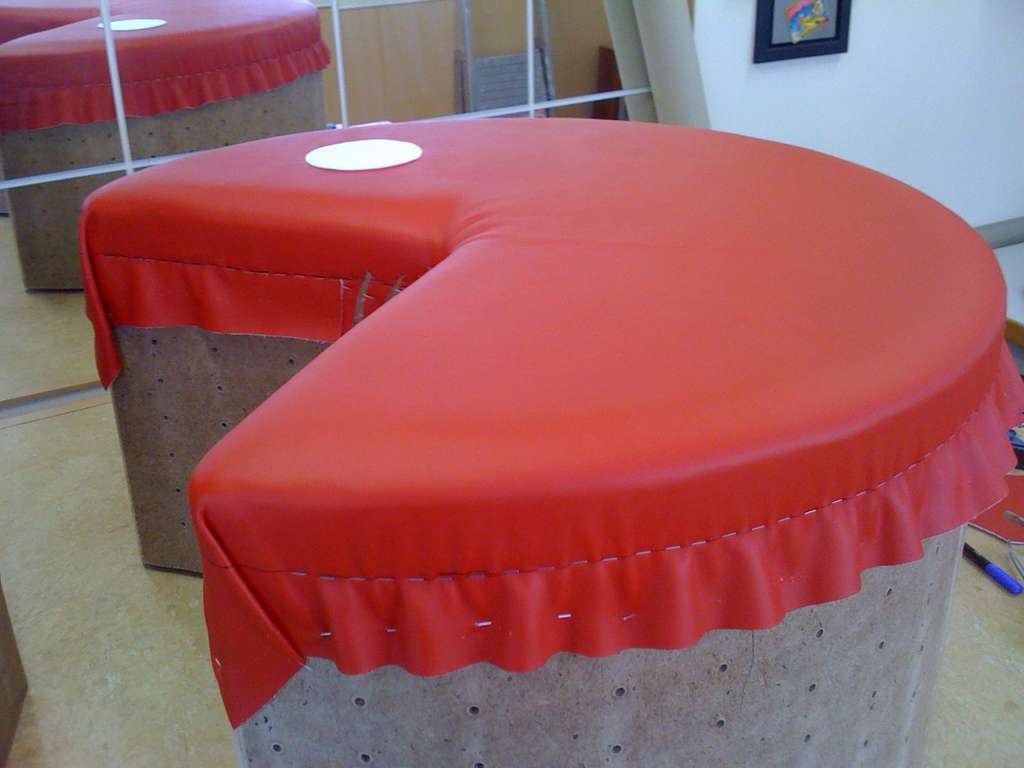
- cover the top with a cloth and secure it with a stapler;
- tuck the fabric and cut off any excess;
- tighten the sidewalls;
- so that the racks are not so angular, fasten strips of fabric along them;
- fasten the fabric on the sides;
- cover the entire pouf with a cover and secure the fabric from below with a stapler, and from above with strips of cardboard;
- Pac-Man's mouth can be contrasted.

If this option seems overly complicated to you, try starting with a simpler cylindrical model.
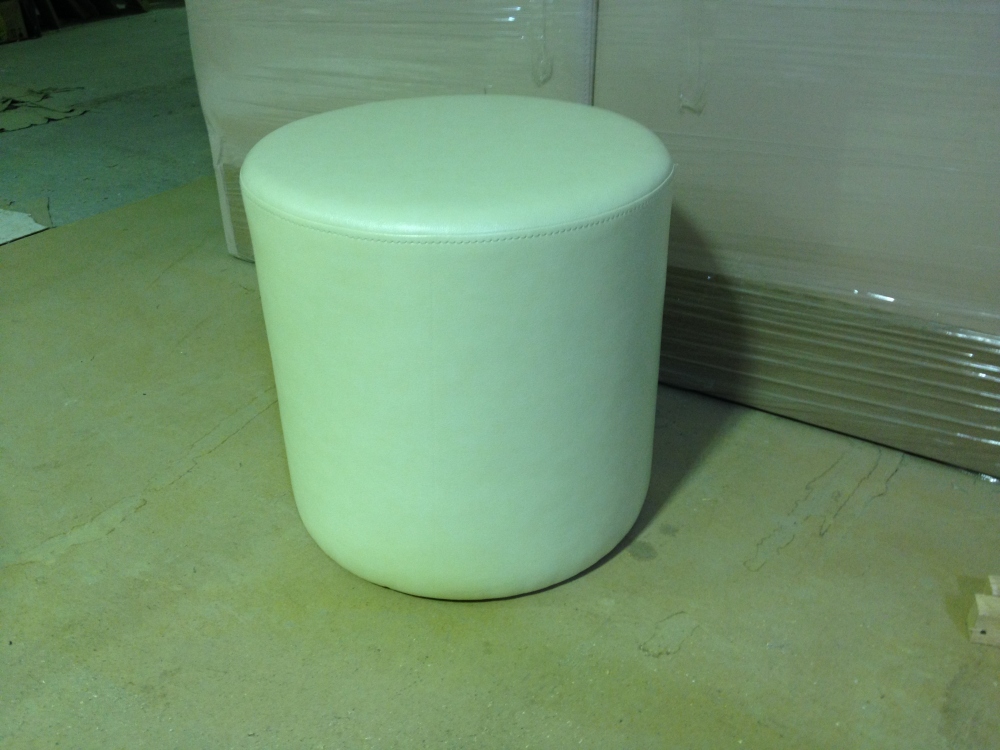
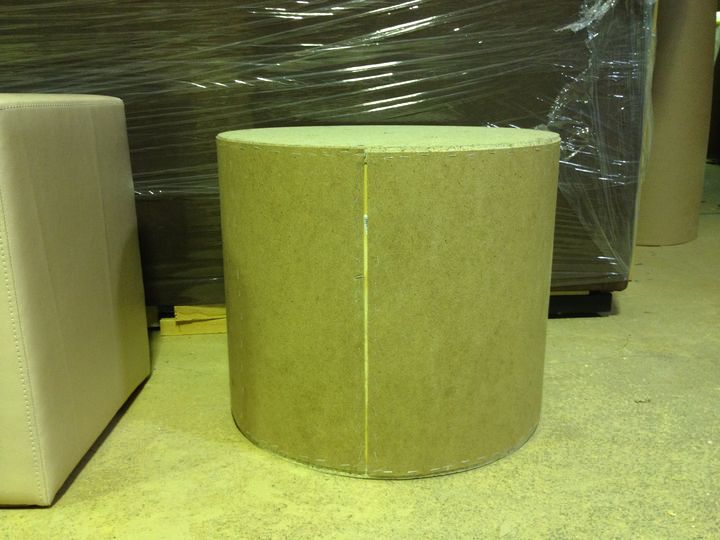
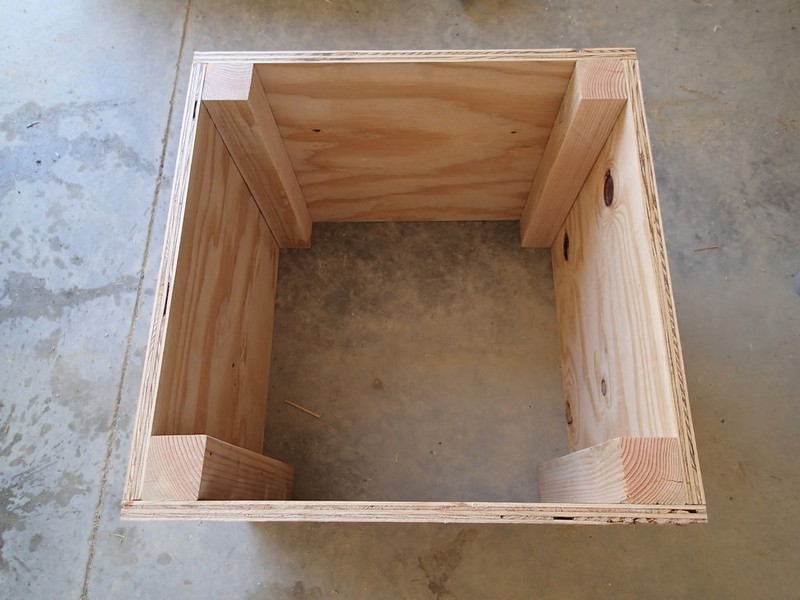
Cylinder
Materials:
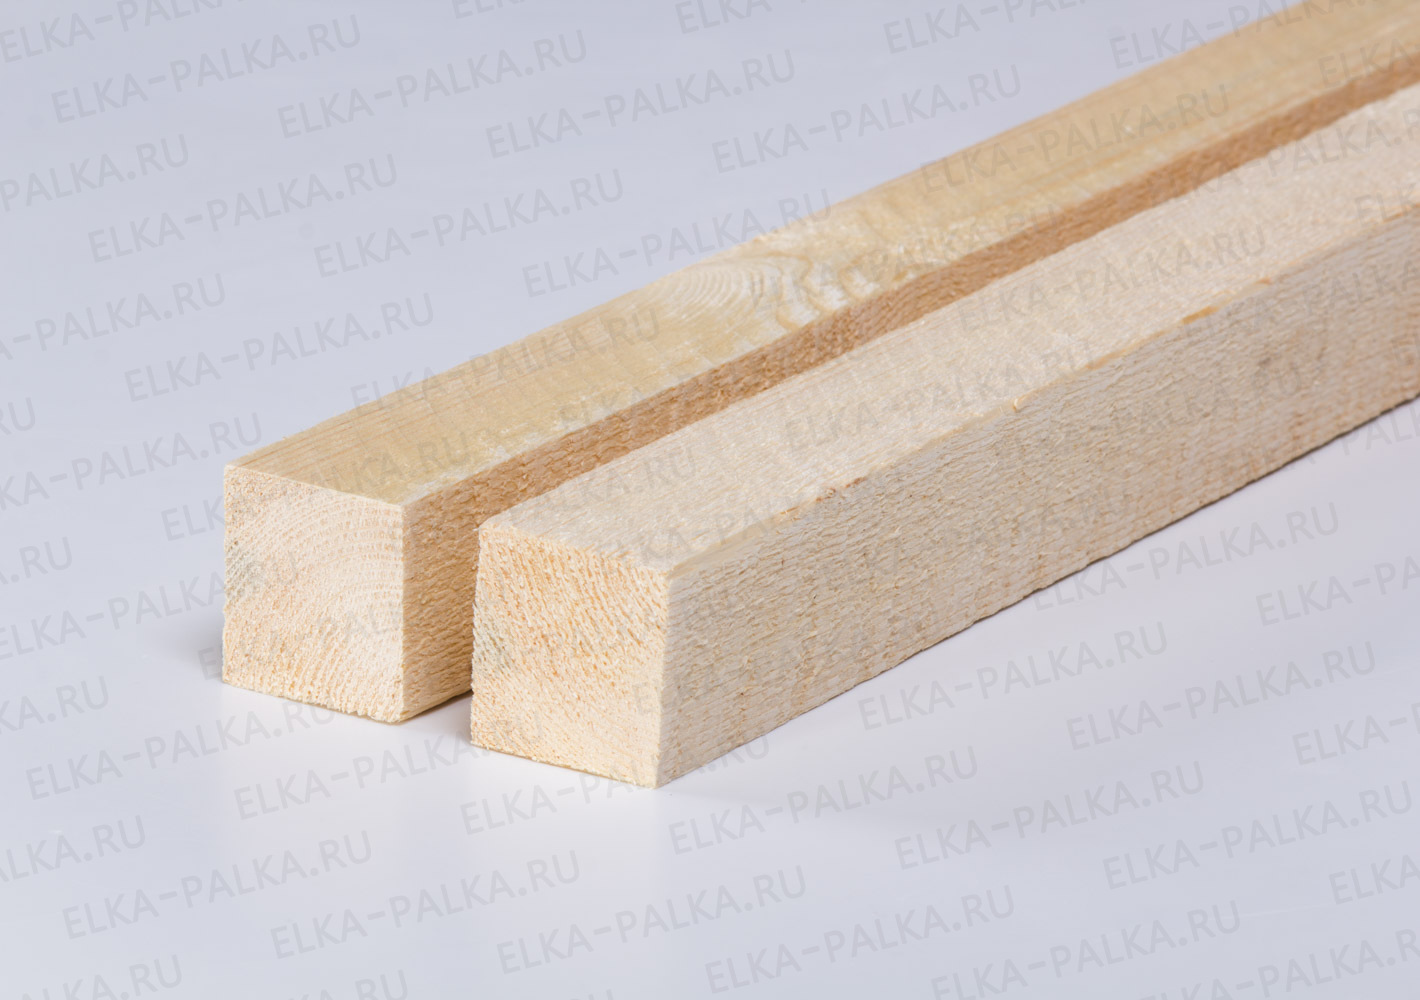
- plywood sheets with a thickness of 12-16 mm and 2-3 mm;
- about 10 bars 40 by 40;
- foam rubber 40 mm;
- upholstery fabric;
- electric jigsaw;
- screwdriver;
- drill;
- construction stapler;
- hexagon;
- ruler 1 m;
- construction tape;
- square;
- calipers;
- self-tapping screws 35 mm;
- confirmations 50-70 mm;
- drills for 3 mm and 5.5 mm;
- wood crown 64 mm;
- foam glue;
- furniture wheels.
The work progress is as follows.
- Soak the plywood for 2 hours.
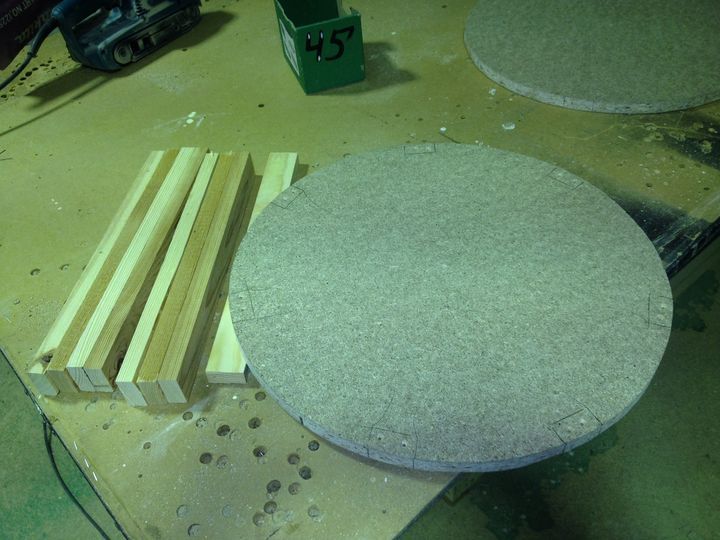
- Cut 2 circles out of plywood. Diameter - 36 cm.
- We cut out a similar circle from foam rubber.
- We cut the bars according to the size of the circles.
- Using a caliper, determine the center on plywood and bars, mark it.
- We drill holes in the bars and plywood.
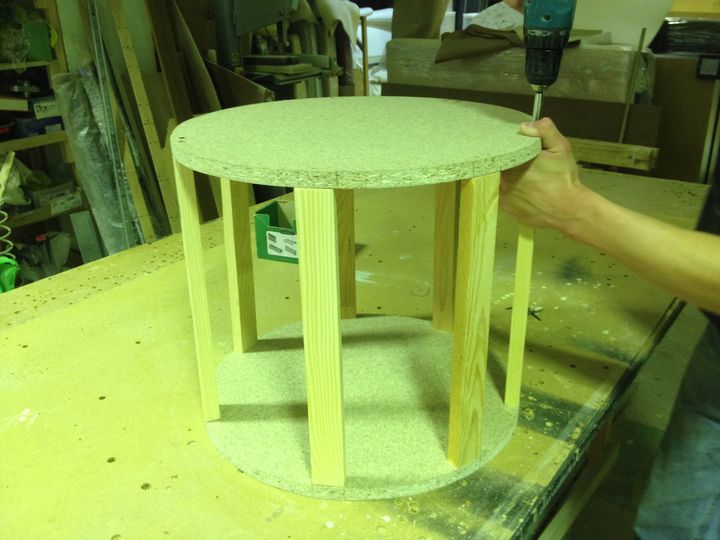
- We connect the parts, fasten them with confirmations.
- We cut a rectangle out of plywood along the height of the resulting "skeleton". We fix this wall to the frame.
- We attach thin plywood around the perimeter of the future ottoman.
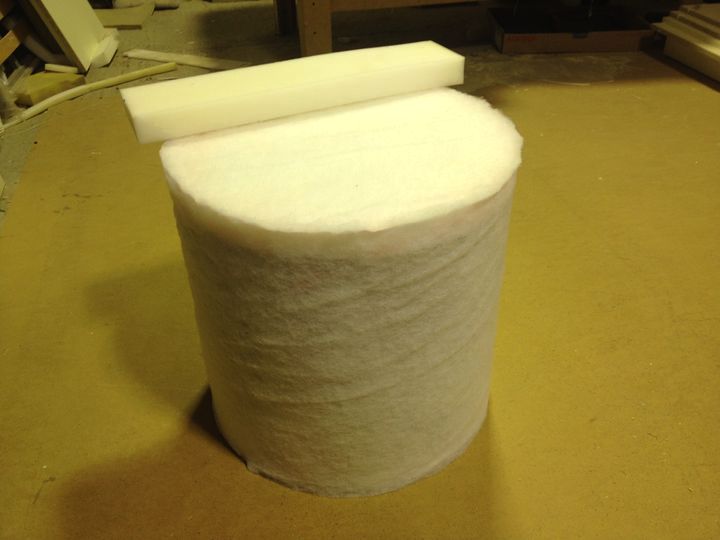
- We glue the foam blank on the seat. We glue foam rubber on the side edges.
- Based on the details of our pouf, we make patterns for the cover. We sew a cover.
- We attach the cover to the frame using a furniture stapler. We begin to fasten from the base. Make sure that the fabric lies flat and is not overtightened.
- We make bases for legs or wheels with a crown. We fix them.
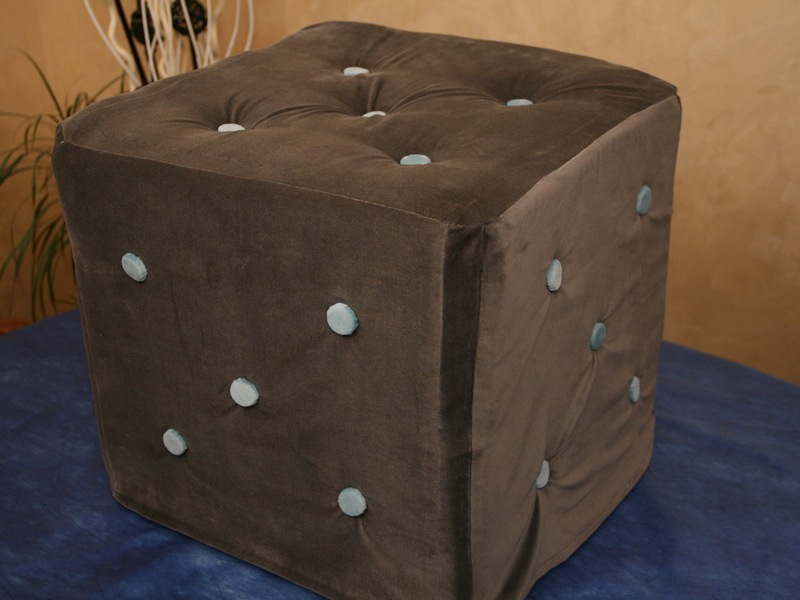
Square
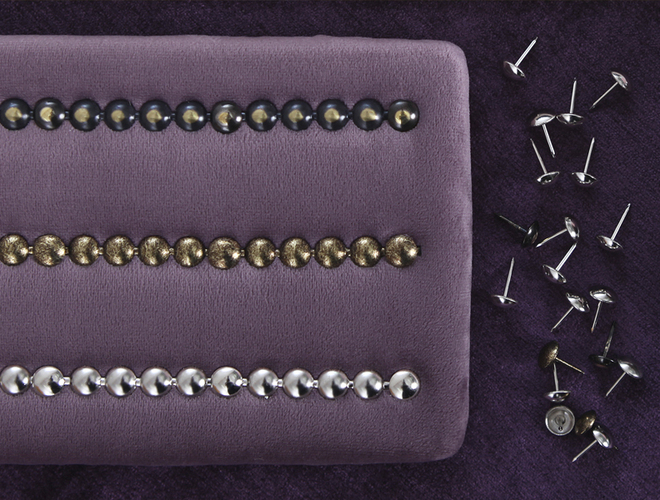
Another option is a square ottoman with finishing decorative studs.
Materials:
- plywood 45 by 55 mm;
- foam rubber;
- upholstery fabric (vinyl is ideal for this model);
- construction stapler;
- screwdriver;
- mounting angles;
- self-tapping screws;
- decorative carnations with a semicircular hat.
Consider the step-by-step progress of work.
- Choosing a template for a suitable drawing.
- We print the template on A4 sheet.
- Cut out the details from plywood. Their corners should be cut at an angle of 45 degrees for ease of attachment.
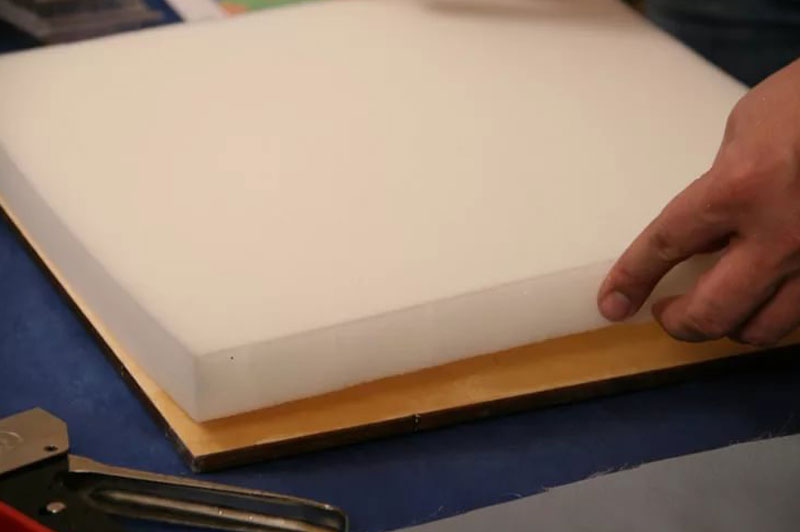
- We cut blanks for upholstery from vinyl. We make a margin of 2-3 mm on all sides.
- We attach the foam rubber to the plywood, then apply the upholstery. We nail the upholstery to those ends that are cut at an angle.
- We cut off all unnecessary things.
- We fasten the parts with building corners. Be careful when choosing screws. Don't overshoot with the length.
- We transfer the drawing from paper to an ottoman.
- We nail the carnations. The distance between them should not be too large or too small.And don't hit the head of the nail itself. Finishing studs have a soft feel and can deform.
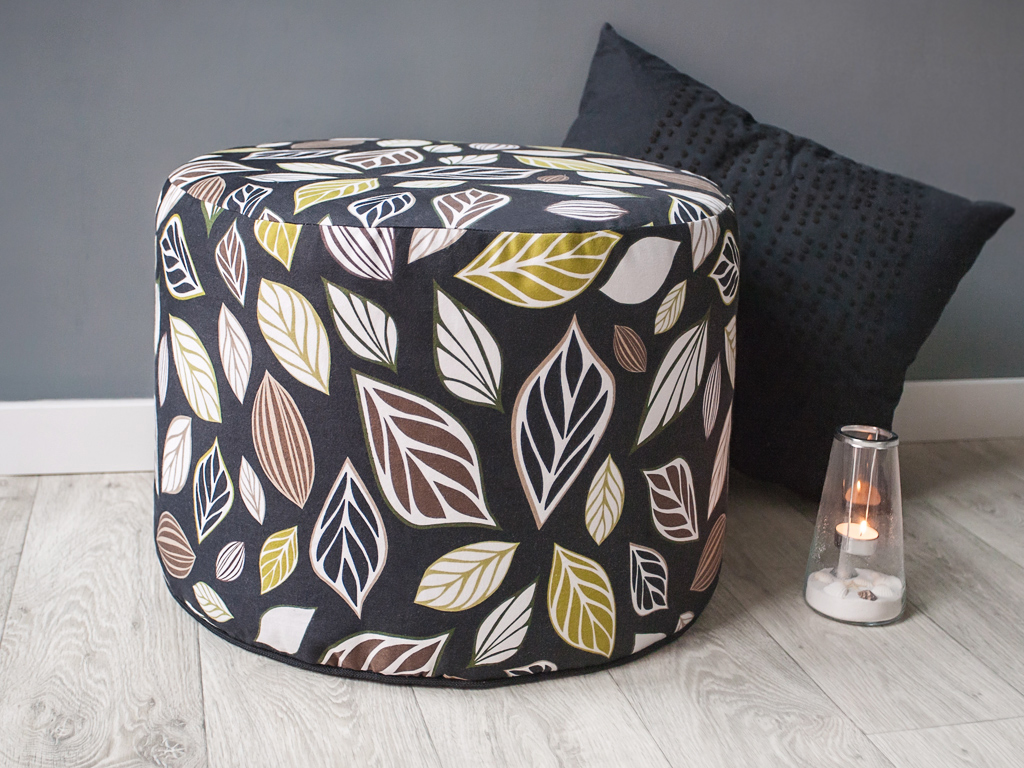
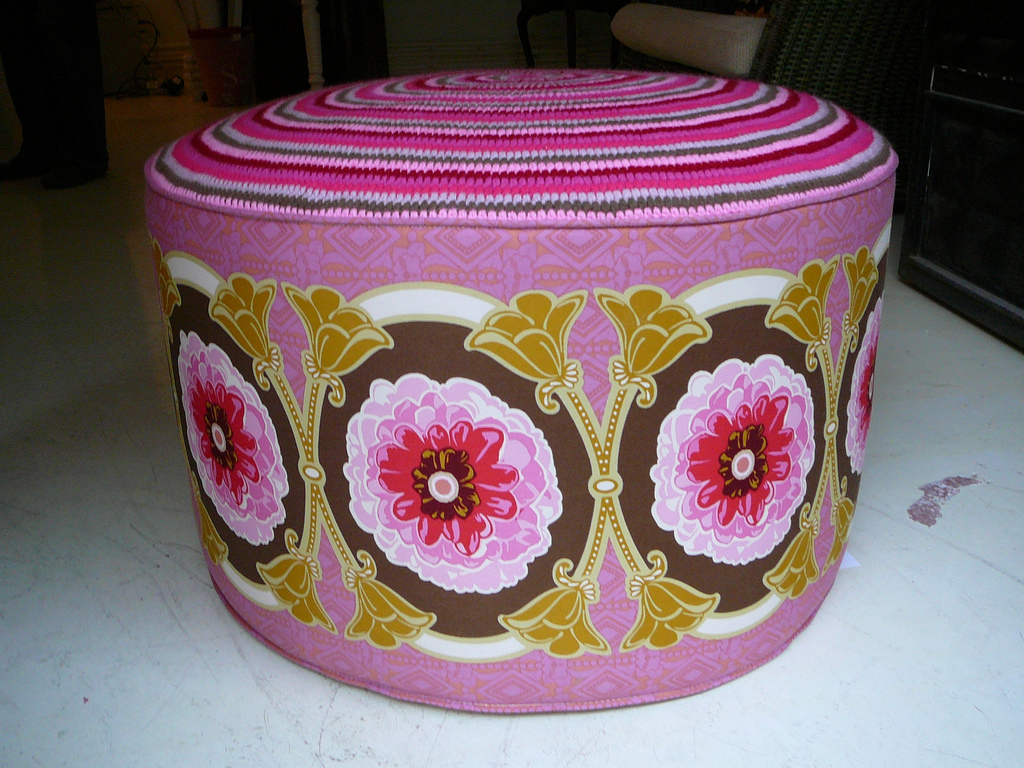
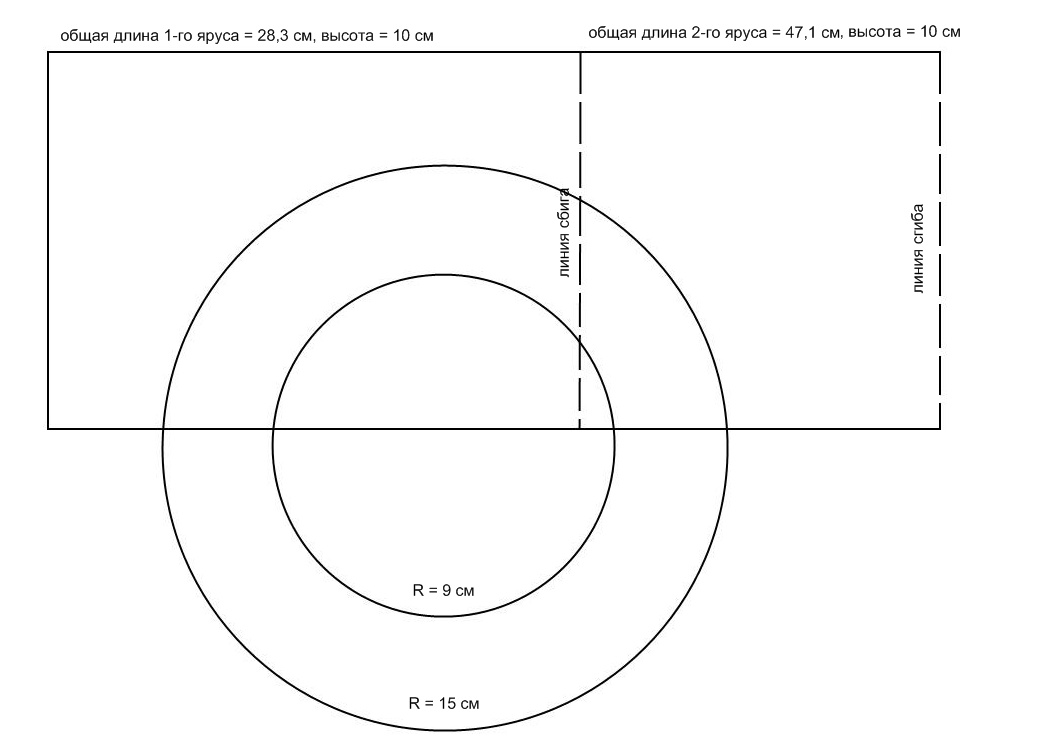
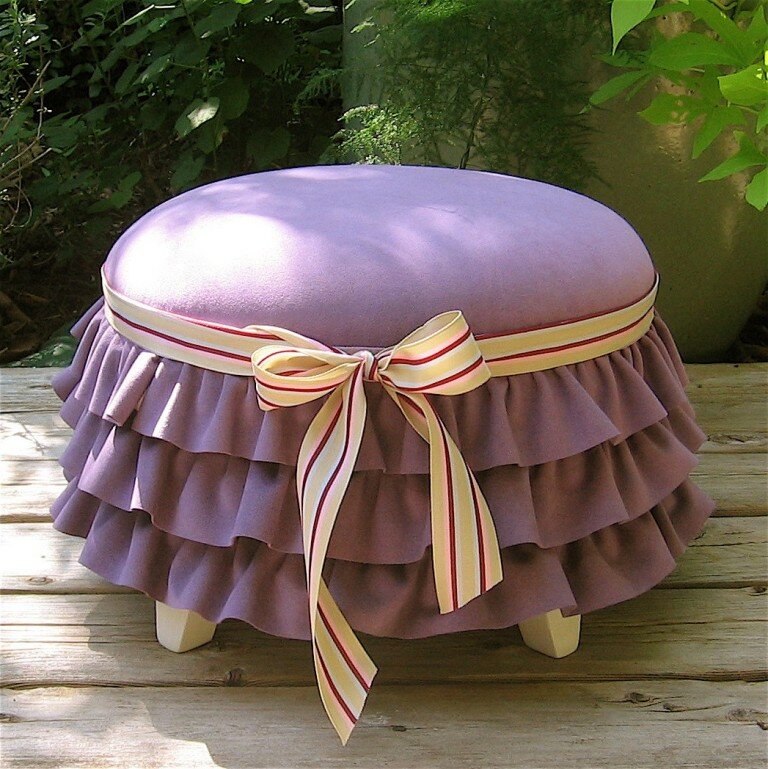
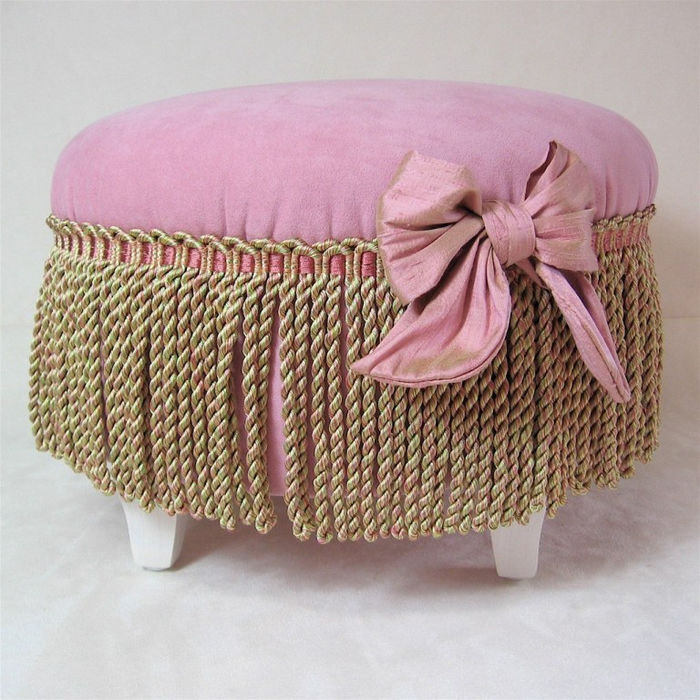
In conclusion, we will give an example of how to make a cover for a round ottoman with your own hands.
Materials:
- main fabric;
- the fabric from which the decor elements will be made (think over their combination well);
- elastic;
- threads.

The work on the cover looks like this:
- make a pattern to fit your ottoman;
- cut out the parts with a margin of 2-3 mm, try them on directly to the ottoman;
- pockets will be made from the second type of fabric, their size and number depend solely on you;
- carve out pockets;
- turn the upper part about 3 mm;
- sew pockets, insert elastic;
- Gather up the pockets, and then sew the elastic;
- sew pockets to the side of the ottoman;
- sew the cover on the sides, sew on the top;
- pull the cover over the pouf, smooth out the seams.
The ottoman décor is not at all limited to studs and pockets. You can use fabric paints, beads, sequins, brushes. The decor from burlap or rope will look interesting. The shape of the ottoman can also be different. It can be more elongated, or it can look baggy.
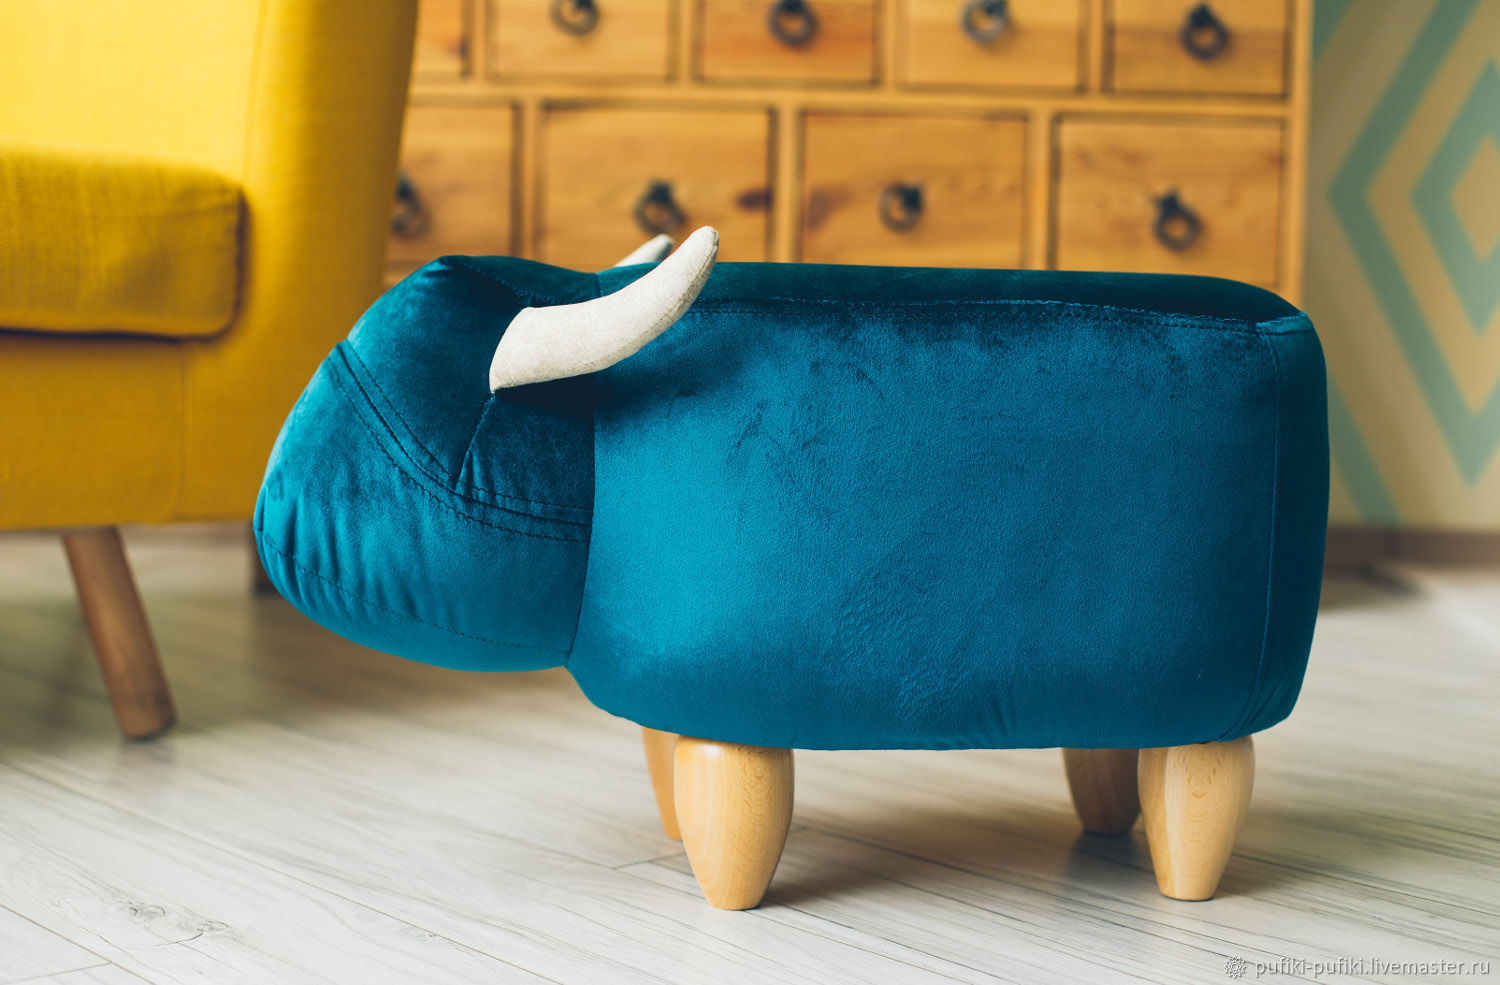
If there are children in the house, ottomans that look like animal faces on top would be a good option.
Making your own furniture is a laborious process. It may not work the first time. But if you carefully follow the instructions and diligent work, you will receive a piece of furniture that suits exactly your desires. Nobody but you will have such a pouf, since even 2 products made according to the same scheme will not be completely identical.
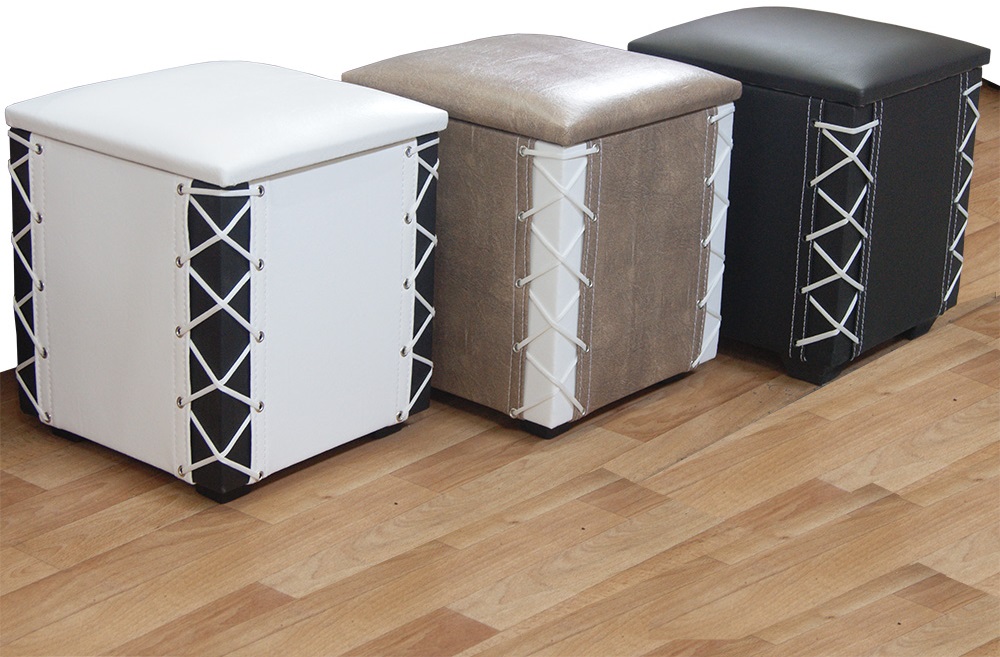
Next, see a master class on making a do-it-yourself ottoman with a carriage coupler.


