Plasterboard ceiling in the hallway
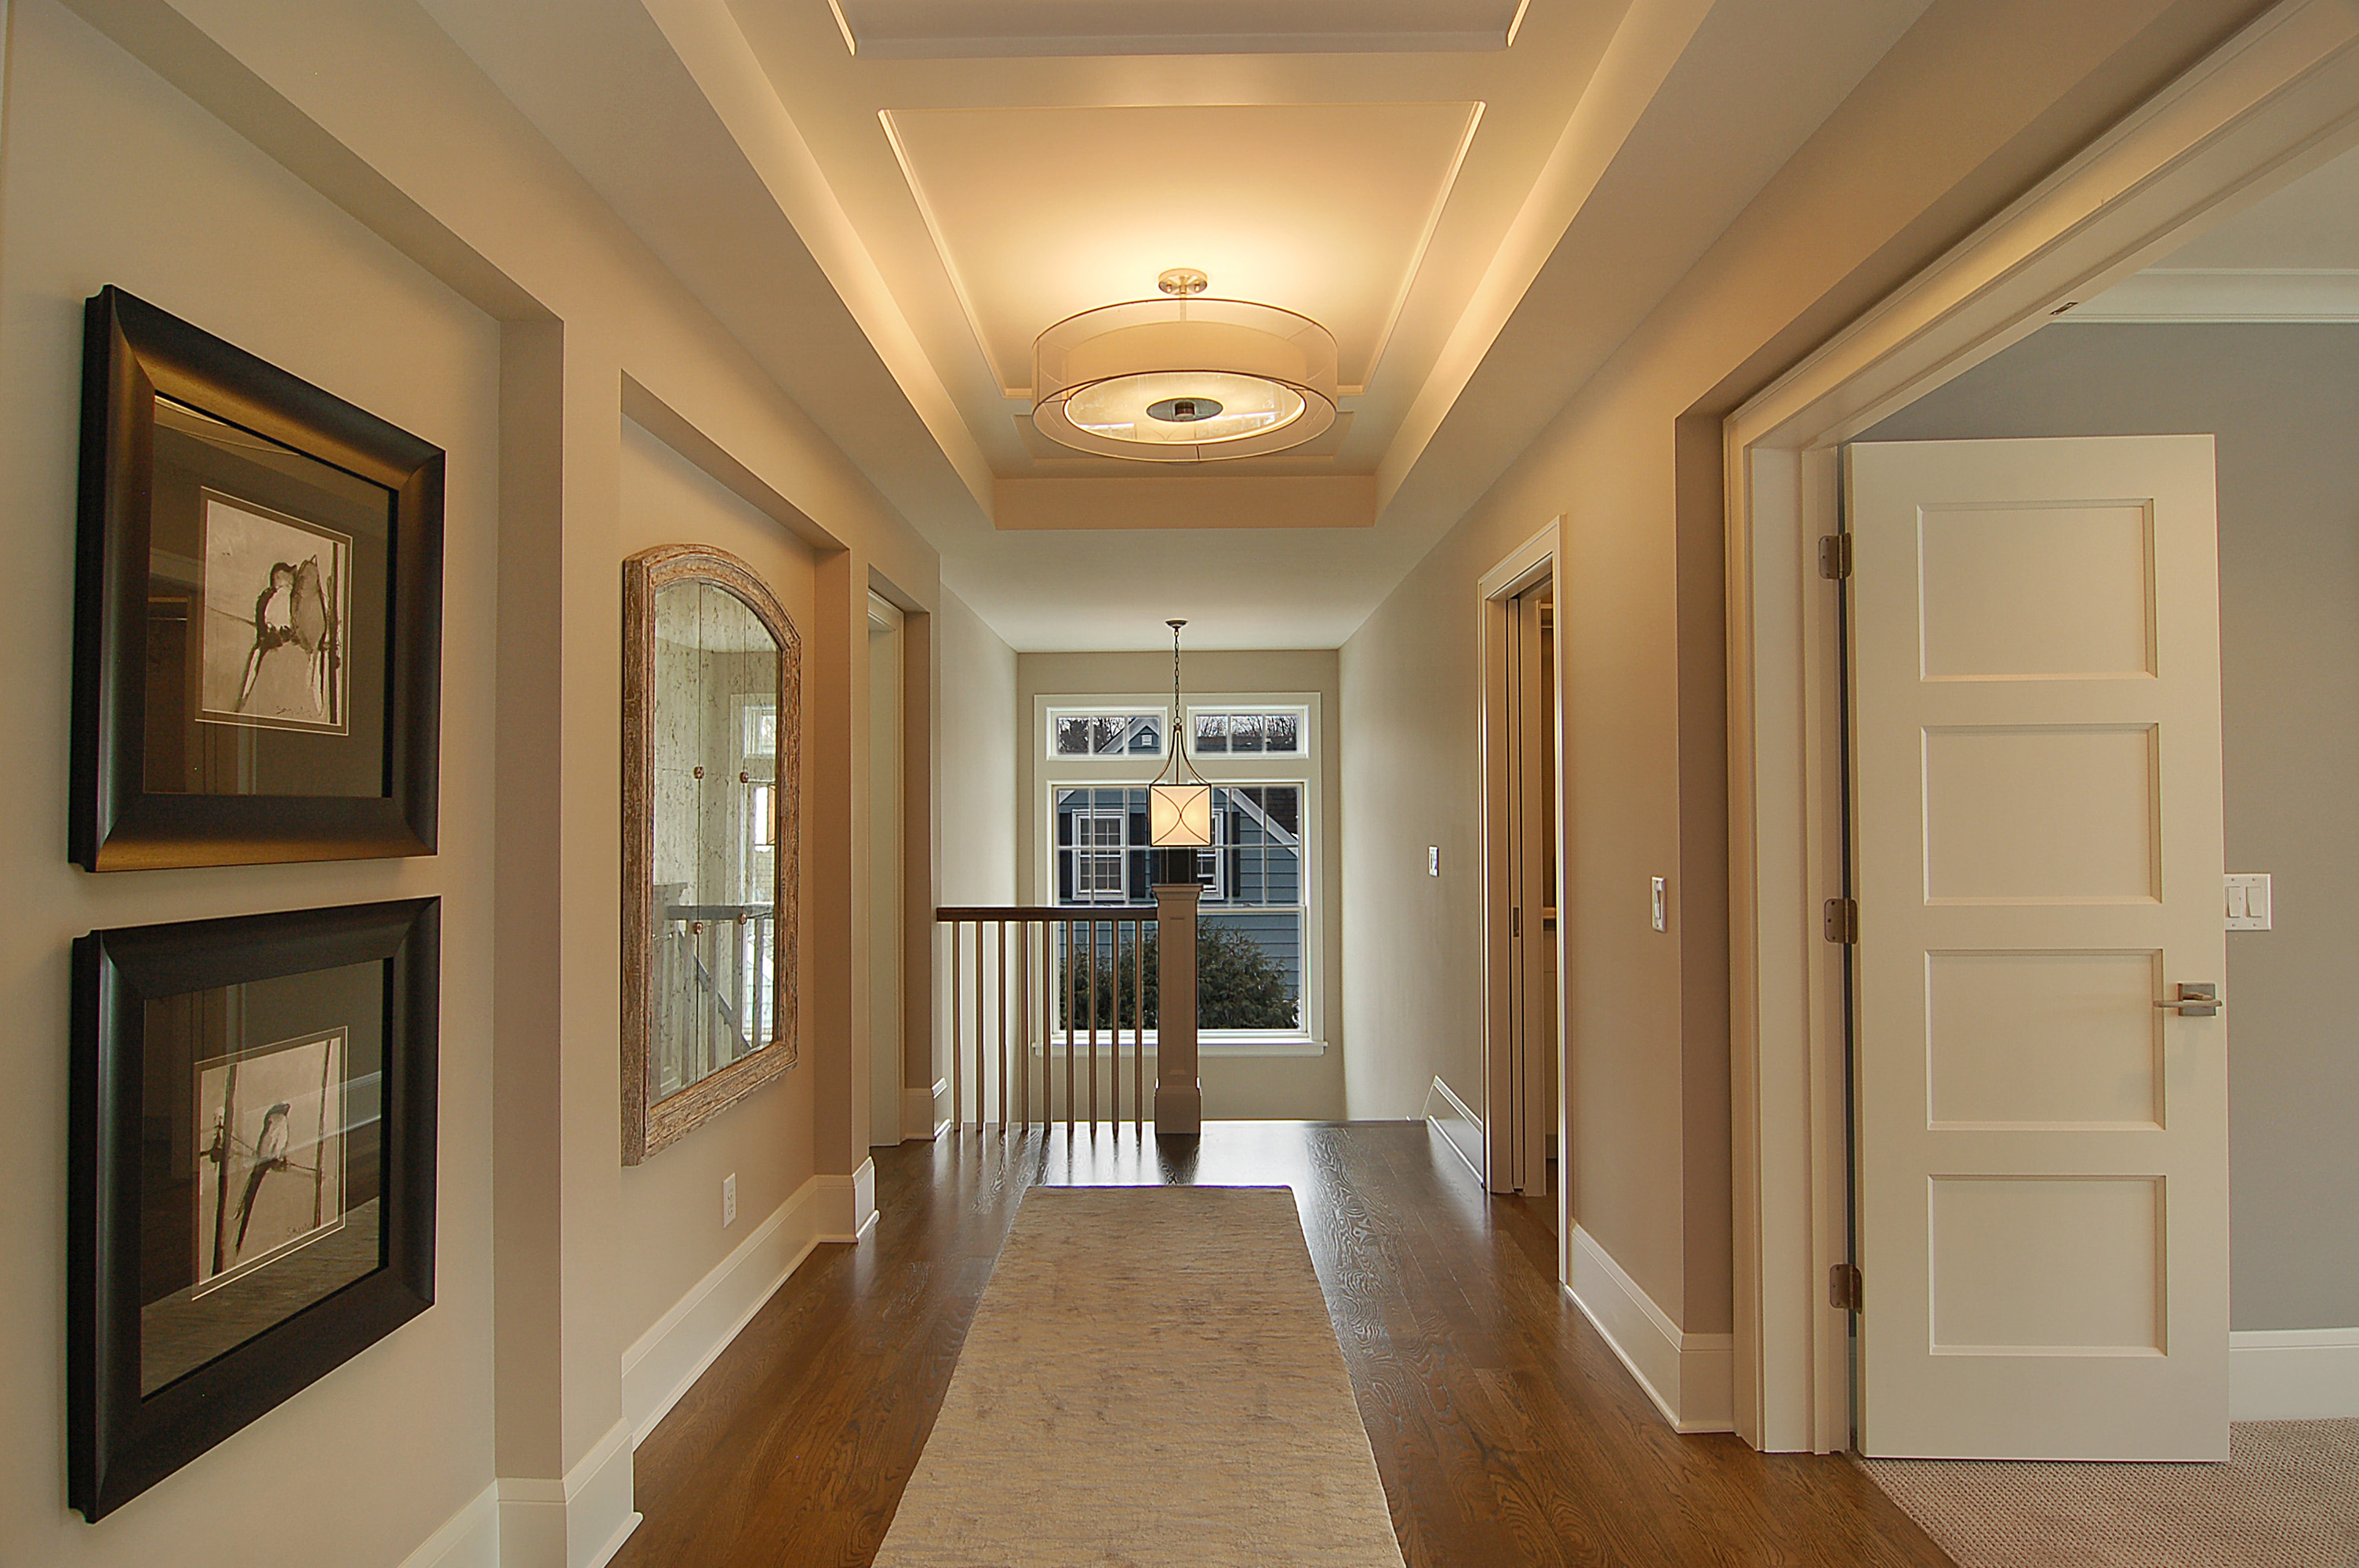
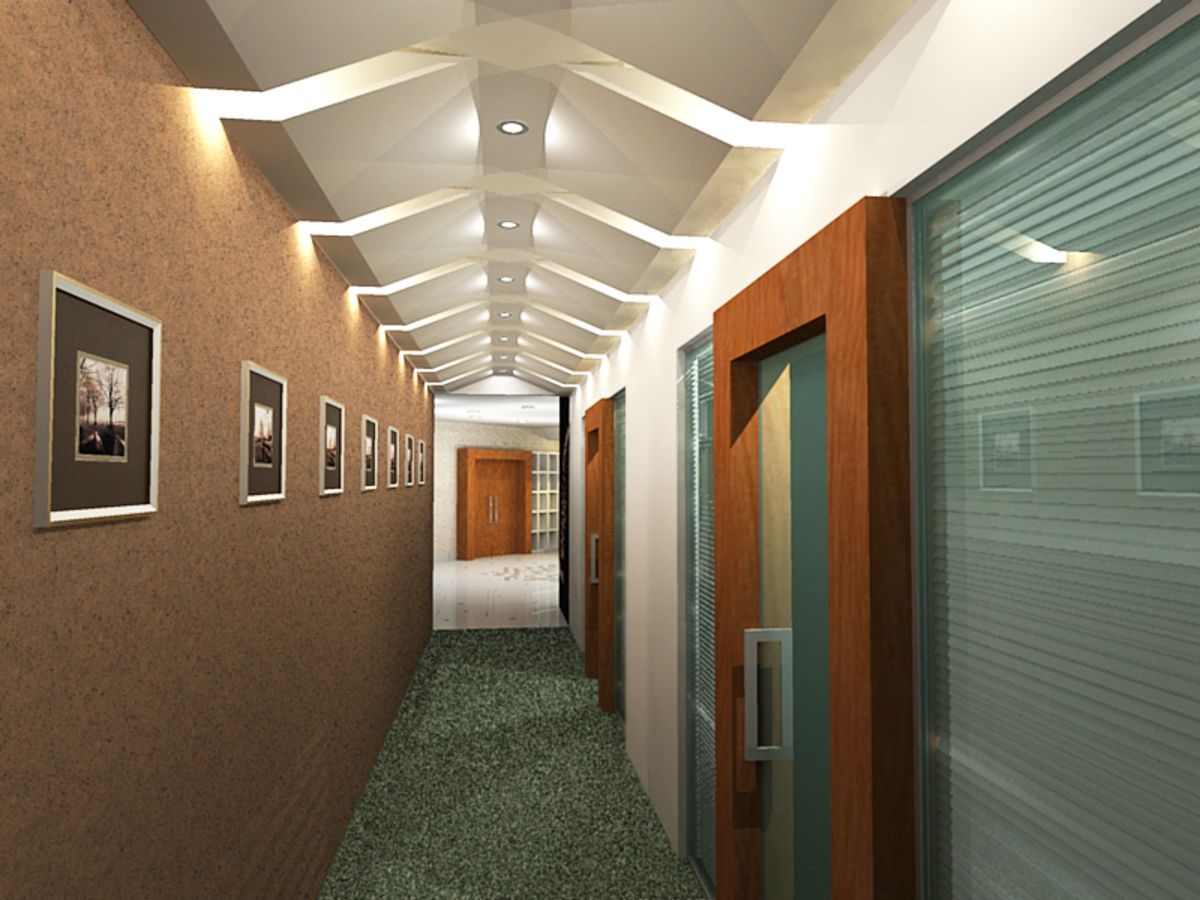
A plasterboard ceiling in the corridor is one of the simplest and, moreover, demanded solutions. Curly ceilings in a long hallway are far from the only design option worth getting to know. Be sure to take into account the features of two-level and other types of ceilings, lighting features.
Advantages and disadvantages
Arrangement of ceiling structures of traditional materials (suspended and tension, rack and panel) in a long or narrow corridor is very difficult. And the vast majority of corridors, in one way or another, are subject to at least one of these drawbacks, or even both at once. That is why more and more people are paying attention to the option with plasterboard ceilings in the corridor. GCR has long been a very common material, and it is readily used for a variety of projects and applications. The demand is largely due to the cheapness in relation to other materials.
Only a few types of paint and whitewash can compare to drywall in cost. But the complexity of their use is much higher. The sheet processing itself is not difficult. Their installation also does not cause complaints even among inexperienced builders. When using drywall, there is no need for wet work.
But an extremely flat surface appears. If there is a desire to carry out additional finishing, it will not be difficult. The service life of the gypsum board is very long. It surpasses the service life of most paints and varnishes, plasters (and they do not look very presentable in the end). The environmental friendliness of this material has been confirmed by application experience and numerous studies.
Even a relatively uneven surface will quickly acquire optimum smoothness. If the ceiling cannot be leveled when installing drywall, then this is almost always a sign of critical or even emergency wear and tear of structures. Or gross installation and repair errors, which in any case will have to be corrected. With weaker deviations, when the plaster does not help, the gypsum board copes successfully. It is easy to hide pipes, wiring and other necessary communications behind such a frame.

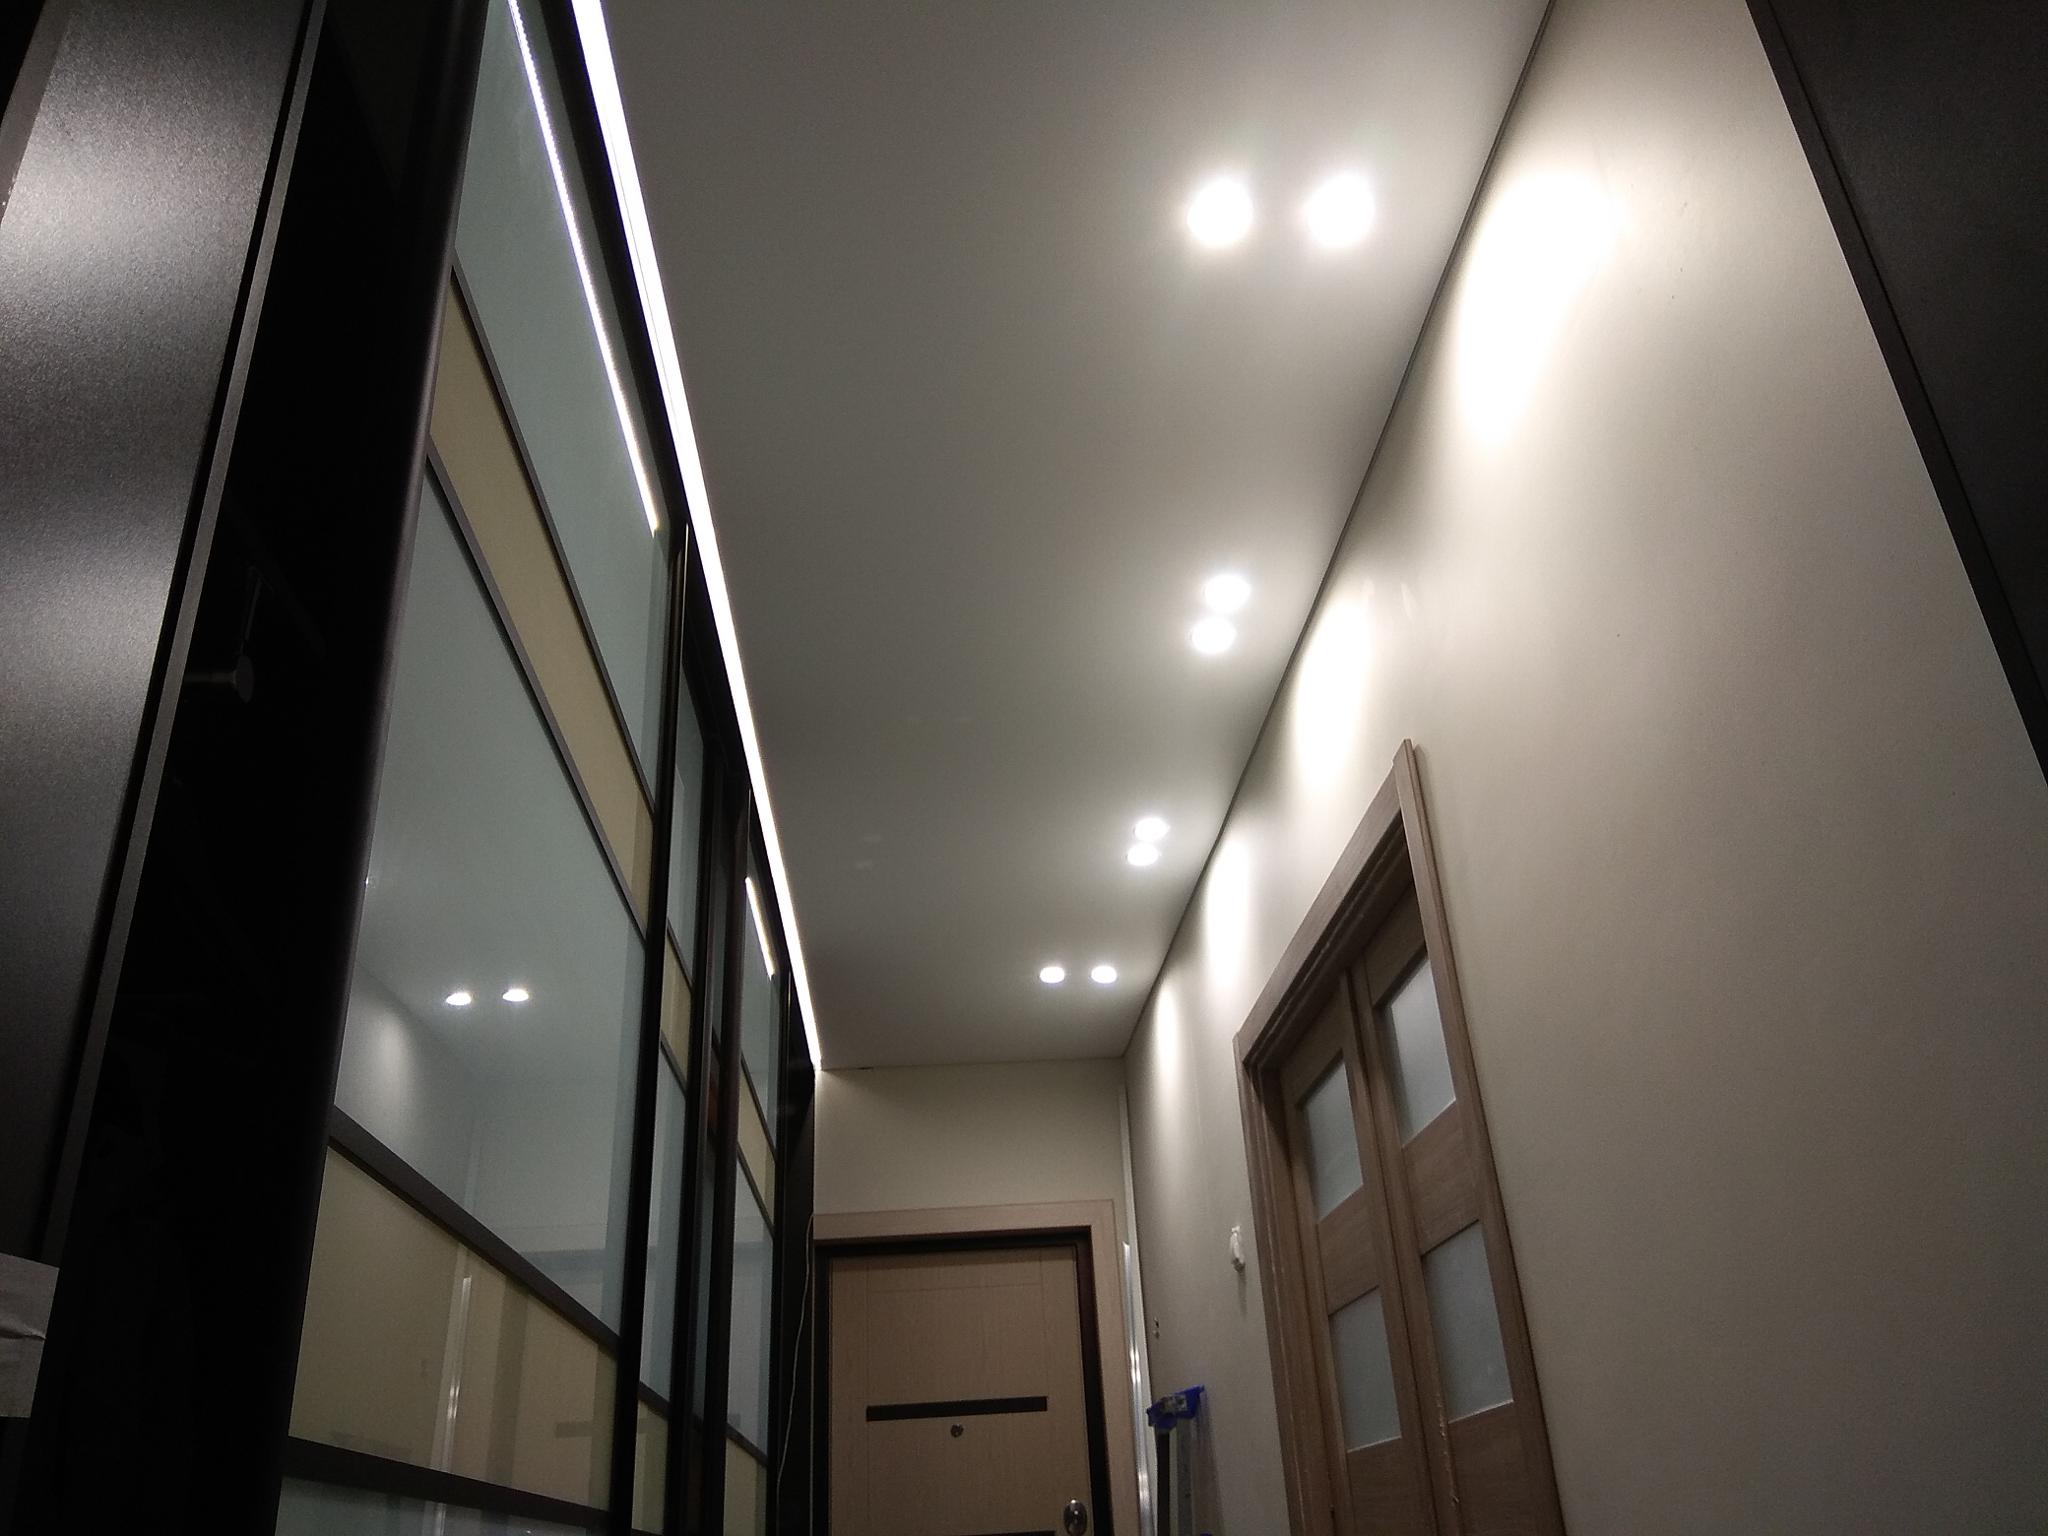
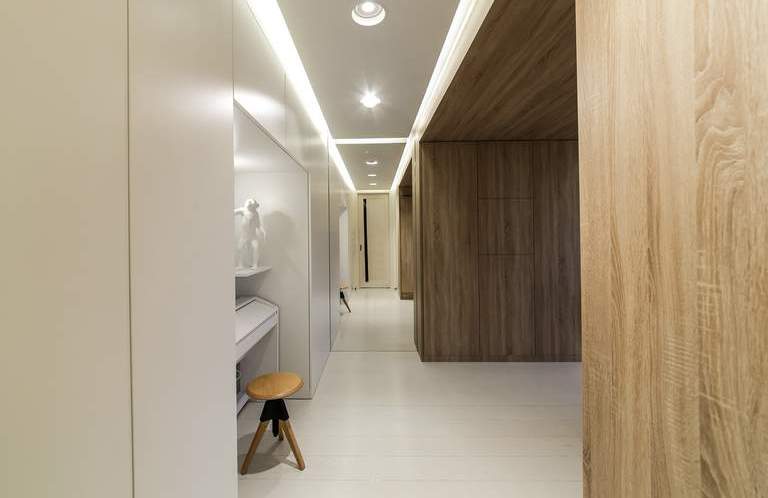
Such a ceiling is compatible even with very complex lighting systems. Not excluding those that are extremely difficult to mount in a tension or suspended structure. It will even be possible to install a range of different types of luminaires at multiple locations. Heaters and sound-absorbing materials are easily mounted under the sheets of drywall. On their basis, it is possible to deploy geometrically and design-complex structures, and most importantly, all this can be done by hand.
But do not assume that the GCR is perfect. It also has a number of serious drawbacks that must be taken into account in advance. Mounting on a profile takes an average of 50 mm. In rooms with low ceilings, this is not very acceptable.
For installation work, you will have to use building levels, perforators (drills) and screwdrivers.
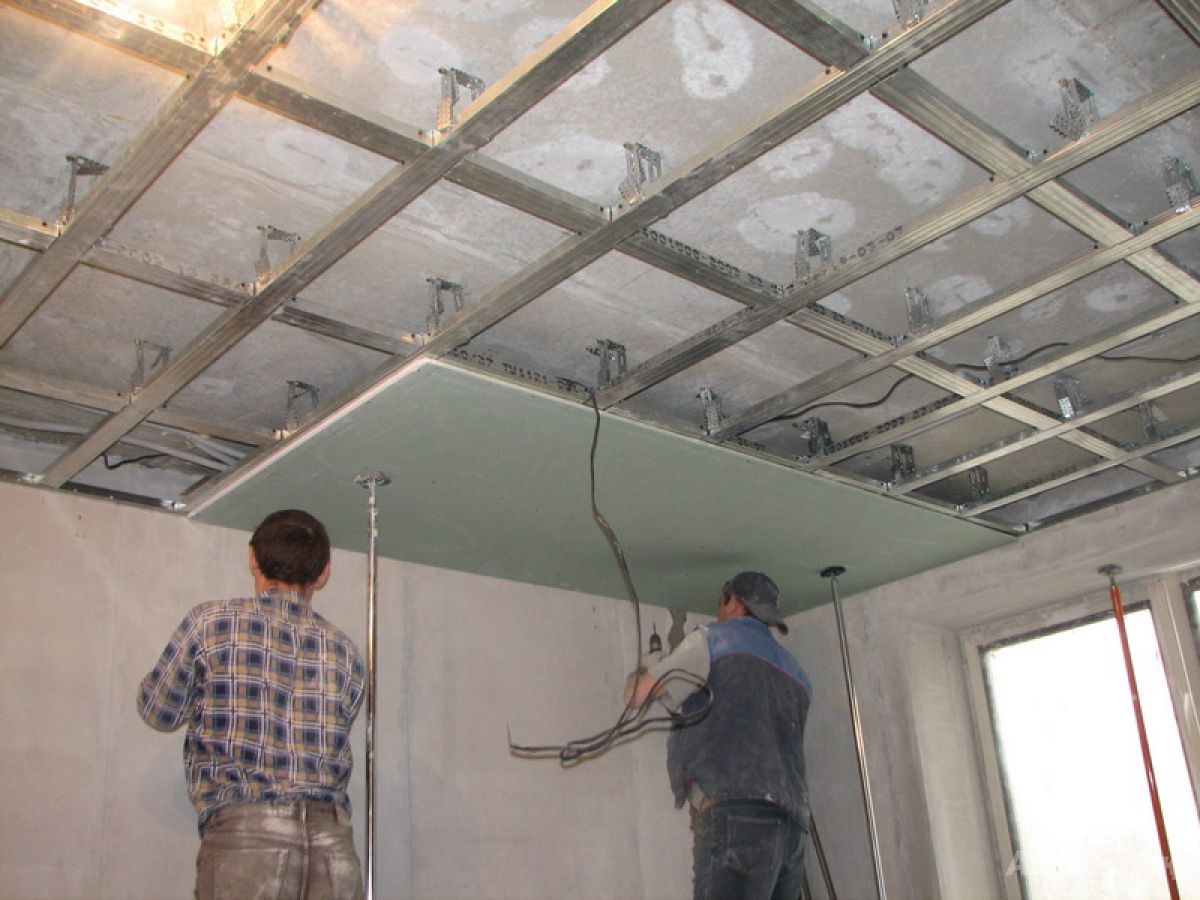
Not all people have such tools. And just buying them is not enough - you need to be able to use them. Work on top will have to be done by at least two people, especially in the absence of special experience (however, this is typical for other solutions). Finally, the intersections of the sheets often develop cracks and gouges over time.


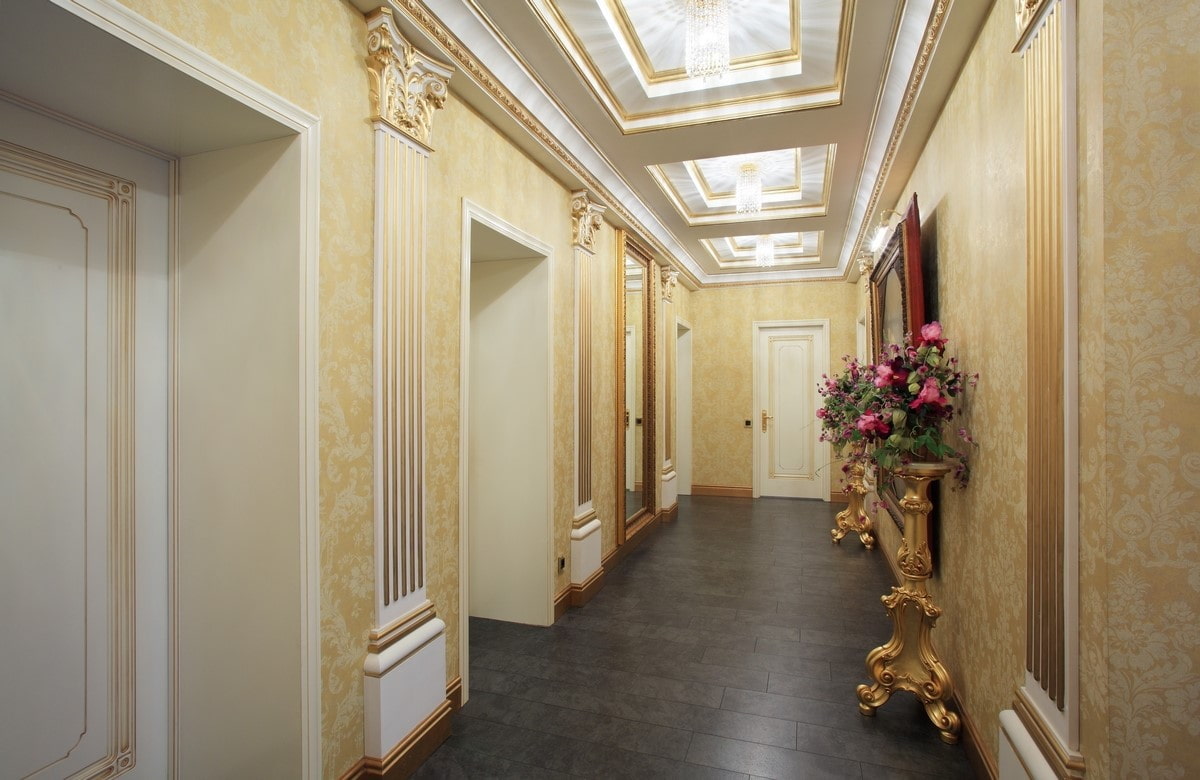
Even a single-level plasterboard ceiling can look beautiful. It is enough to use a molding when decorating it.The holes for the installation of lamps are also very simple to prepare - they are cut with improvised devices. The power of the lighting fixtures is not limited. Another weakness is that drywall can be severely damaged if it leaks.
Description of species
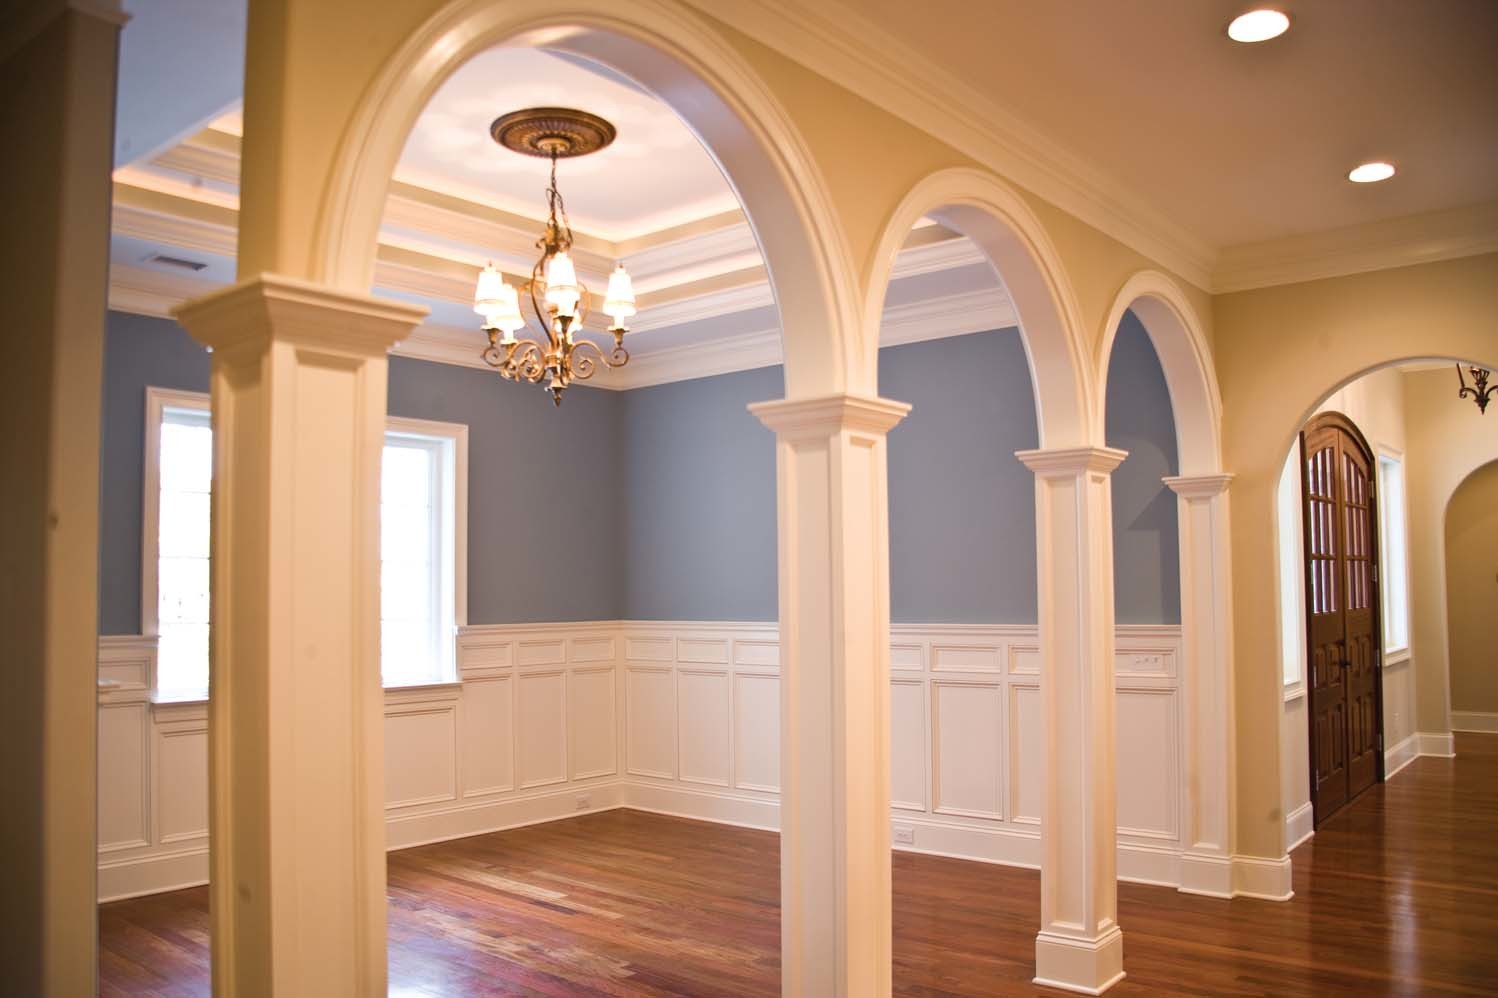
Arches
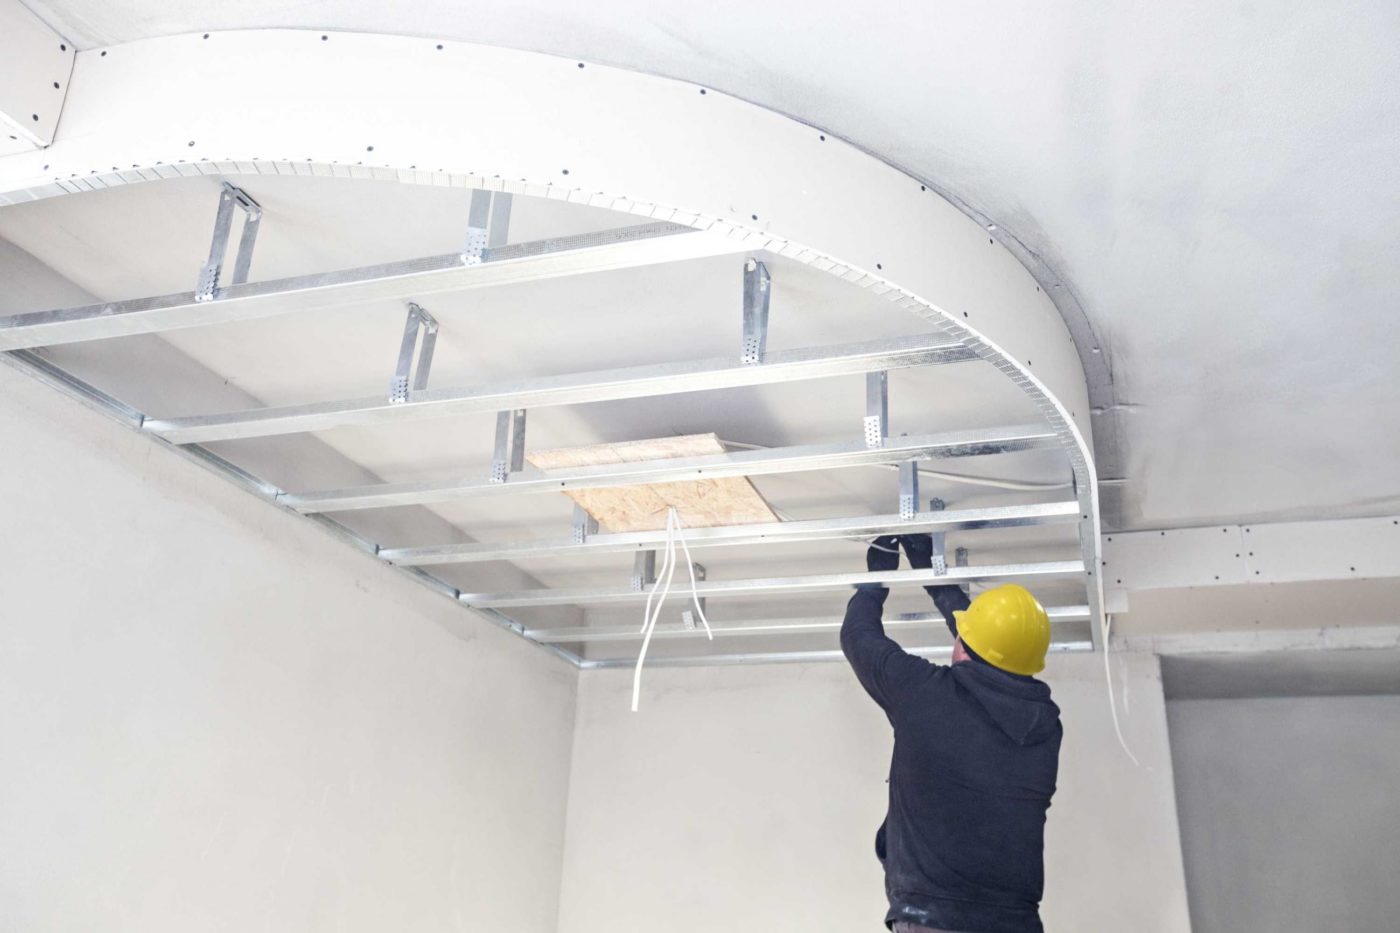
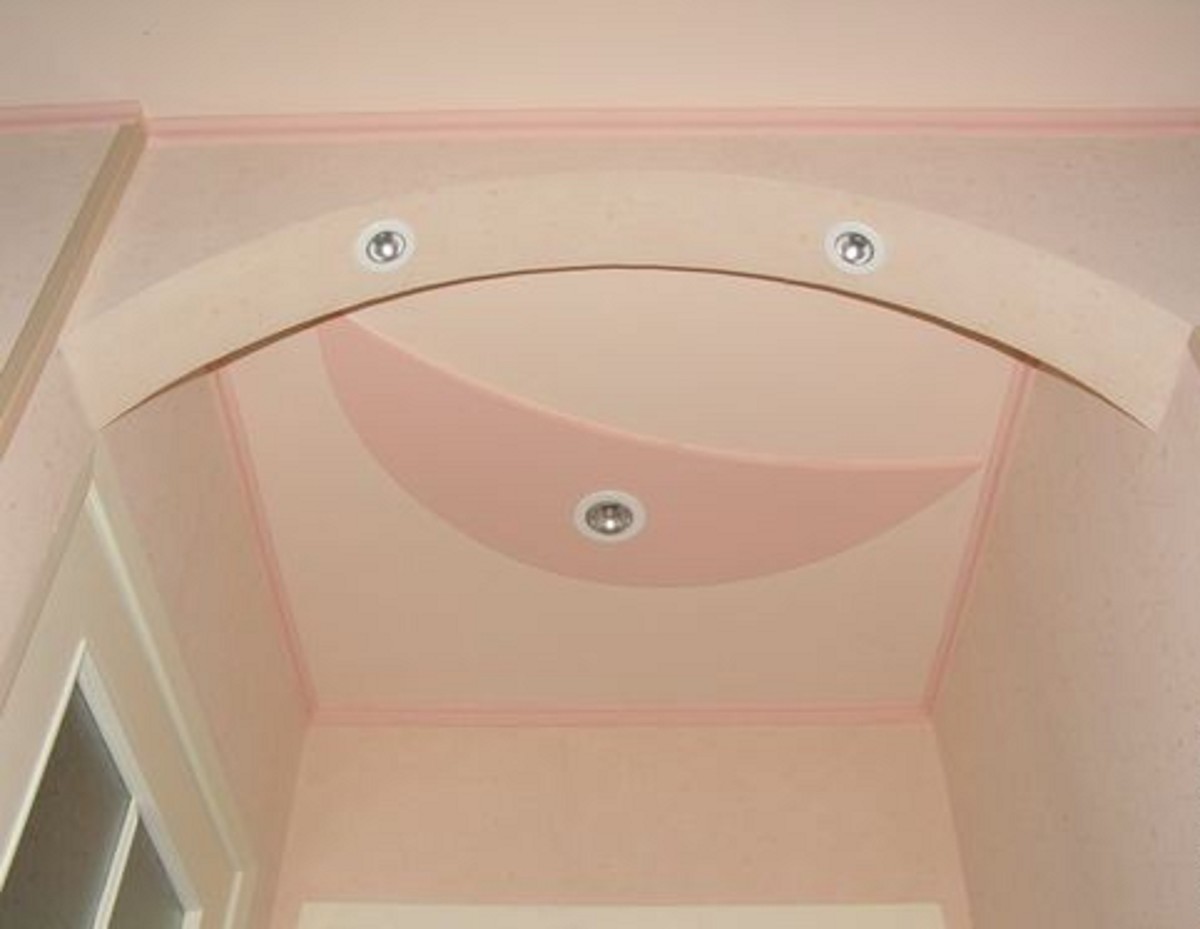
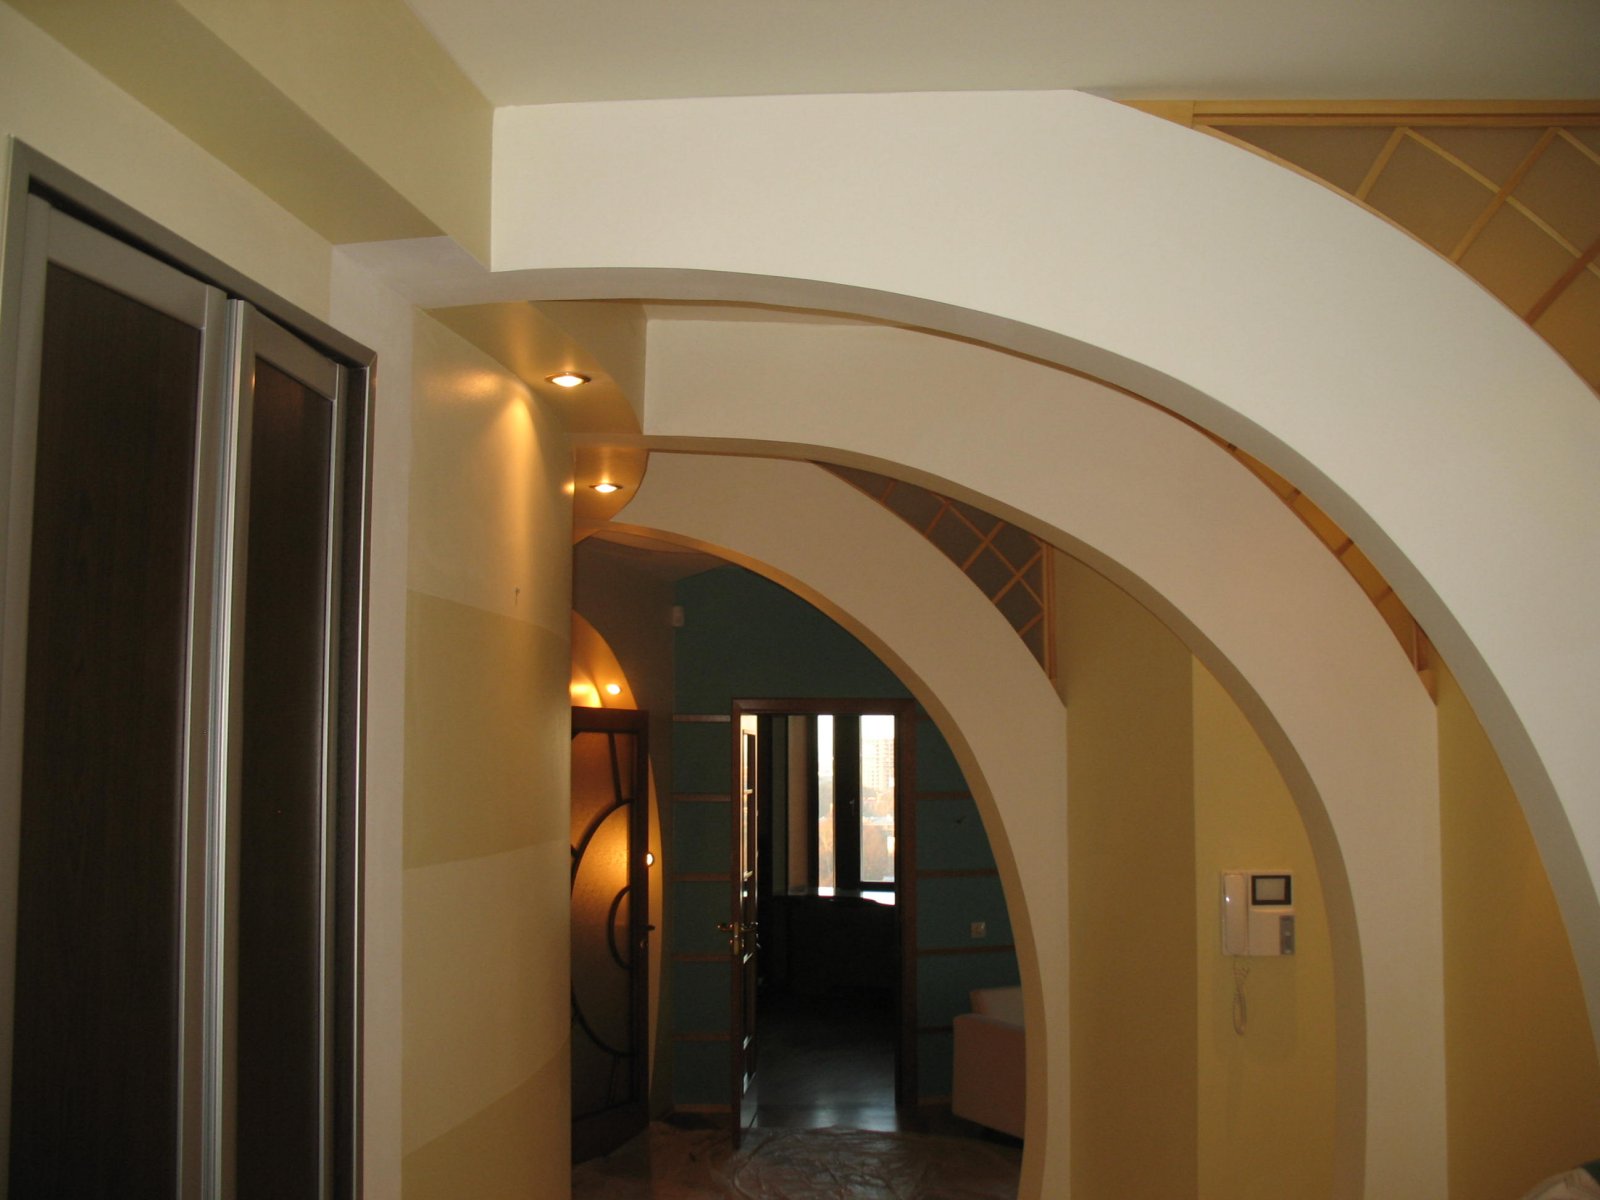
These are some of the most beautiful options, competing with the latest generation of false ceilings. Such structures, alas, cannot be applied where the height of the walls is less than 3 m. The easiest way is to make a semi-cylindrical structure. It will smoothly adjoin the walls on both sides, and then it will bend smoothly. The hemispherical figure visually resembles a dome rather.
In this version, the ceiling and vertical surfaces are inextricably blended. There seems to be no visual border between them.
This type fits perfectly into classical architecture. The segment format is more interesting than others, but its complexity severely limits its use. It is best to entrust the creation of such an assembly to professionals.
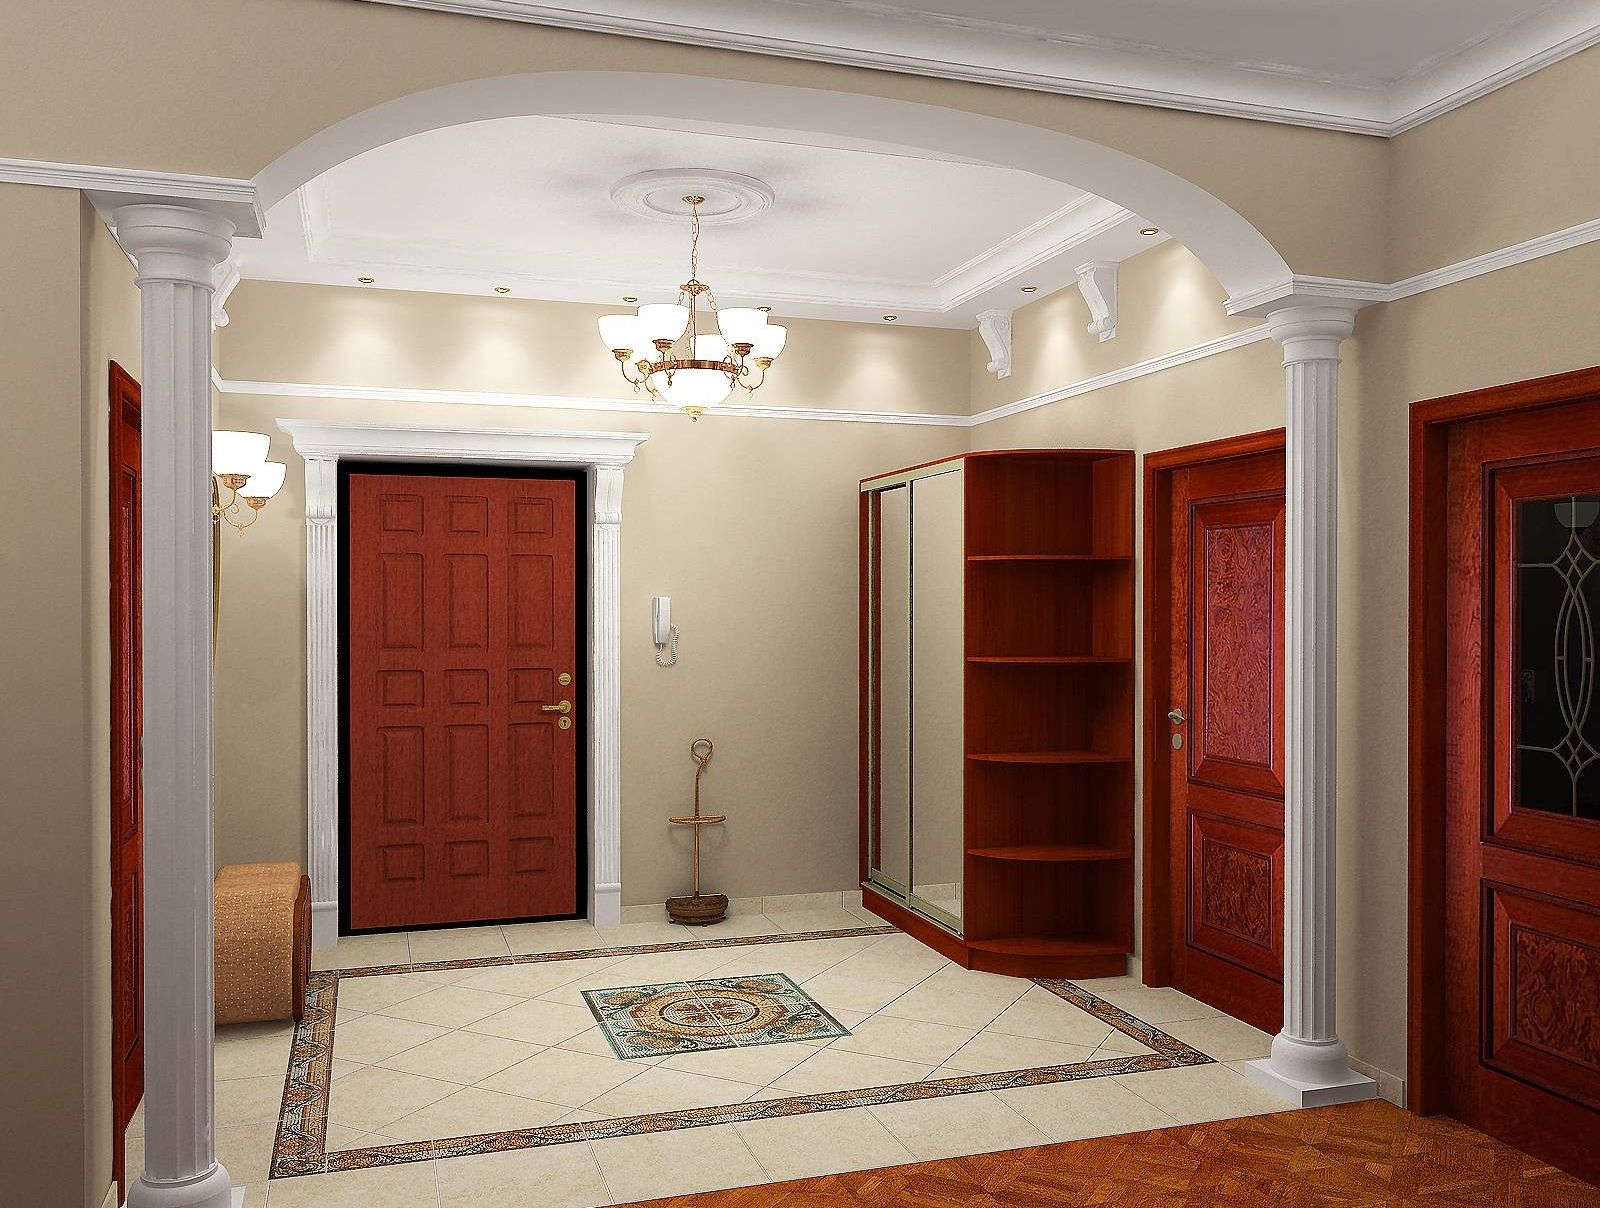
Columns
They can become a supporting part of a ceiling assembly. False columns zone the room. They are much lighter than those made from natural stone or brick. However, the use of such products is justified only in the largest corridors, more often in public buildings. They are hardly suitable for home furnishings.
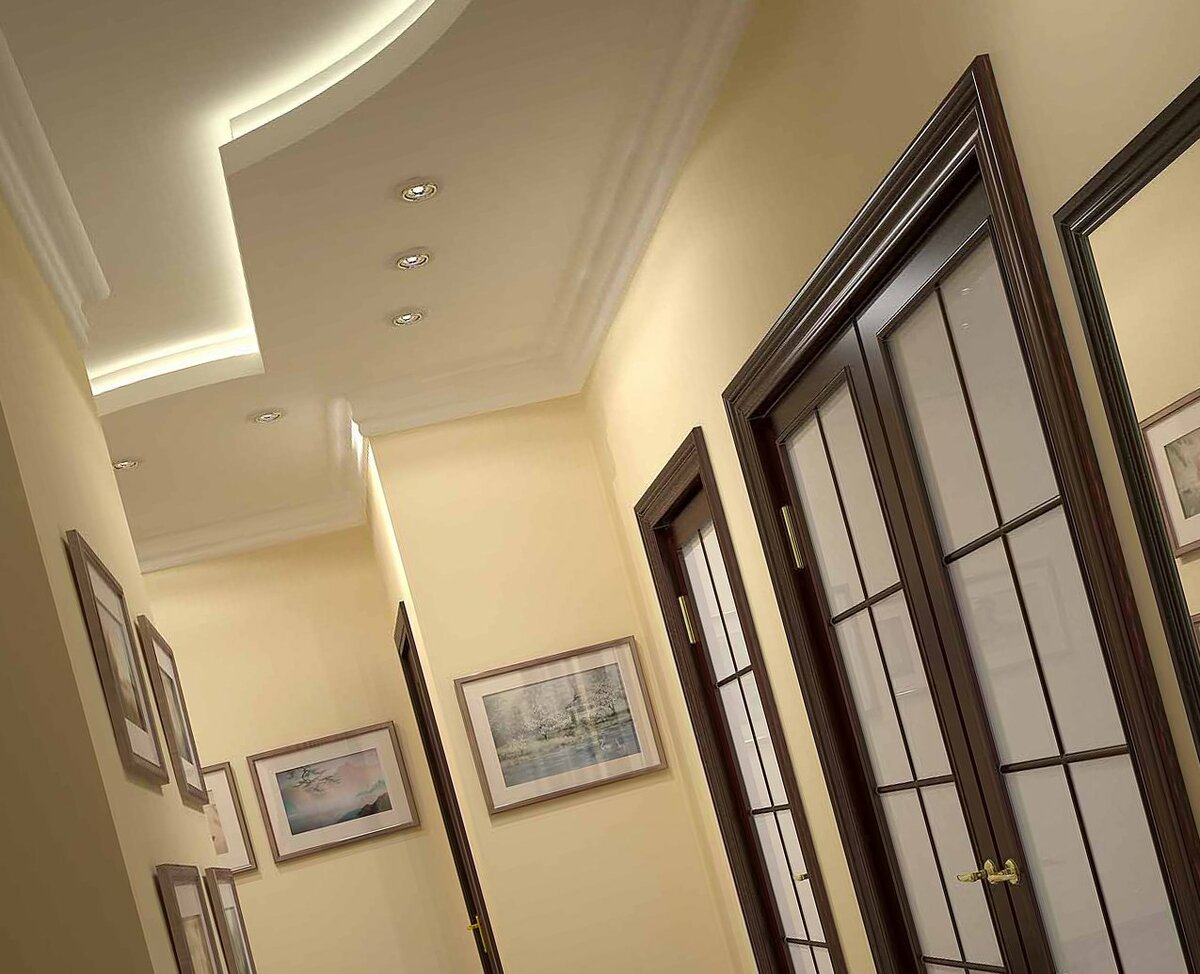
Multilevel
It is not always possible to limit oneself to a simple design in one tier. But nevertheless, such a solution occurs quite often. Even inexperienced builders can do it. The outer plane retains its appearance even with a gradual subsidence of the surface. The ceiling aligns the substrate, masks wires and other communications.
A two-level and more complex design in the hallway allows:
-
"Play" with the volumes of rooms, decreasing or increasing them;
-
enhance originality;
-
smoothly and softly highlight isolated areas.
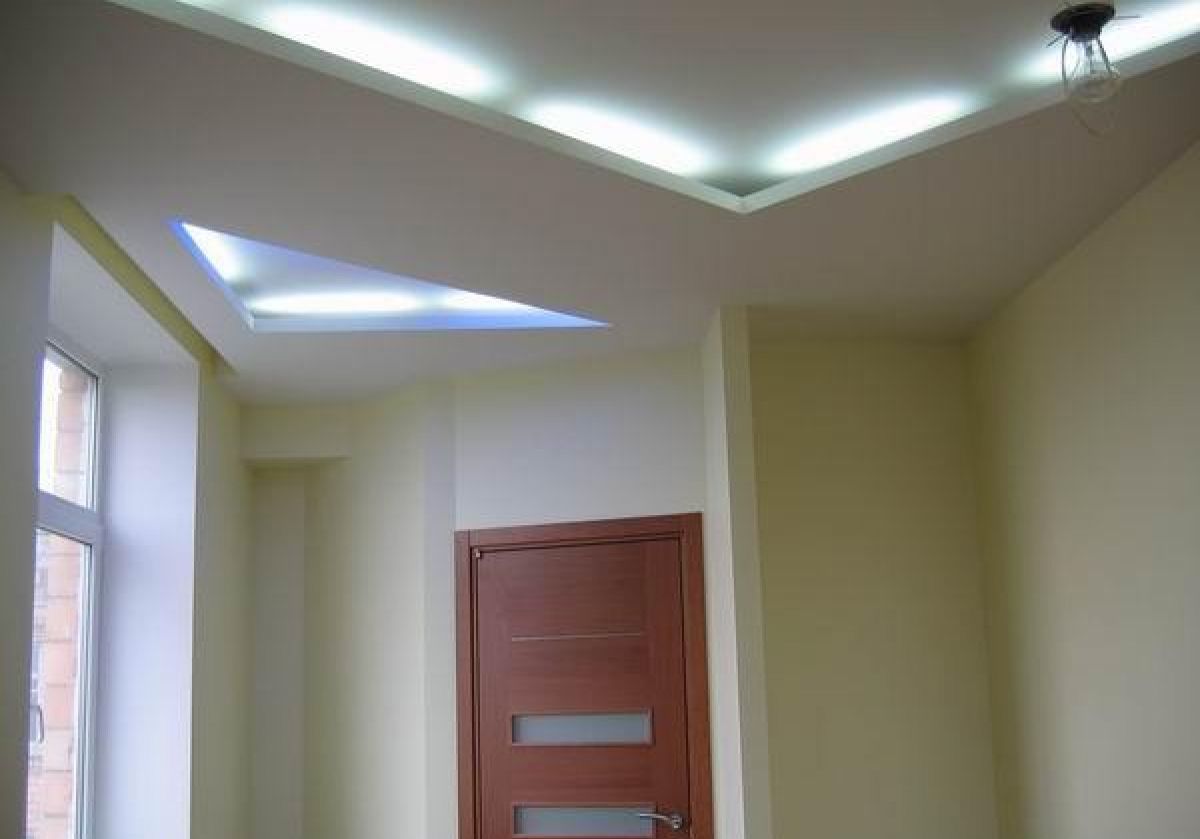
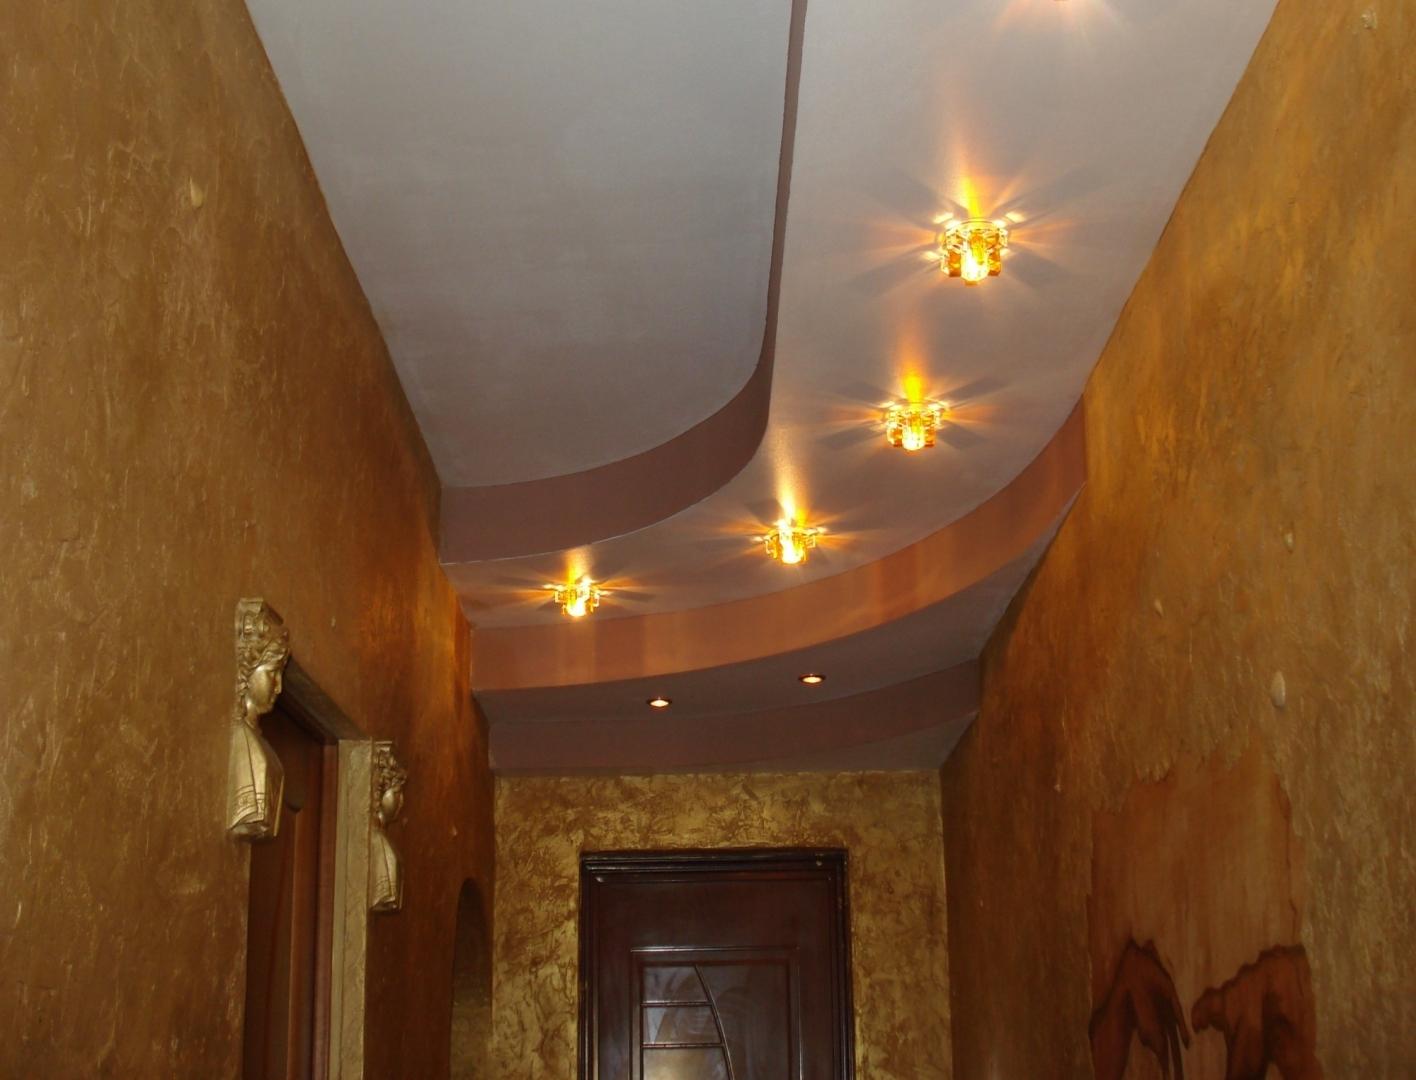
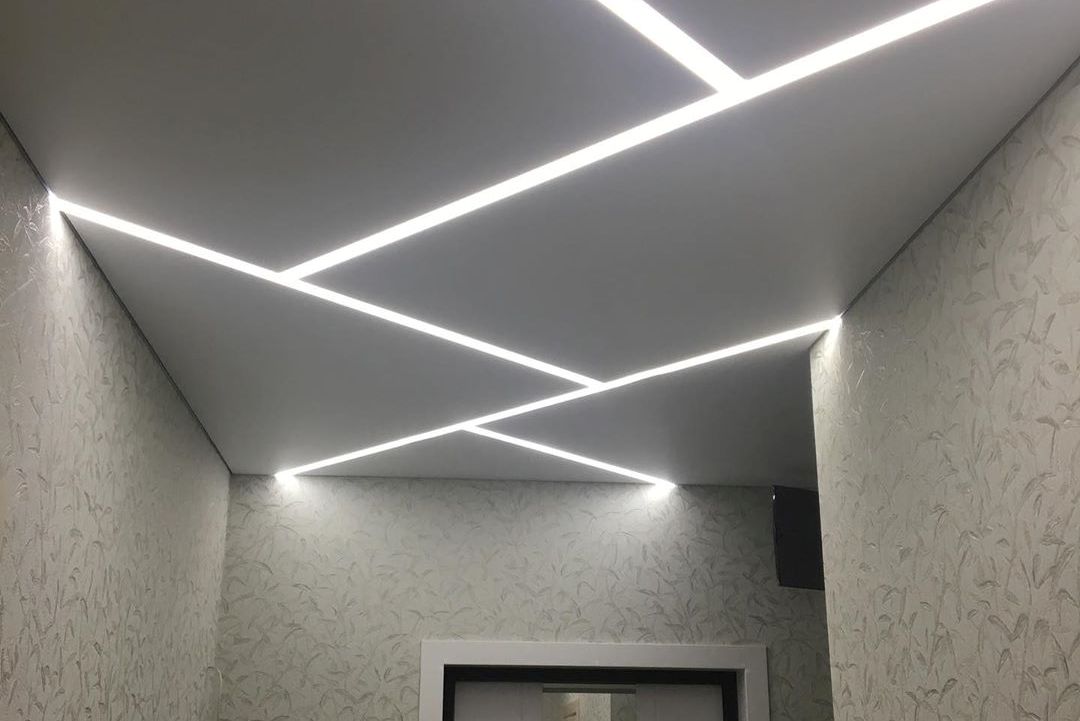
You can show originality with the help of a diagonal execution. At the very base, the ceiling structure will be flat. But the lower sections protrude only above one edge of the room. The dividing strip is exactly the diagonal.
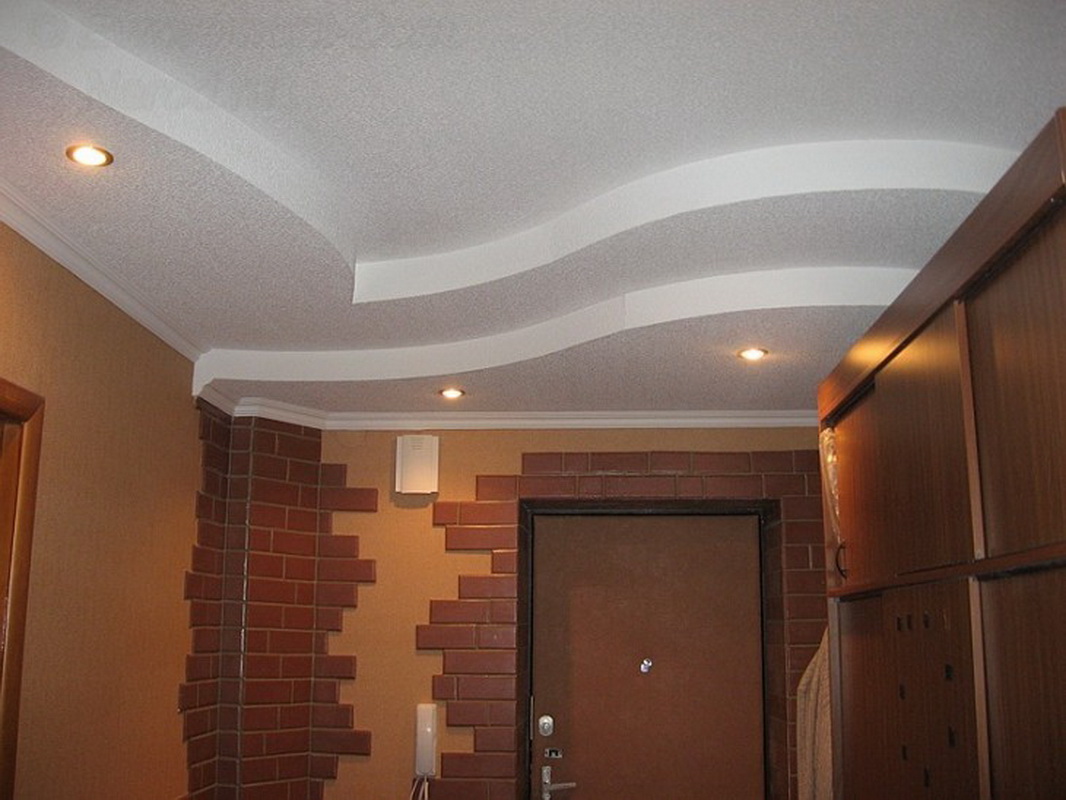
You can additionally increase the attractiveness by making the so-called wavy diagonal. The two sections of the corridor then differ significantly in size.
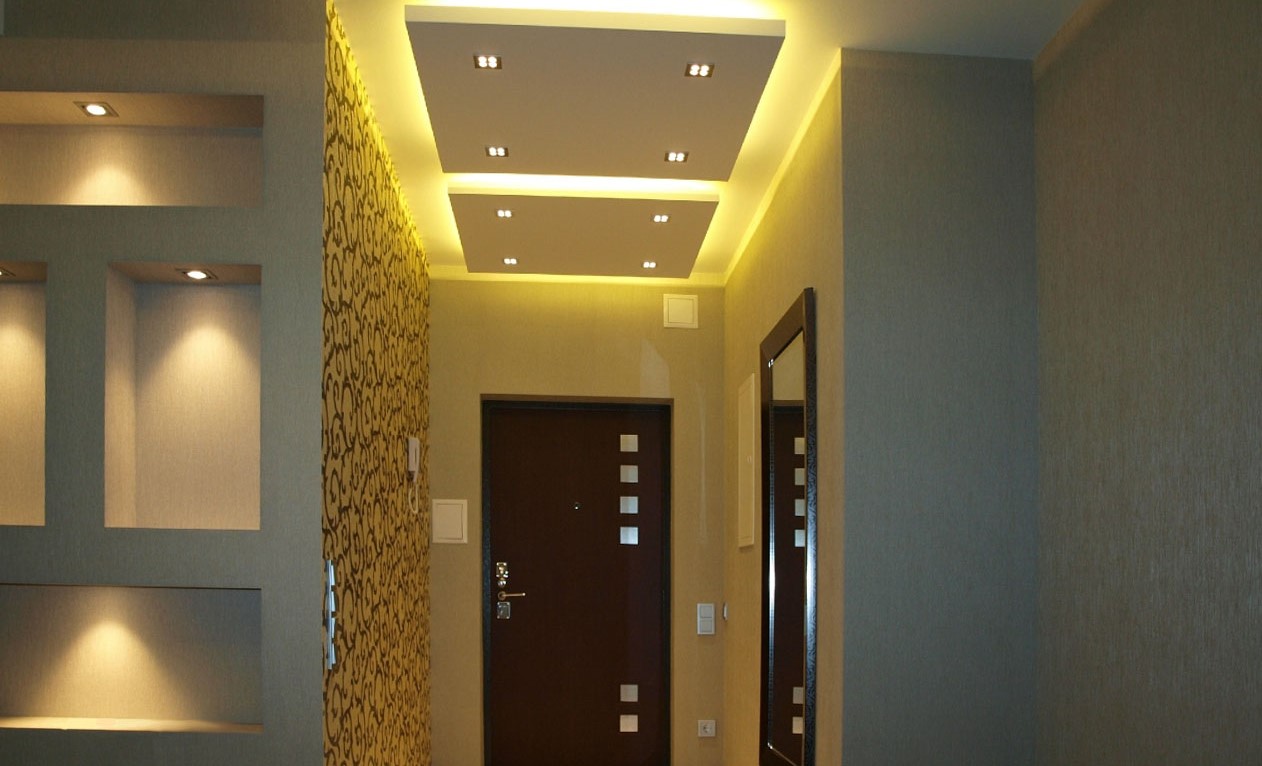
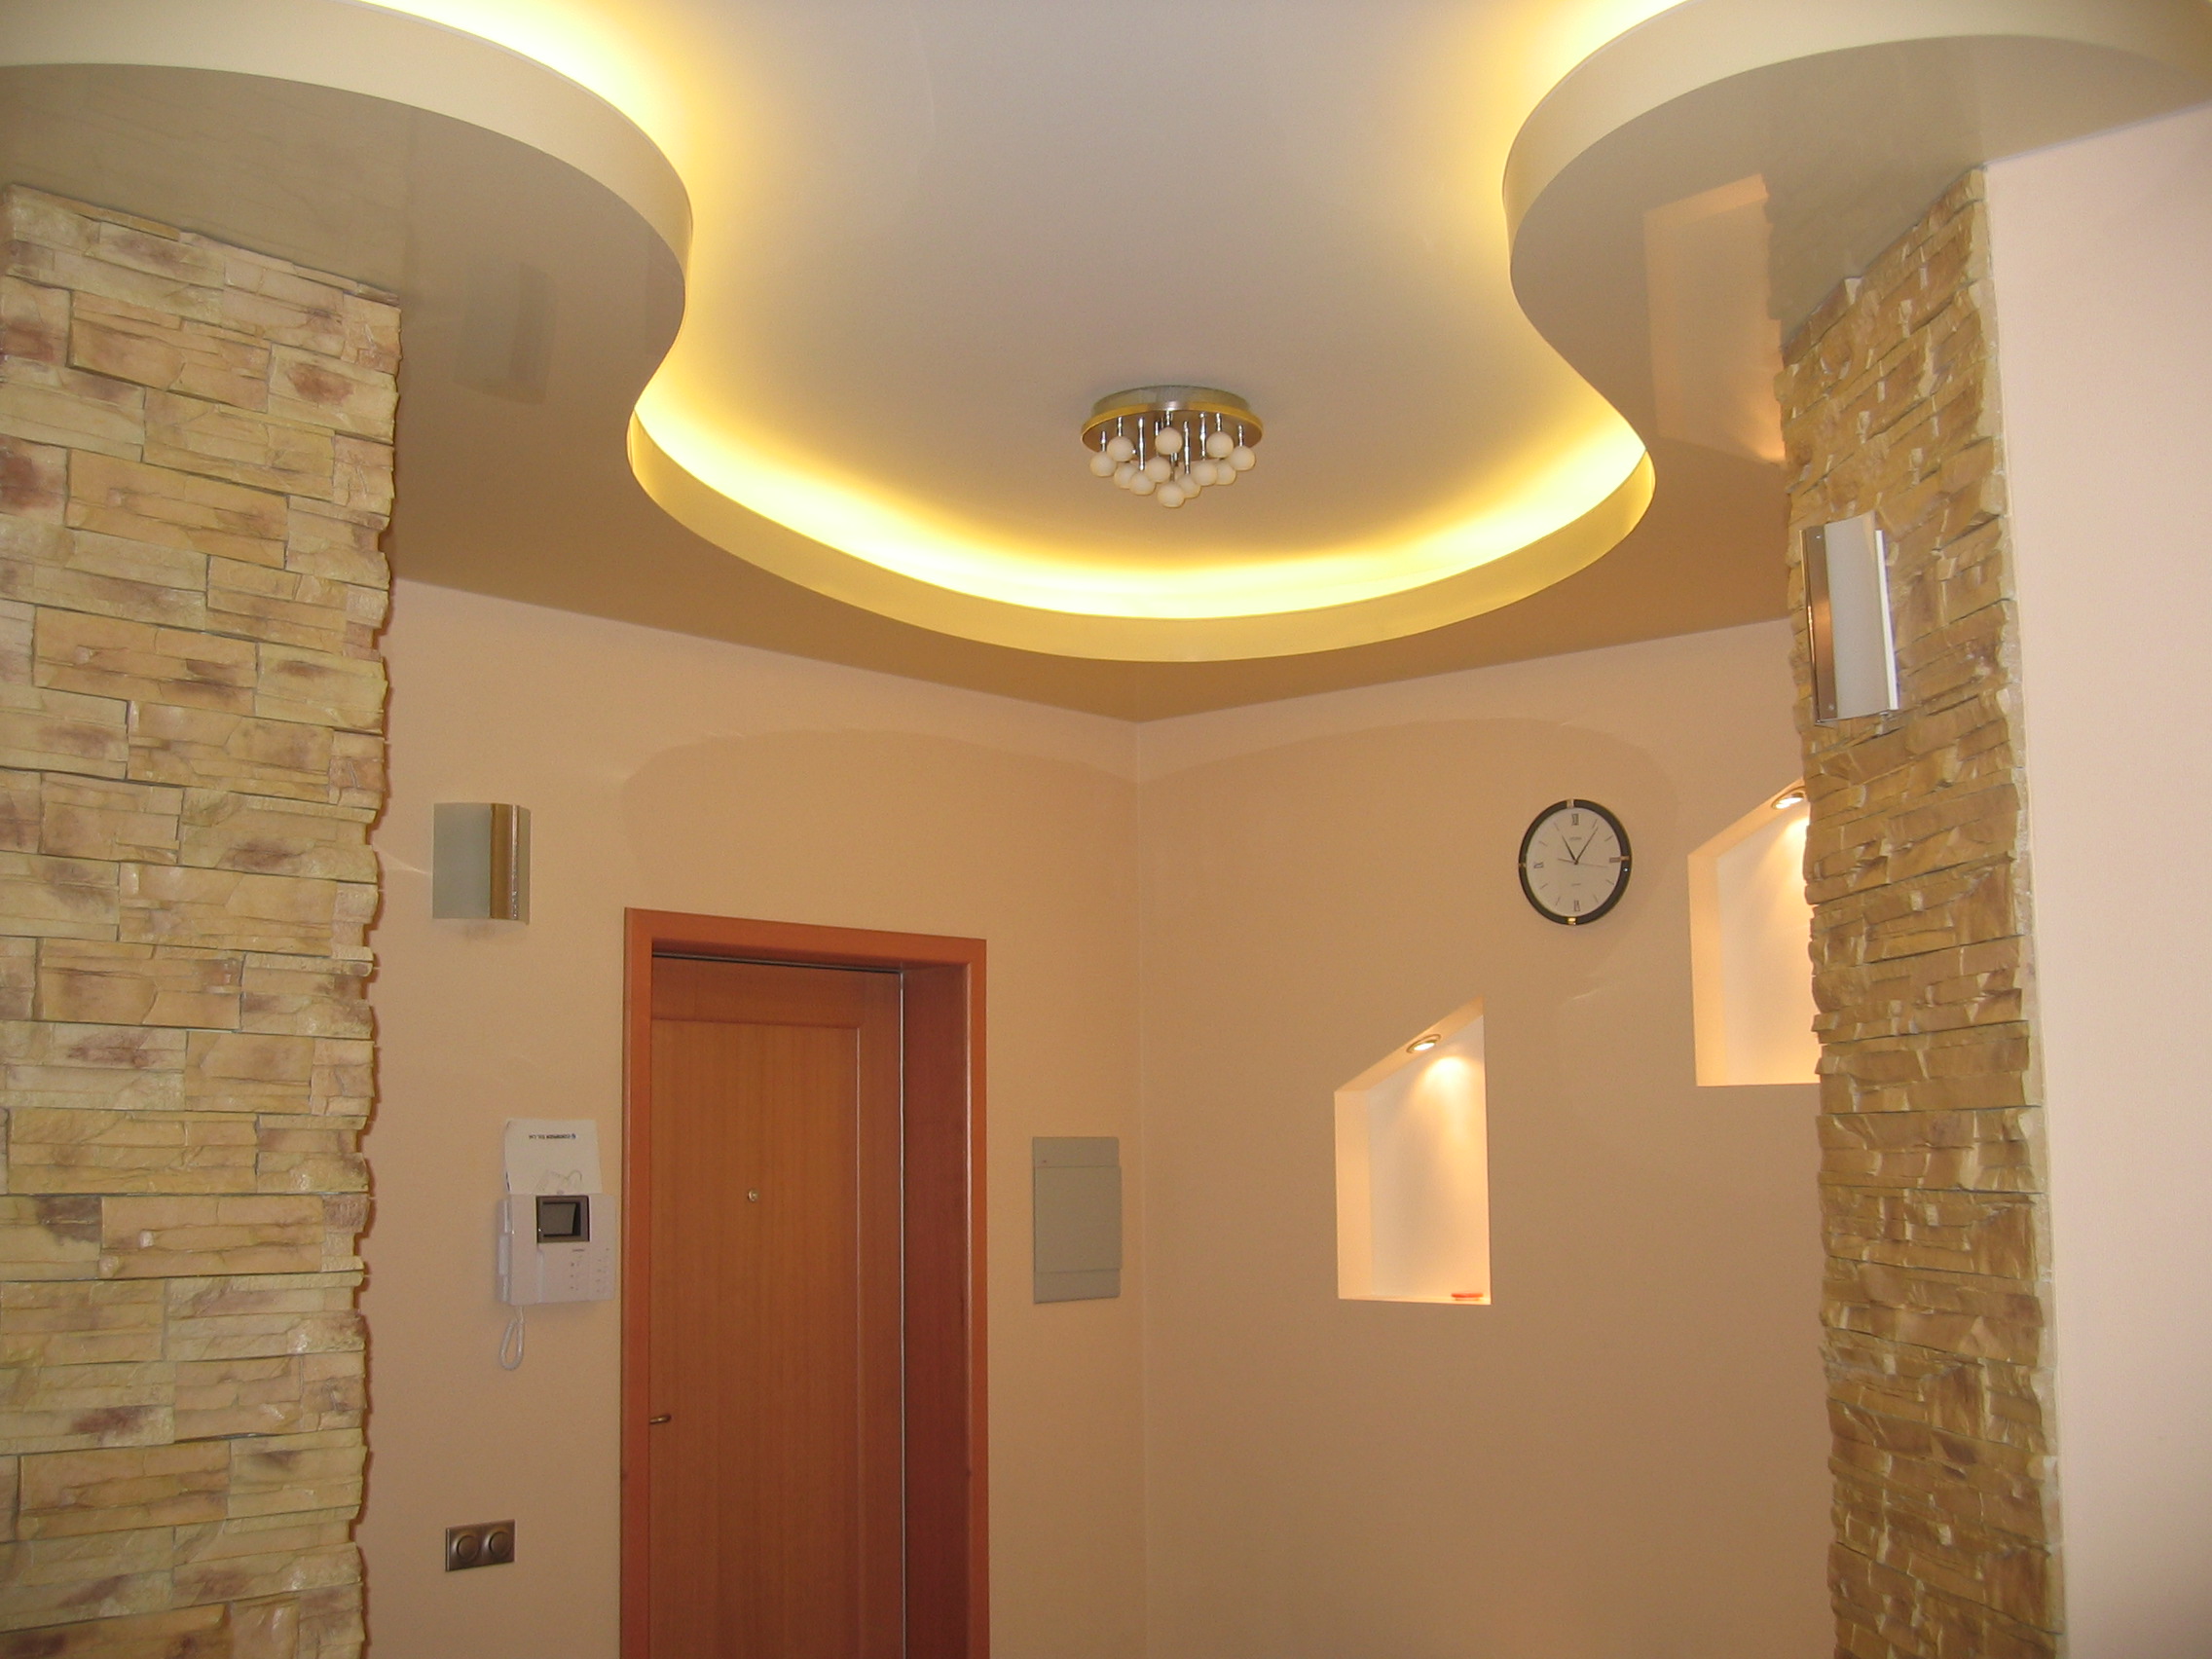
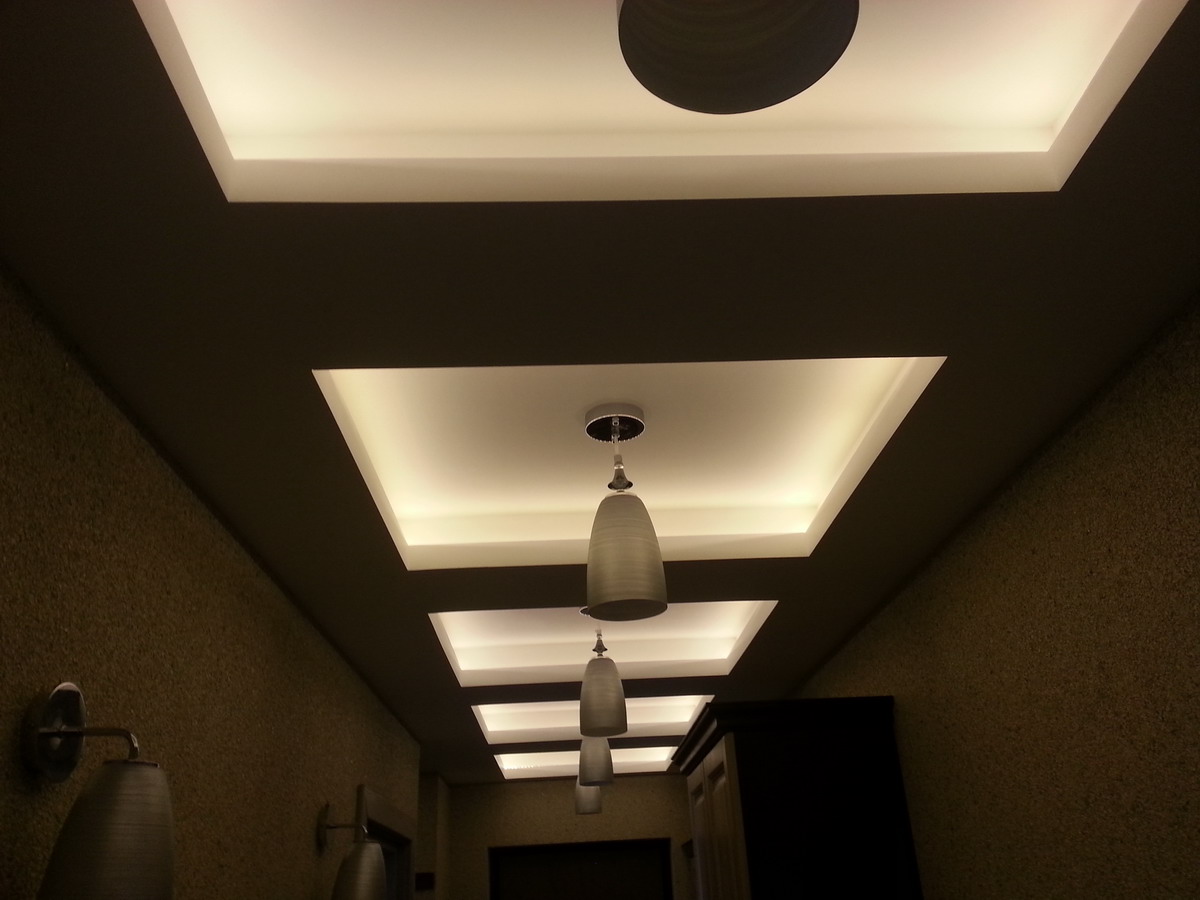
Zonal execution means otherwise - almost all space is located at the same level. Only a small fragment defines the boundaries of a particular functional area. More complex structures stand apart. They use unusual patterns, sometimes non-standard elements and configurations. Due to the multitude of design refinements, an accurate classification is hardly possible.
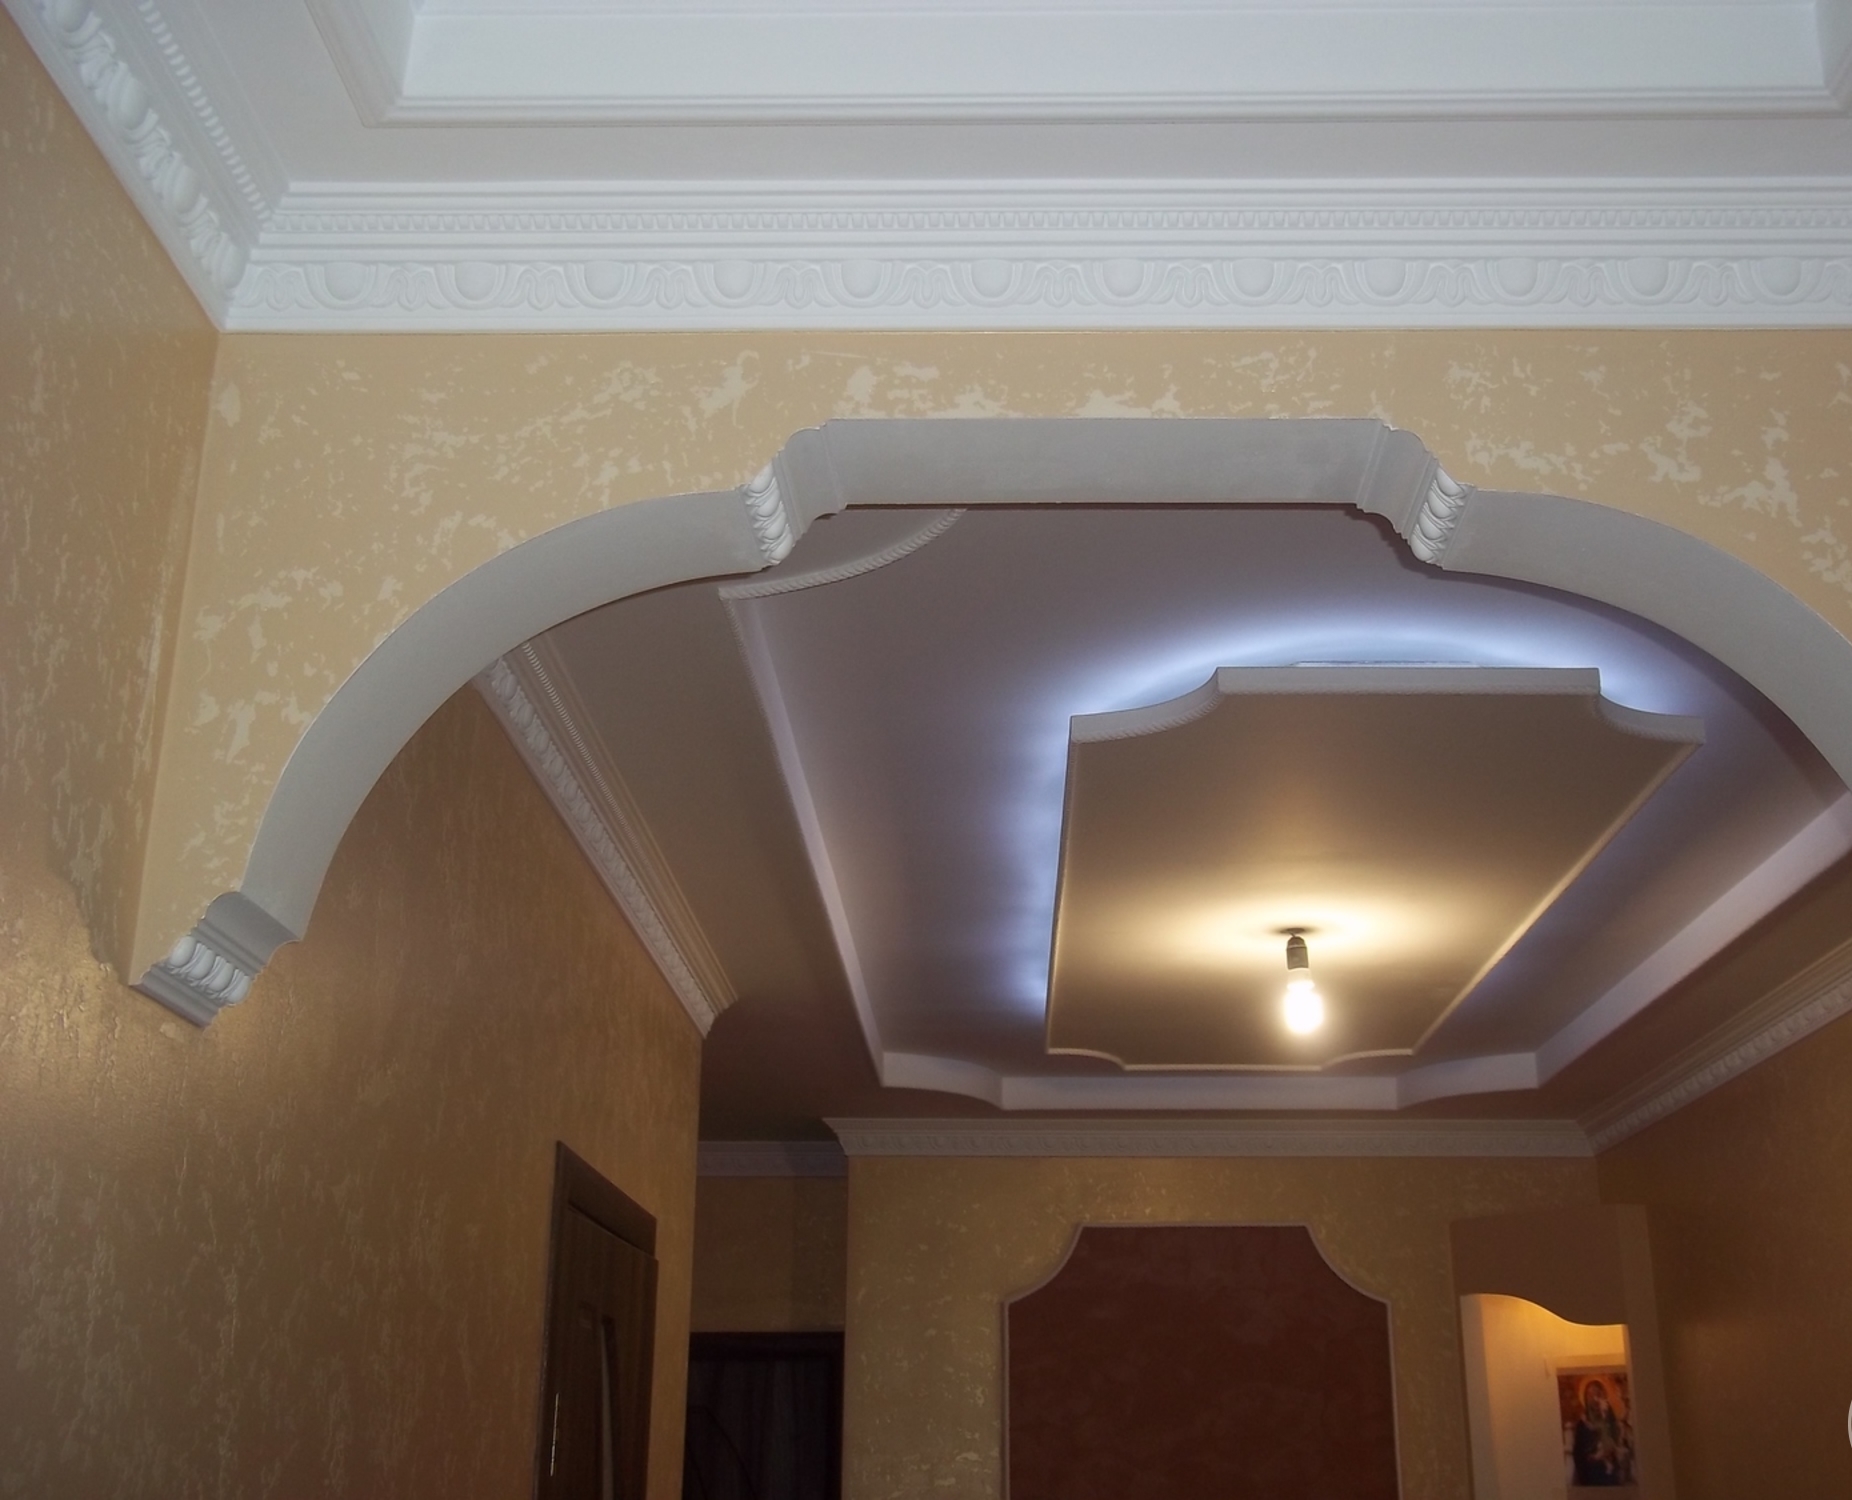
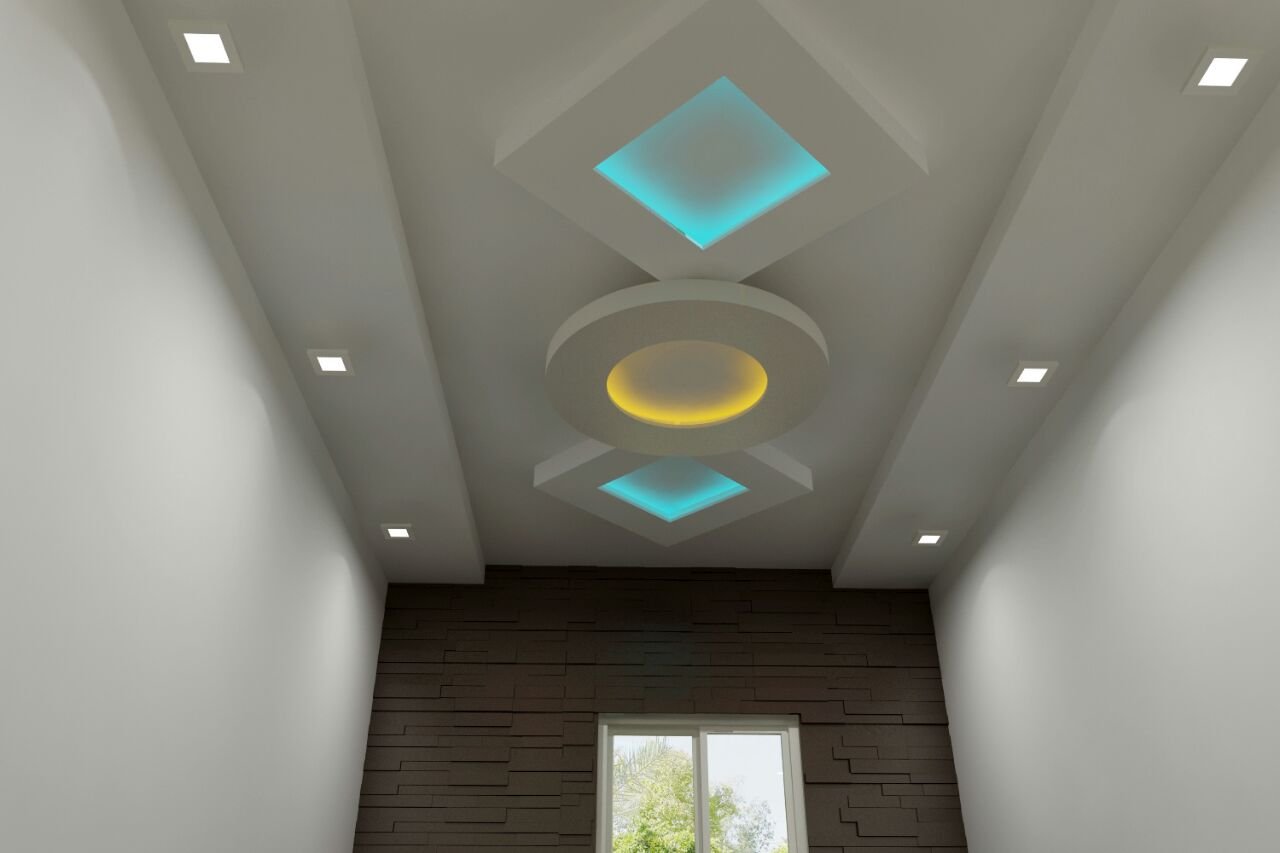
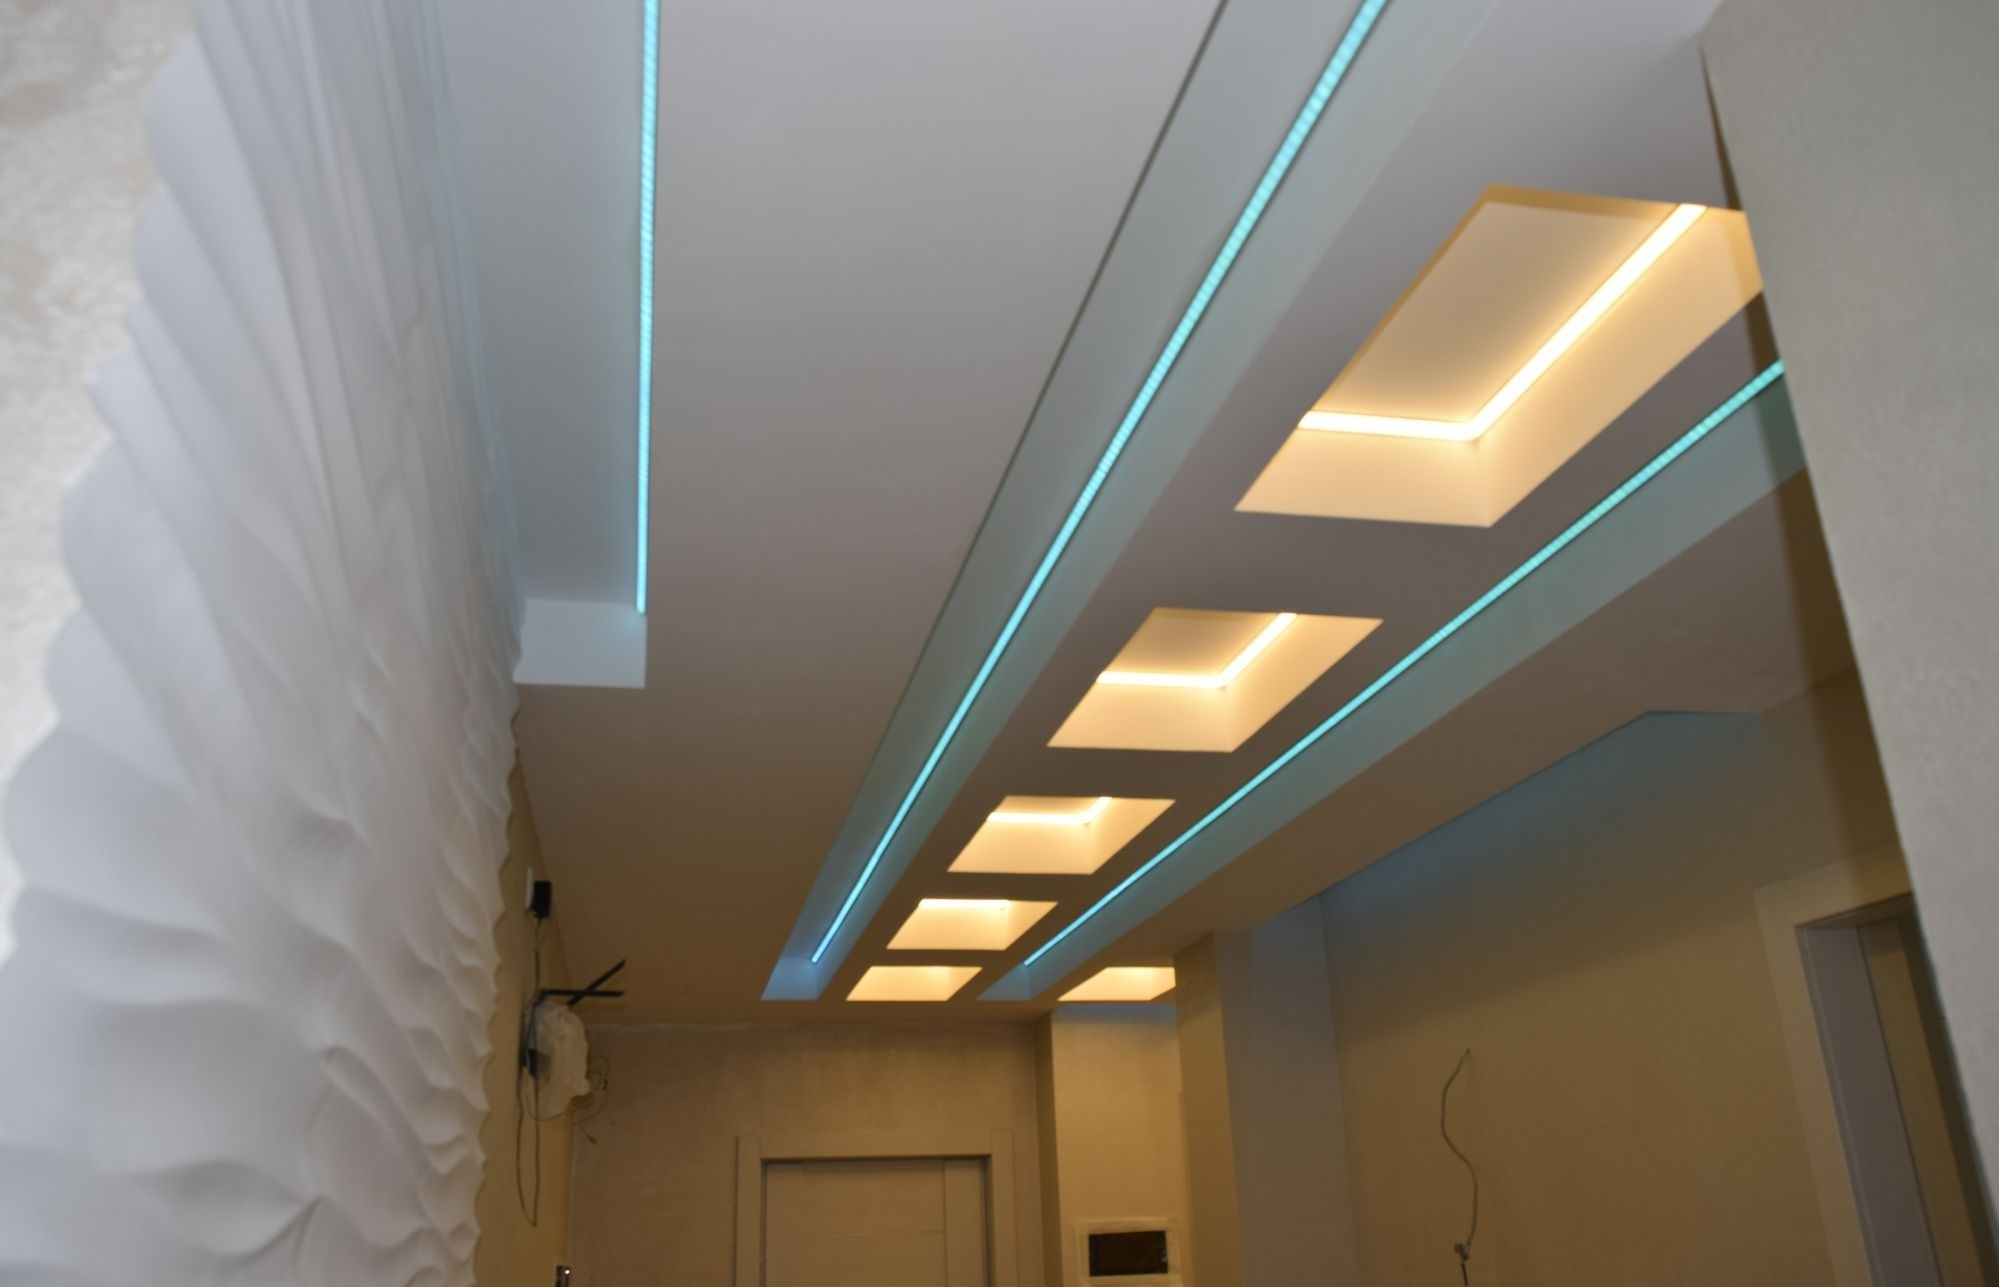
But nevertheless, ceilings with decorative figures, mainly geometric shapes or flowers, are deservedly highly popular. Most often they are placed in the middle, with edge lighting. Decoration is often performed on the second or third level. In some cases, they span two levels. The variety of decor is large enough, they choose it according to their taste.
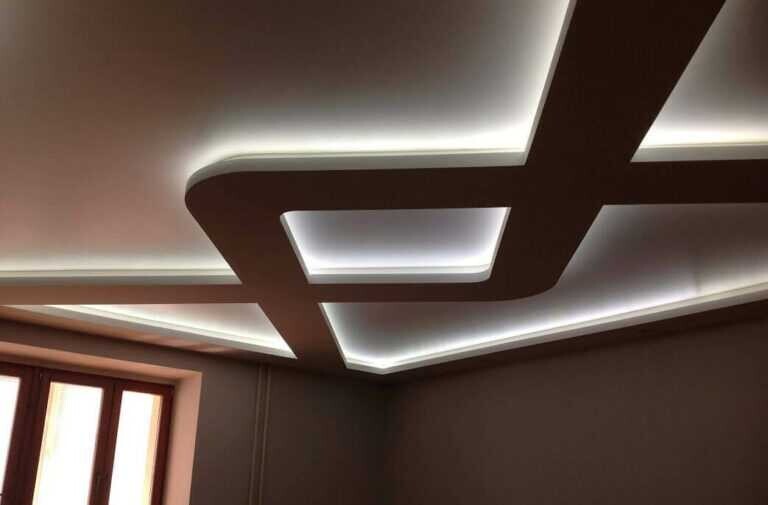
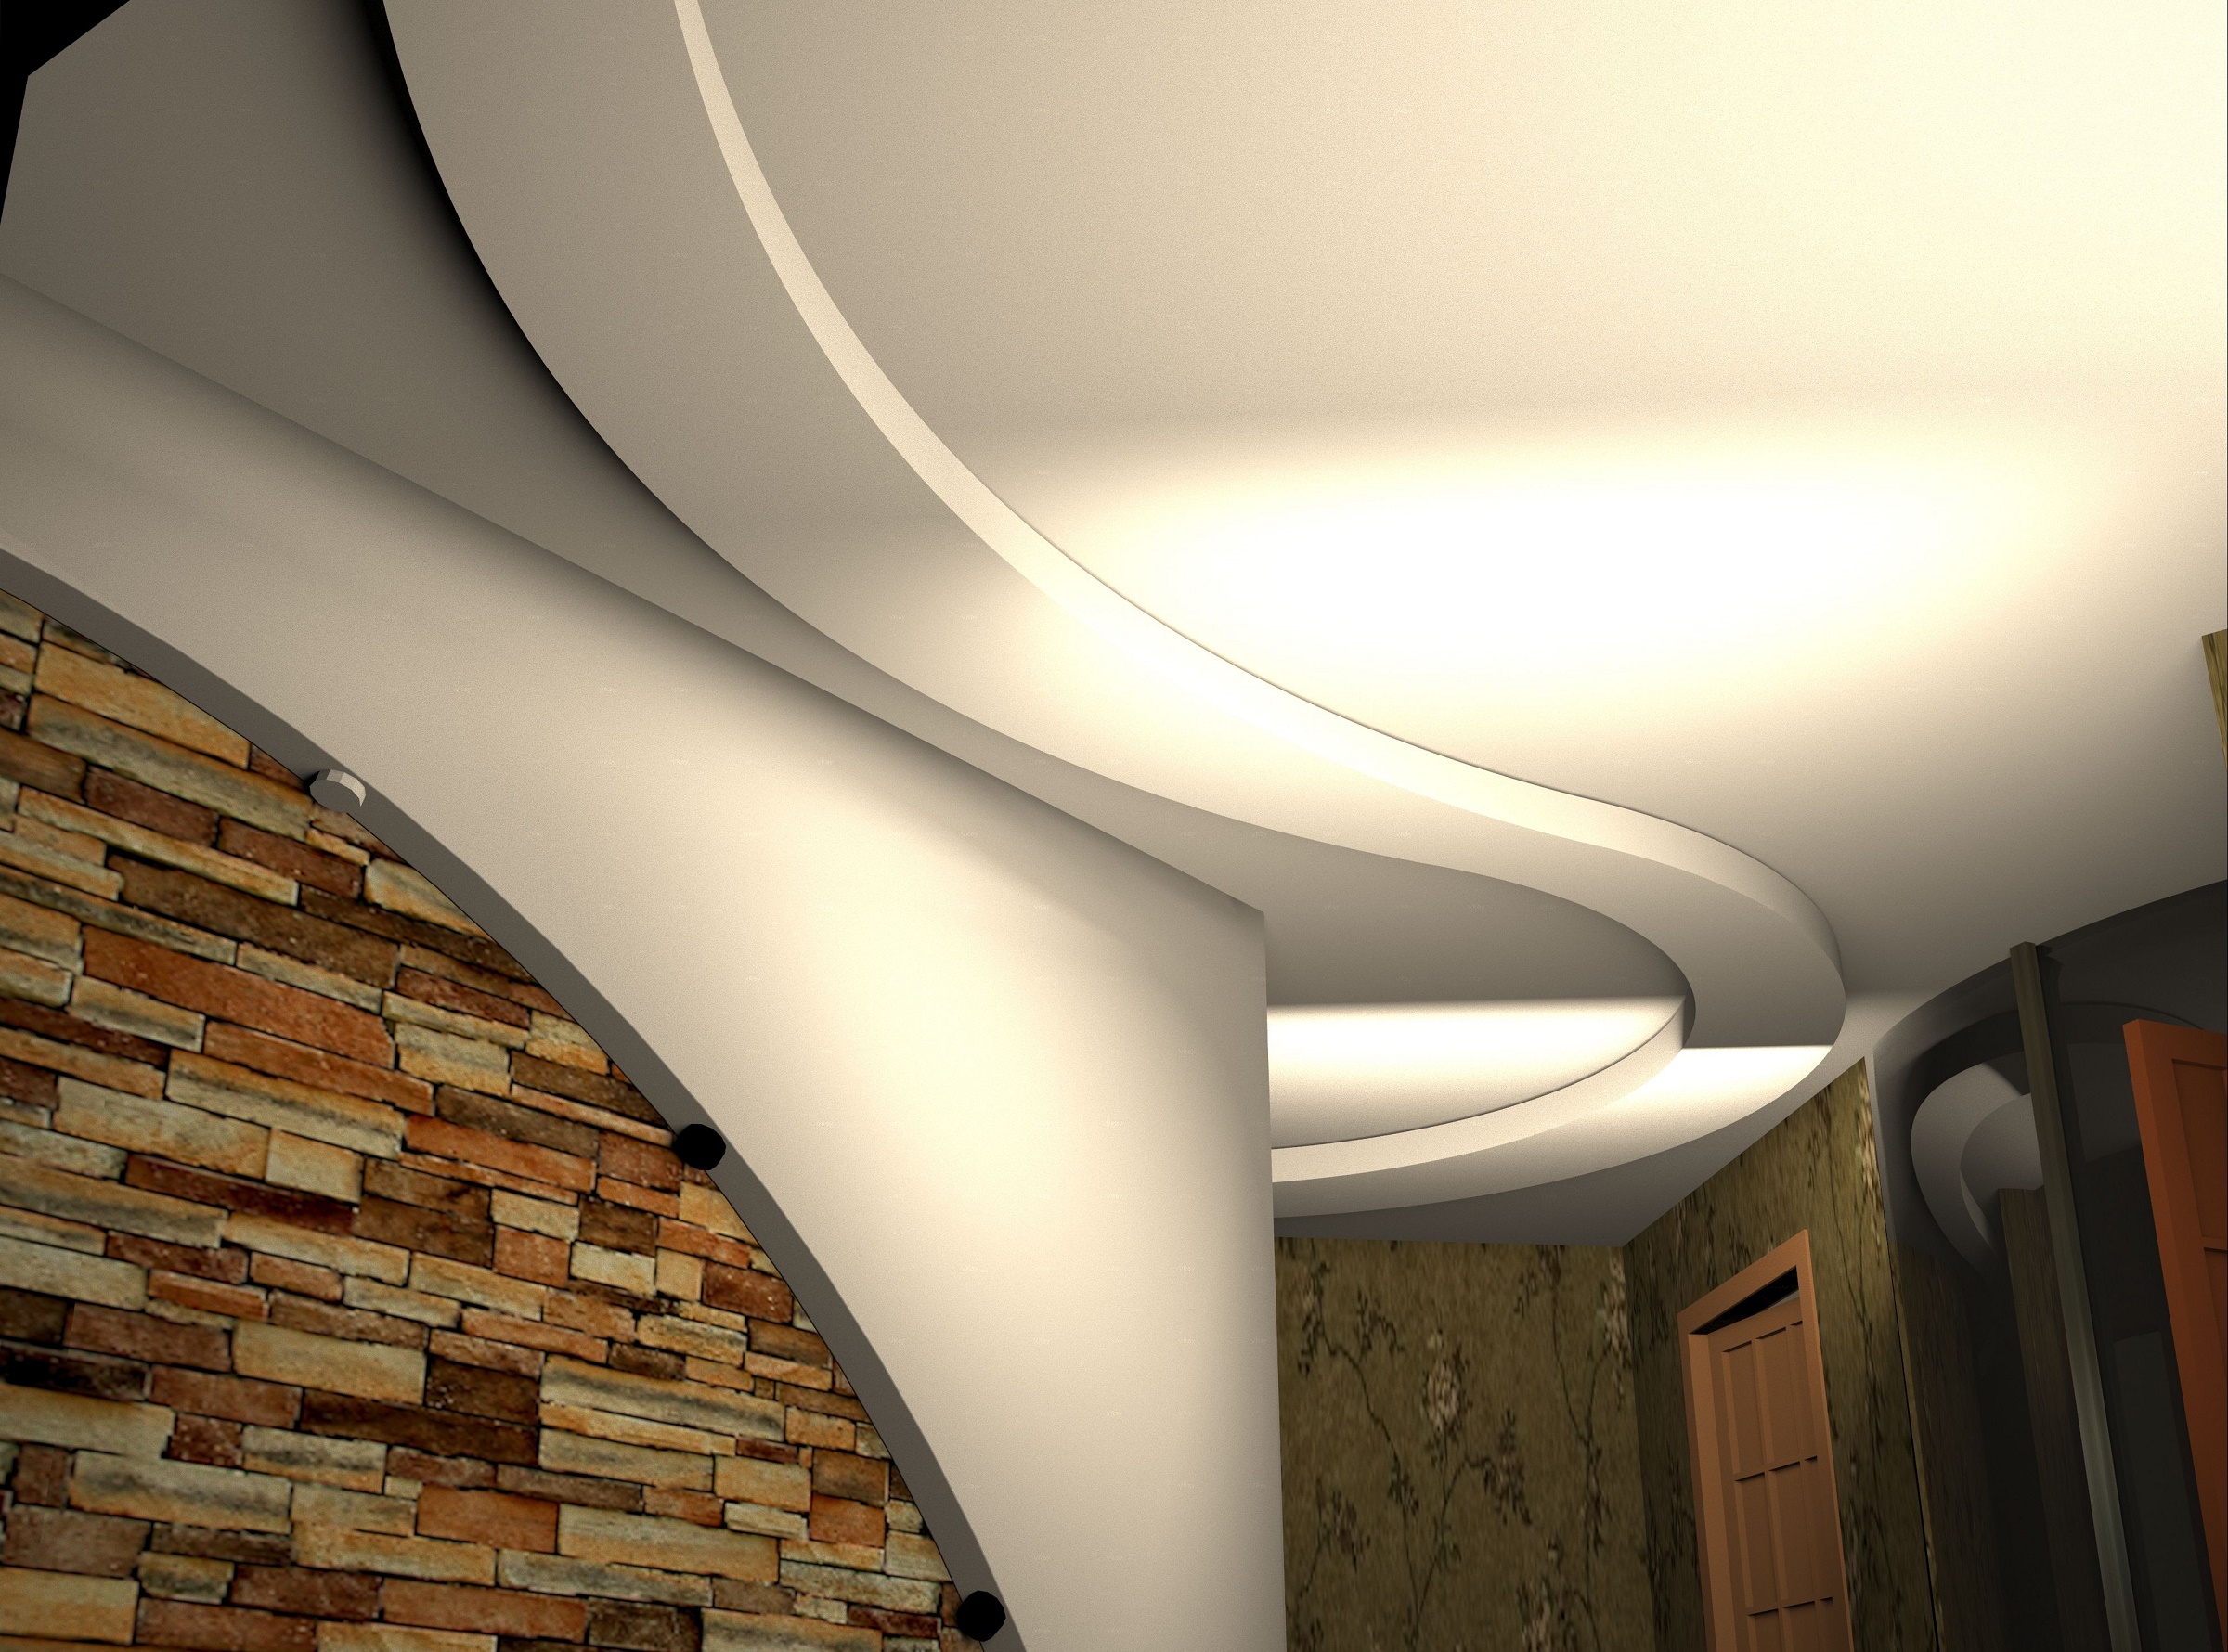
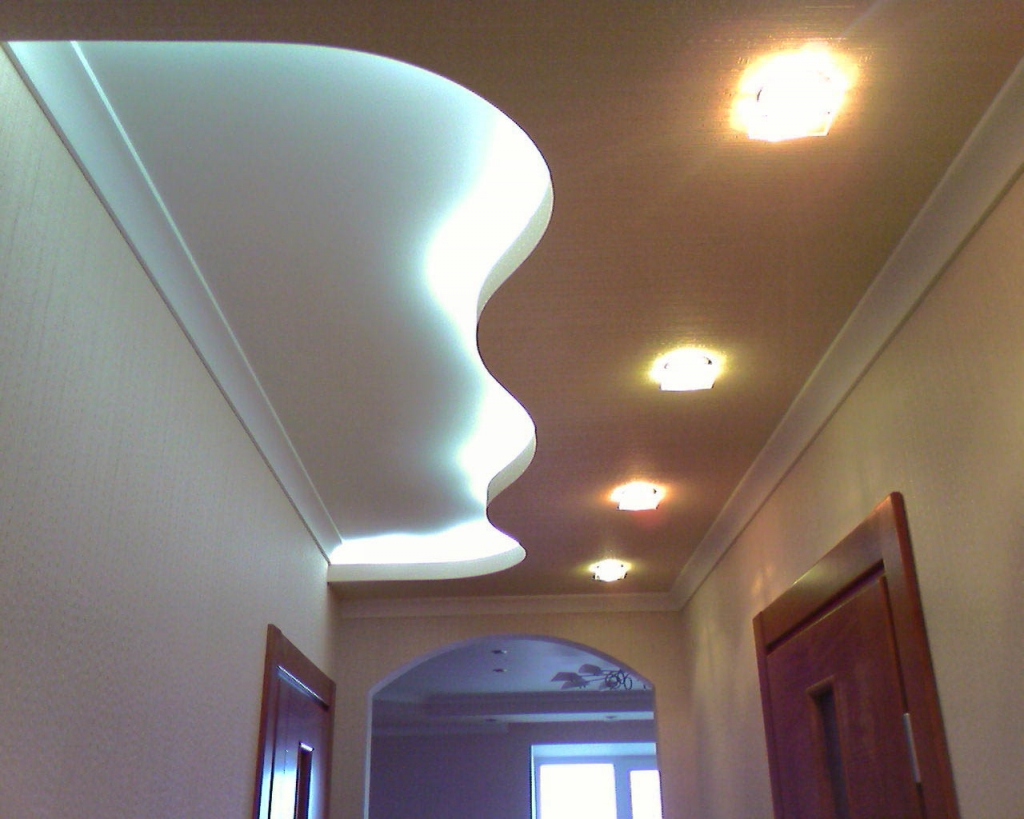
Connoisseurs of unusual design should choose abstract compositions. These are mainly spiral assemblies of an unusual shape. But you can find other solutions. In some cases, different parts are intricately combined; for the greatest mystery, backlighting and multi-colored tones are used. In some cases, a "floating" design turns out to be an attractive solution.

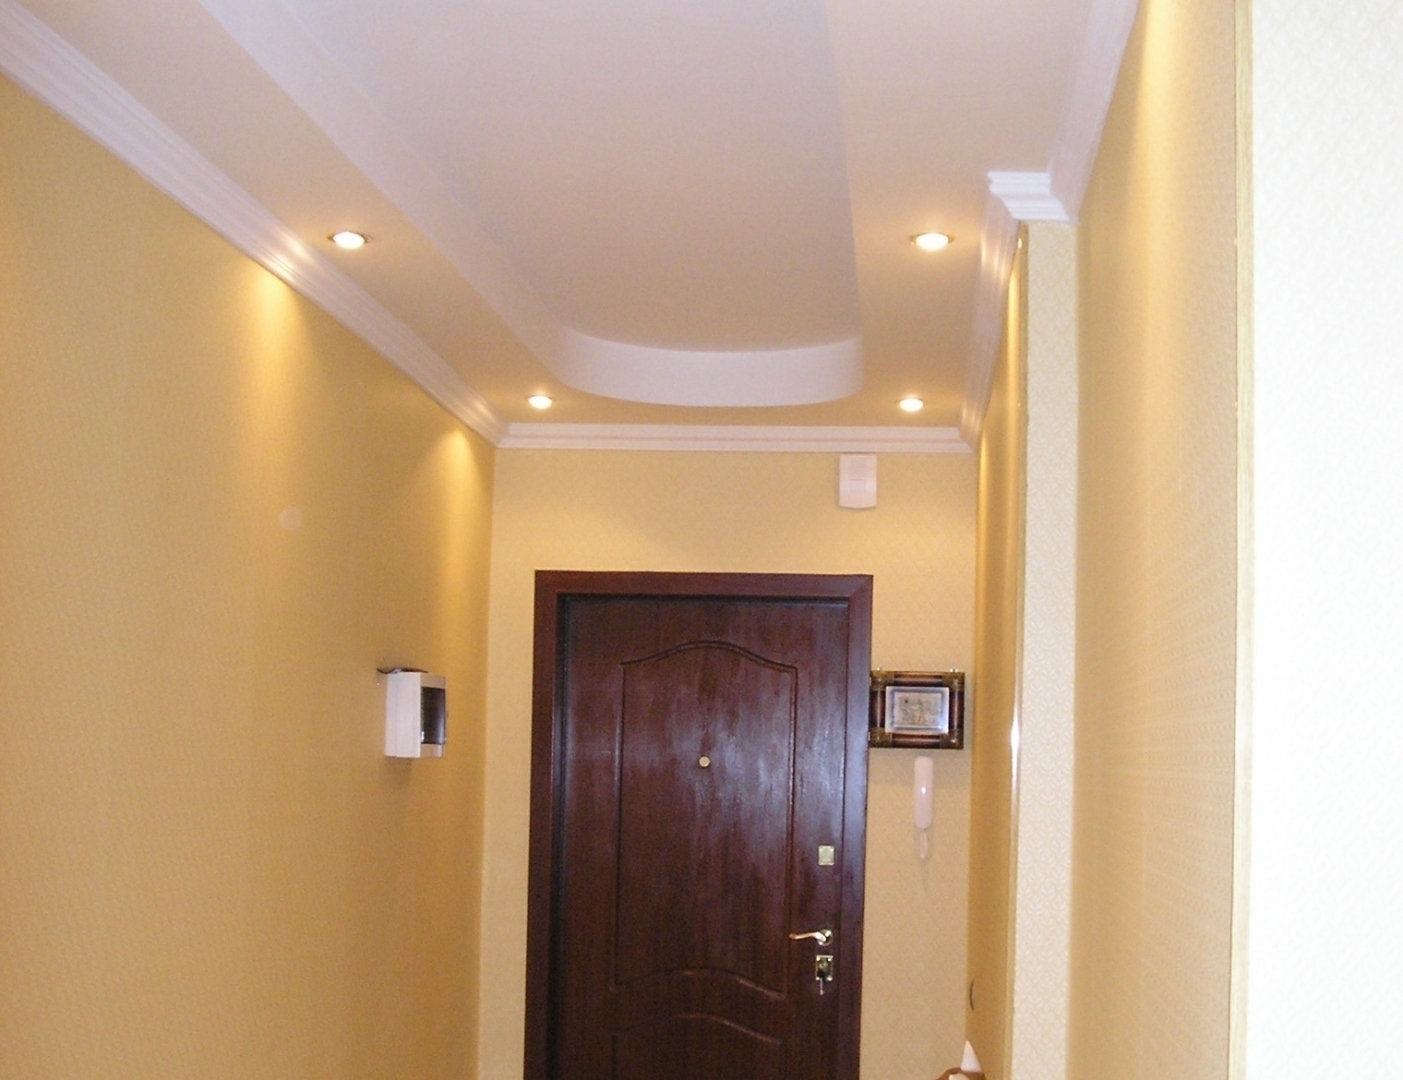
Lighting features
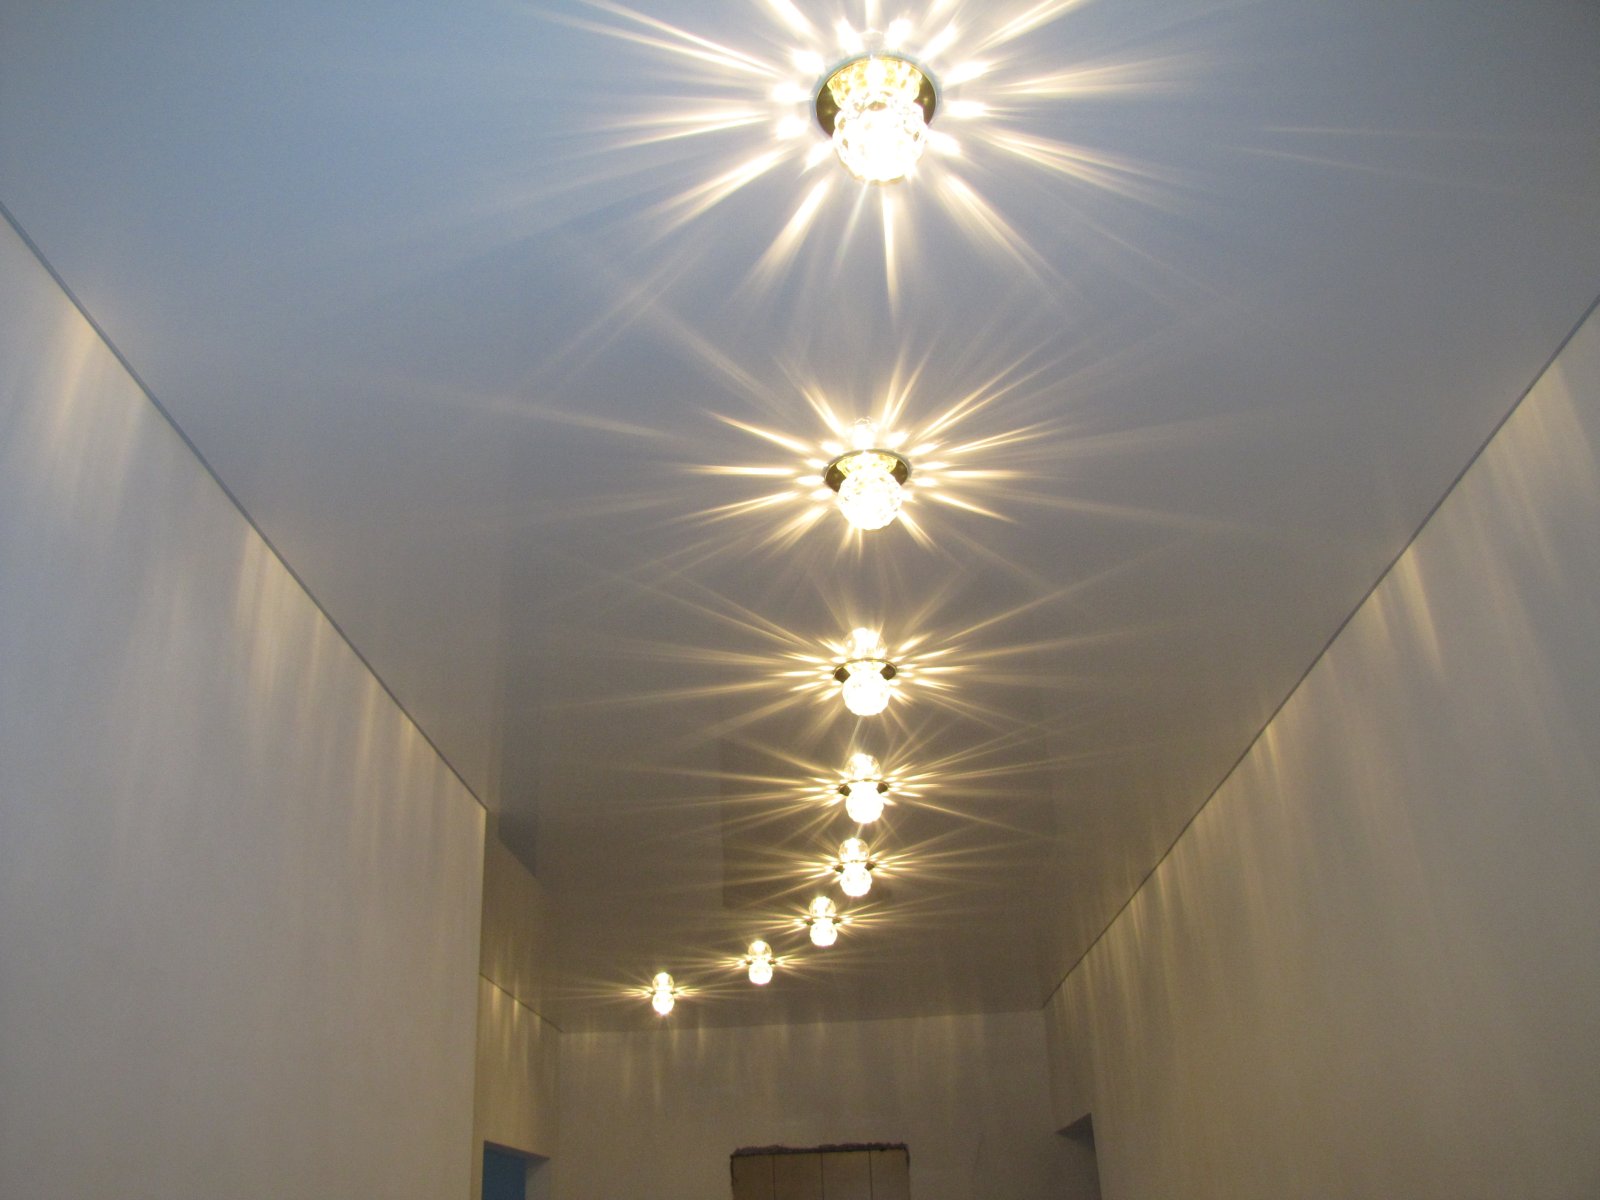
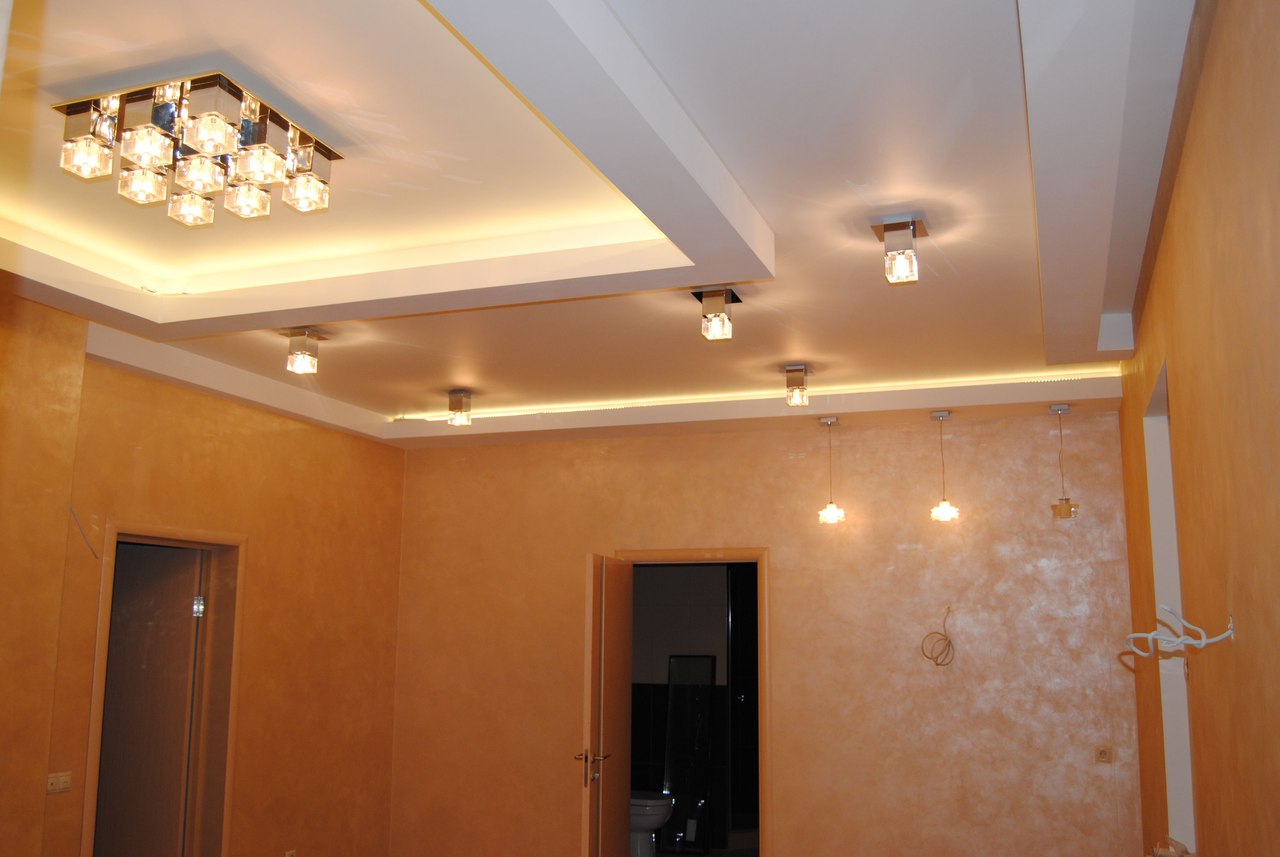
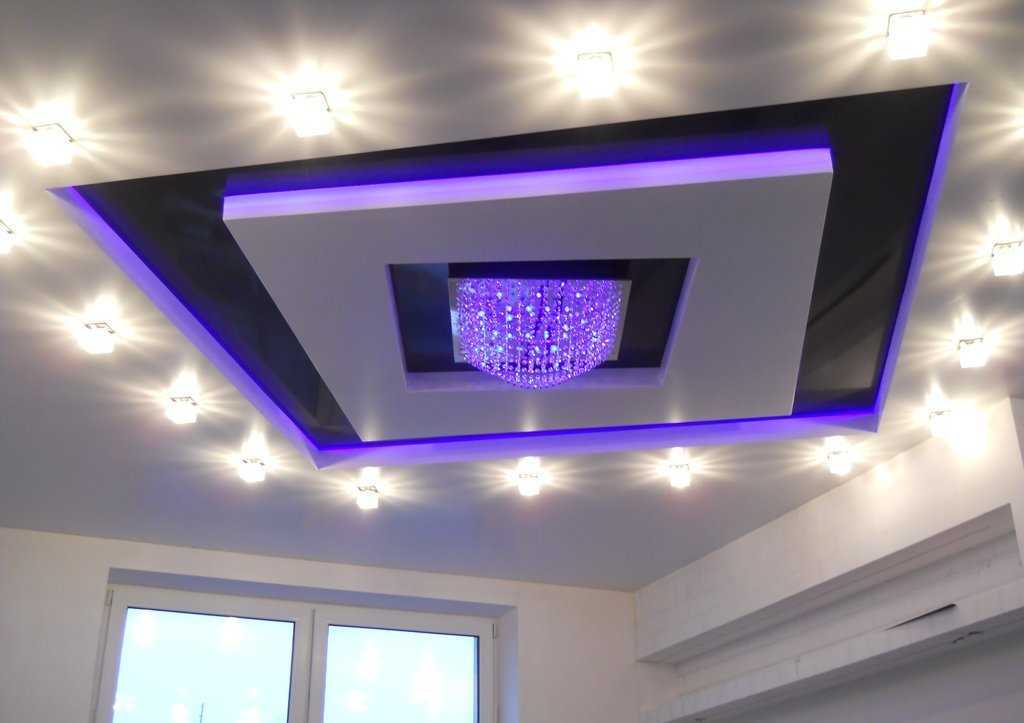
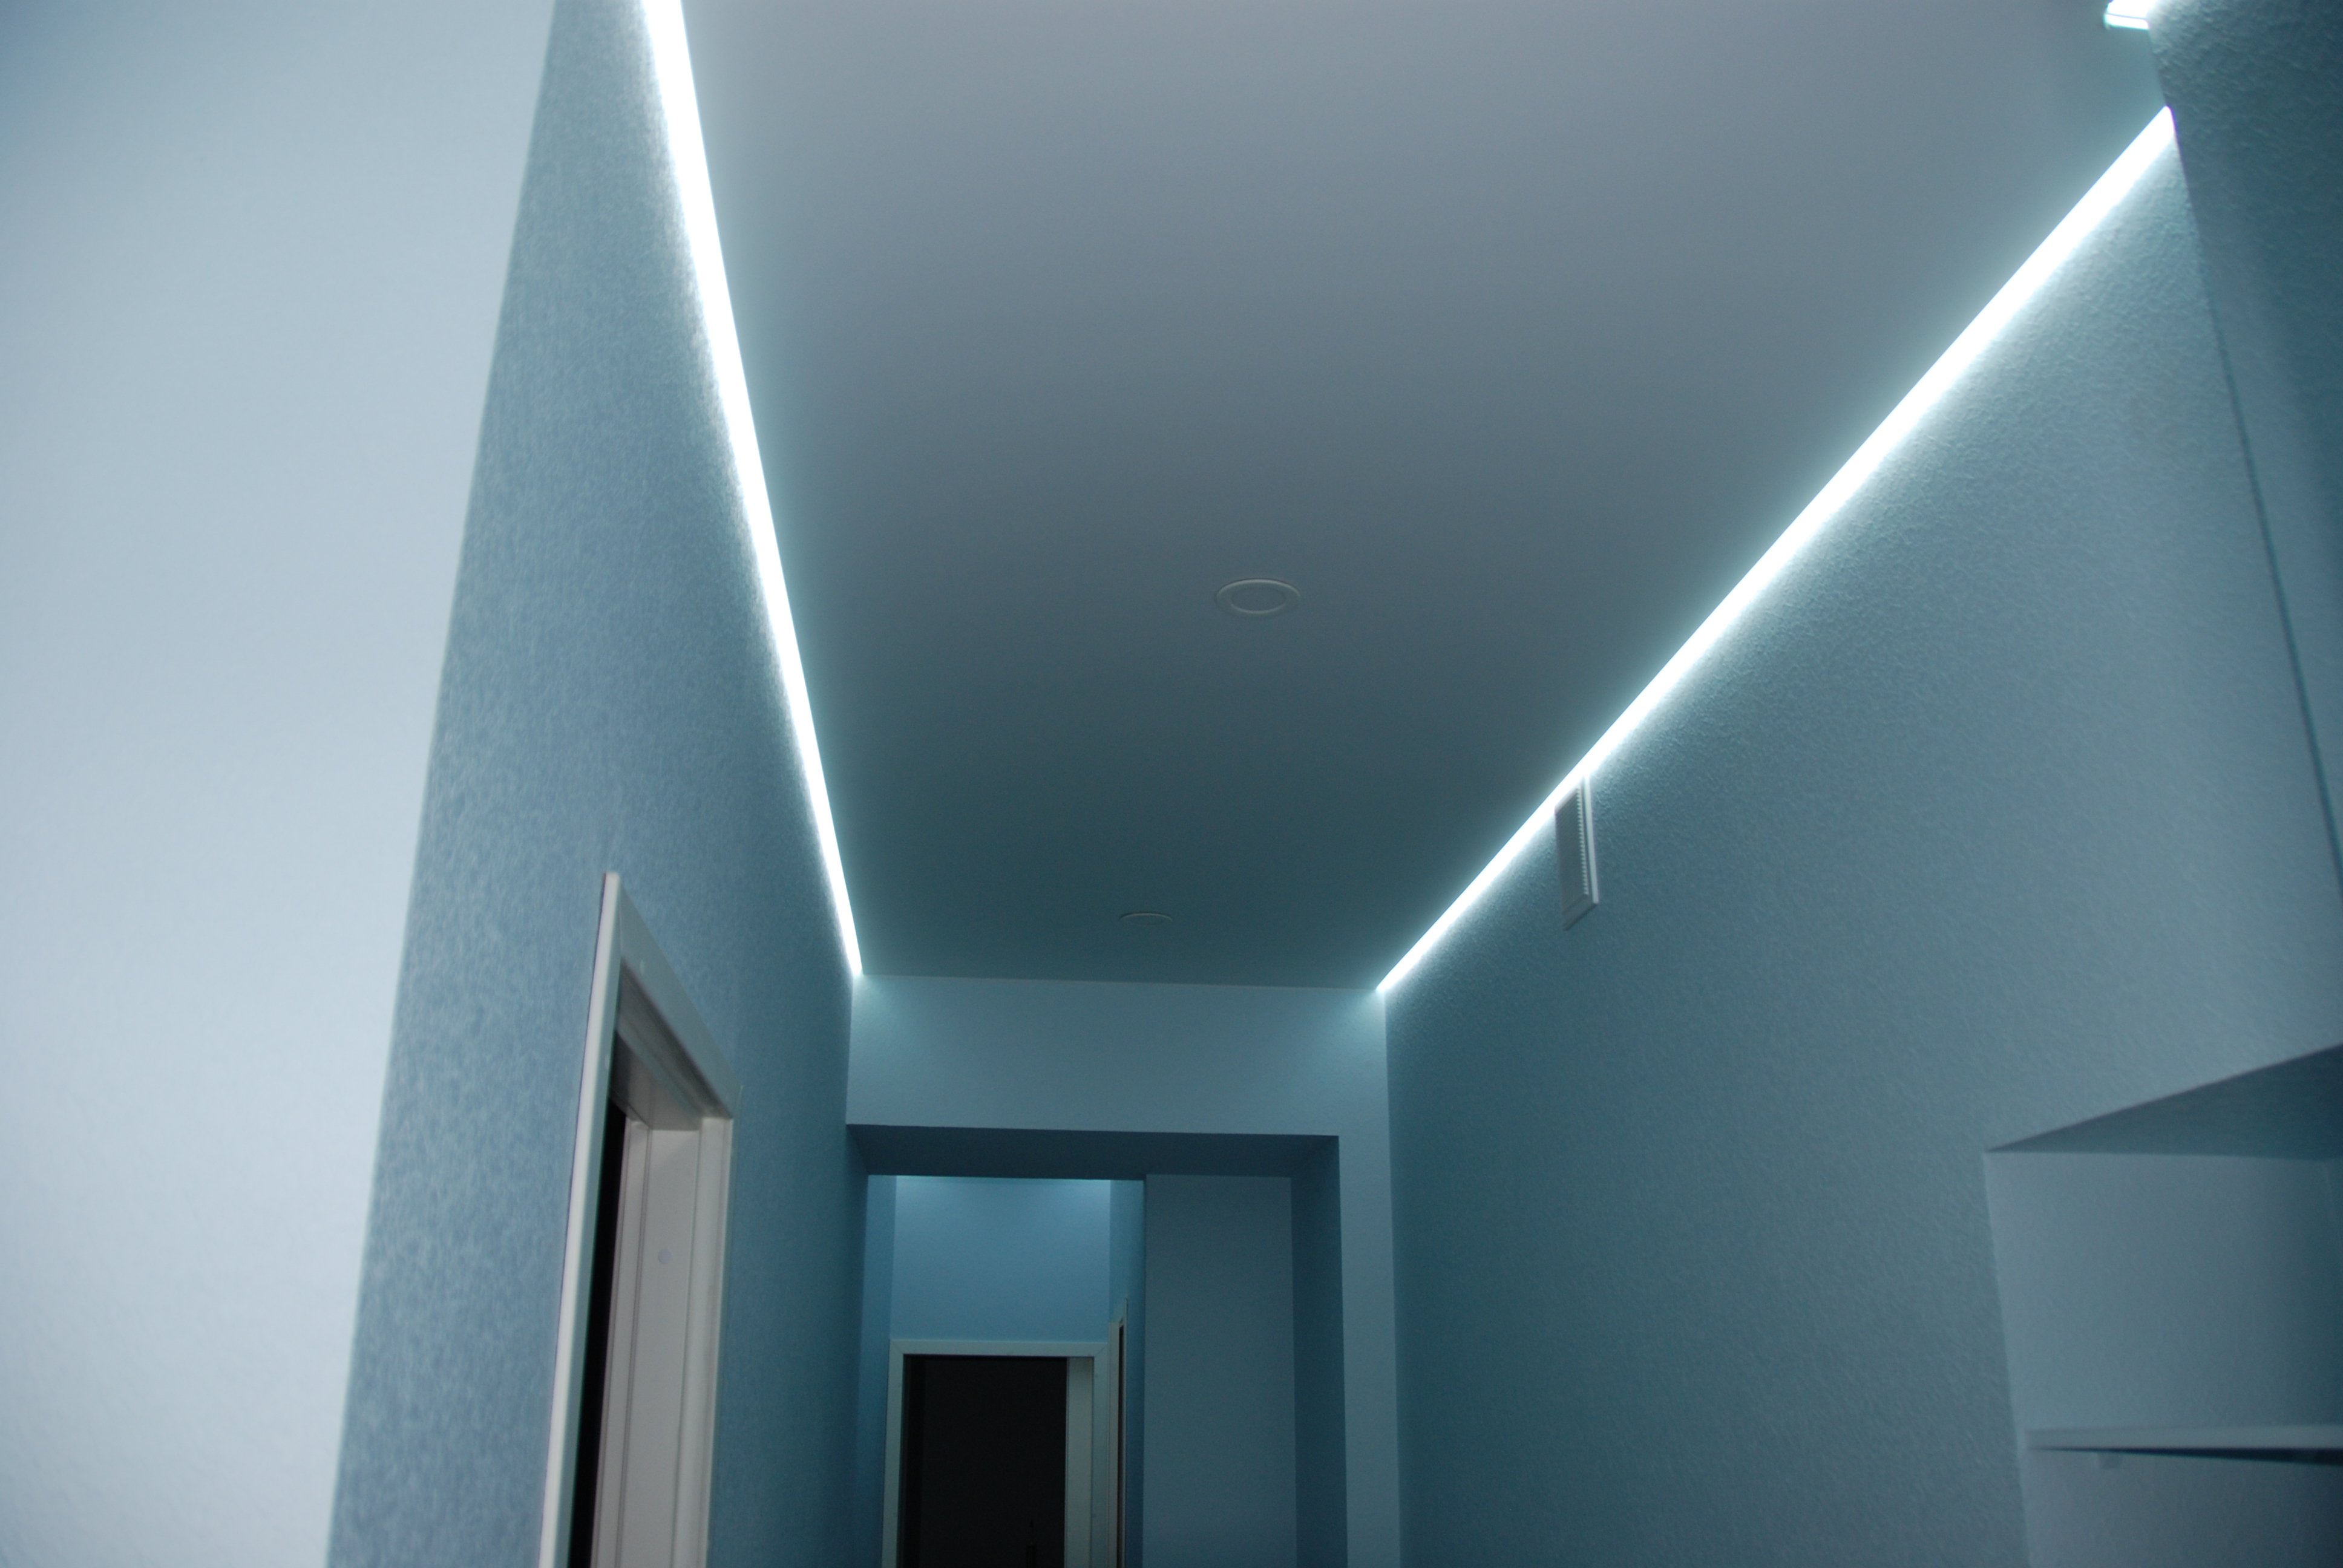
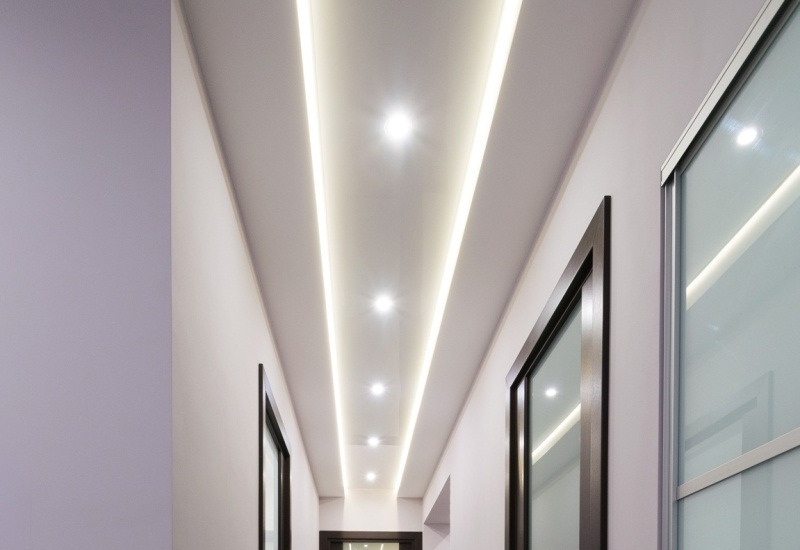
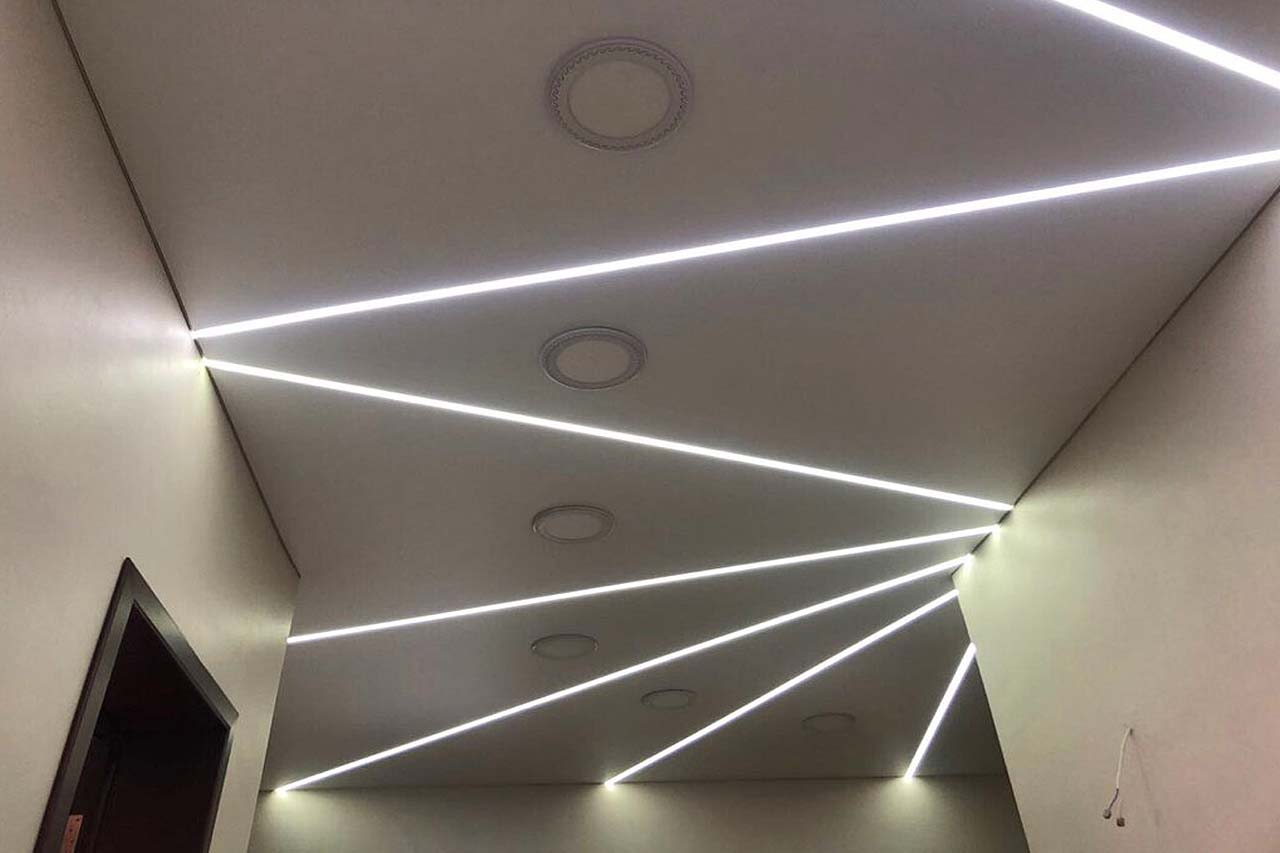
In an open circuit, you can illuminate a room in a direct and directional way. The lighting fixtures are clearly visible and become an expressive decor. With the hidden version, a soft diffused light is formed, which ensures comfort. In some cases, combined light is used. Most often, this design is chosen in suspended plasterboard ceilings.
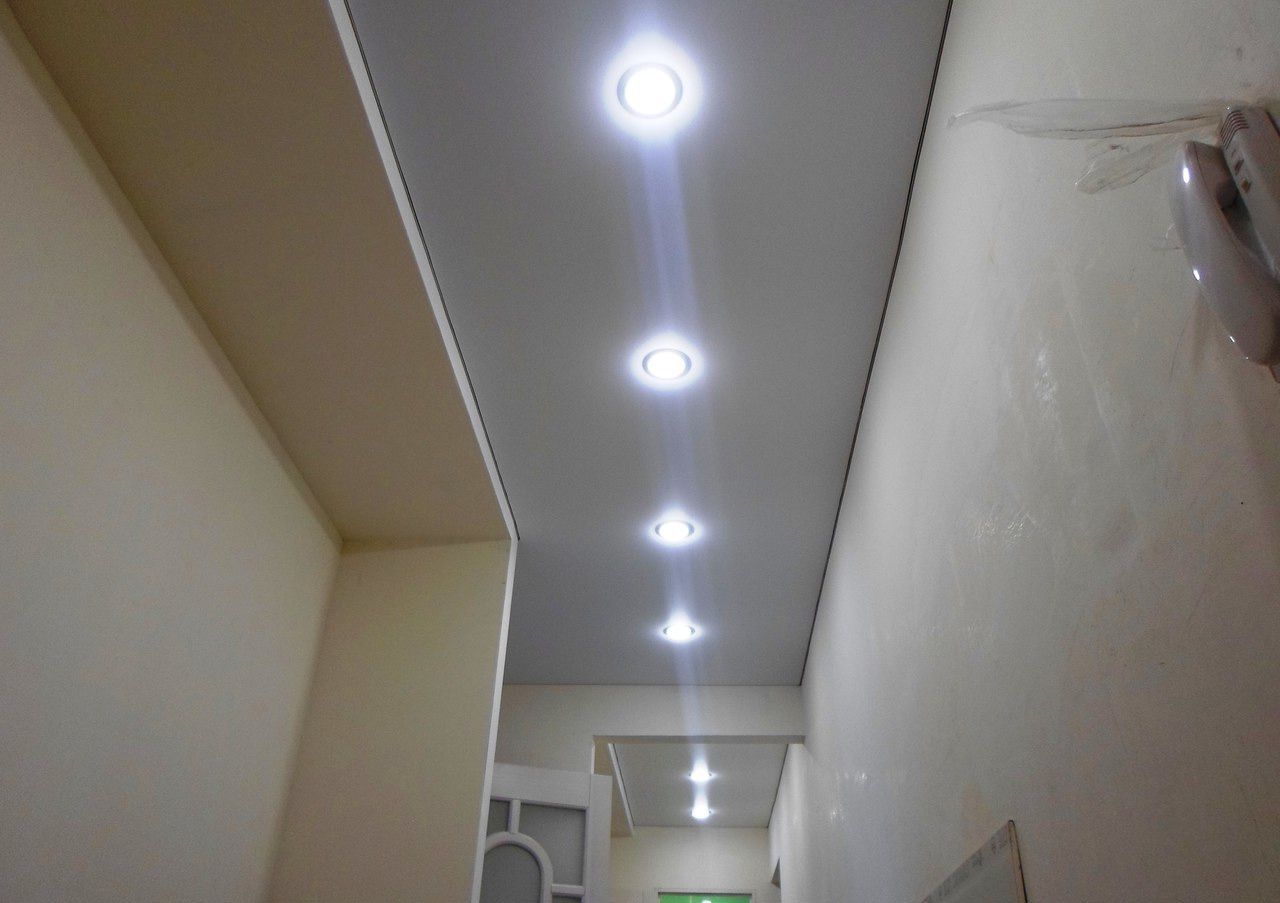
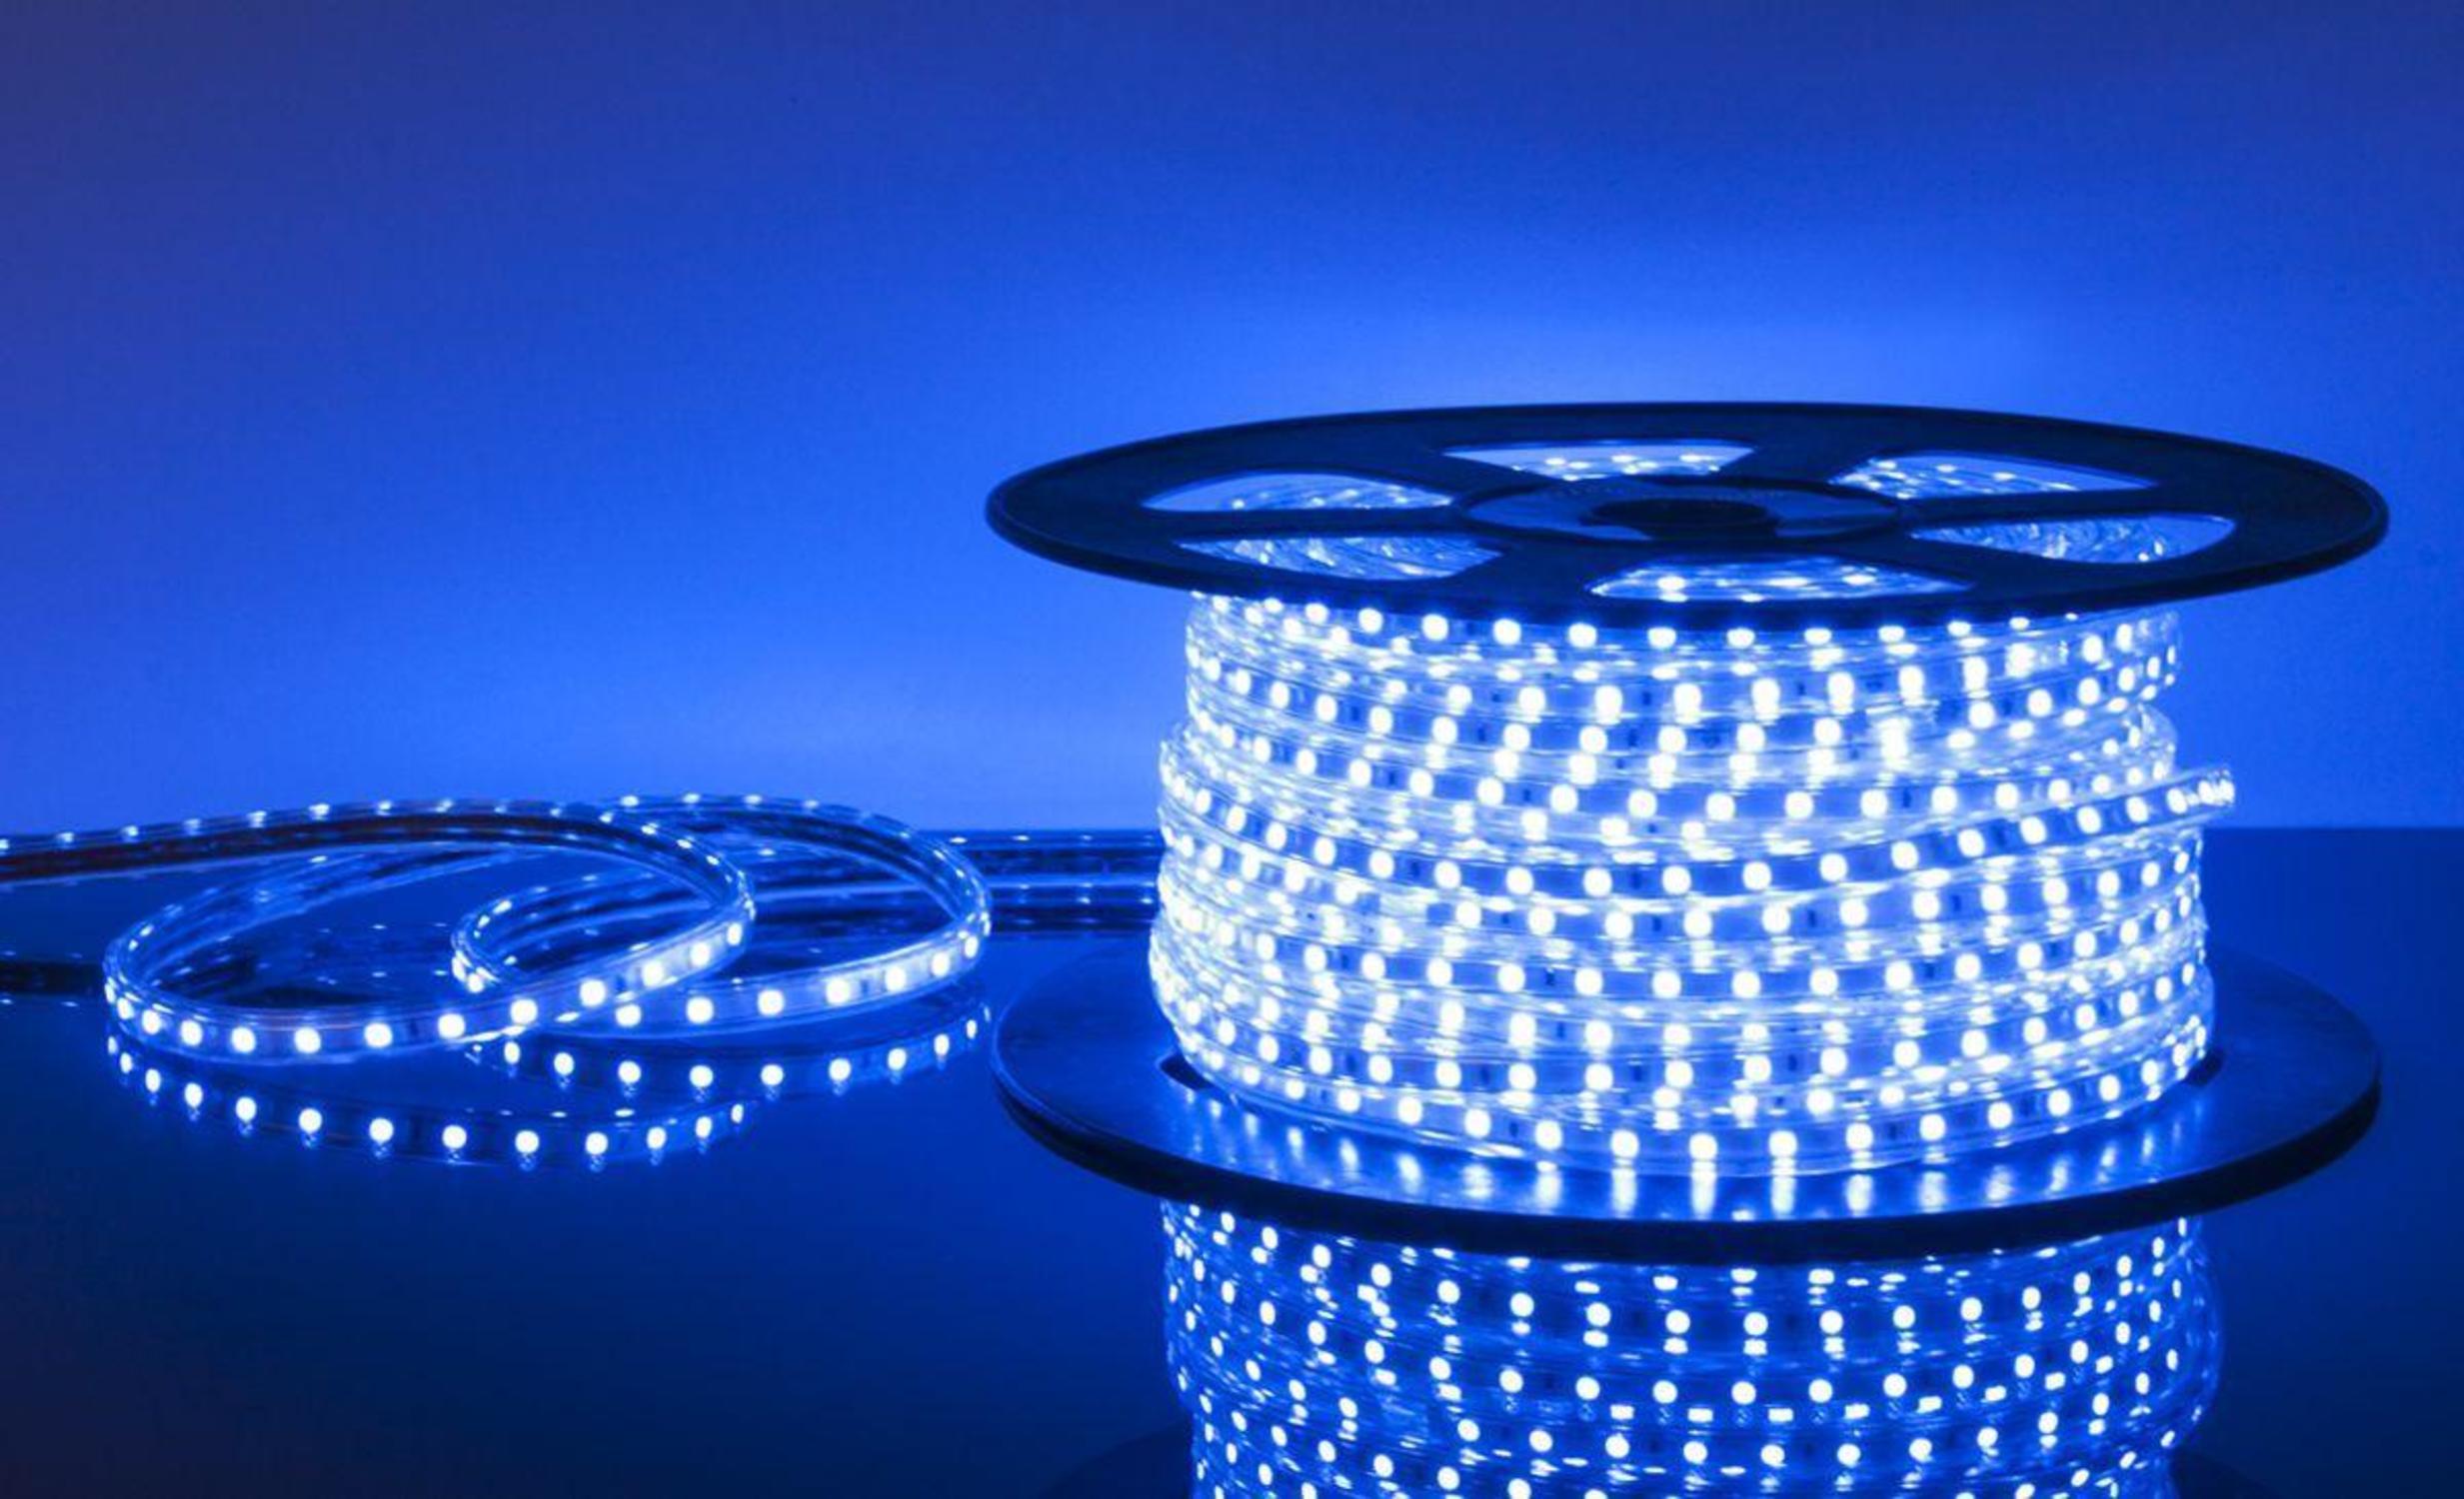
For reasons of economy, LEDs are often used. Their efficiency is 80%.
In the open version, they combine chandeliers, spot LEDs. Luminescent models can also be included in the composition. This combination shines efficiently and brightly.
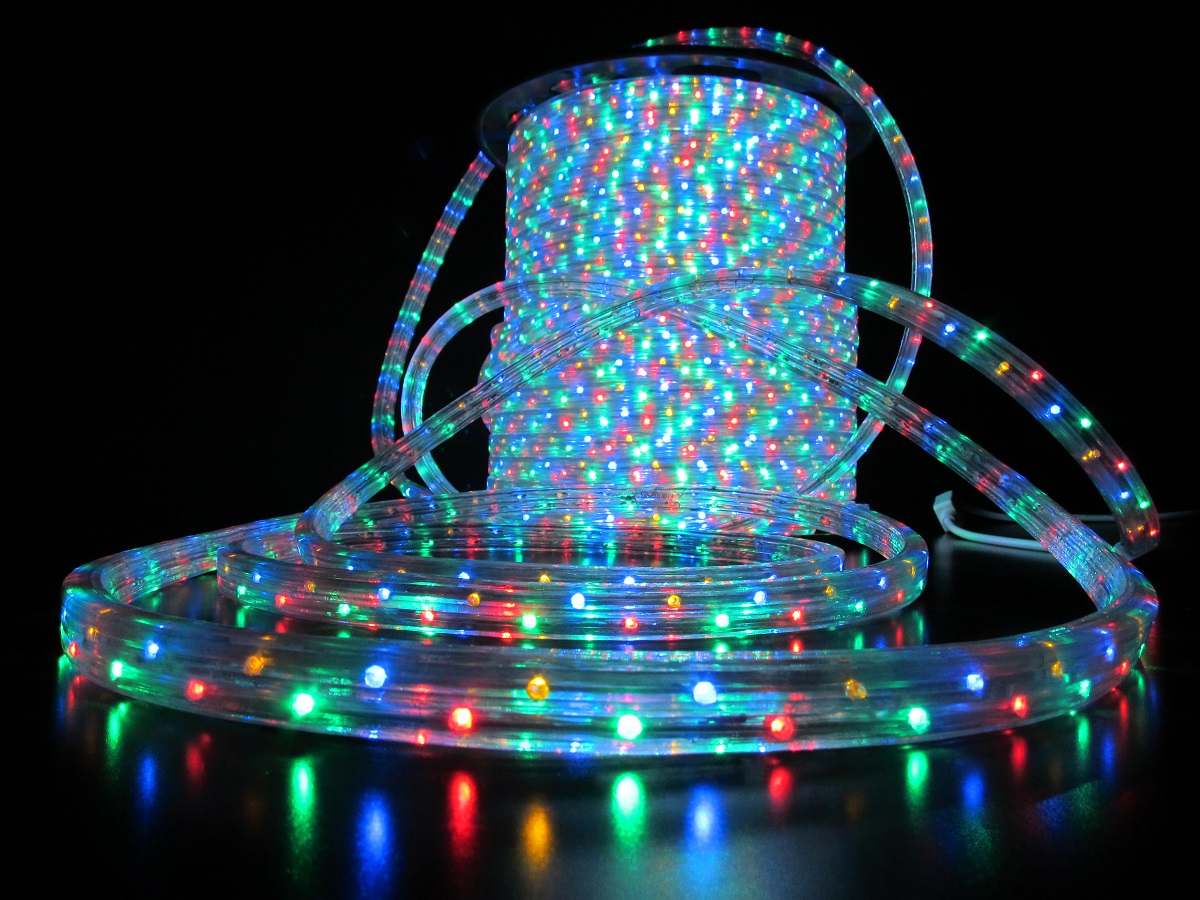
The hidden light is formed by:
-
duralight;
-
LED strips;
-
flexible neon ribbons.

How to do it yourself?
For work, in addition to the GCR itself, you will need:
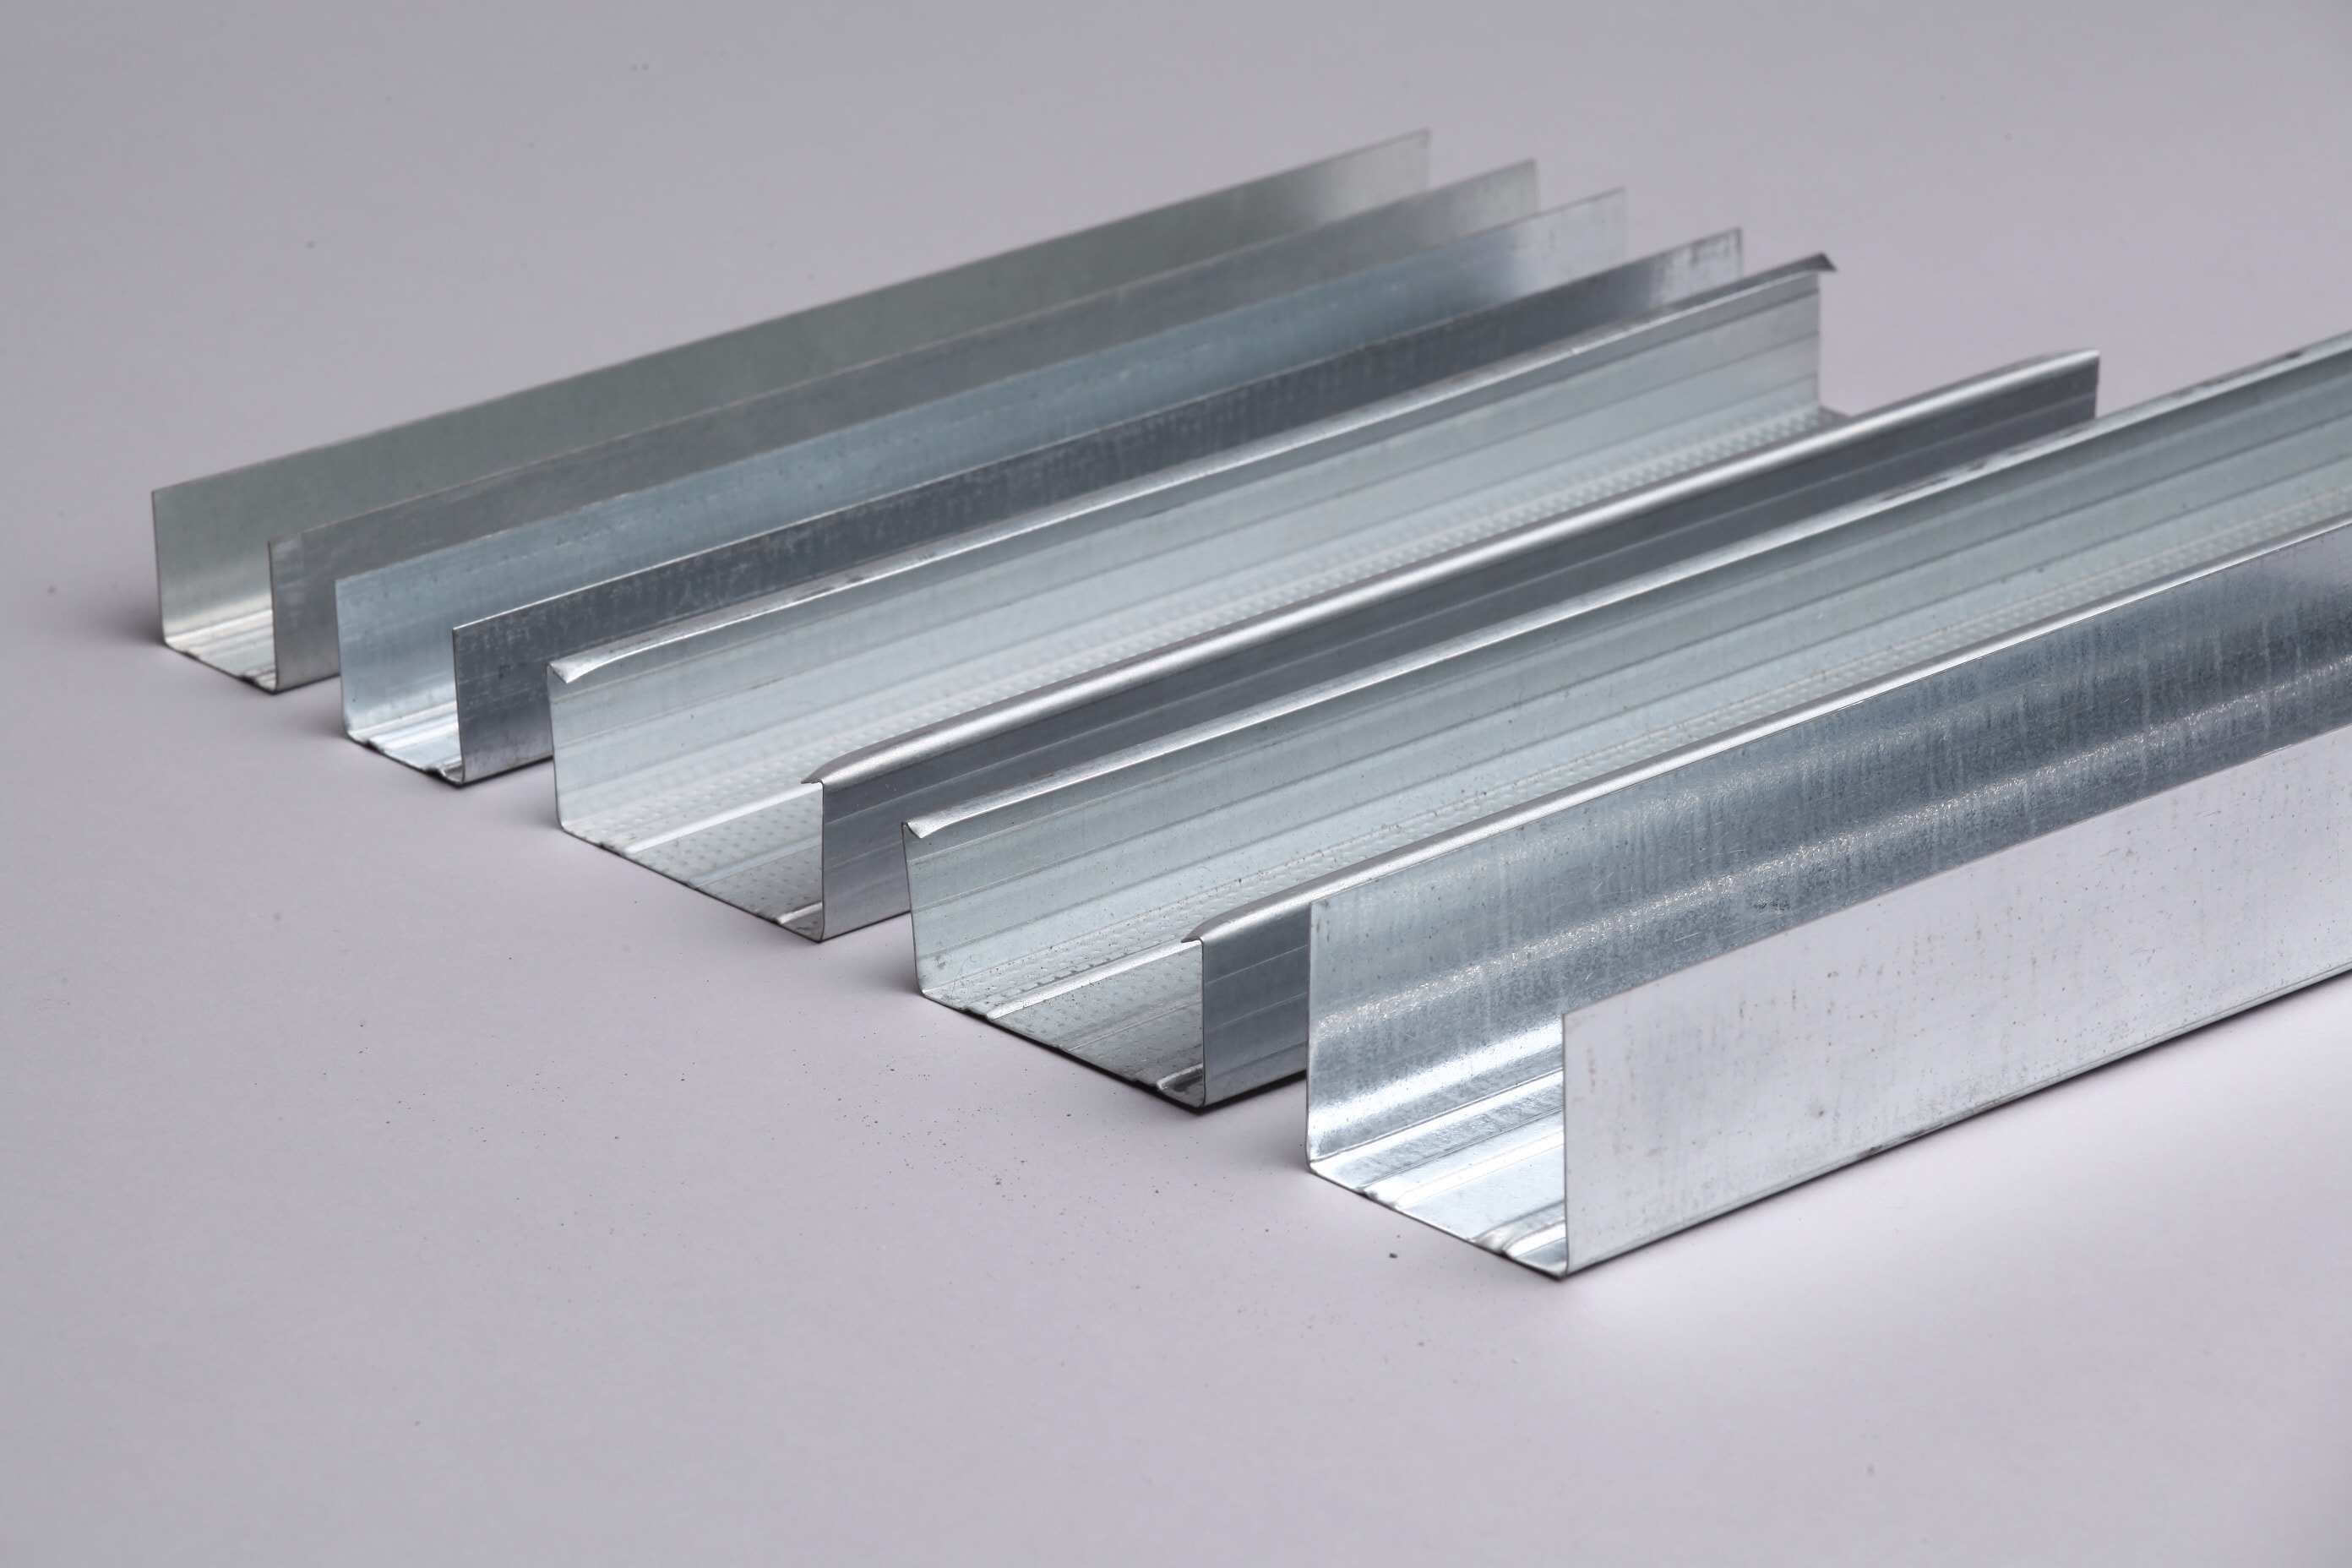
-
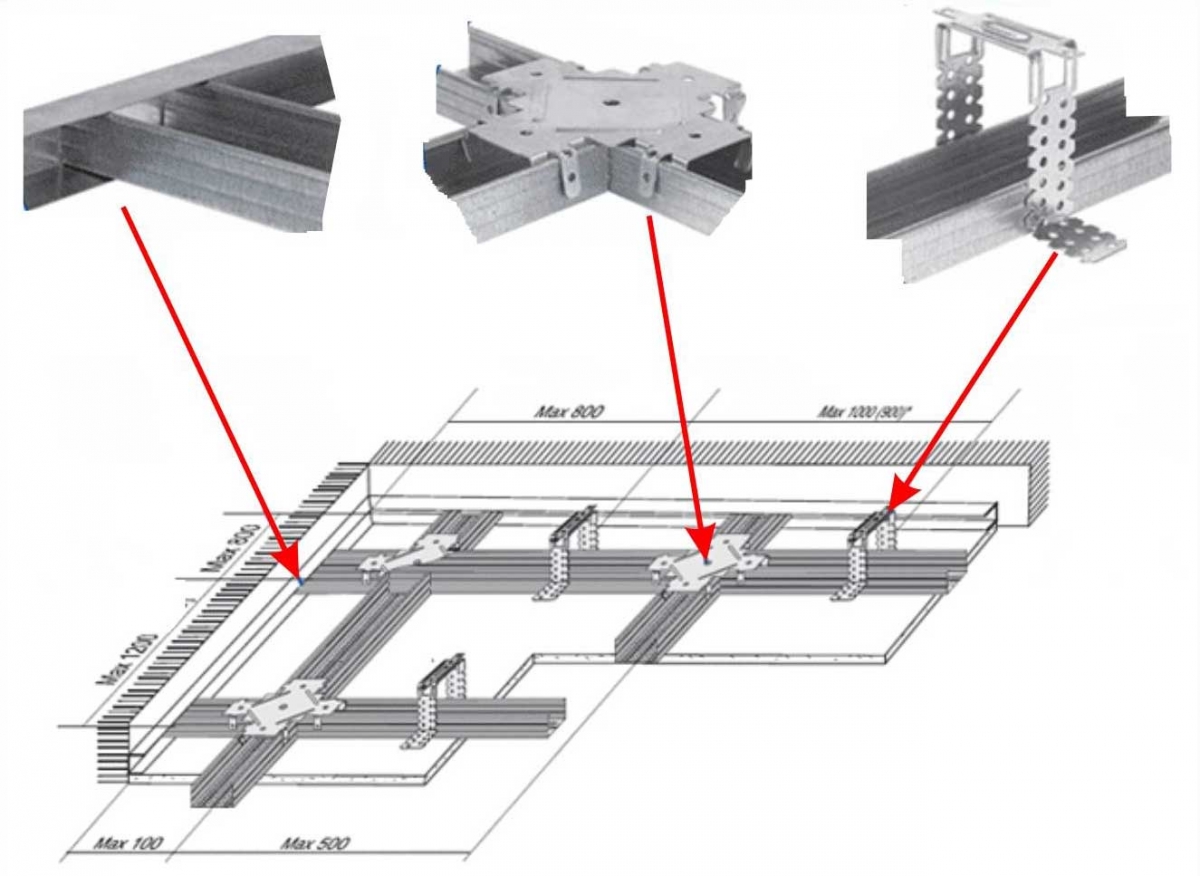
steel profile of the guide and bearing types;
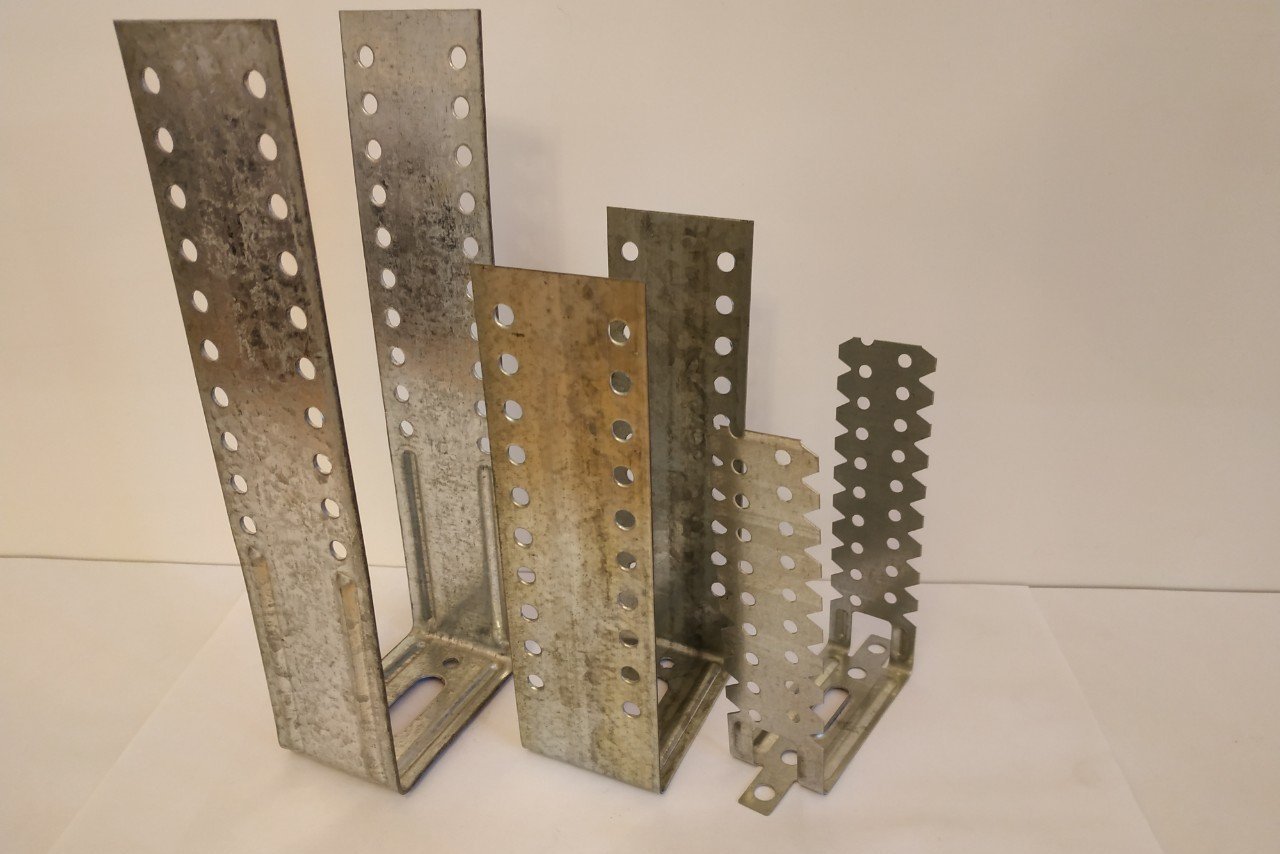
-
suspensions in the form of the letter P;
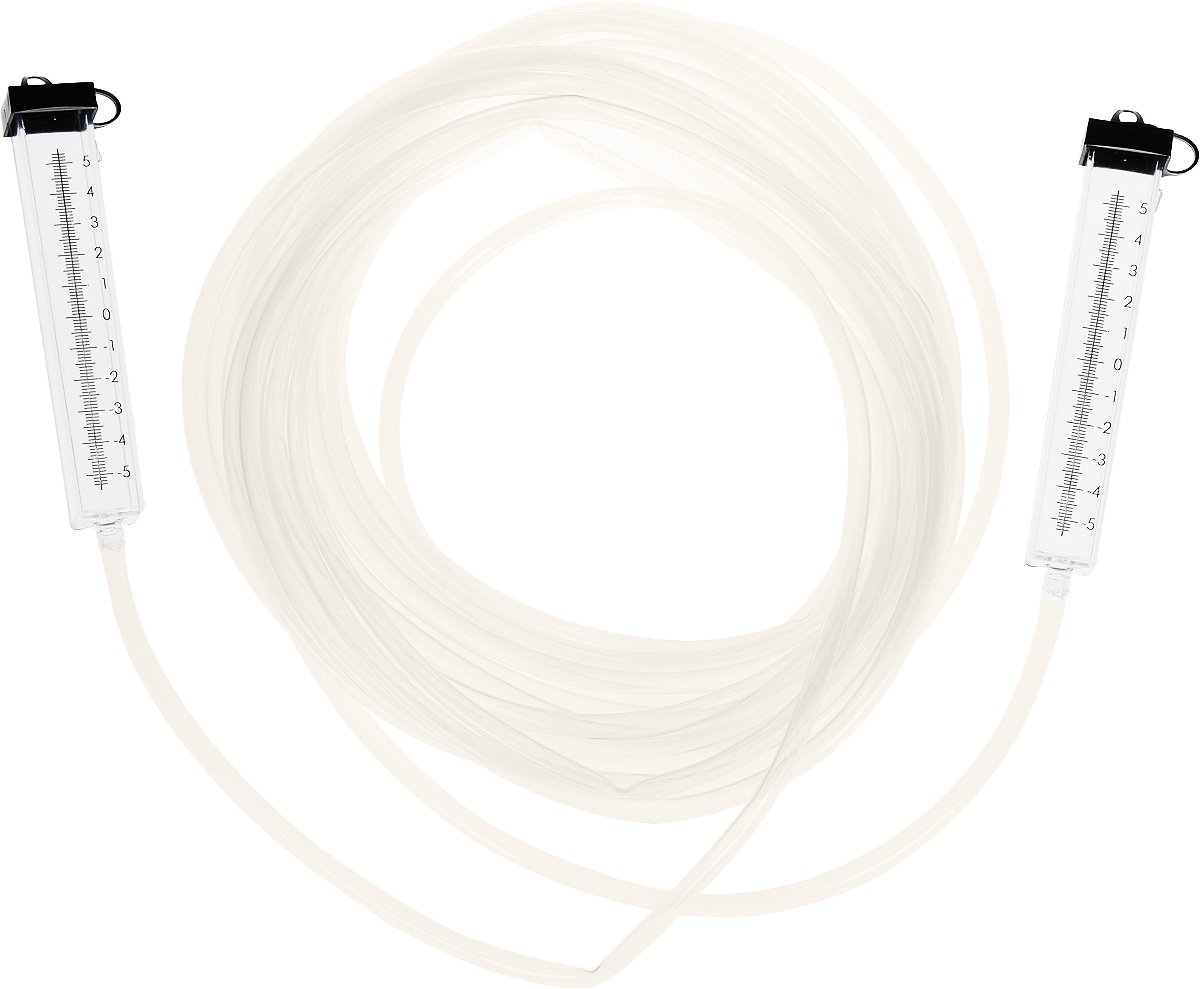
-
hydro level;
-
medium hammer;
-
line for marking with paint;
-
carpentry tape and pencil;
-
self-tapping screws for screwing into metal;
-
fixing screws;
-
a screwdriver and a perforator (it is more correct not to buy them, but to take them on a short-term lease).

It is necessary to mark the surface taking into account the installed lamps and the existing communications. The top of the profile is necessarily 10-20 mm lower than the bottom of the pipe or cable duct. This allows for maneuvering when aligning the frame. The transfer of points to the corners of the perimeter is carried out strictly according to the level. Additional check - on the cord.
Exactly along the outlined lines, it will be necessary to put guides that are held on the suspensions. Important: if the ceiling structure lowers strongly, "spokes" are needed instead of suspensions.

The carriers should run along all the edges of the sheets and in their middle. Frame lintels must be placed in 500 mm increments. For your information: in narrow corridors, you can do without jumpers.
The alignment of the frame can be done not only along the threads, but also using the rules containing the built-in level. After correct fastening of the profiles, the sheets will be laid out evenly and clearly. The structures will have to be cut to a minimum. It is more correct to work with an assistant: someone holds, and someone looks at the result. There are no more special difficulties in elementary cases, and if the ceiling still needs to be thoroughly put in order, you need to turn to professionals.
How to make a plasterboard ceiling with your own hands, see below.


