Making a shoe rack in the hallway with your own hands
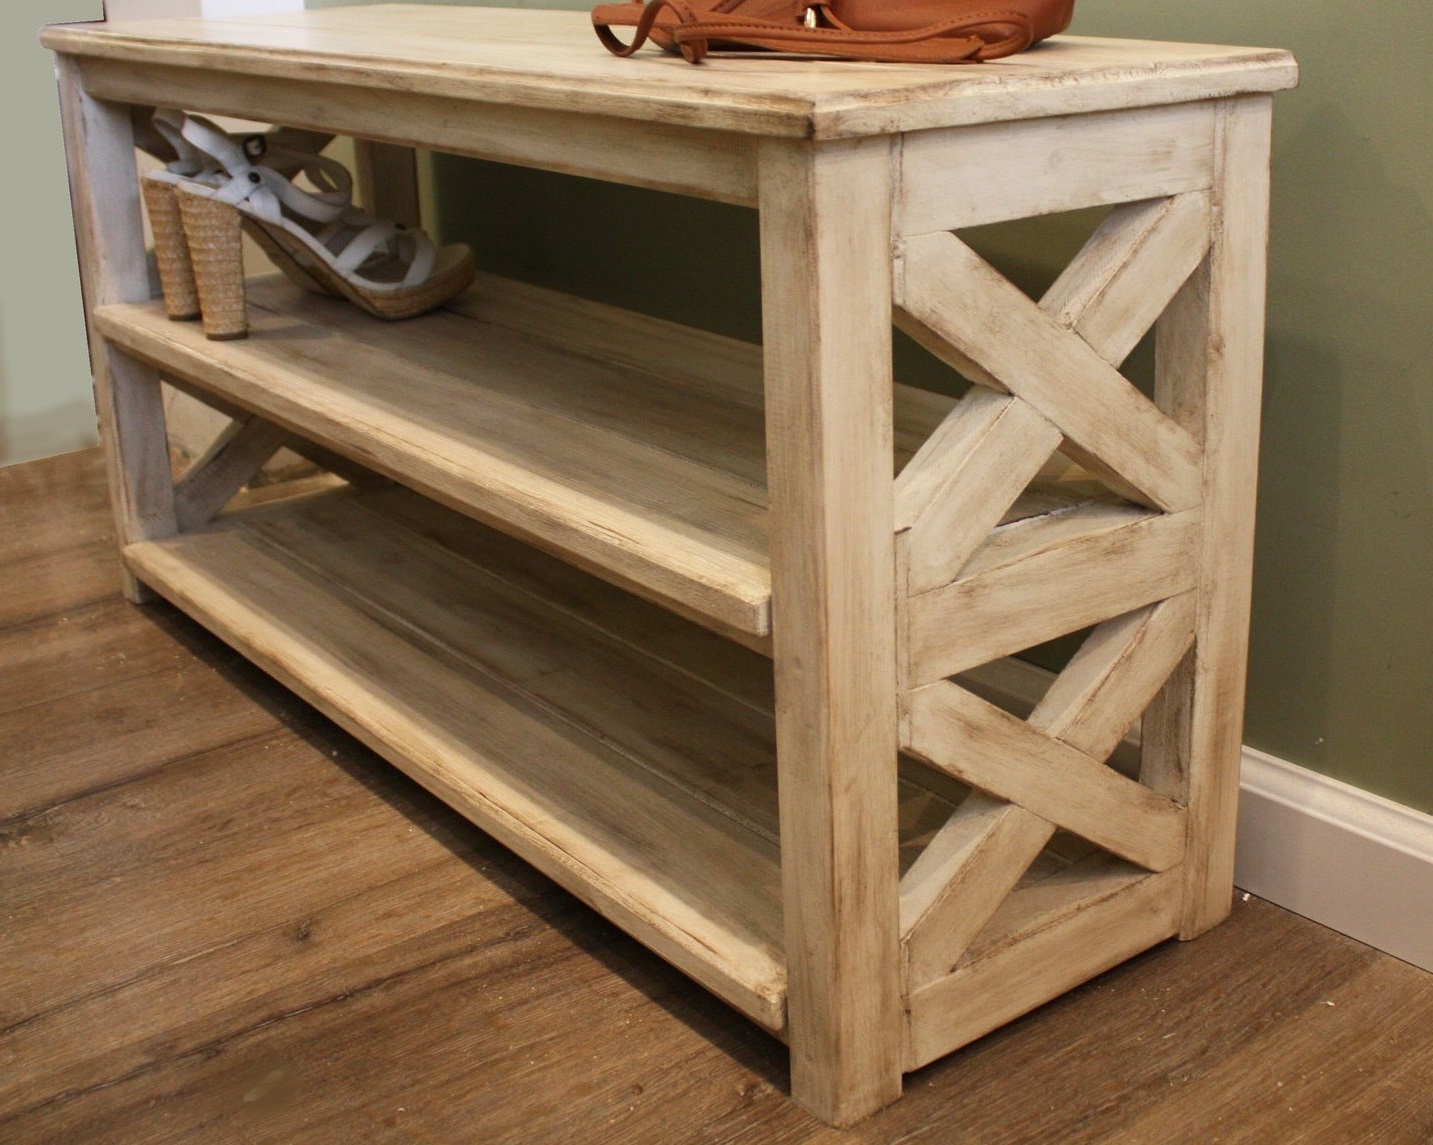
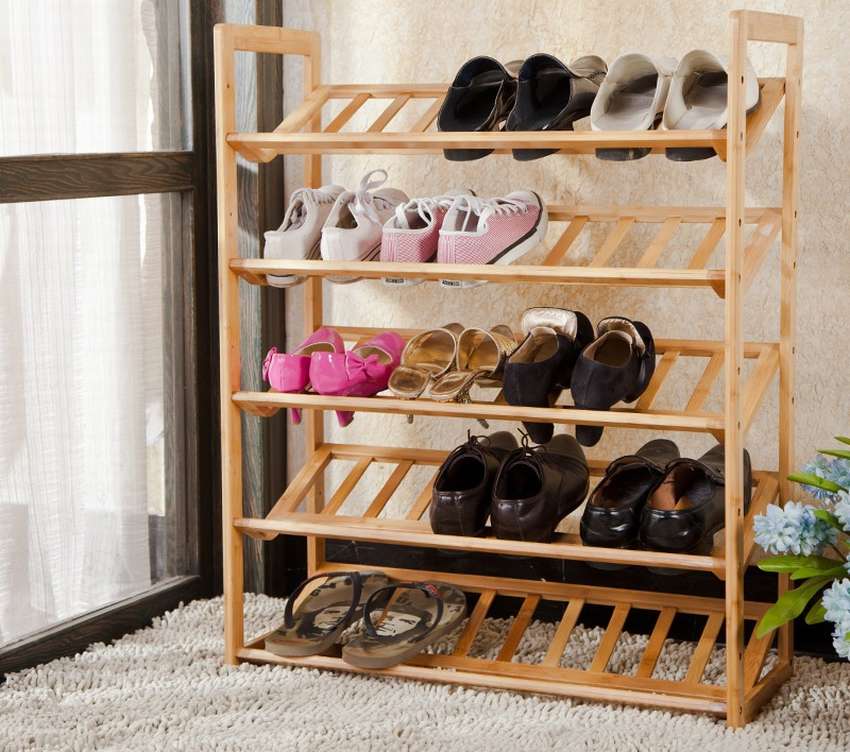
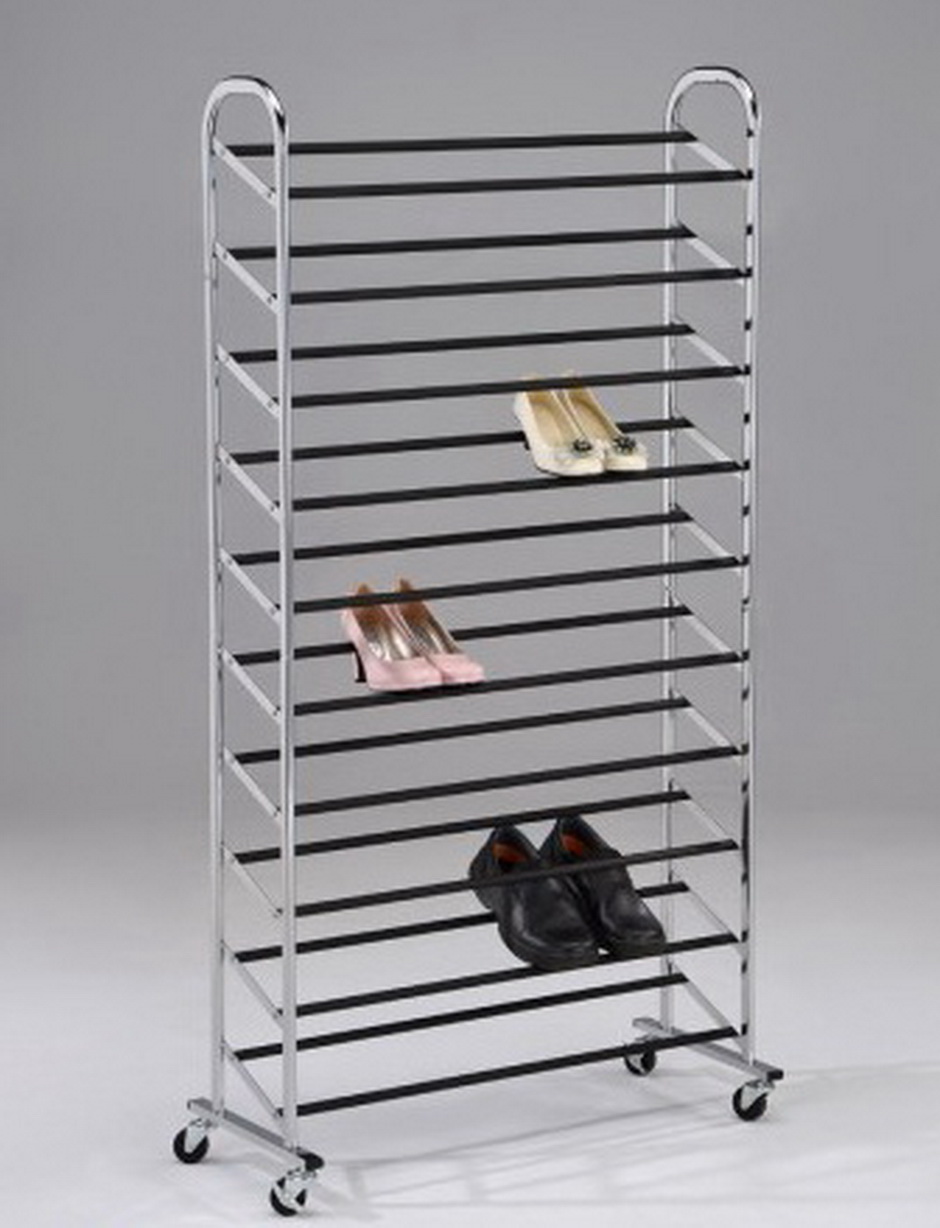
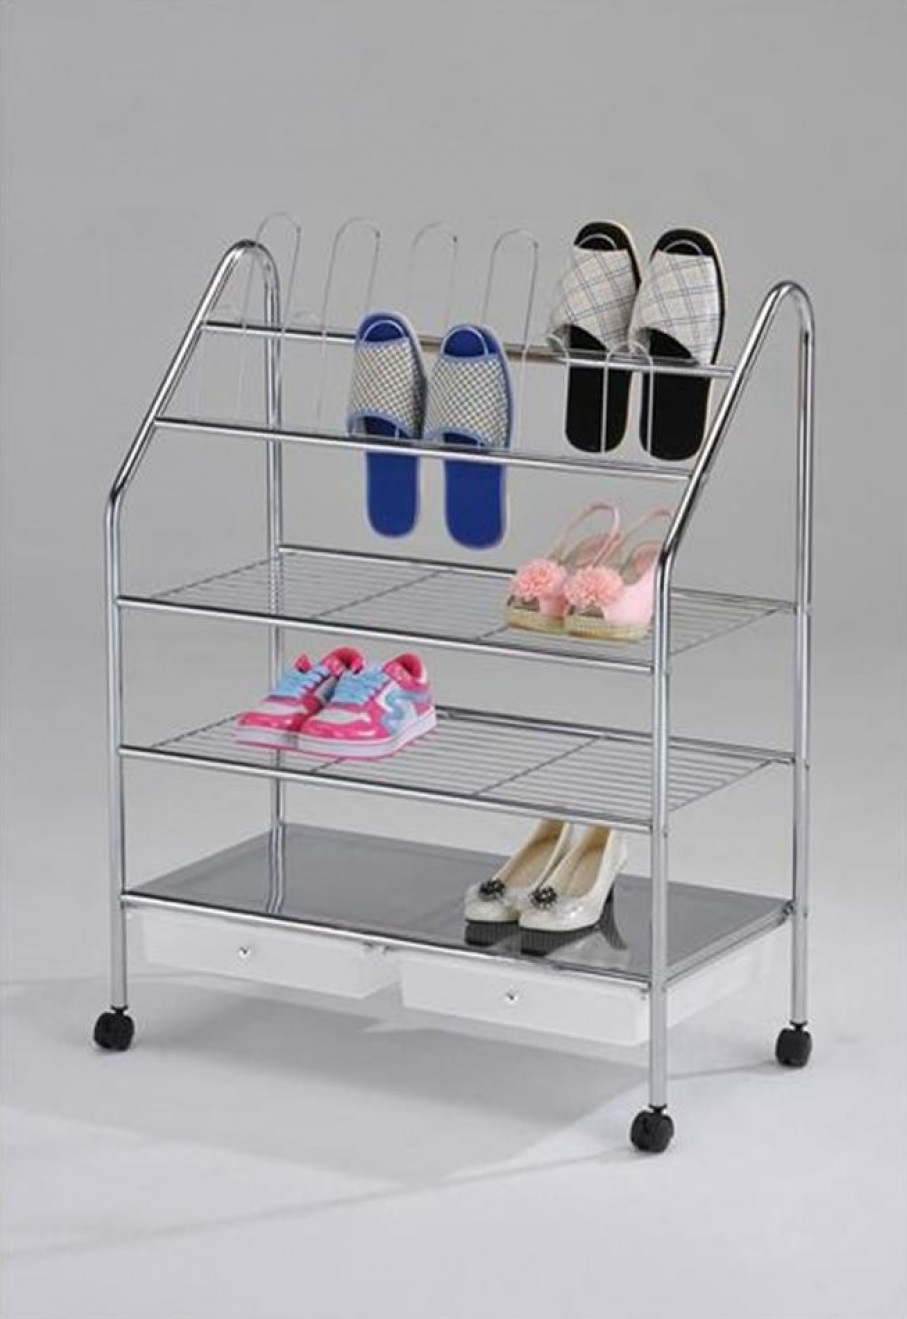
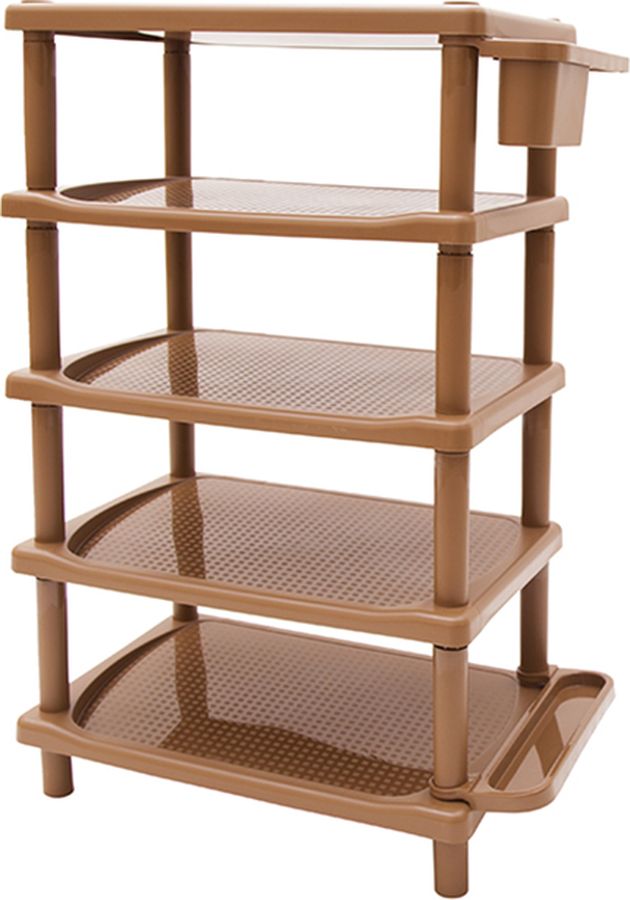
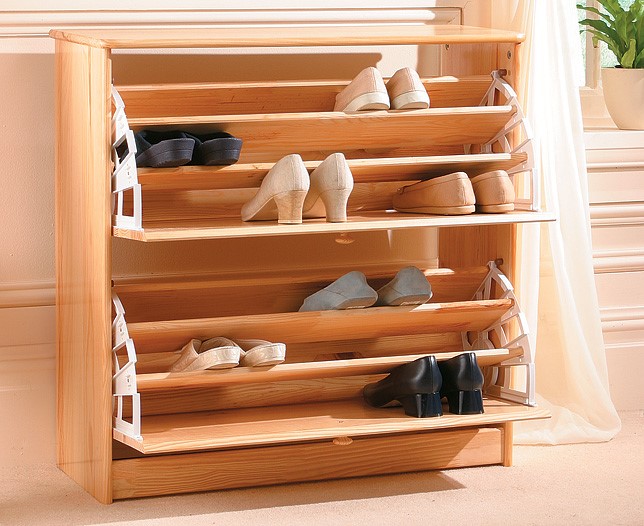
A shoe rack in the hallway is a piece of furniture included in the number and configuration of the lower shelves of a multifunctional wardrobe, but more often, separate shelves for shoes with legs or connected to a floor stand are still purchased.


Required tools
A do-it-yourself shoe rack for the hallway is significantly superior in quality and performance to industrial counterparts. The fact is that manufacturers, in order to obtain super-profits, either unreasonably overstate prices, or save on materials, and sometimes violate the technology. Self-assembly allows you to bypass this limitation by choosing high-quality construction materials: boards and plywood, possibly a steel professional pipe, proper fasteners, the quality of which is beyond doubt. You will need:
- cordless or cordless drill / screwdriver and drill bits for metal;
- tape measure and square ruler, construction (technical) marker;
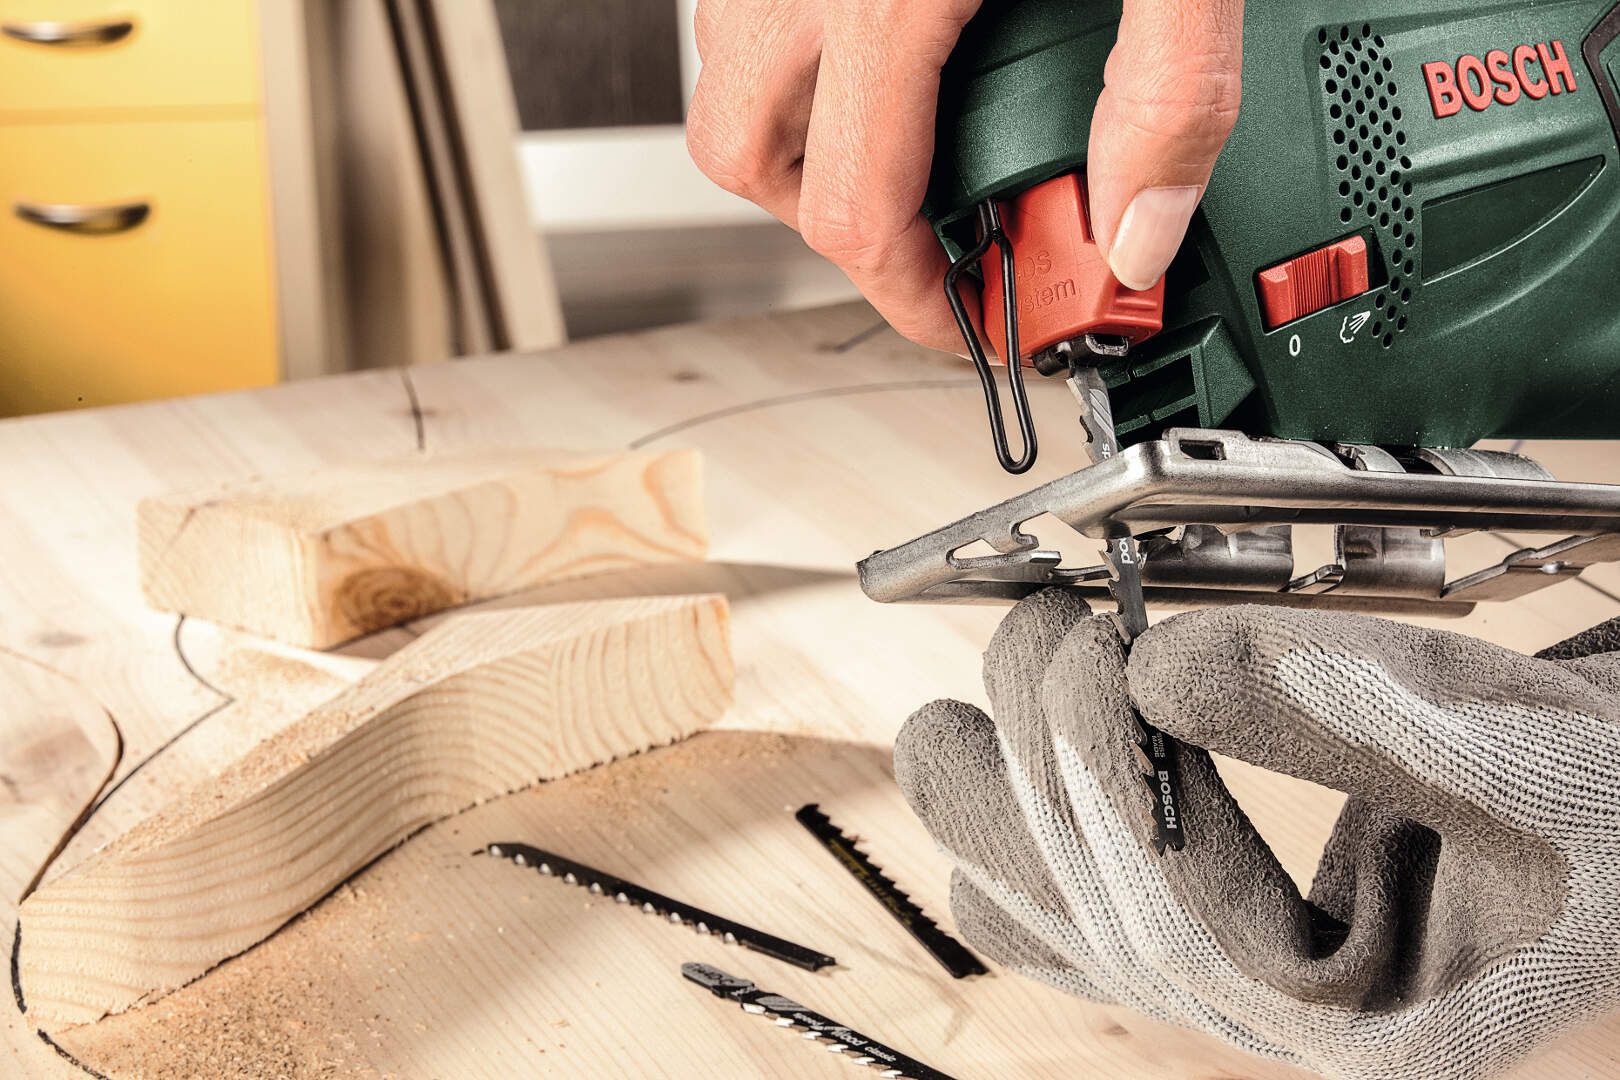
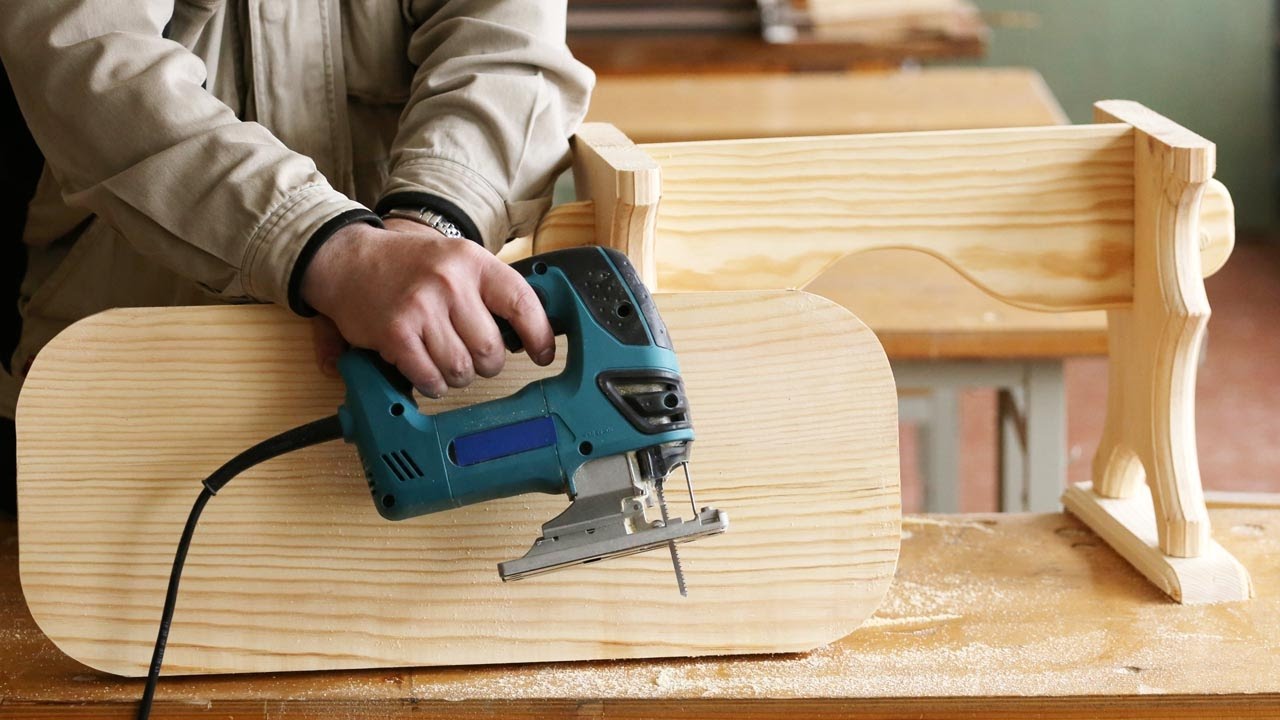
- jigsaw with a set of saw cutters - or a grinder with cutting discs for metal;
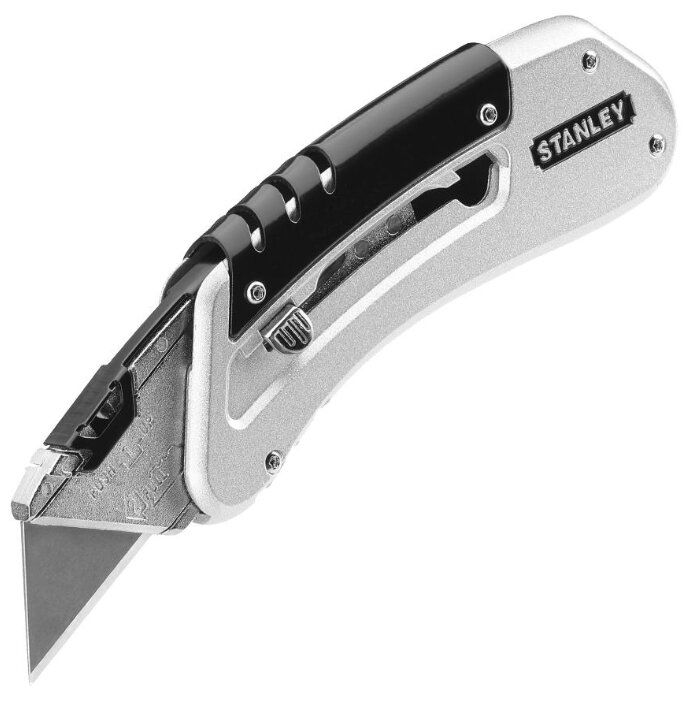
- construction and assembly knife.
Consumables:
- self-tapping screws;
- bolts with nuts and press, grover washers;
- PVA glue or "Moment-1";
- plywood sheets, pieces of timber, for example, 30 * 30 mm, board no more than 20 mm thick;
- furniture edge.


If you plan to move the shoe rack from place to place, you may need furniture wheels.
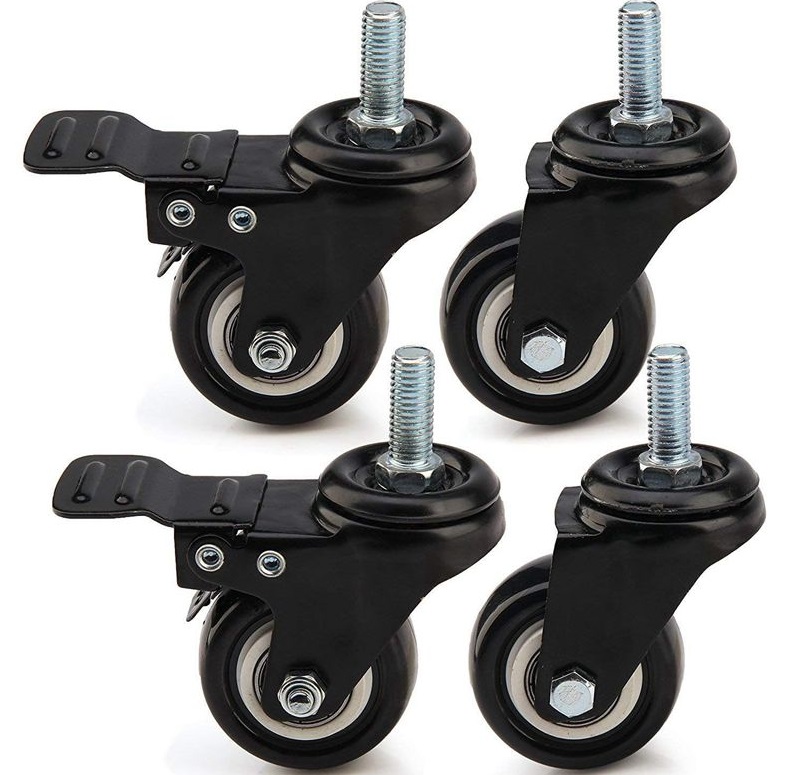
It is advisable to purchase the most durable - all steel wheels with a diameter of up to 10 cm. They are made on the basis of industrial bearings - and are designed for small wheelbarrows, carts and hospital trolleys used to transport operated patients to the operating room. This will ensure trouble-free operation of the sliding shoe rack for more than one decade. The fact is that carrying a shoe rack in hands can turn out to be a significant obstacle for the owners - for example, when it stands in a tight and hard-to-reach place, right between the wall and the curbstone.
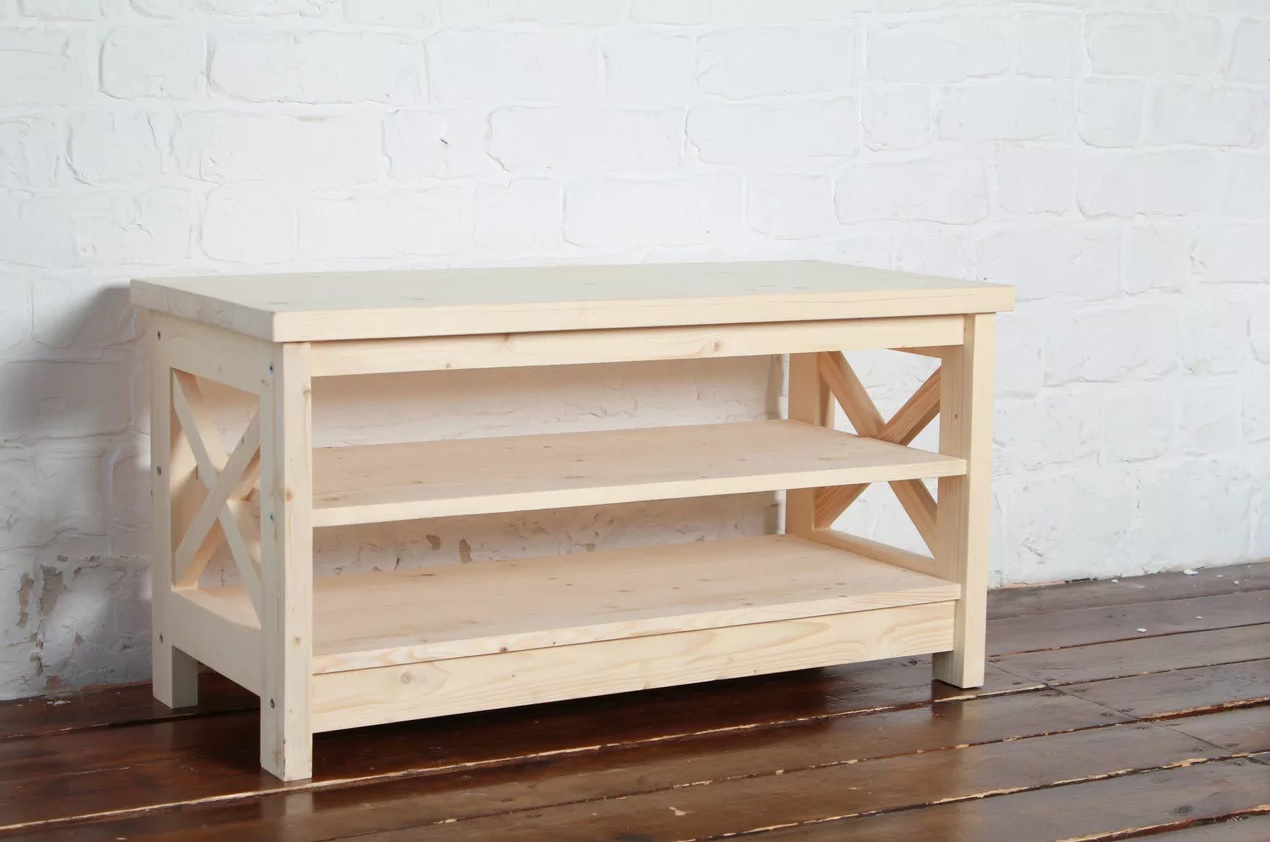
How to make from wood?
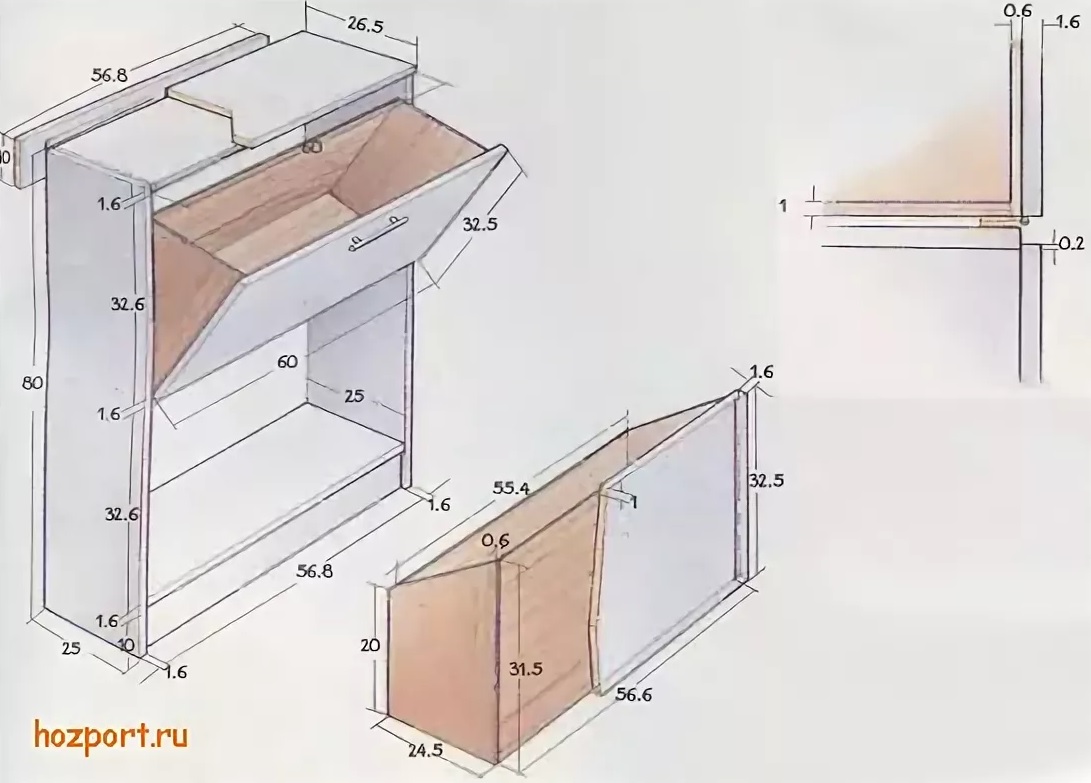
Before starting the assembly, decide on a drawing: ready-made or your own. For example, the dimensions may be as follows:
- width - 90 cm;
- height - 918 mm;
- depth - 16 cm;
- the gap between the floor and the bottom shelf is 8 cm;
- height from the first shelf to the second - 336 mm;
- height from the second shelf to the third - 315 mm;
- height from the third shelf to the top - 142 mm;
- the width of each door is 821 mm (taking into account the thickness of the boards and the side of the top board, which acts as a stand);
- shelf width - 115 mm;
- the thickness of the boards is 16 mm.

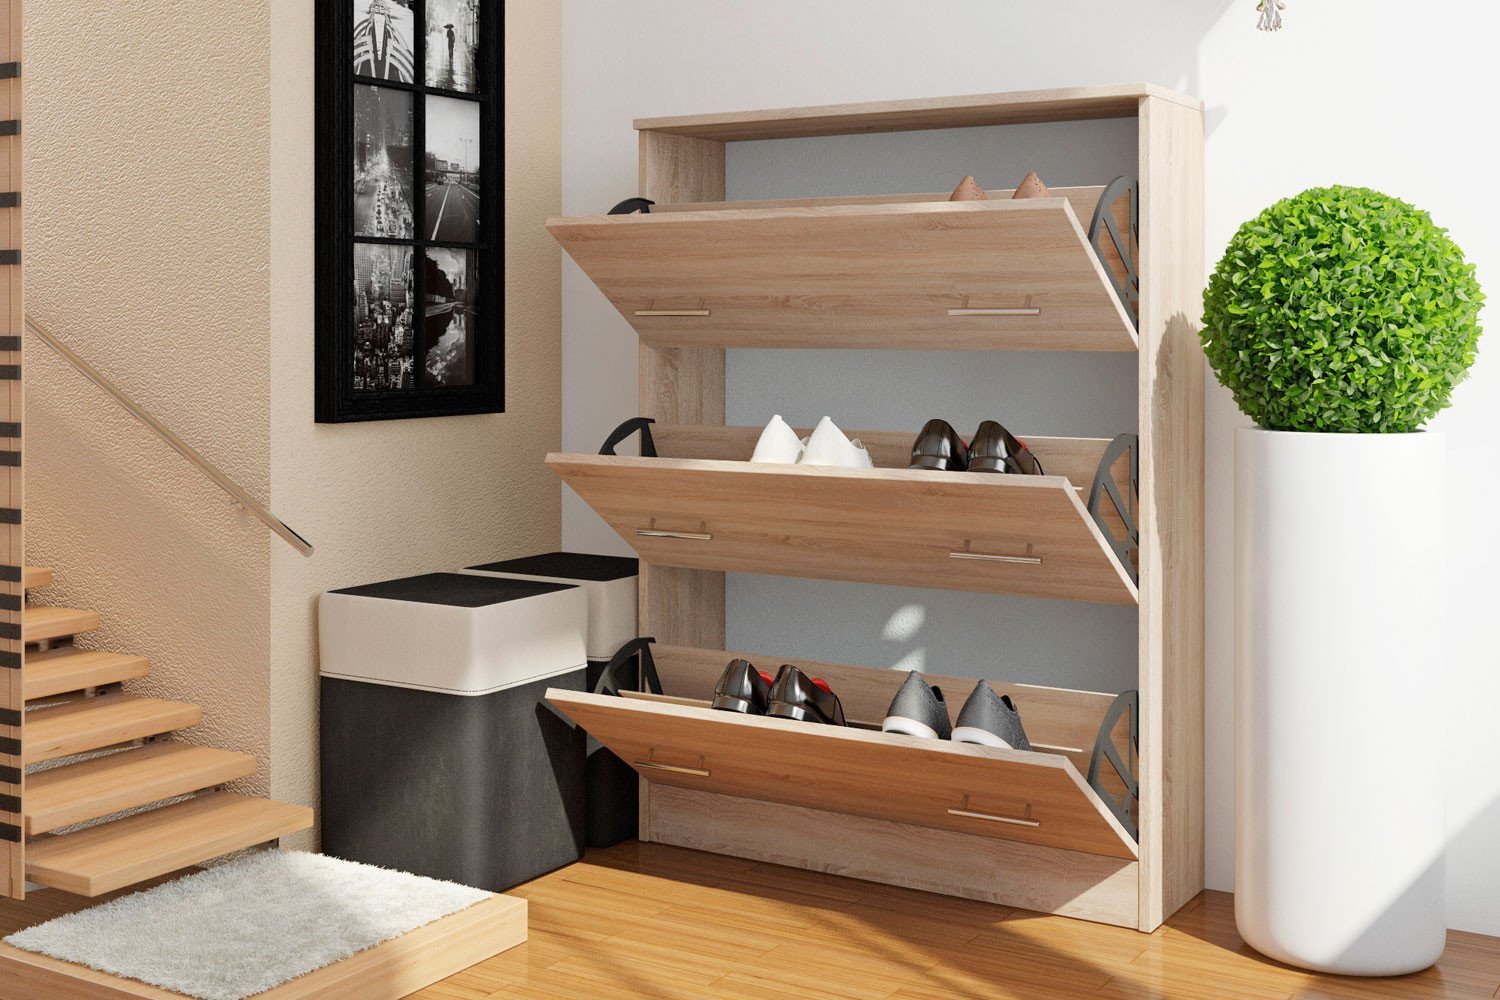
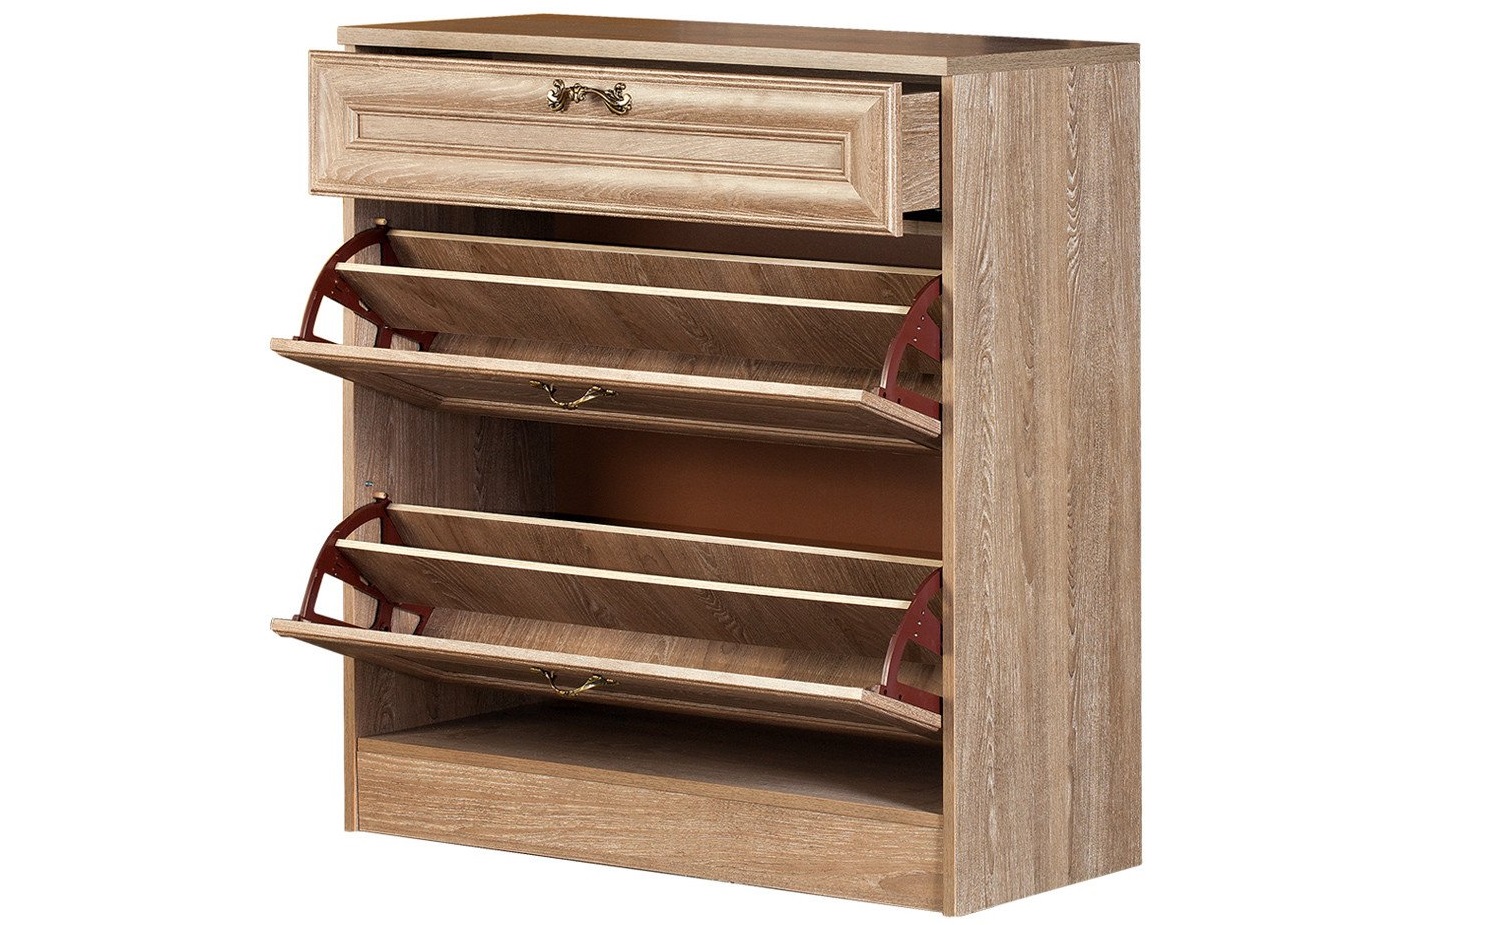
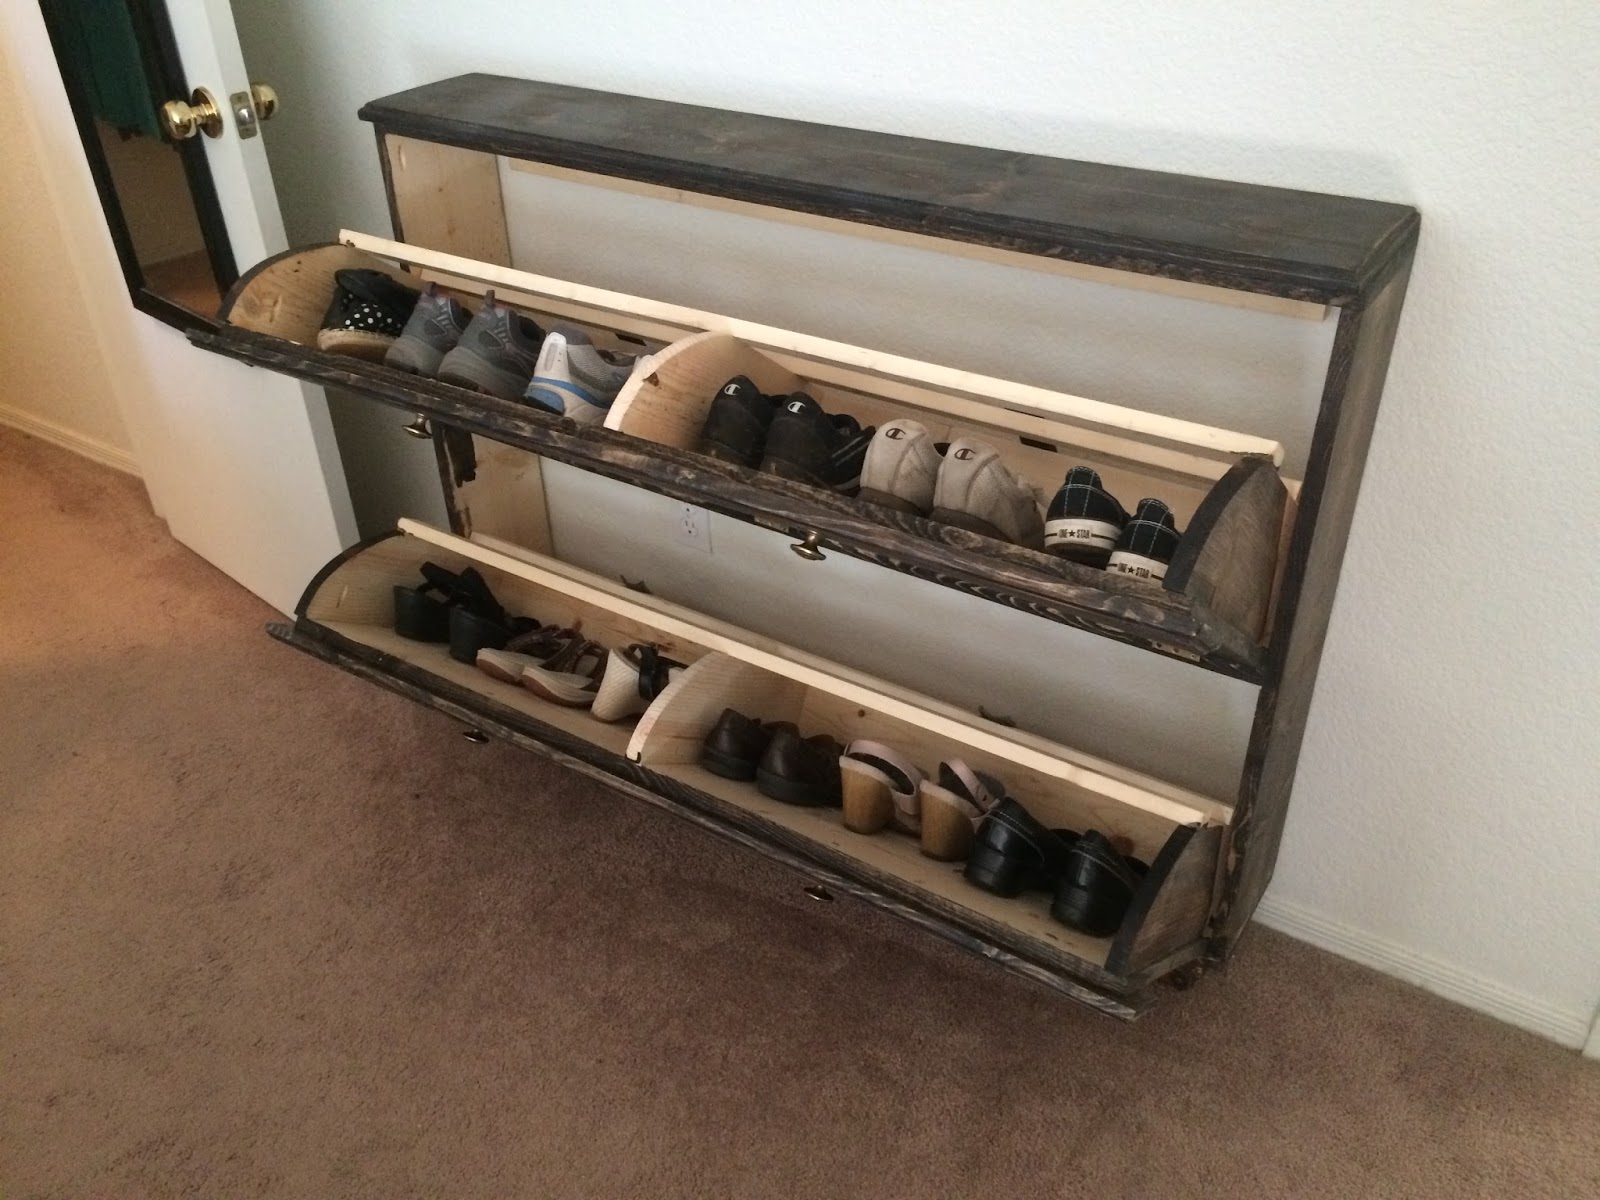
The door opening angle is chosen so that the circular arc described by the upper edge does not exceed 115 mm. It is easy to put - and take out - any shoes in this gap. However, the door can also open to the entire (right) angle. Furniture wheels are installed at the request of the master owner. Let's list a set of parts.
- Bottom and top edge - 2 pieces (pieces of board).
- Sidewalls - 2 pcs. They are the same width as the previous components.
- Front side - 3 pcs.
- Partitions - 2 pcs. These are the shelves.
- Reinforcement Triangles... These are strips of squared timber cut in half. For a correct, uniform cut, you will need not only markings, but also confident, accurate movements of the master. In industrial conditions, such half-bars are made using a feed mechanism and guides that do not allow the jigsaw to move and spoil the parts already in the process of cutting them out.
- Furniture handles - 3 pcs. It is recommended to purchase ready-made. It is difficult to grind them independently without a router.However, some craftsmen use old handles from cabinets and cabinets made in the days of the USSR - these parts need only be cleaned and painted.
Having prepared a list of components to be cut out of the board, they proceed to assembly.
Choice of materials
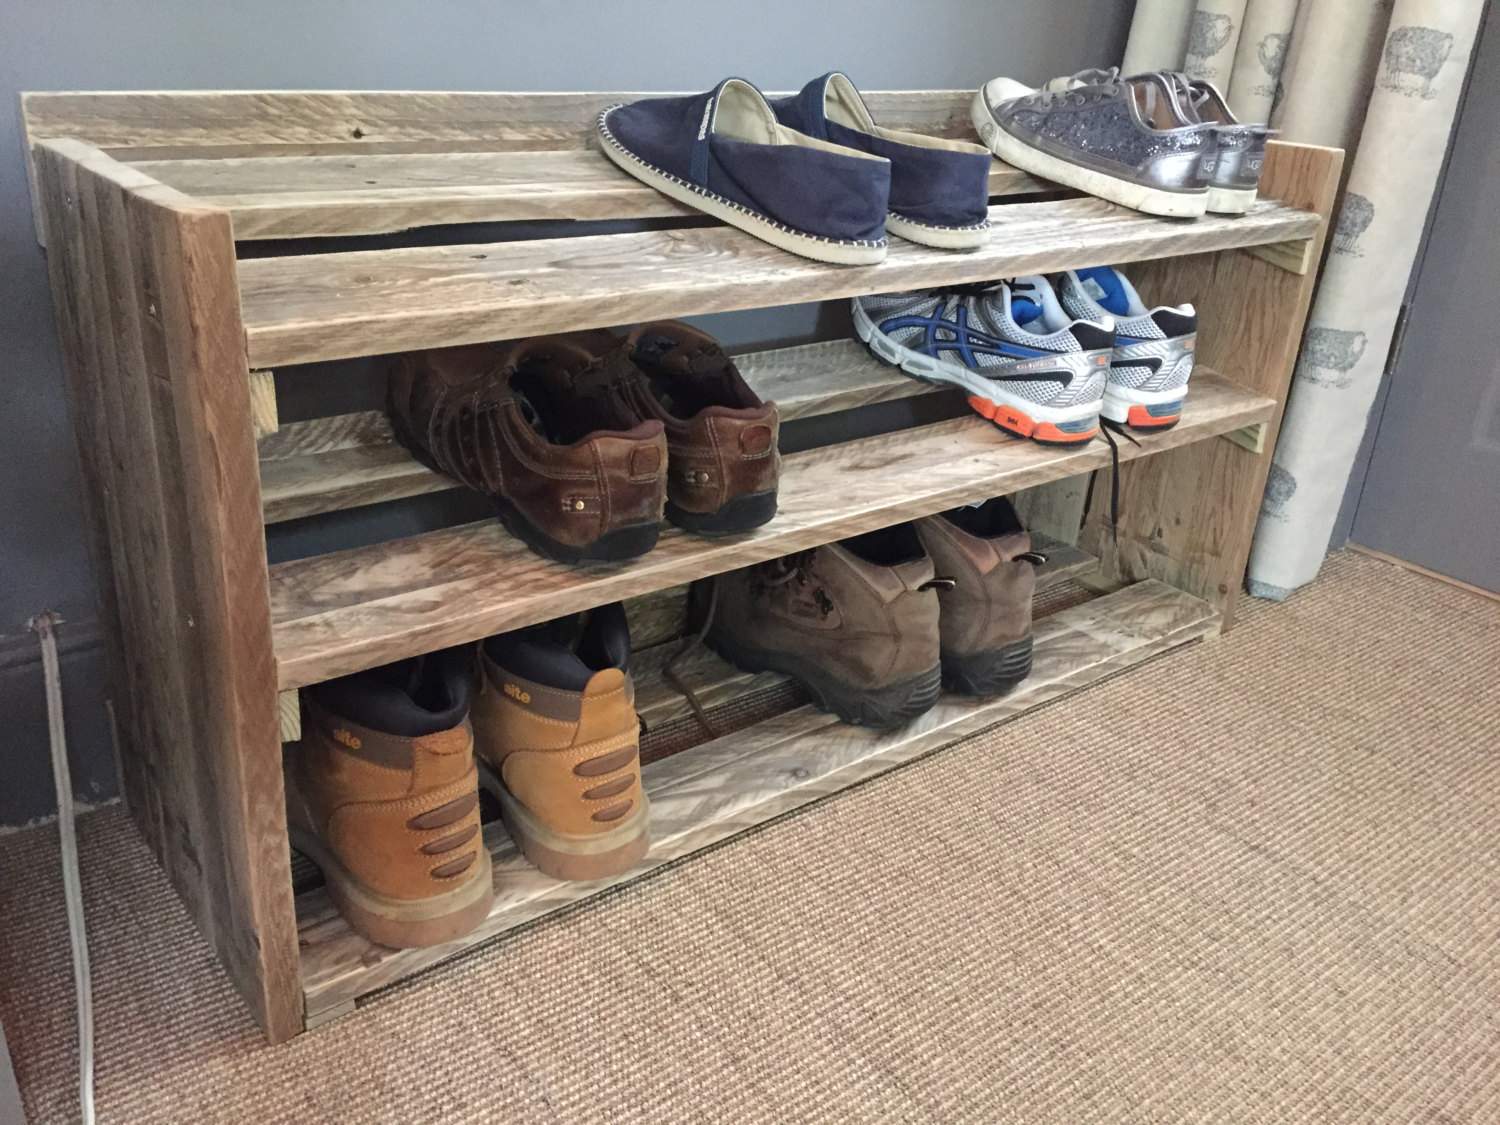
- Solid wood. Most expensive material. Pros - durability, resistance to single blotting, environmental friendliness. In addition to oak and beech, pine, walnut, spruce, birch and acacia are used. Each type of wood differs in strength and density and is characterized by a certain color shade.

- Particleboard or MDF... The first swells from getting wet, the second - can transfer it, moreover, more than once. An example of this is MDF doors and windows with voids. In order to avoid formaldehyde poisoning, the seller must provide the consumer with a safety certificate - to confirm the presence of the maximum permissible concentration of these harmful substances.


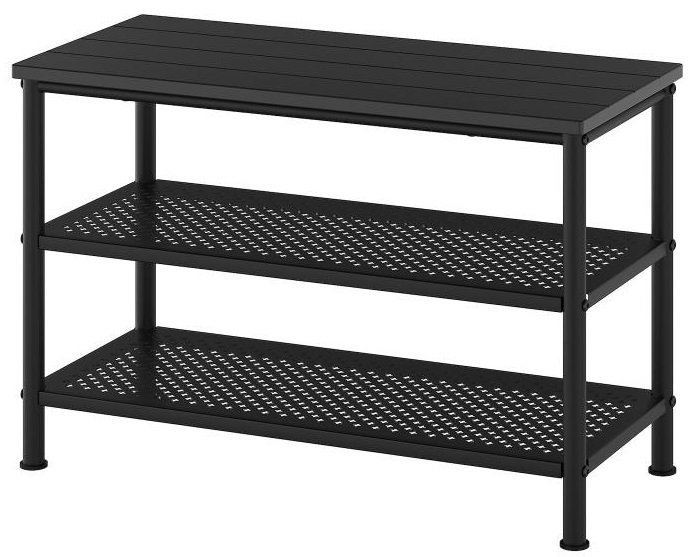
- Metal... It does not get wet and does not bend, it is enough only once to treat it with a composition against destruction due to high humidity. The disadvantage of metal structures is the greater weight, which complicates the cleaning of the room.
- Plastic - plastics are different. It should be odorless at all - even at a break, a pungent smell should not be felt. For example, PET, from which food bottles and flasks are made, is considered relatively harmless. The disadvantage is that many types and varieties of plastic are highly toxic: in the heat, they immediately begin to evaporate volatile organic compounds, in addition, almost all plastic is afraid of frost, cracks after prolonged exposure to ultraviolet radiation, and the closed version of the product does not allow air to pass through. Open shoe racks are recommended here.
Having prepared the materials, mark and cut the boards, plywood into elements, checking the drawing.
Edging
If you do not use solid wood, but MDF or chipboard, edging is necessary here. The edge can be made at home from any paper - you just need to be impregnated with waterproof glue that is resistant to bending. For the plastic edging, you will need an edging machine and glue. It is mainly used hot melt glue, heated in a special gun with a heating element - at room temperature, the glue stick (or bundle, wire) looks like paraffin, which must be heated until it softens so that it becomes sticky, like a thick syrup. PVC edging purchased from the nearest distributor of finishing products must be no thicker than 2 mm. For this purpose, a narrow groove is sawn along the edges (edges), into which the T-shaped edge band is inserted.

The inner parts of the shoe rack are lined with a fourfold thinner edge - half a millimeter thick. If the issue of maintaining health for many years is in the first place for you, choose an environmentally friendly edge, for example, a synthetic one based on ABS - acrylonitrile-butadiene-styrene.

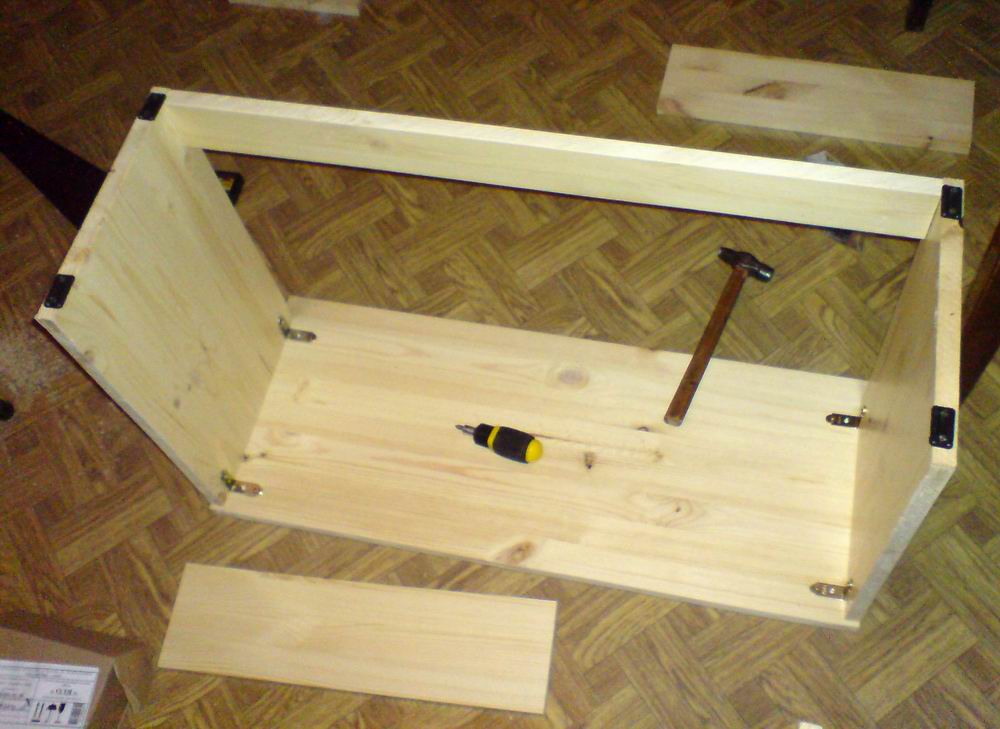
Assembly
The frame is assembled in a certain way. These are the table top, bottom and sides. The assembly is carried out either on triangular longitudinal spacers, fixed with self-tapping screws, or by means of confirmation bolts (furniture euro screws). So that the plugs do not spoil the look of the product, furniture corners are used instead of confirmations.
After assembling the supporting structure, the shelves are mounted. Fixation to the sidewalls and back wall is carried out using confirmations or corners. At the end, the back wall is installed. Its installation is carried out at a right angle - the structure should not be sidelong.
Fittings installation
The fittings mainly include door handles. The easiest way to secure them is with self-tapping screws. For this, the handles have through holes in the body, which ensure their direct connection with the material of the front (movable) part. There are loops in old-style handles - at least two in each.
Self-tapping screws should be of such length that their tips do not come out from the back of the door.The best option is conventional M3 or M4 screws with nuts, press and spring washers.
The decoration (finishing) of the shoe rack is a real flight of imagination and ingenuity of the master. For example, in a shoe cabinet assembled from several racks, you can install shelves on the left and right, differing in height. This will allow summer, off-season and winter shoes to fit within the same compartment. The shoe rack should not sharply discord with the general interior of the hallway - the same style of the house or apartment is maintained, starting with the colors. A mirror can be installed on the back wall from the inside. In exceptional cases, the doors are also mirrored. On the countertop of the shoe rack - in fact, it is also a small table - some small things are placed, without which the hallway itself can not do.
The design solutions underlying the creation of a shoe rack include not only painting the product, but also finishing with decorative film. For example, a shade and texture reminiscent of oak or beech are combined with light, pastel tones of the walls, as well as with a wardrobe in a cherry or alder shade.
Door decoration is done separately. In addition to special handles made in a patterned style, artistic painting on the doors is also used. Glazing can be used instead of the latter. The use of segments (rectangles) of a real mirror can provide the hallway as a whole with more illumination - the natural light that hits them is immediately re-reflected.
The entrance hall, decorated and realized in hi-tech or modern style, is effectively complemented by a shoe rack made of metal structures, its one-color or mirrored front side. Other styles, such as classic or baroque, involve either painting or pasting with synthetic wallpaper not only on walls, but also on furniture, including a shoe rack. In rare cases, fabric and rhinestones are used. Painting or pasting is done in whole or in part. As a result, the hallway will acquire additional individuality.
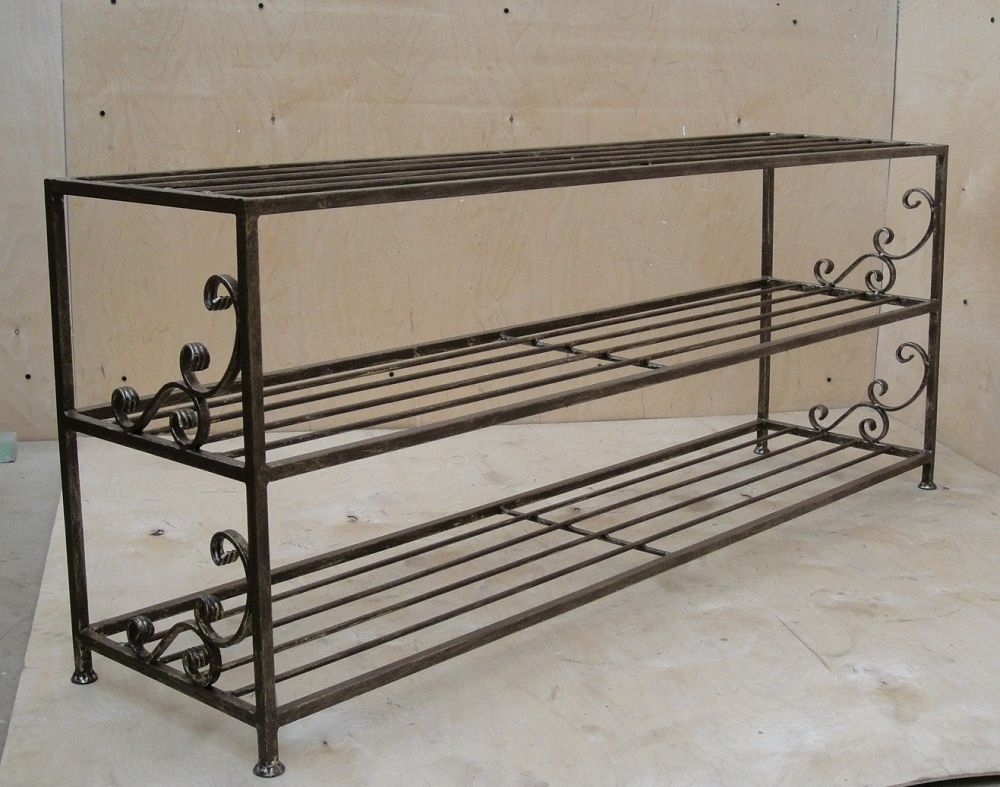
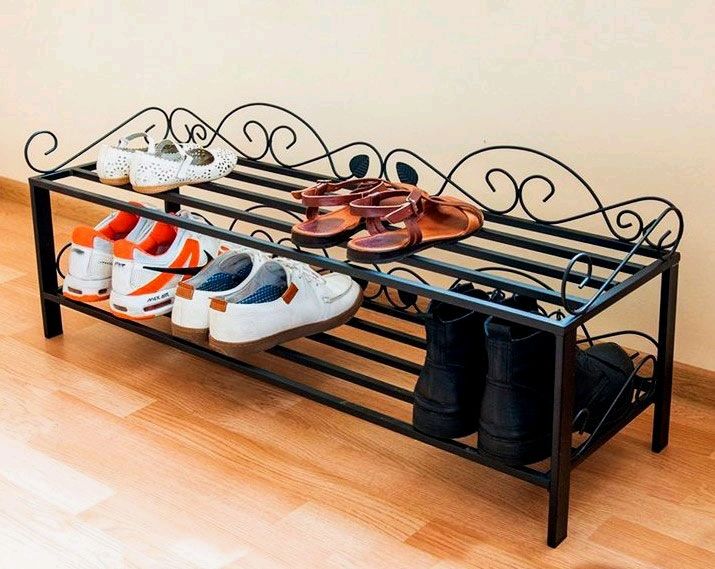
Homemade metal shoe rack
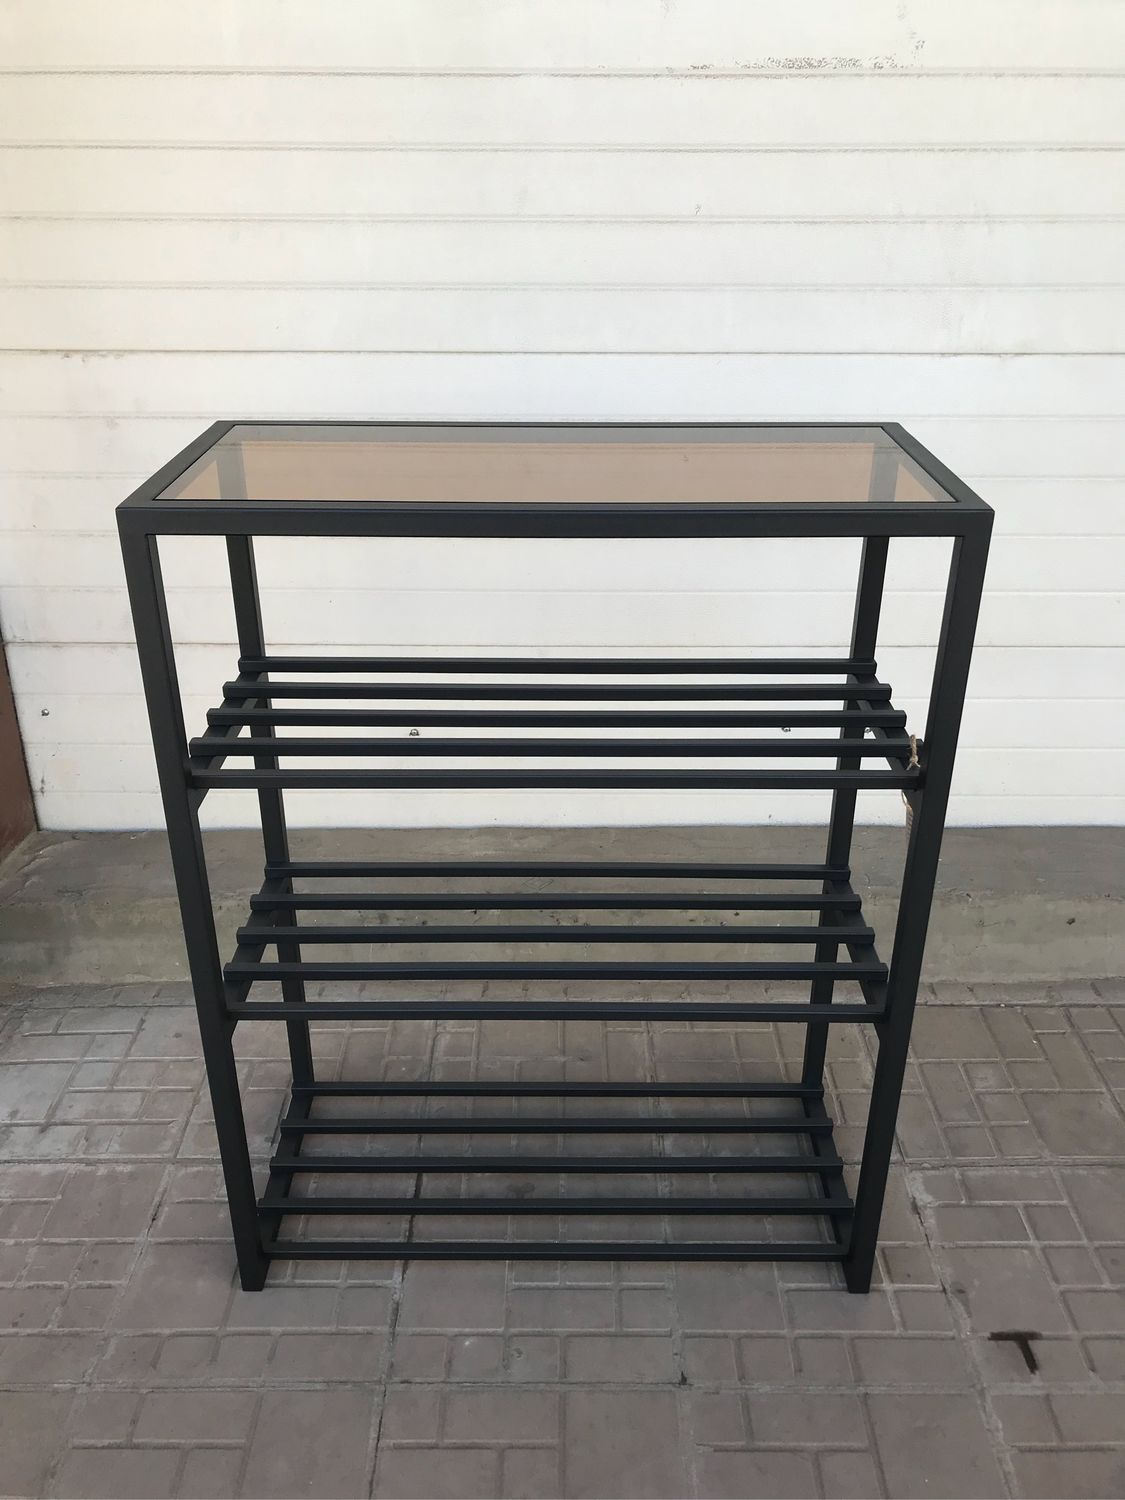
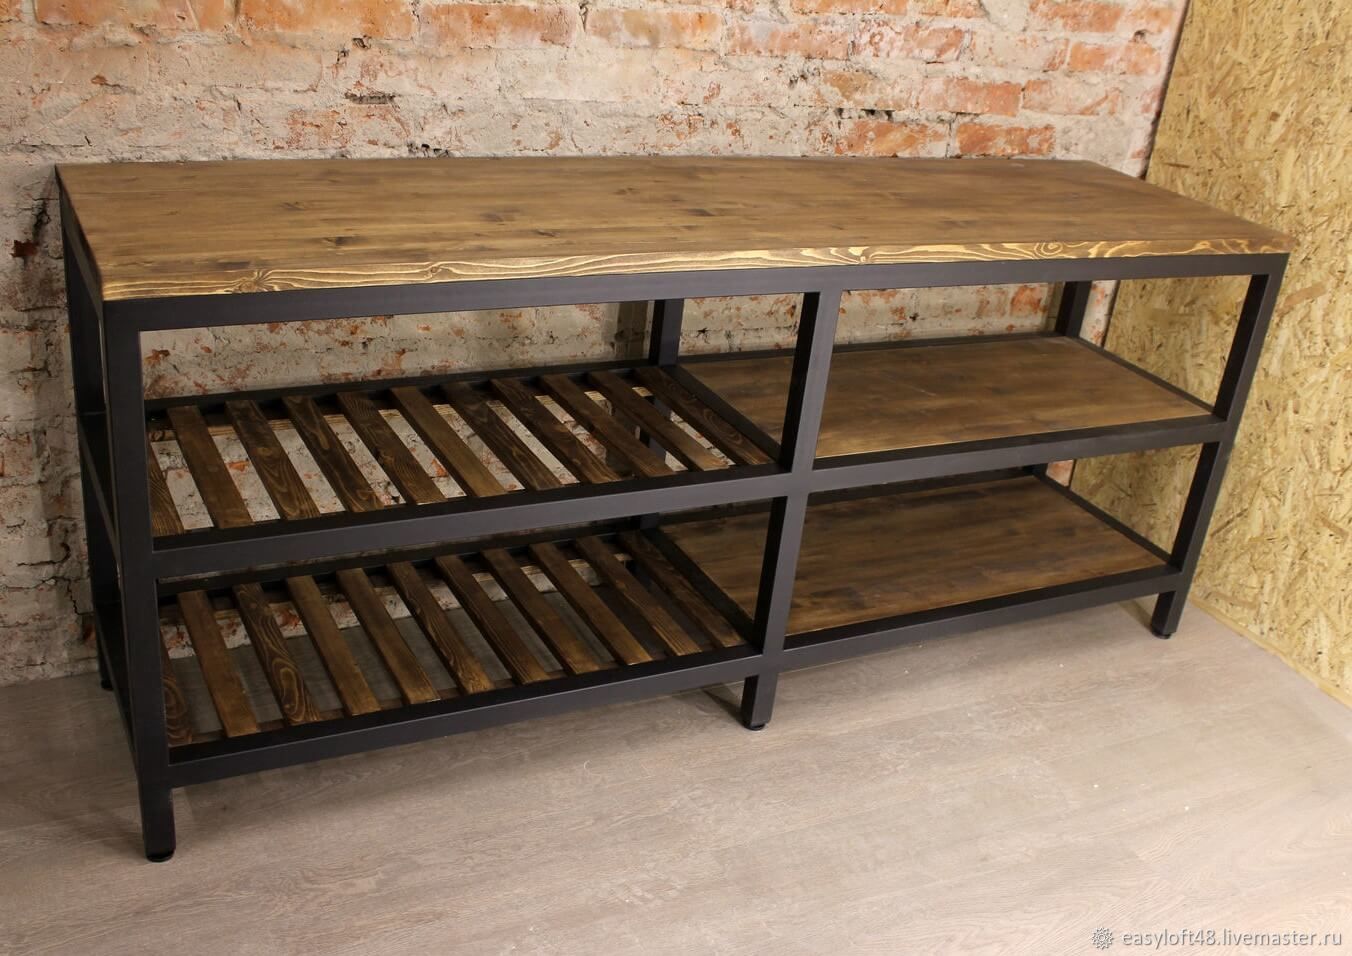
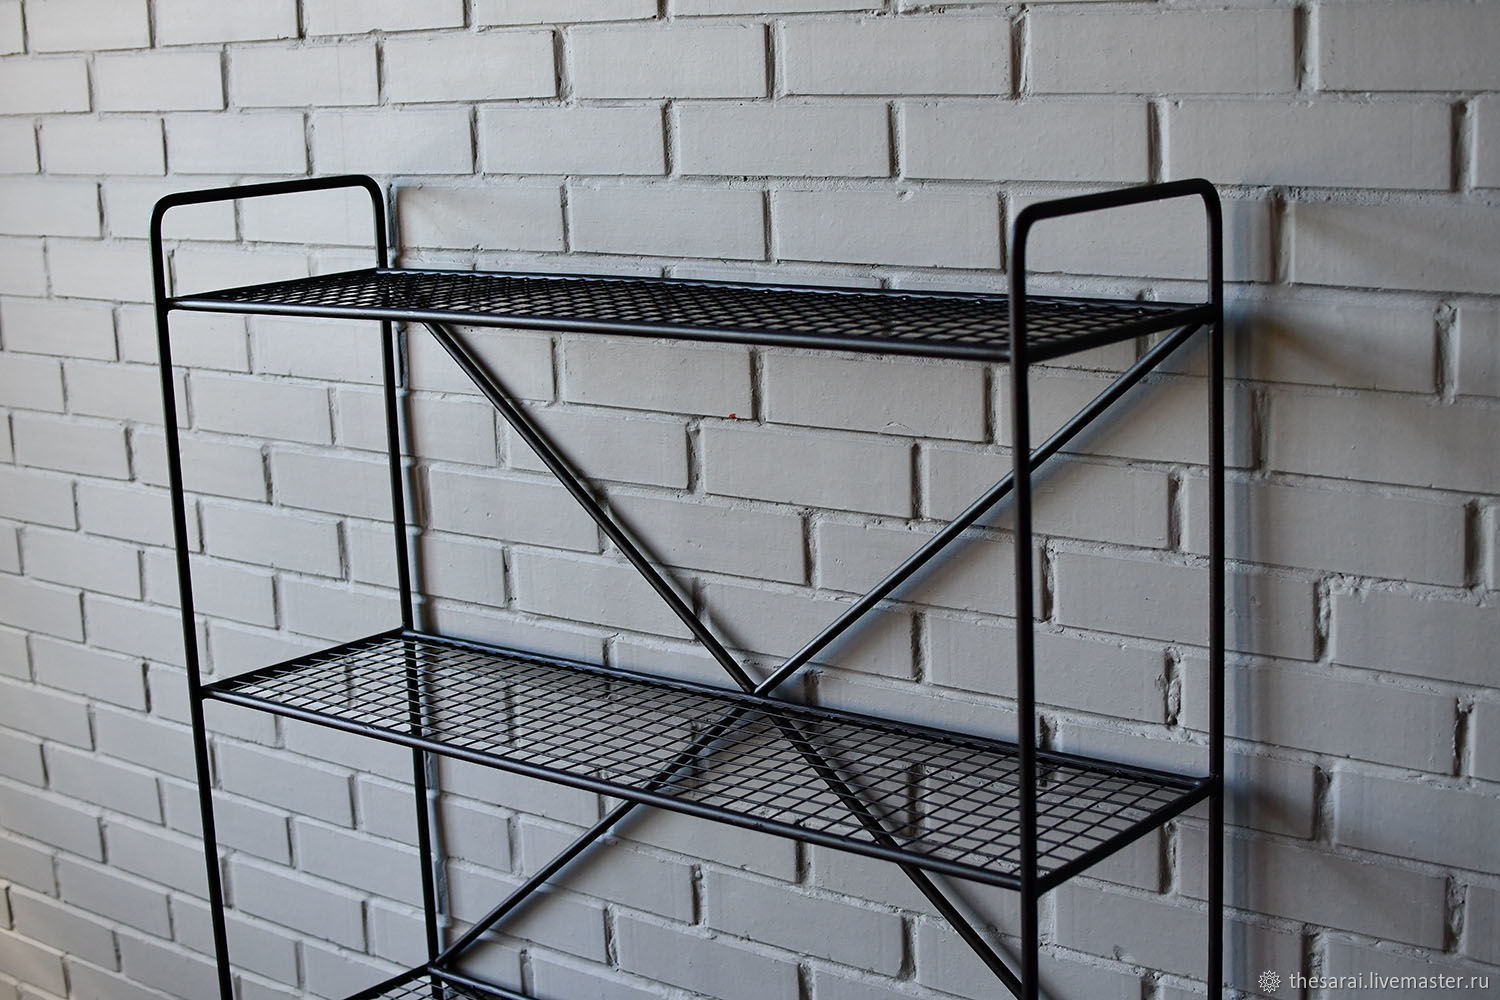
In the manufacture of a purely metal shoe rack, a profile and a professional pipe will be used. The metal profile is suitable for open shelving, you can insert glass into it - you get a glazed shelf. This solution is suitable for interior decoration in the style of Scandinavian minimalism, and also combined with loft and high-tech options. You will need a glass cutter to cut glass.
You can make a shoe rack according to the size of finished furniture glass - it is tempered, it cannot be processed further, but pushing off from its size means freeing up additional space, for example, for boots with a high side.
The assembly steps are as follows:
- mark and cut the professional pipe and metal profile, by checking the drawing;
- steel elements are best welded - they will not fall apart if the bolted joints suddenly become unusable over time (except for a welding machine with a set of electrodes, you will need experience in welding);
- welds with irregularities and excess weld metal, trim with a grinder.
If the shoe rack is closed, then final assembly with boards may be required. Shoe boxes are assembled either entirely from wood or using a metal frame. Any shoe rack can be used as a corner (strictly in the corner of the room), and as a free-standing structure - for example, between a wardrobe and a cabinet in the corridor.
Let's list the design ideas for metal shoe racks.
- Shelving type shelf. The lower ones are used purely for shoes.
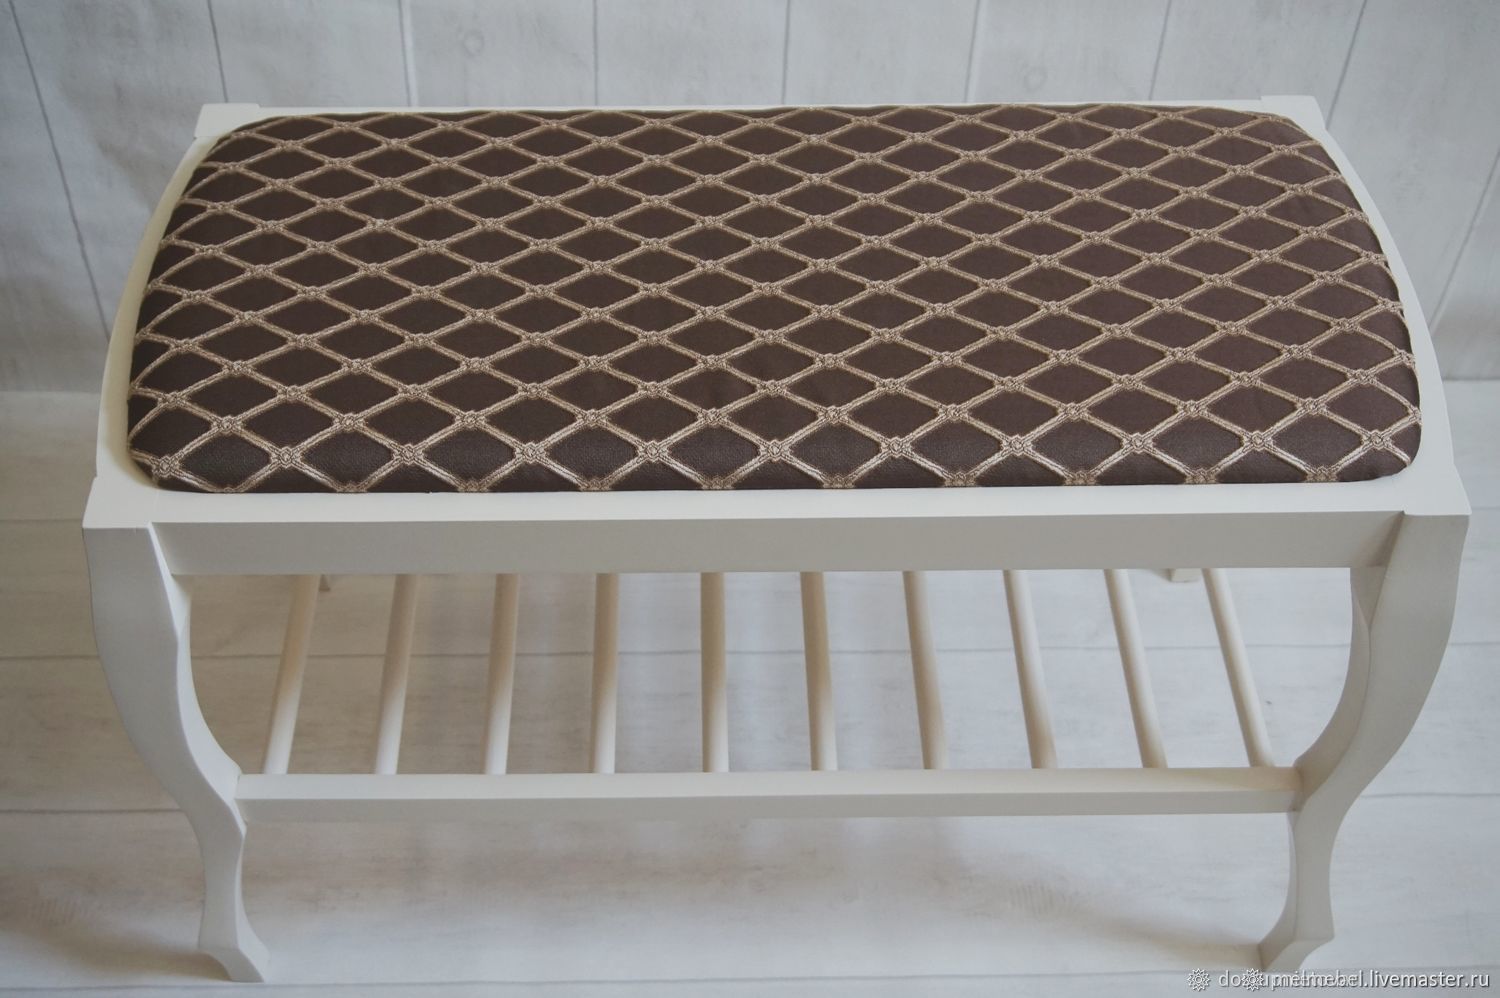
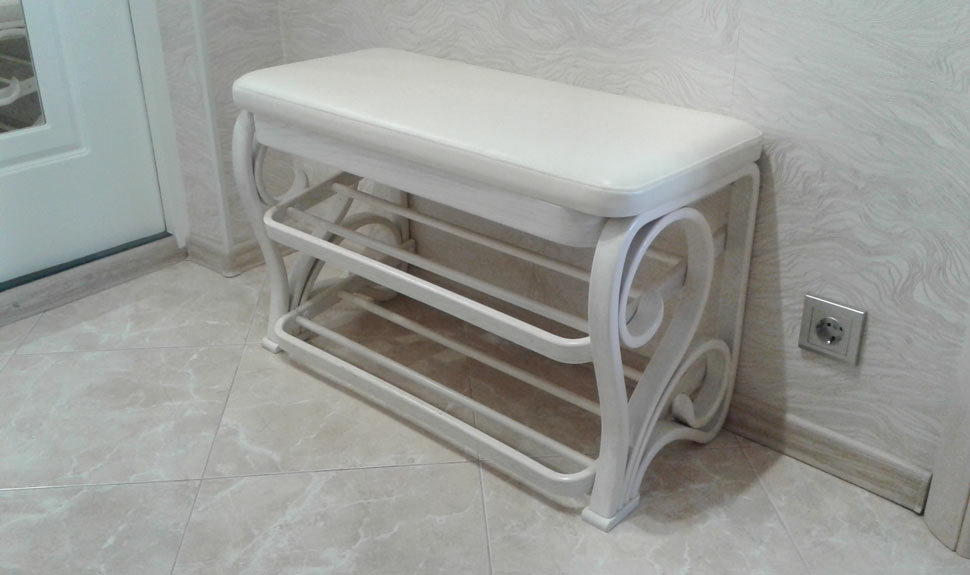
- Upholstered bench. Under the seat there are one or two shelves for shoes.
- Composite option - two vertical blocks. One is a bench, the other is a "multi-storey" shelf.

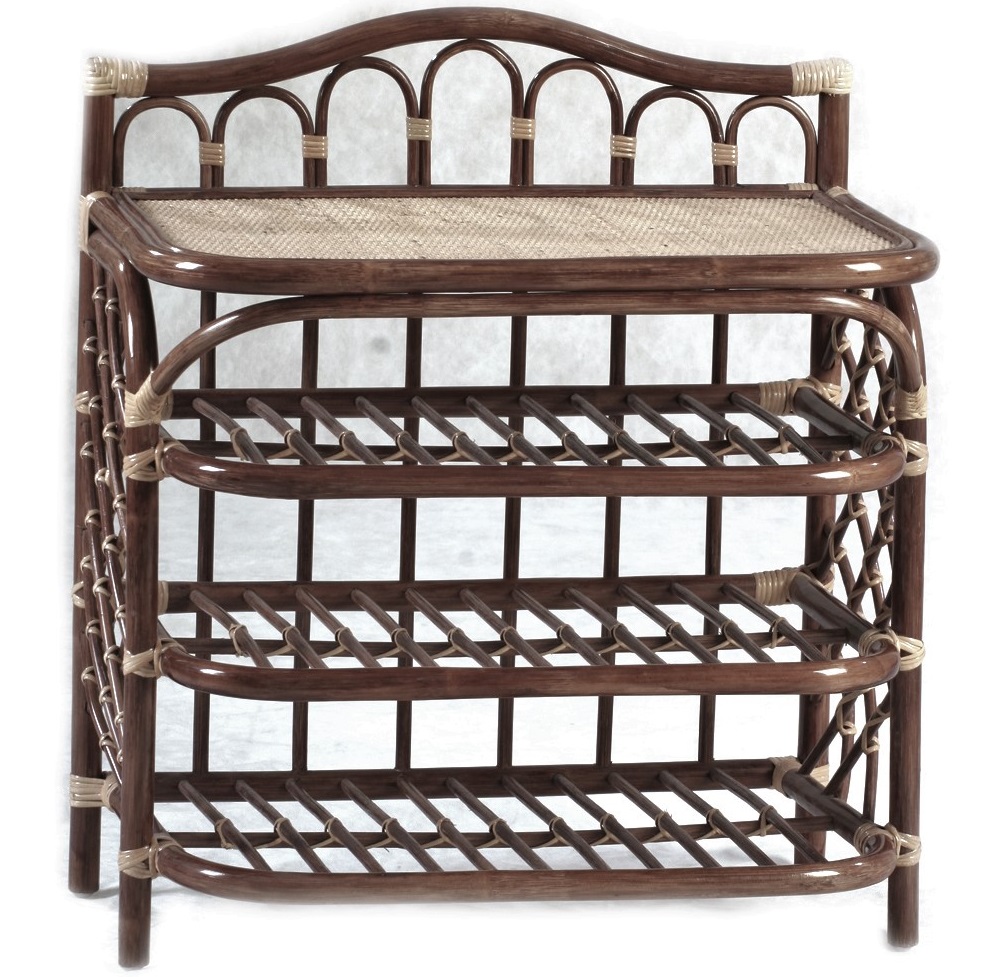
- Wicker construction with a wooden frame.
As you can see, the shoe rack is not a separate accessory. Several functions can be assigned to it - for example, a corridor rack, which partly replaces the numerous shelves in a wardrobe.
An all-steel shoe rack will last you a long time - your whole life.
For how else you can make a shoe rack with your own hands, see the video below.


