All about the canopies on the balcony
In some cases, the canopies over the balconies were not provided by the developer, so the owner has to build them on his own. This element is important for apartments that are located not only on the top floors, but also on the first and central floors. A roofless balcony is uncomfortable and even dangerous, since it does not protect from precipitation and the scorching sun. For this reason, many make visors with their own hands, or turn to the masters for help.
Peculiarities
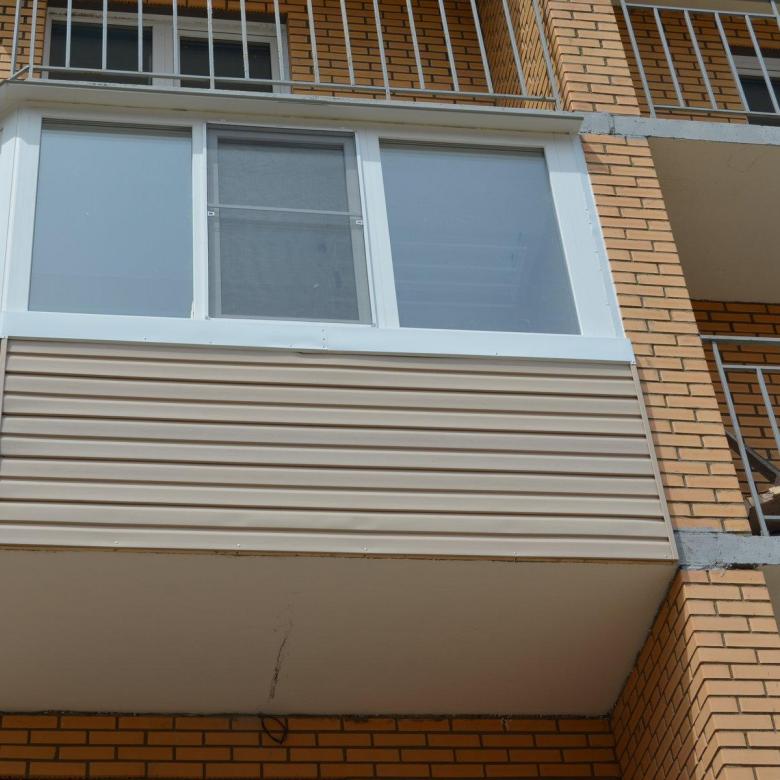
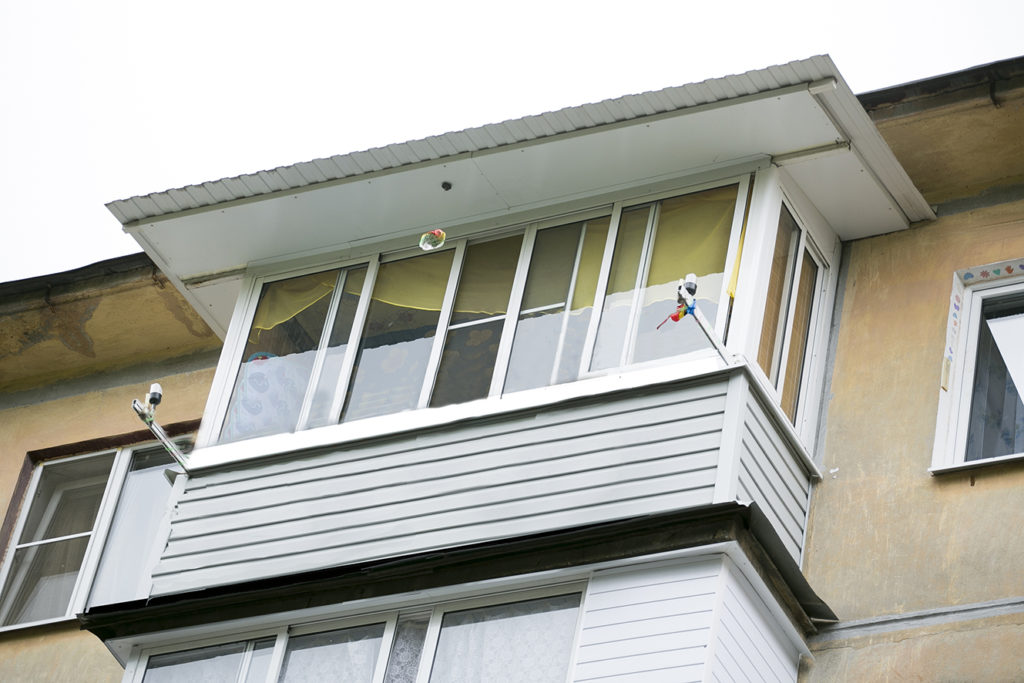
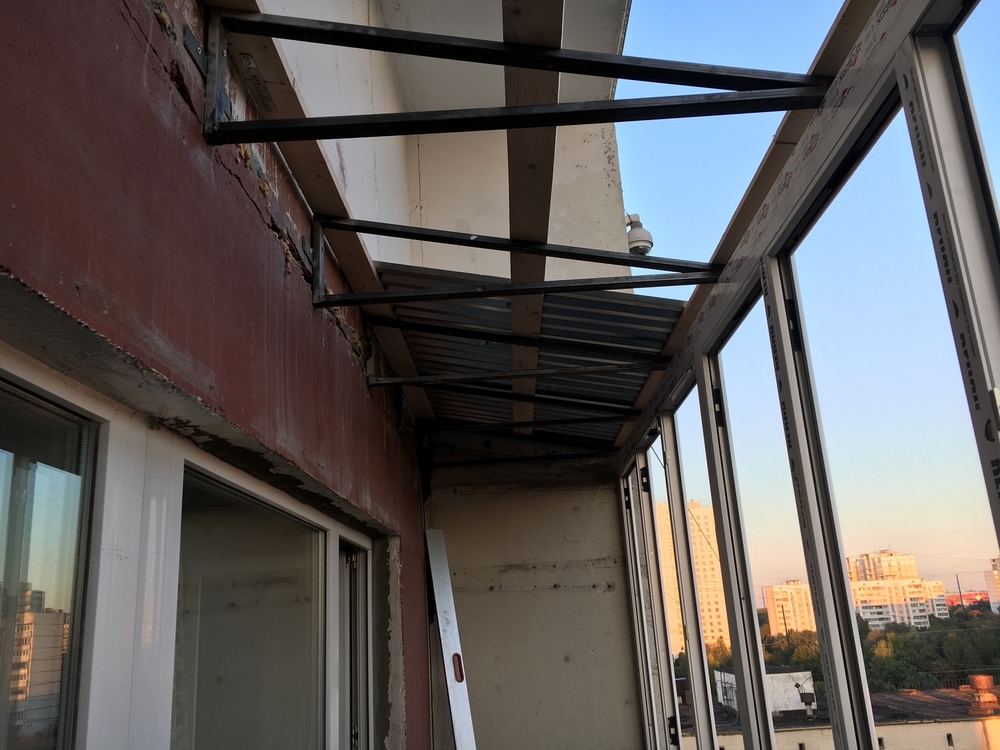
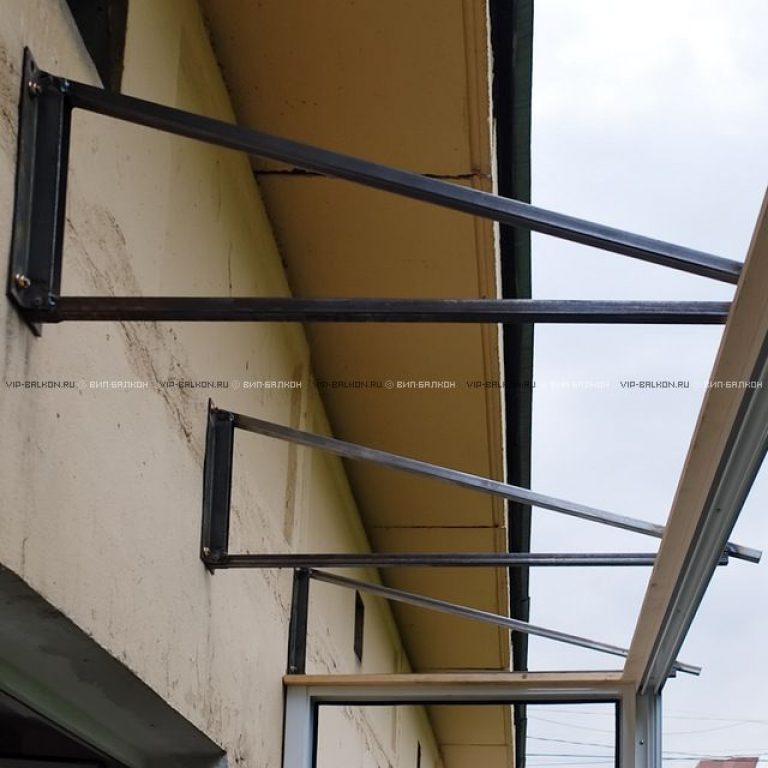
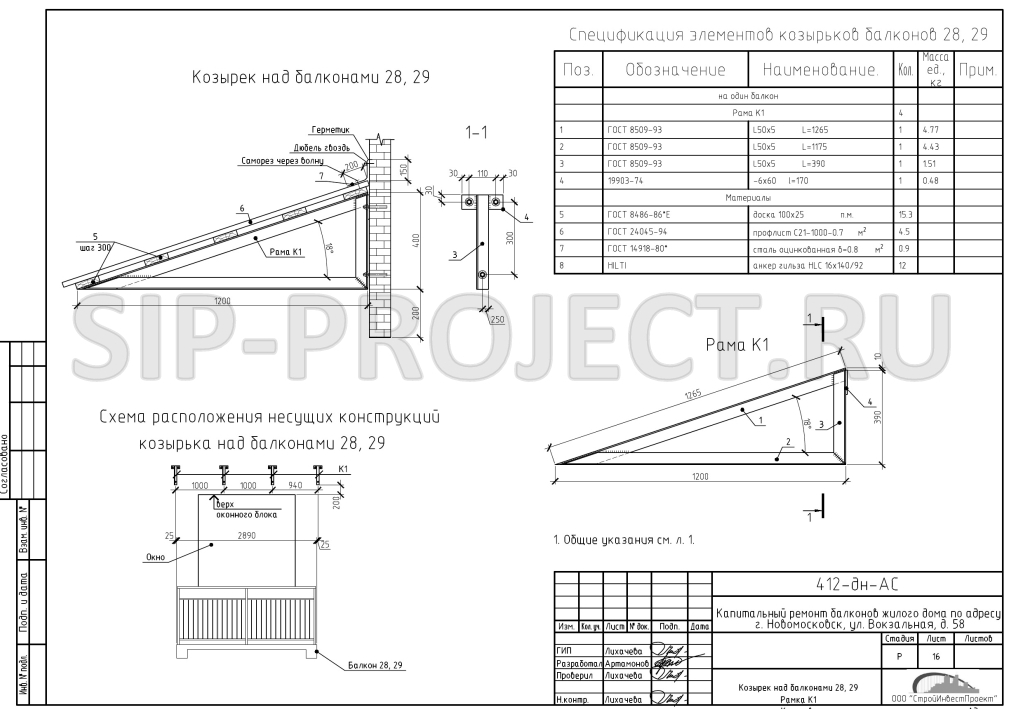
Balcony canopies are mounted on the outside of the structure directly above the window. They are supported by vertical supports or fixed with bolts or anchors. This device differs from the roof in appearance, as well as in dimensions, material from which the device is made.
A canopy over a balcony is a useful structure, especially if the apartment is on the very top floor.


After installing the balcony visor, the owner can count on a number of advantages.
- Protection of structures and humans from sunlight and ultraviolet radiation.
- Protection from the harmful effects of the environment, namely: precipitation. Otherwise, they can destroy the finish of the balcony.
- Decrease in the blowing capacity of the structure.
- Preventing dust and various debris from entering the balcony.
- Protection from thieves.
Currently, special standards are provided according to which a canopy for the balcony is mounted. These standards indicate the required dimensions, features of the external design and fasteners of the device.
If you build a roof over a balcony, without observing GOST and SNiP, then you can thereby lead the building to rapid destruction, entailing dangerous situations for the health and life of people.

Description of species
Top floor balconies are essential for effective protection from sun and precipitation. Currently, such designs are very popular, so they are presented in a wide range.
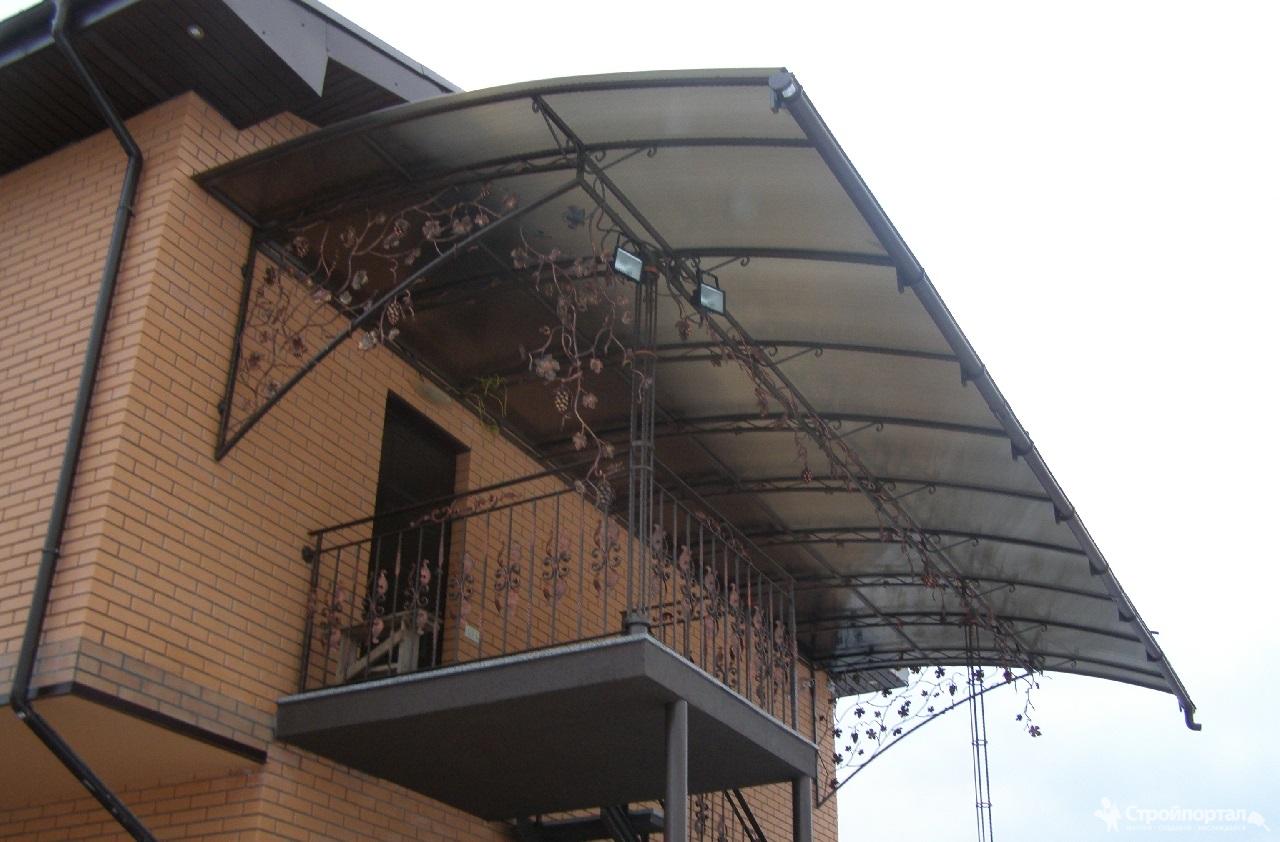
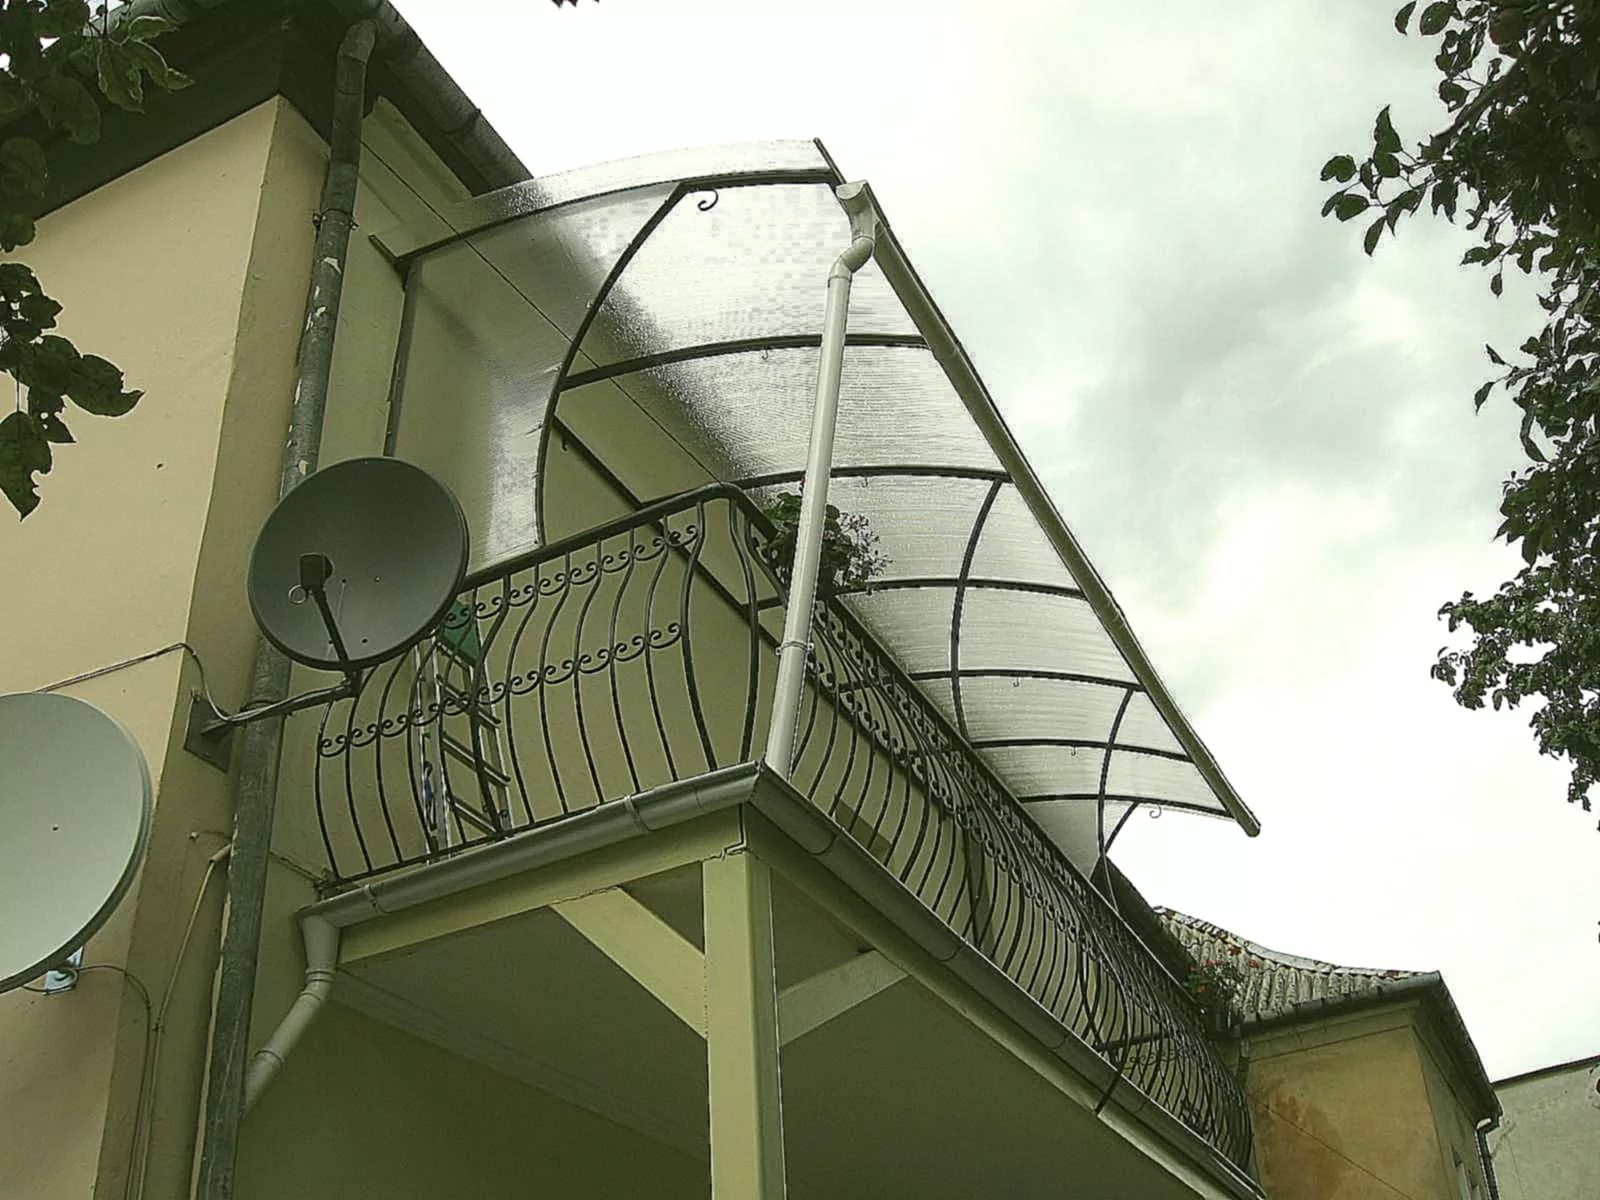
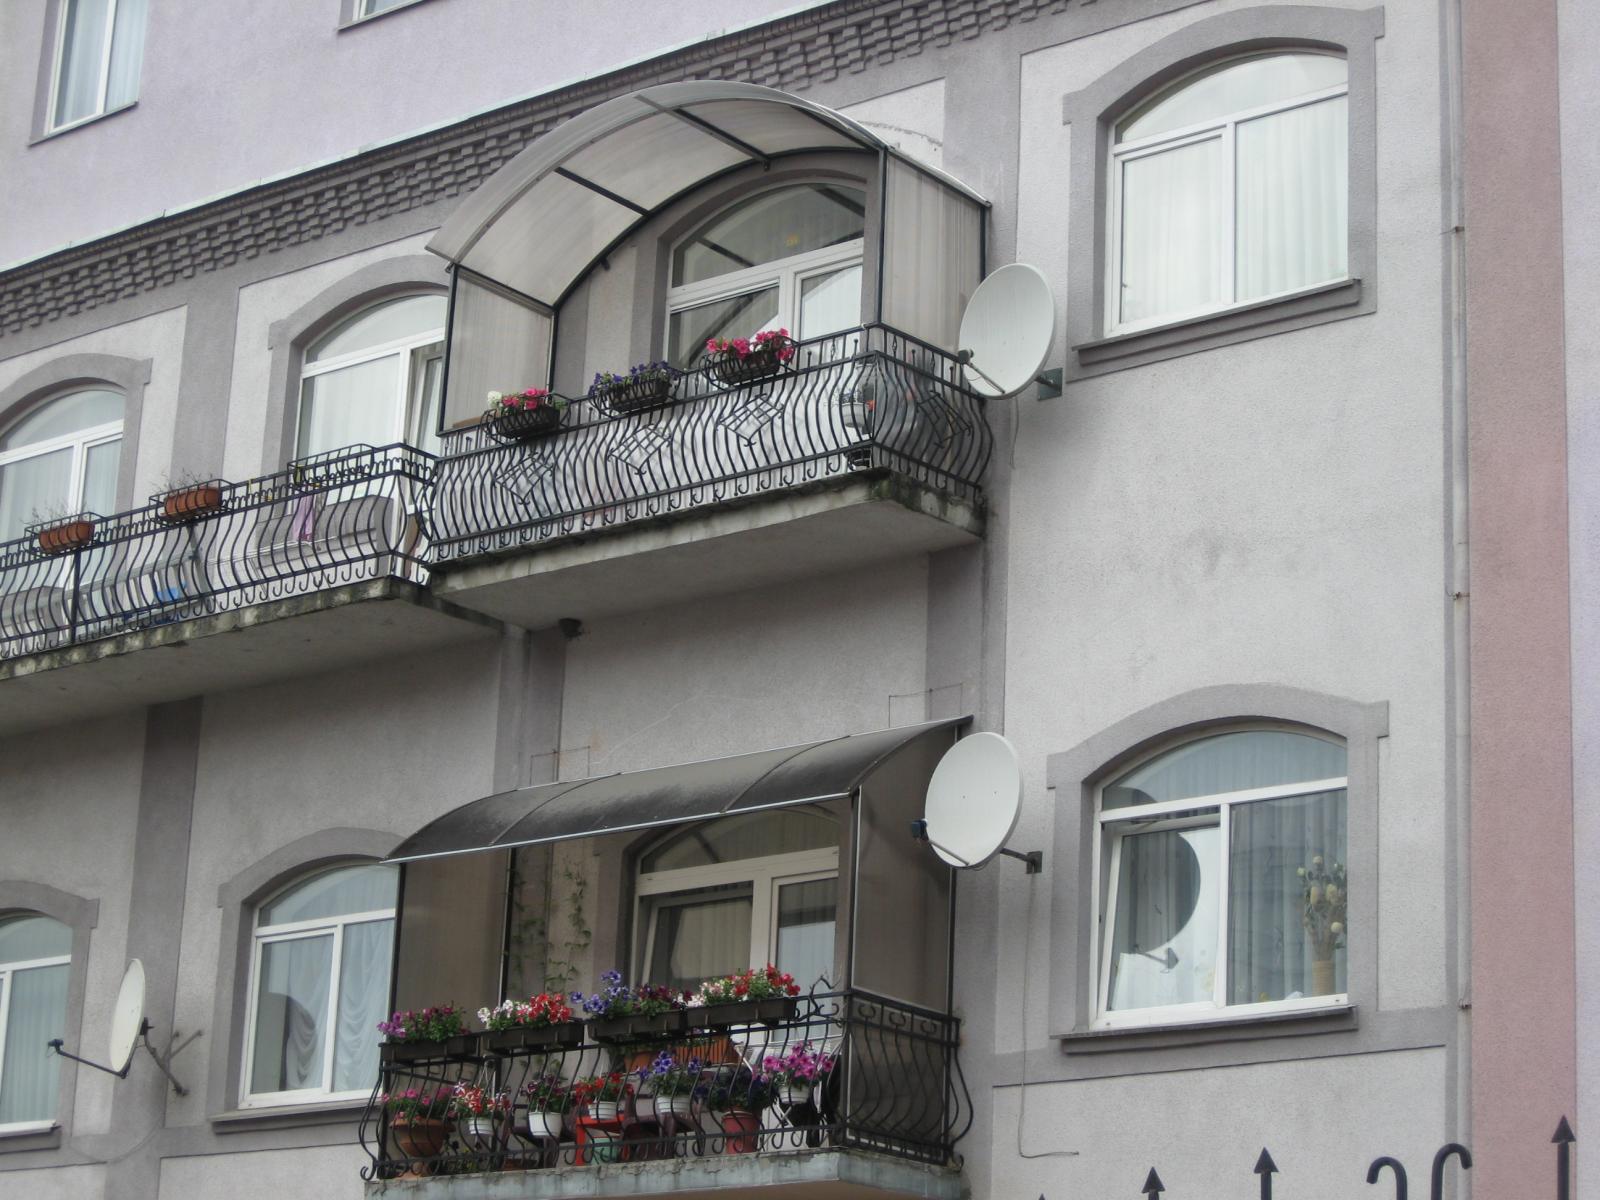
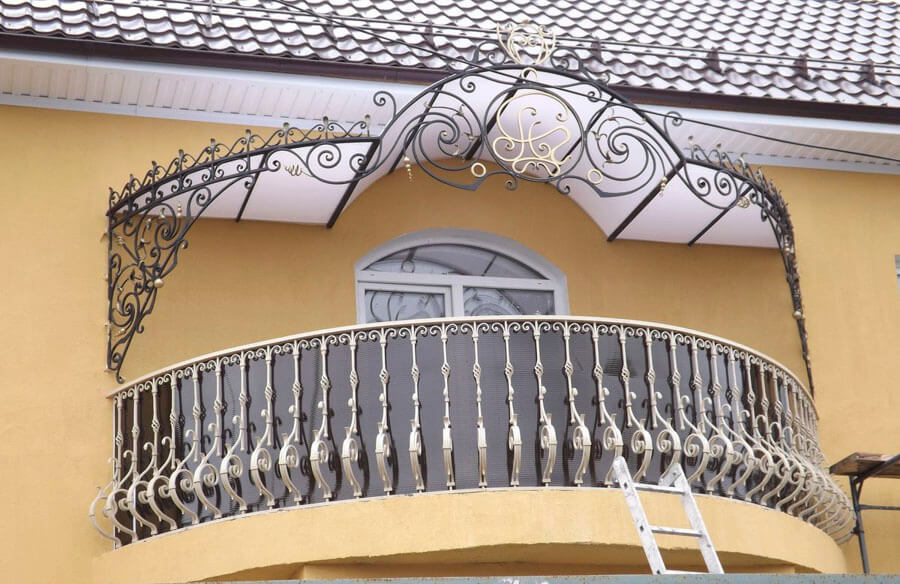
Arched
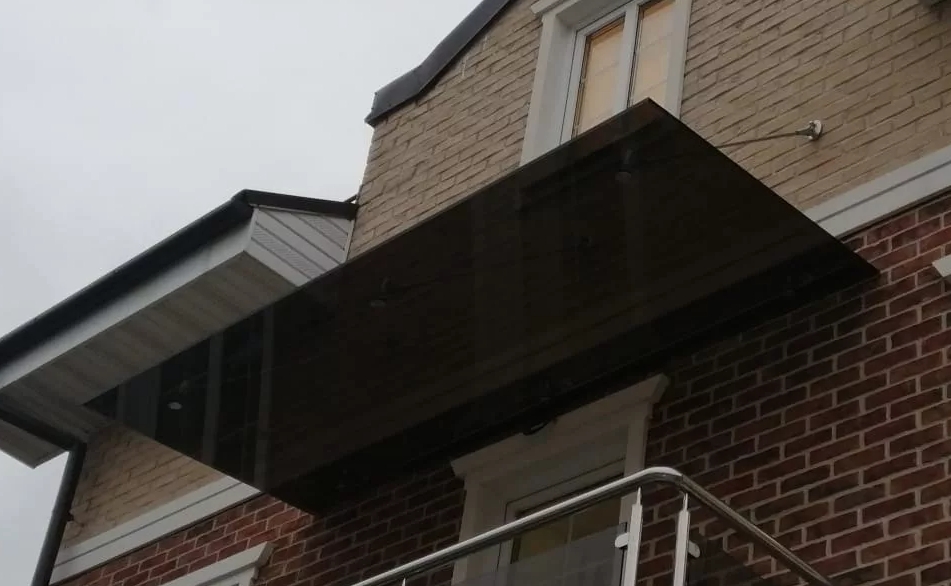
Arched visors have a shape that matches their name. From the side, the design is similar to a semicircular arch. The quality of protection of the interior space of the balcony depends on how low the wings of the device are lowered. If snow or rain falls on such a roof, then water will flow down its sides and will not penetrate into the building. Often, such visors are made of polycarbonate or impact-resistant glass.


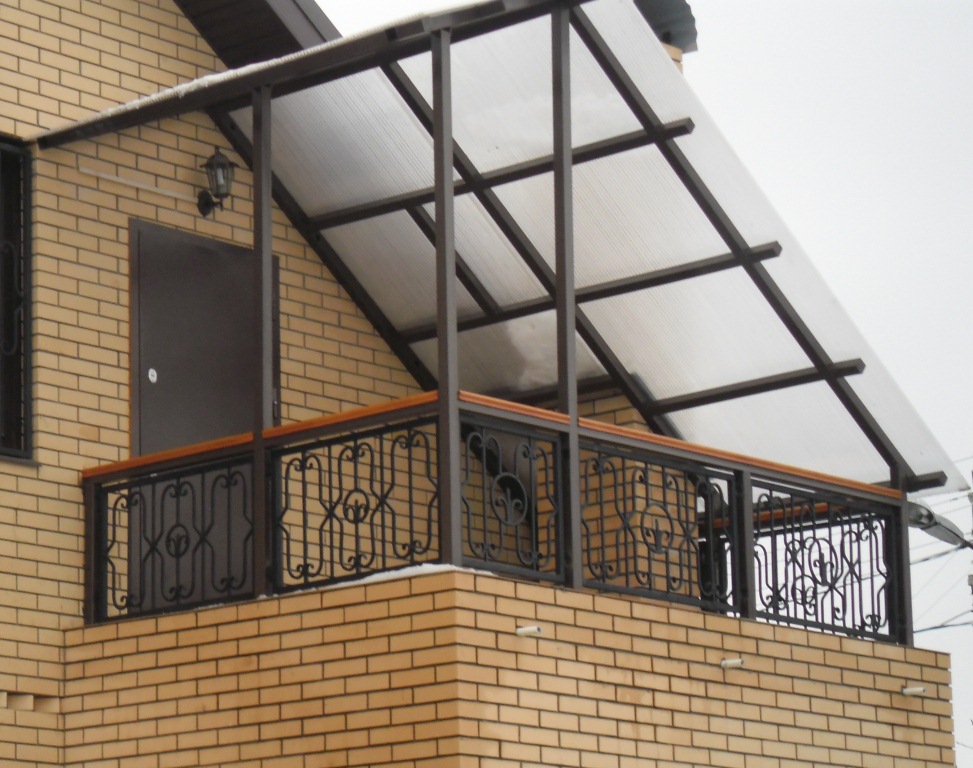
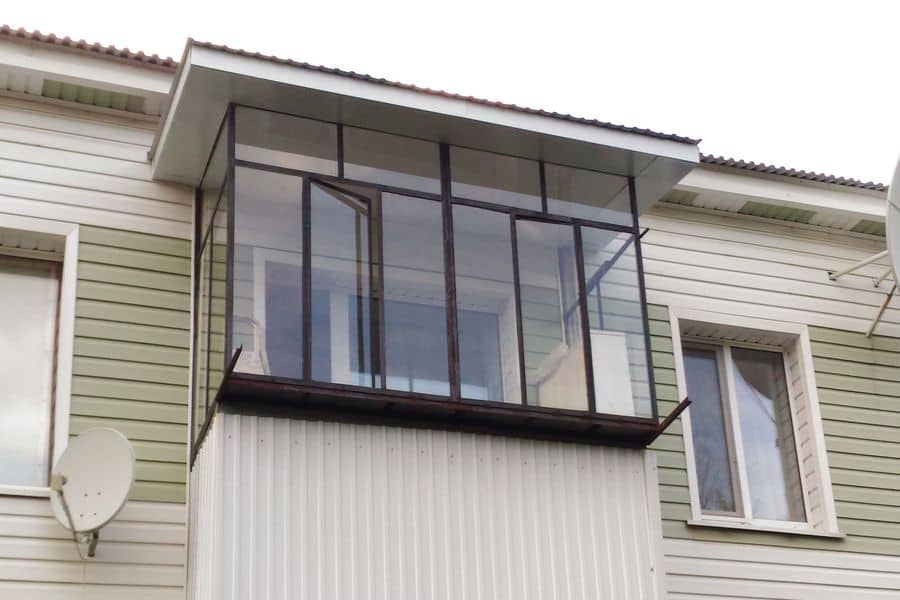
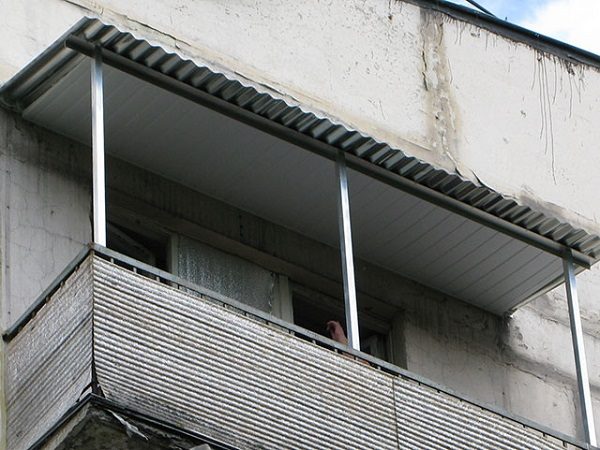
Single slope
The simplest canopy for a balcony is considered to be a lean-to. A flat surface is mounted at a specific angle relative to the building wall. This moment contributes to the removal of precipitation and their flow down. This design is characterized by the presence of small sides, which provide high-quality protection against moisture.


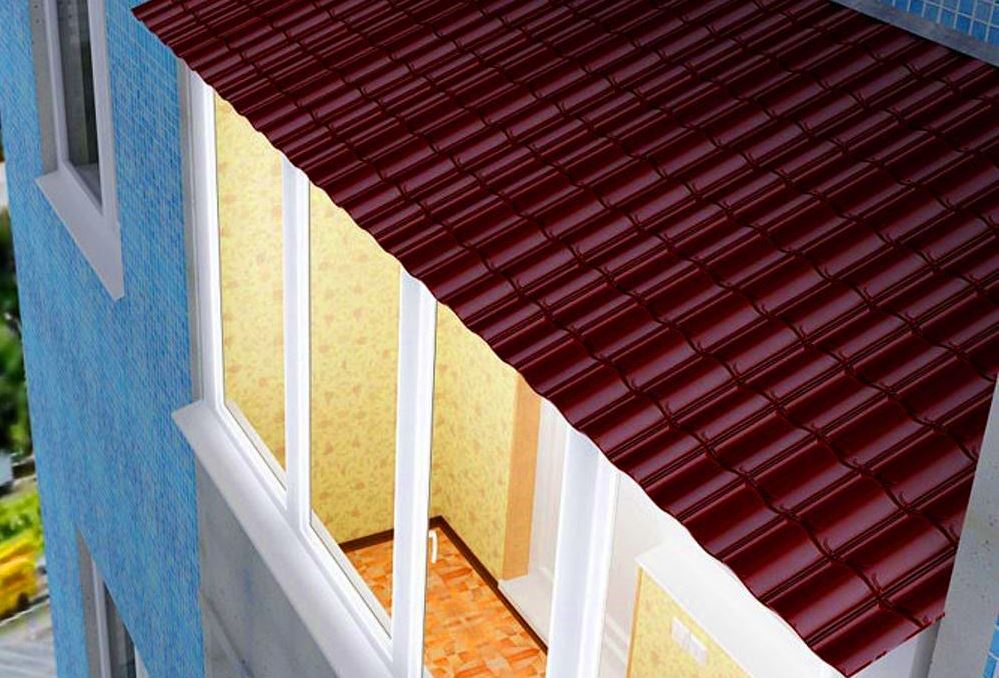
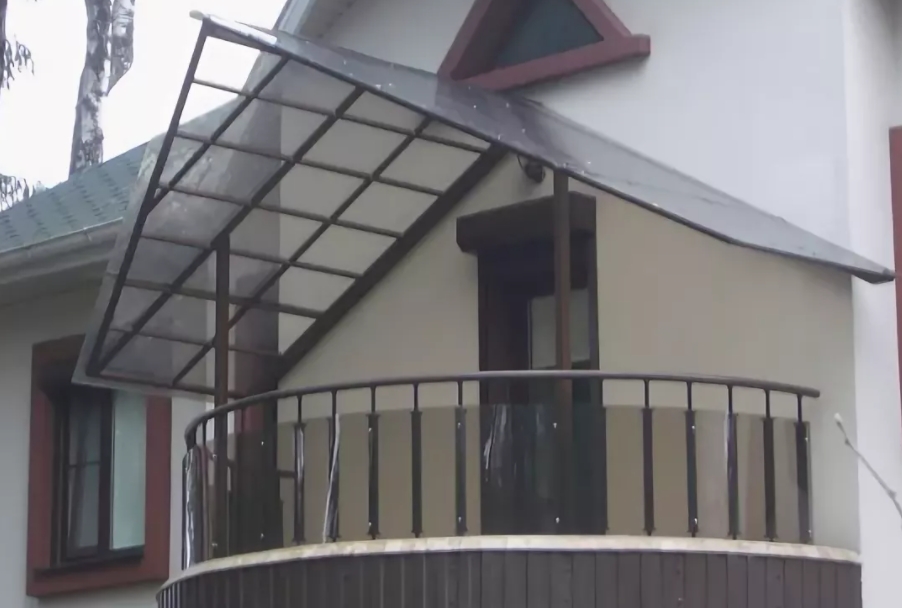
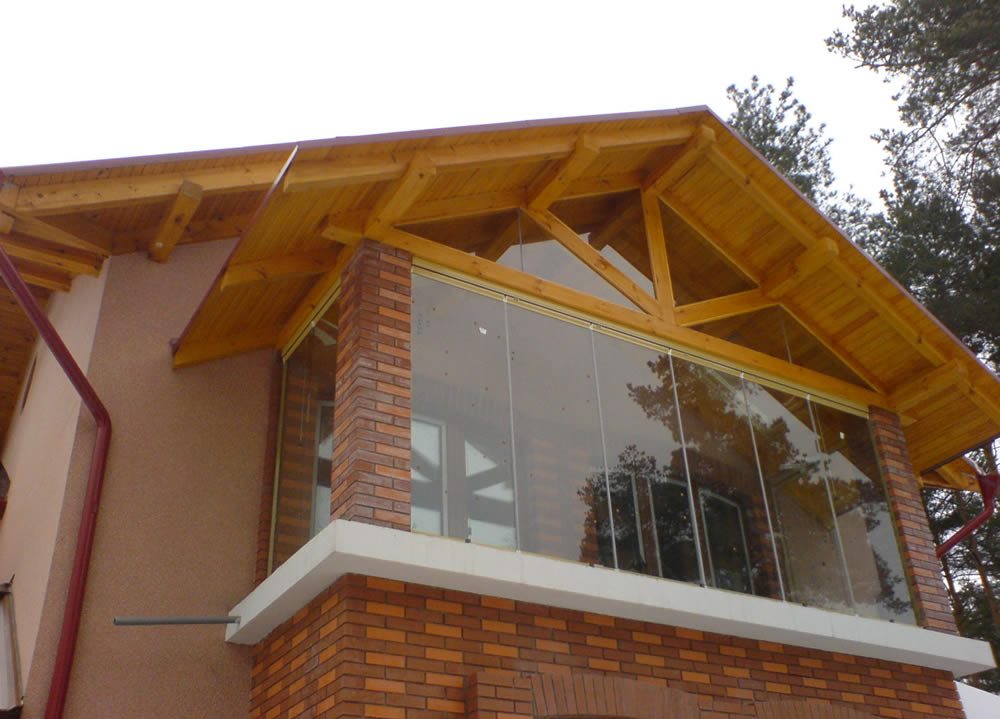
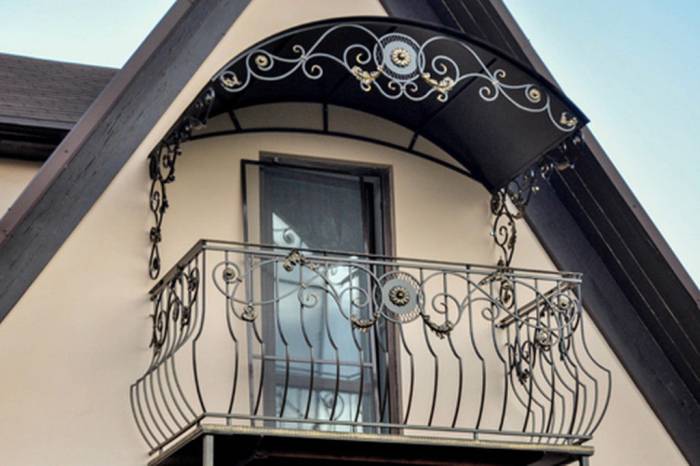
Gable
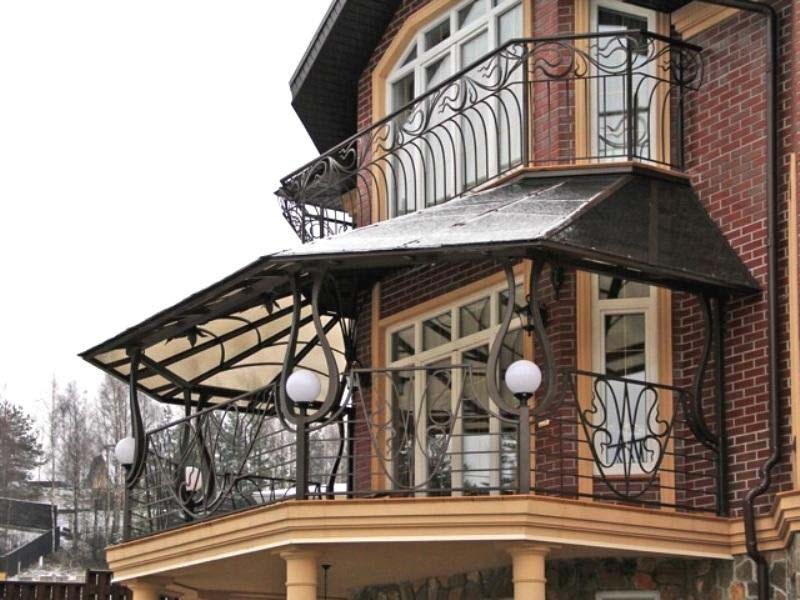
The gable canopy over the balcony is very similar to the roof of a house. This design has 2 wings, so it is very bulky. Gable structures are usually mounted over large balconies. In this case, the sides can be closed with high-quality material and thereby protect the internal space from the negative influence of the external environment.


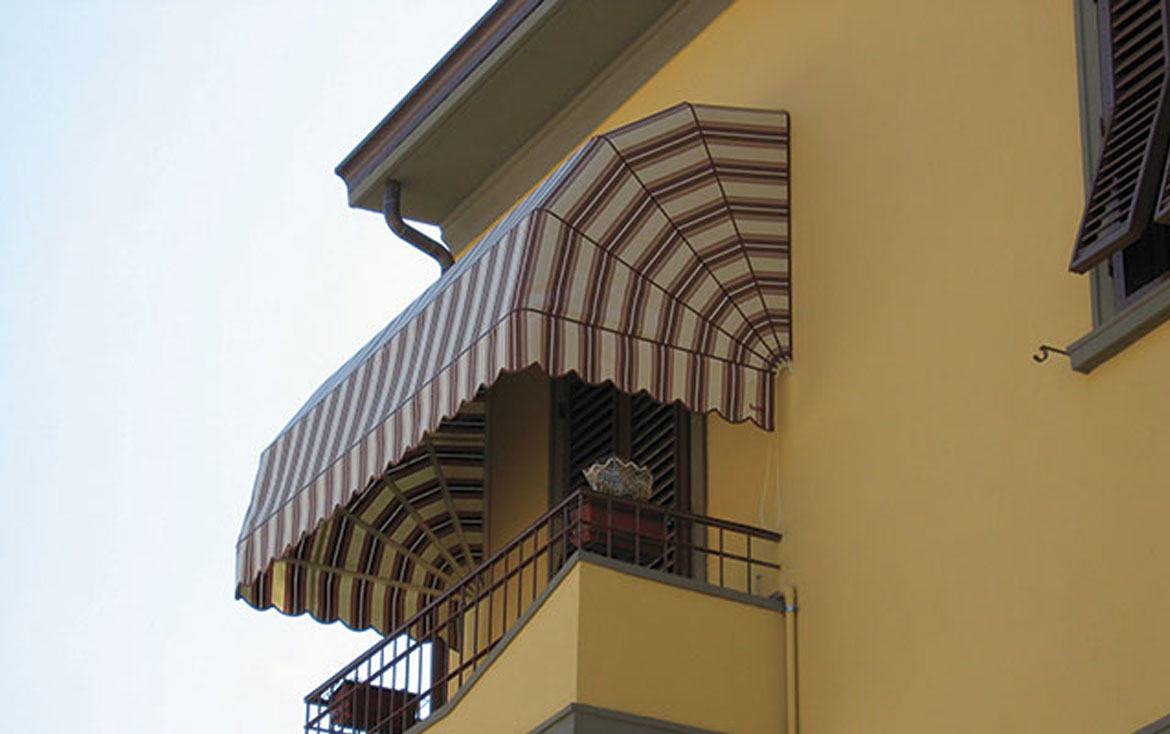
Awnings
Awnings are represented by lightweight structures that are quite easy to fold. They include metal elbow brackets, as well as a dense water-repellent material. If the visor is open, then it will provide good protection from the sun and rain. The closed position involves winding the material onto the shaft and lifting the levers up.Awnings can be installed on the balcony of any floor, regardless of whether there is a balcony above or below.


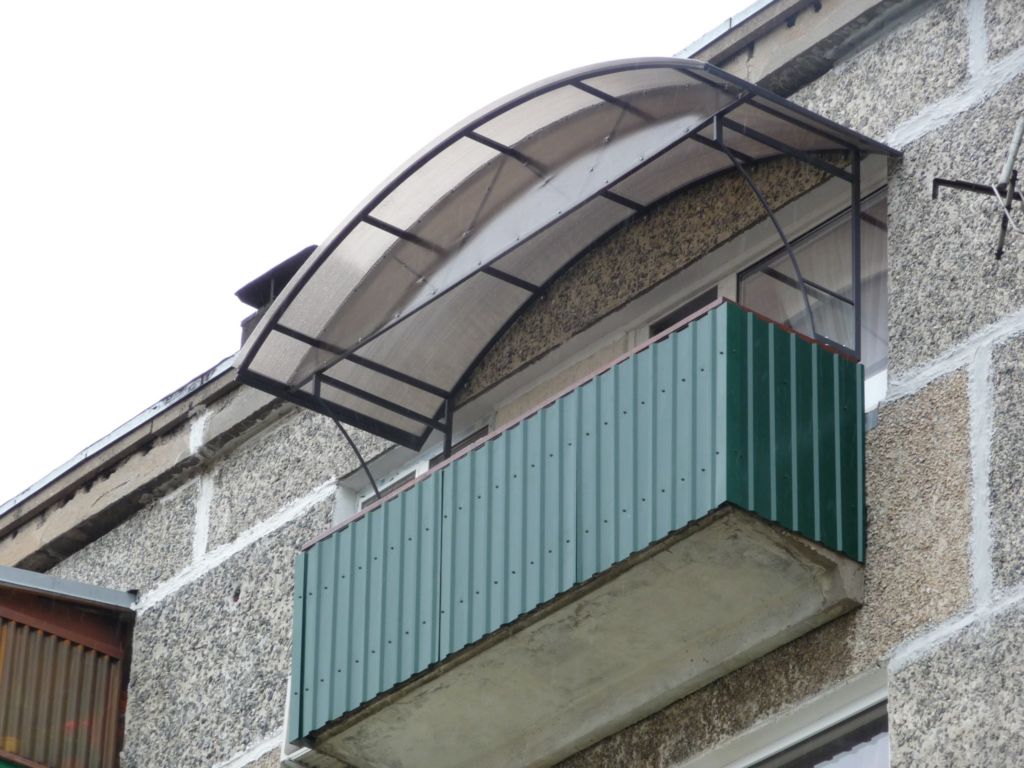
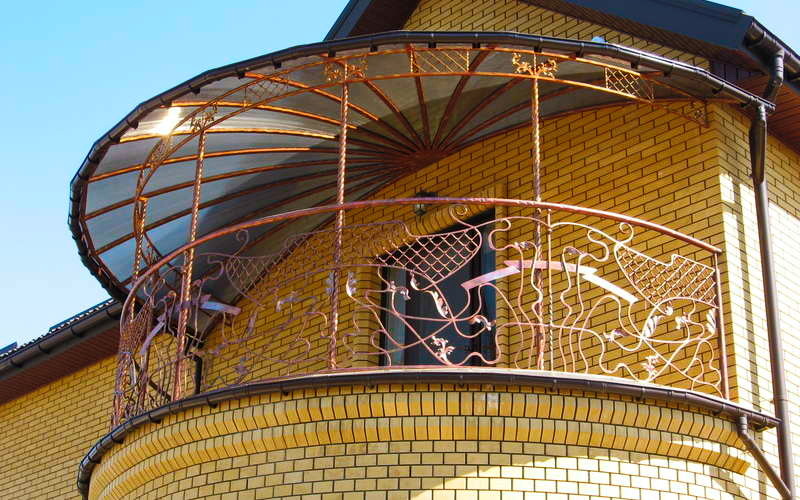
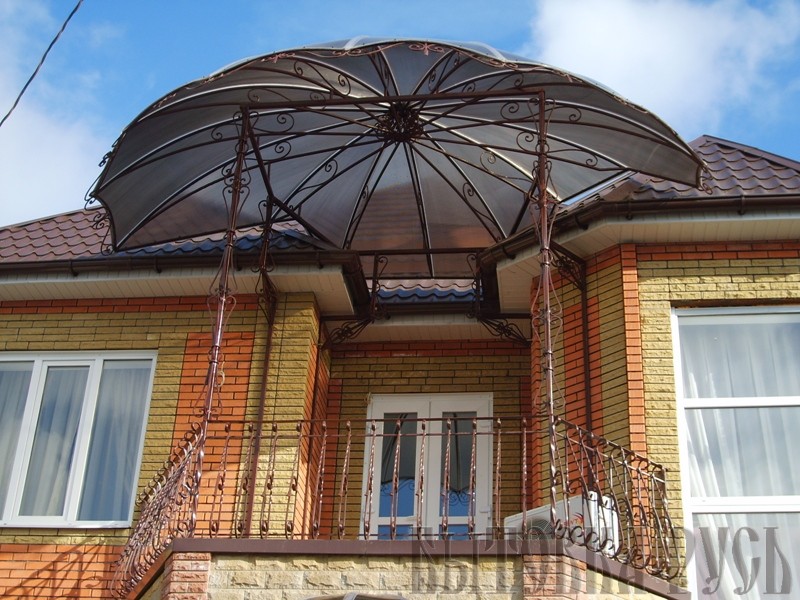
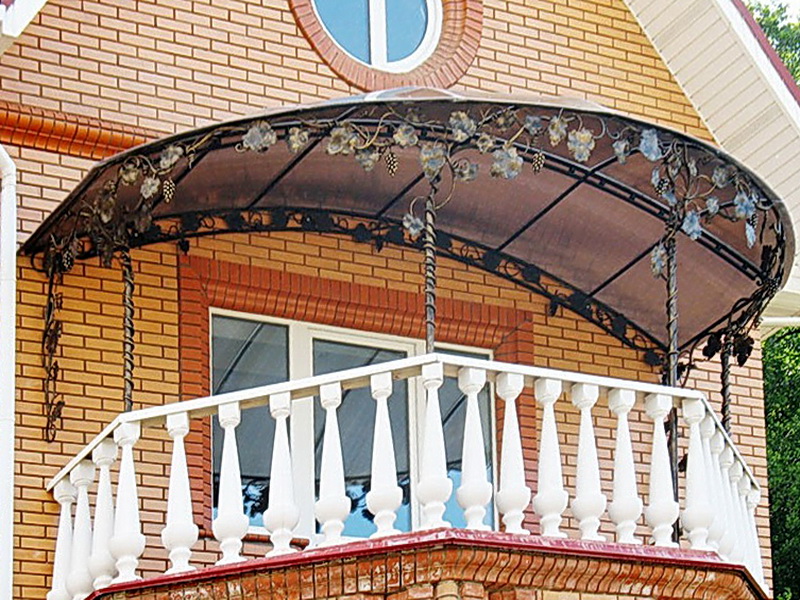
Dome
The hemispherical streamlined shape is characteristic of the domed canopies for the balcony. The edges of such a structure usually extend beyond the balcony, so the structure is reliably protected from precipitation. Dome canopies are often made of polycarbonate with a colored or transparent honeycomb base.

Materials (edit)
Like any other design, a balcony canopy can be made of different types of material. Let's list the most popular ones.
-
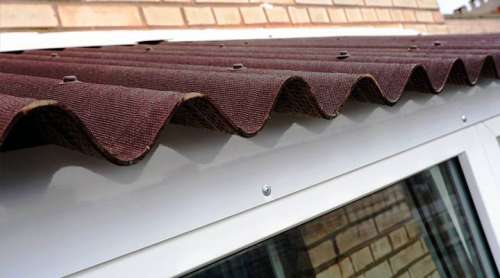
Ondulin. It is an inexpensive material that bears some resemblance to slate. However, it differs from the latter in its low weight and flexibility. Ondulin is considered the best option for covering canopies. It is able to withstand various atmospheric precipitation, and is also not prone to mold and mildew damage.

-
Polycarbonate, which have recently been used by masters quite often. The material is similar to plastic, it is able to transmit the sun's rays, perfectly soundproof the structure. You can make a visor with any shape from polycarbonate. This design is characterized by durability and flexibility. In addition, consumers note the ease of installation of polycarbonate products, as well as its safety. Despite the many advantages, craftsmen note such disadvantages as fragility and the possibility of deformation due to mechanical stress.
-
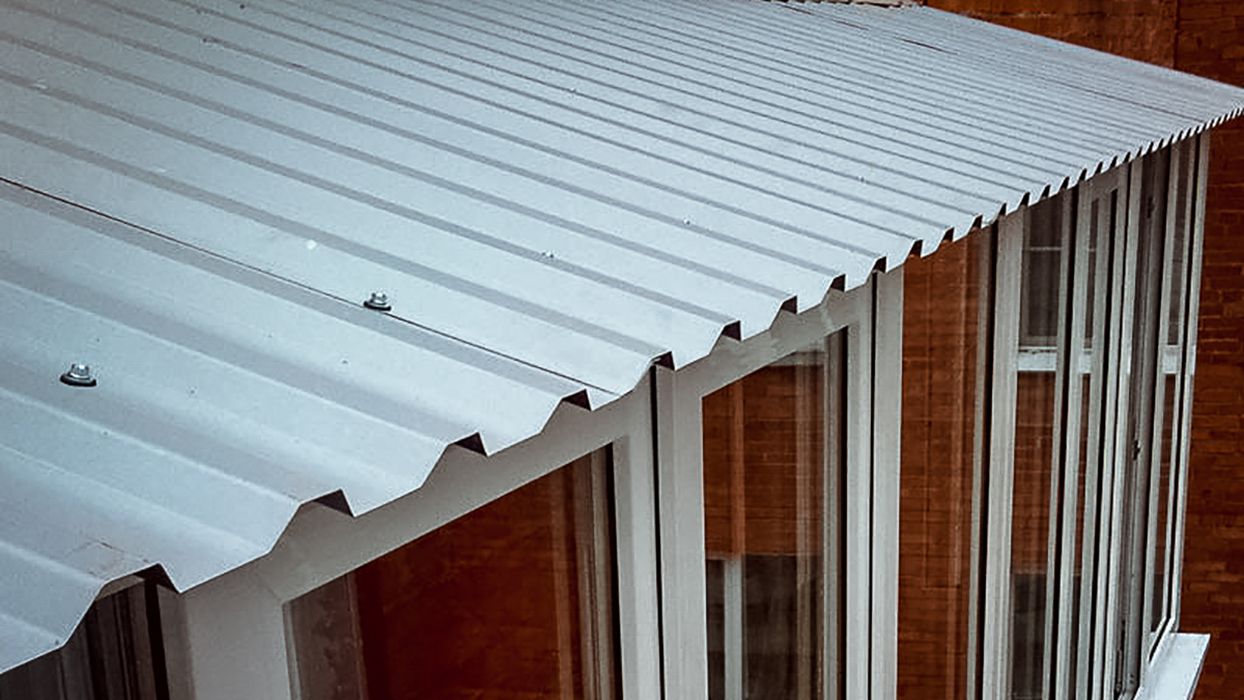
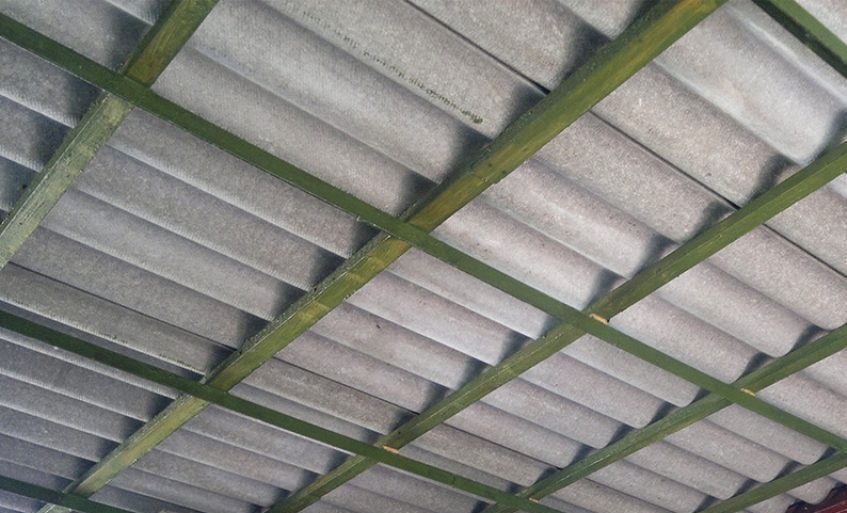
Decking. The metal sheet is made of galvanized steel, so it is characterized by strength and durability, and is also ideal for roofing work. The corrugated board is malleable in processing and has an attractive appearance. The downside of the material is that it creates unpleasant loud sounds if it falls under precipitation. However, with proper installation, this disadvantage can be eliminated.

-
Slate. It is characterized by good sound insulation, durability and the ability to repel moisture. With all this, the material is not strong enough and does not have a wide variety of external design.
- Wood and glass master they are used quite rarely, since they do not withstand the influence of atmospheric precipitation.

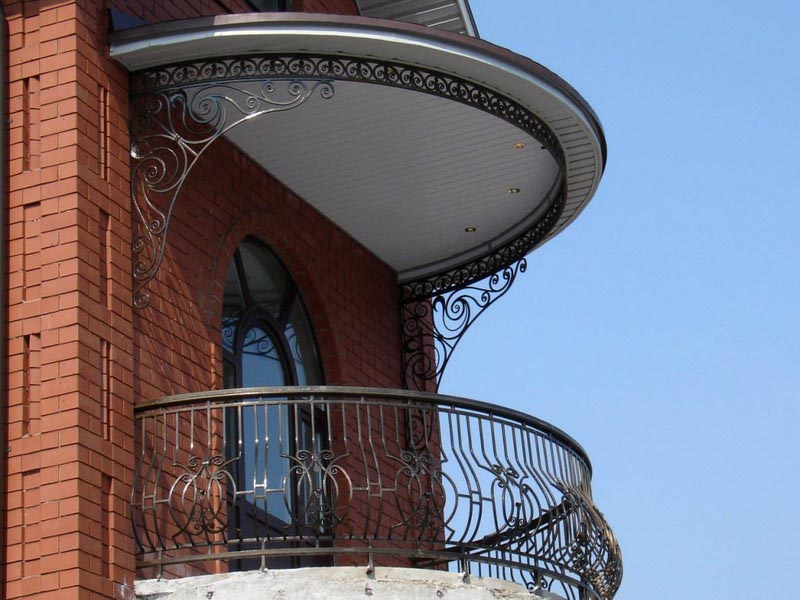
In addition to all of the above, apartment owners sometimes choose forged products as balconies.
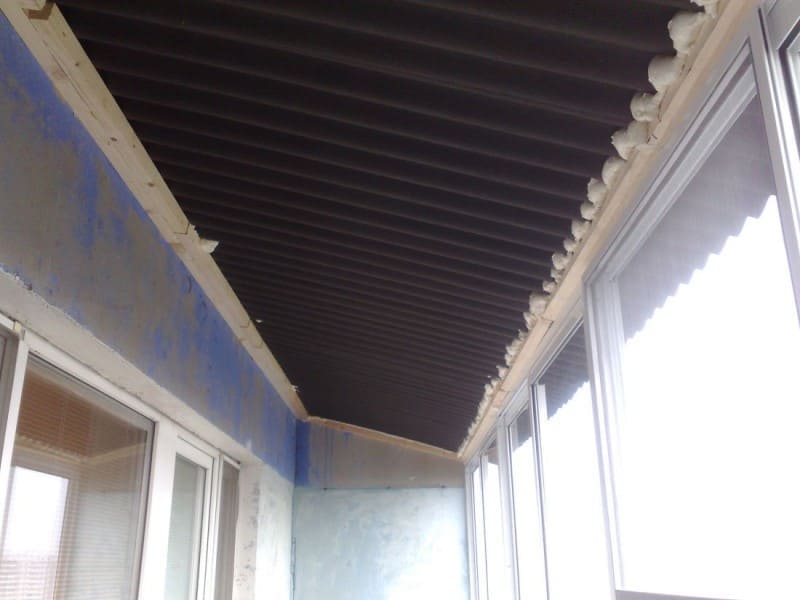
DIY dismantling and installation
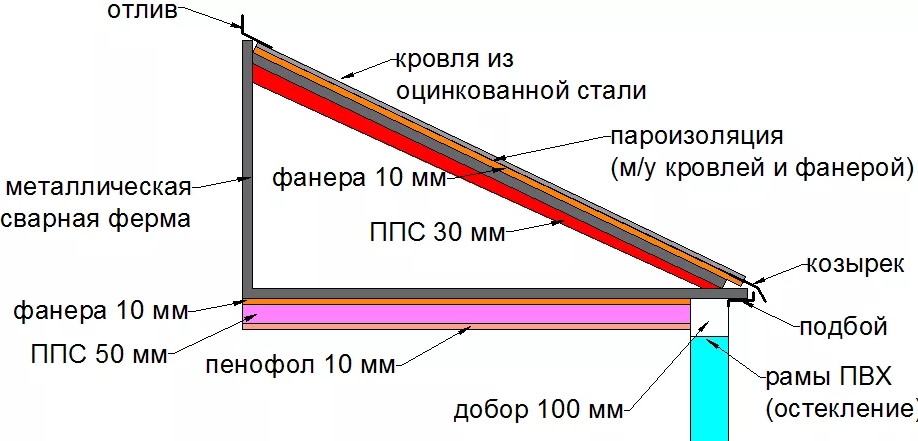
Before fixing the visor over the balcony, you will need to dismantle the old roof. Replacement of this design implies early selection of the form and material for the coating. After all the advantages and disadvantages have been weighed, you need to make a drawing of the future canopy. This prevents installation errors.
The best option is a visor, the length of which is 0.4 meters longer than the slab from the balcony, so you can protect the room from precipitation.

There are 2 stages in the process of building a canopy:
- arrangement of the frame;
- roof decking.
Since the frame is necessary for the bearing function, it should be made from a profile, corners, metal pipes. In some cases, metal parts can be replaced with wooden ones. However, it should be borne in mind that the tree is short-lived. The material should be selected in accordance with what shape the structure will have. The shape and size of the visor should be thought out to the smallest detail, since it must be durable, strong and resistant to moisture.

To dismantle the old structure and correctly install the new one, the master will need to prepare certain inventory:
- large or small grinder, which has cutting wheels for metal;
- drill;
- welding machine;
- unit for screwing screws;
- hammer;
- sandpaper;
- brushes;
- a hacksaw for working with wood.

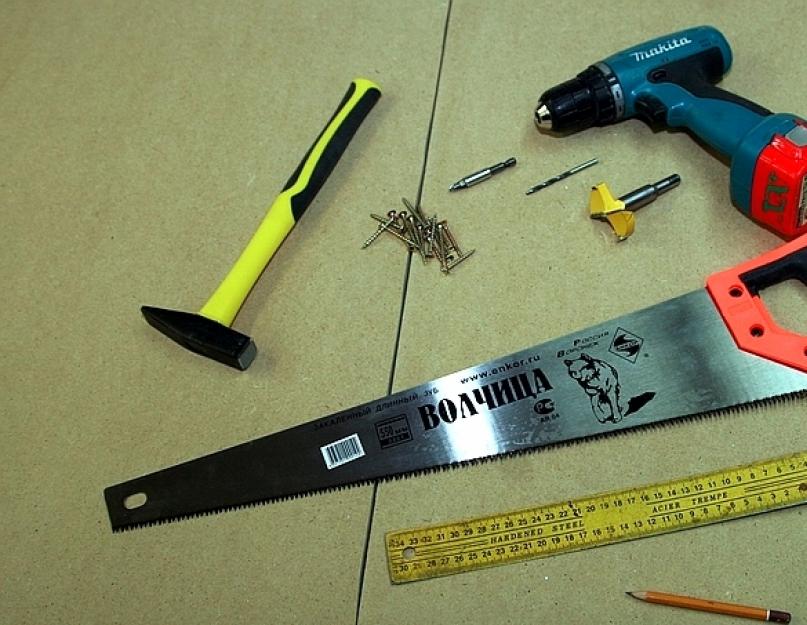
From consumables, the master will need to stock up on the following:
- metal corners;
- a tube made of a metal profile;
- anti-corrosive agent for finishing welded seams;
- hardware;
- primer;
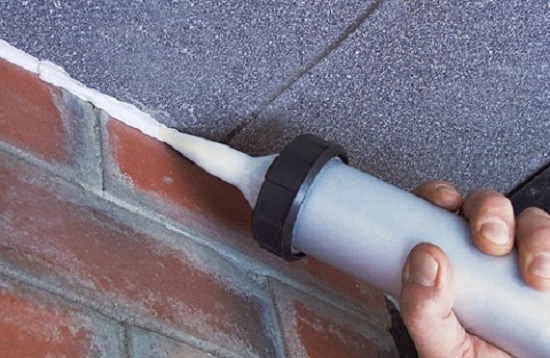
- sealant or silicone.
You can install the visor over the balcony with your own hands or with the help of craftsmen. Experts advise to carry out work according to a certain scheme.
- Correctly carry out the drawing taking into account all measurements.
- From a square steel tube, the cross-section of which is 50 by 50 or 35 by 35 mm, taking into account the data of the drawing, it is required to cut the required number of segments.
- Assemble the lower part of the frame with tacks. Then check that the angles correspond to 90 degrees. In addition, the diagonals of the corners must be equal.
- Weld all details.
- Mount and weld additional sections inside the frame.
- Take small pieces of tack, set them vertically and finally weld.
- Using a long tube, fix small sections using arc welding.
- Weld the cut-out metal mounting ears. Their fixation should be parallel to the vertical short sections.
- According to the required dimensions, cut out a roof sheet and install it on self-tapping screws.
- Place the resulting structure in the correct position and securely fix with anchors.
- Using a finishing material, sheathe the sides of the structure.

To make the visor over the balcony look stylish and original, you can install an arched or domed polycarbonate structure. You can attach the canopy with non-massive frames with forged elements. A balcony with a transparent visor looks quite impressive, in which the fasteners are represented by a forged lattice.
When erecting a visor over a balcony, it is worth using only high-quality materials, since the reliability of the structure and human safety depend on this.
For visors made of polycarbonate for the balcony, see the video.


