Varieties of window sills on the balcony and how to install them

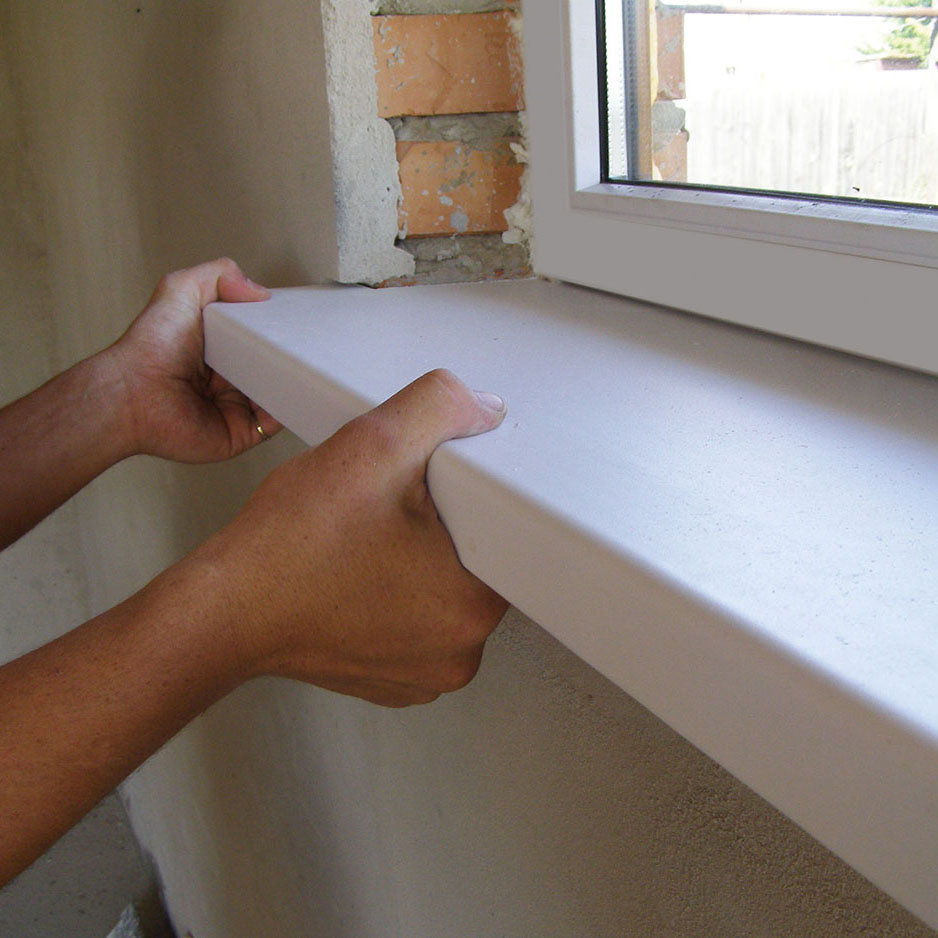
A beautiful window sill is not only a functional continuation of the window frame, but also a separate element of the decor of the balcony room. Although it is better to entrust the high-quality installation of window sills when installing double-glazed windows or aluminum frames to professionals, there is little that compares in terms of reliability with a window sill installed independently.


Species overview
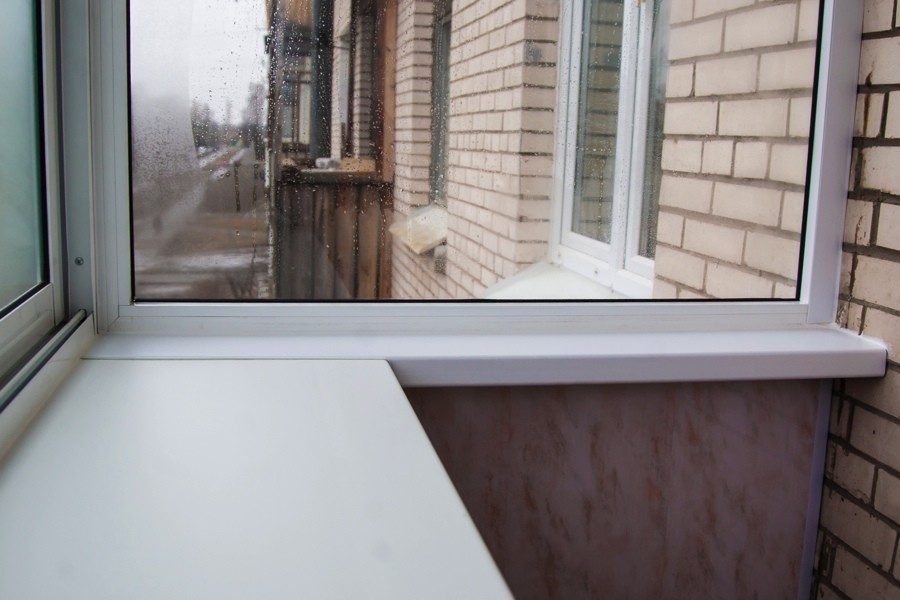
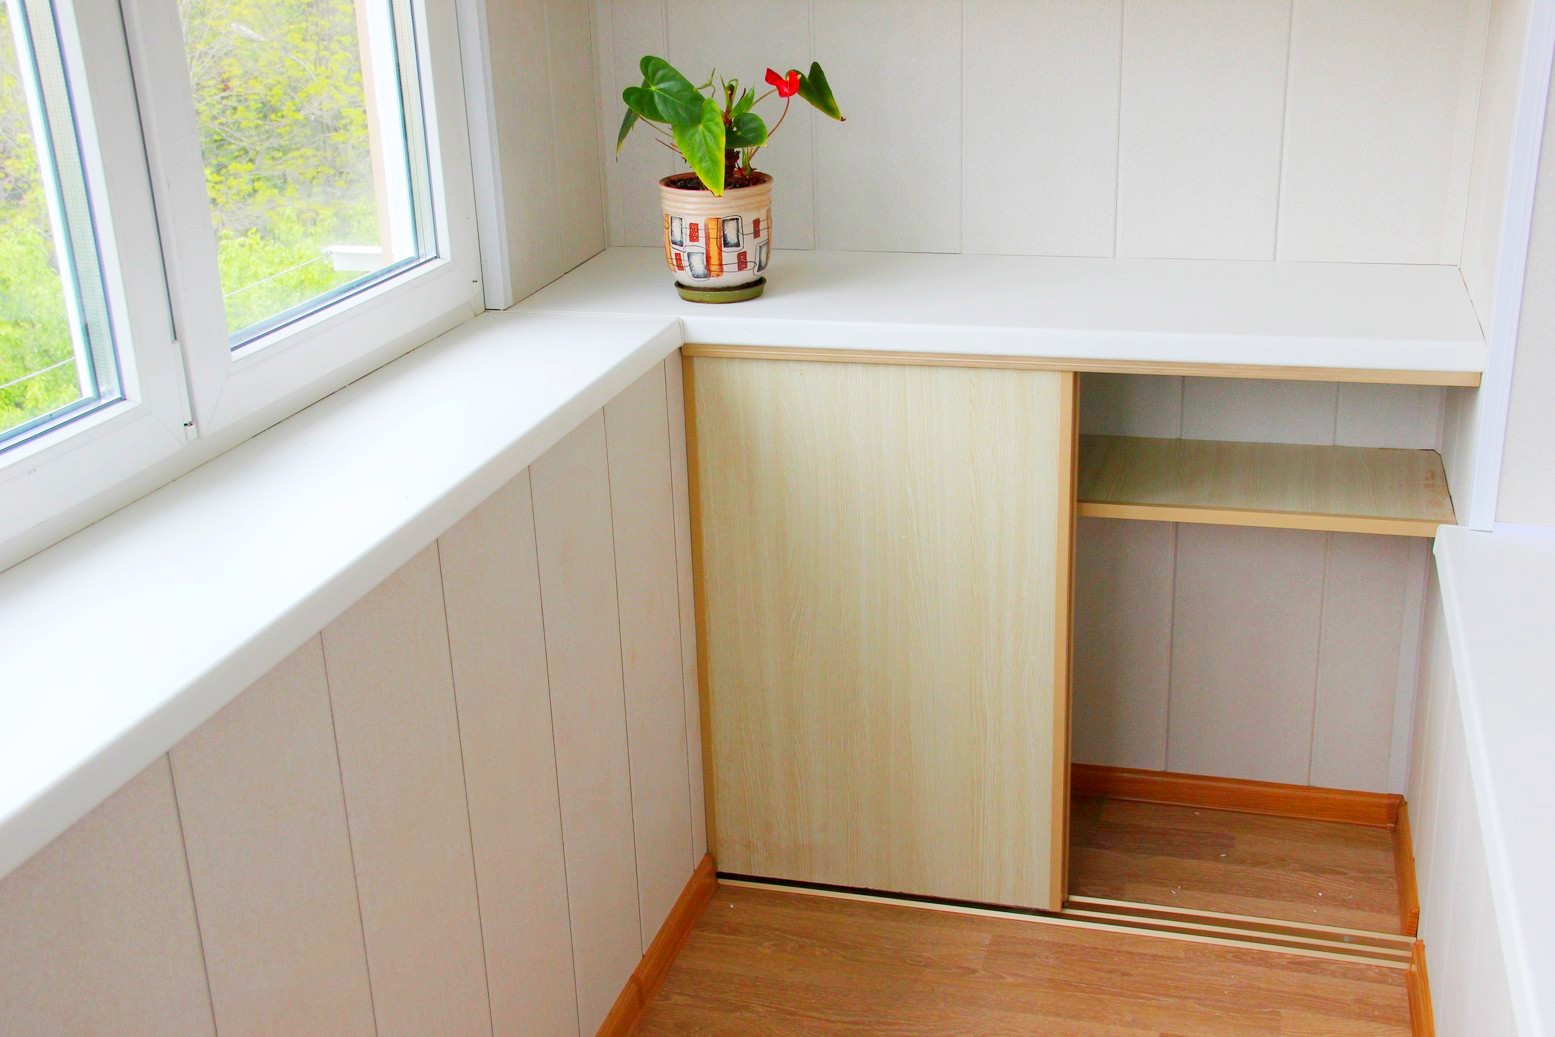
The window sill in the balcony space not only acts as a frame element, but also becomes a convenient shelf. Flowers or books can be placed on his stove. Of particular importance is the glazing format, the choice of finishing materials, as well as the presence of a parapet.
Before installation, it is necessary to think over all the factors so that the window sill remains beautiful for a long time and does not lose its qualities.

The most common materials for installing window sill slabs are:
- wood;
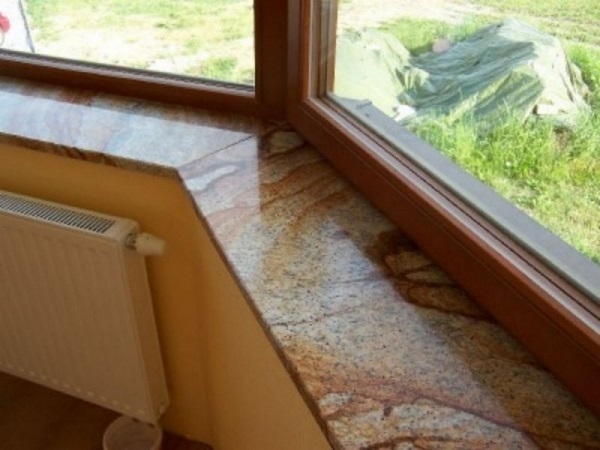
- ceramics, granite or marble;
- plastic;
- chipboard or MDF sheets.


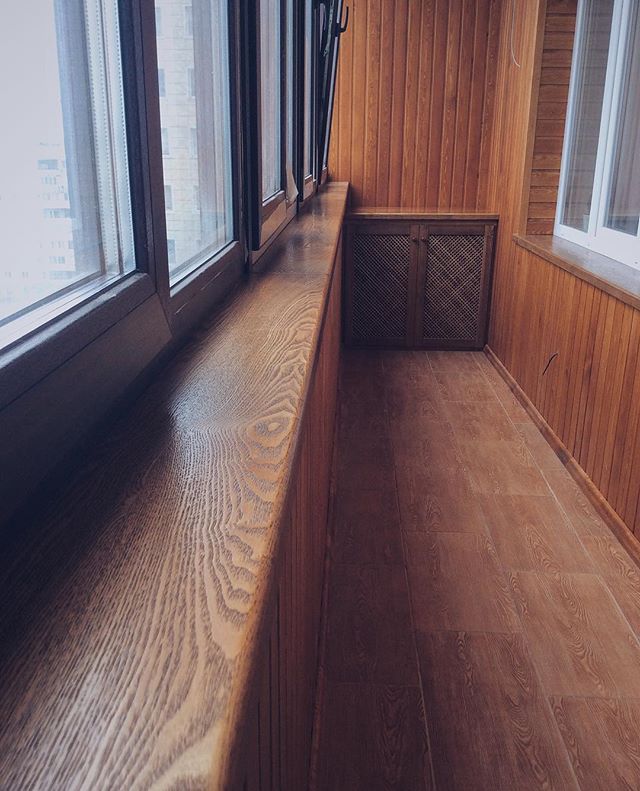
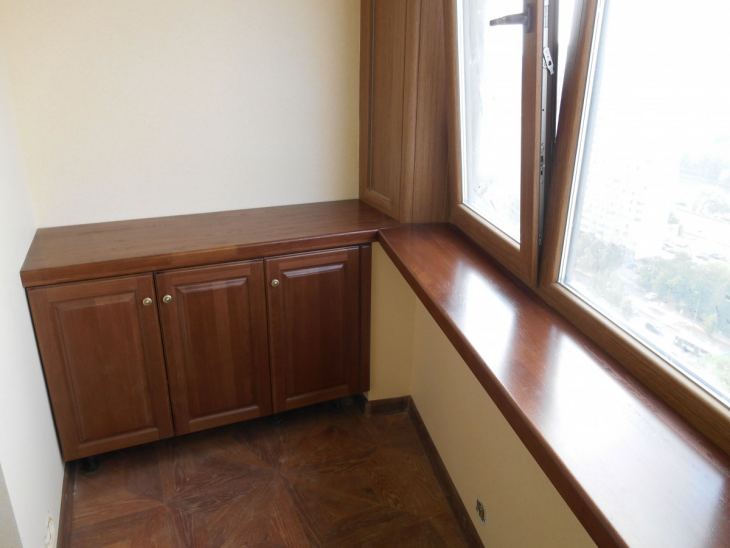
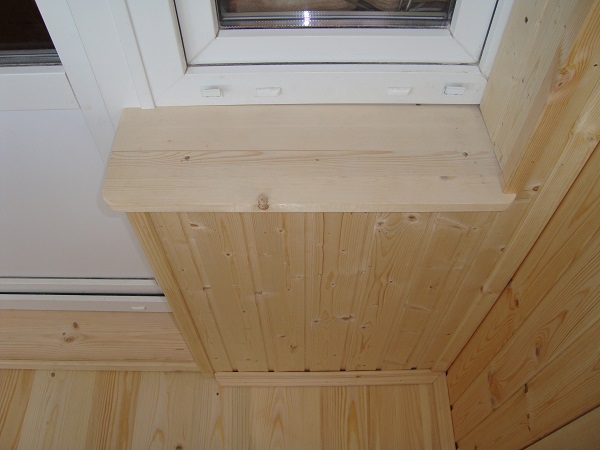
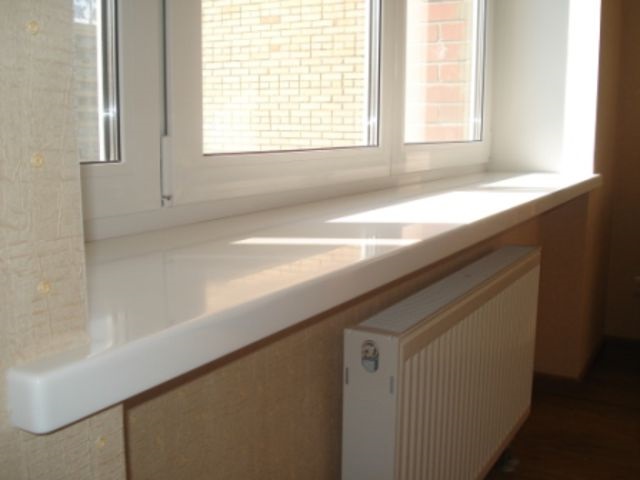
Each of the materials differs in quality and appearance. For example, wooden window sills are most often installed if the balcony room has good insulation and moisture insulation. Wooden structures look very nice and keep the room warm for a long time. Plastic models are available in various colors. Plastic windows are easy to install, however, such material does not withstand heavy loads.
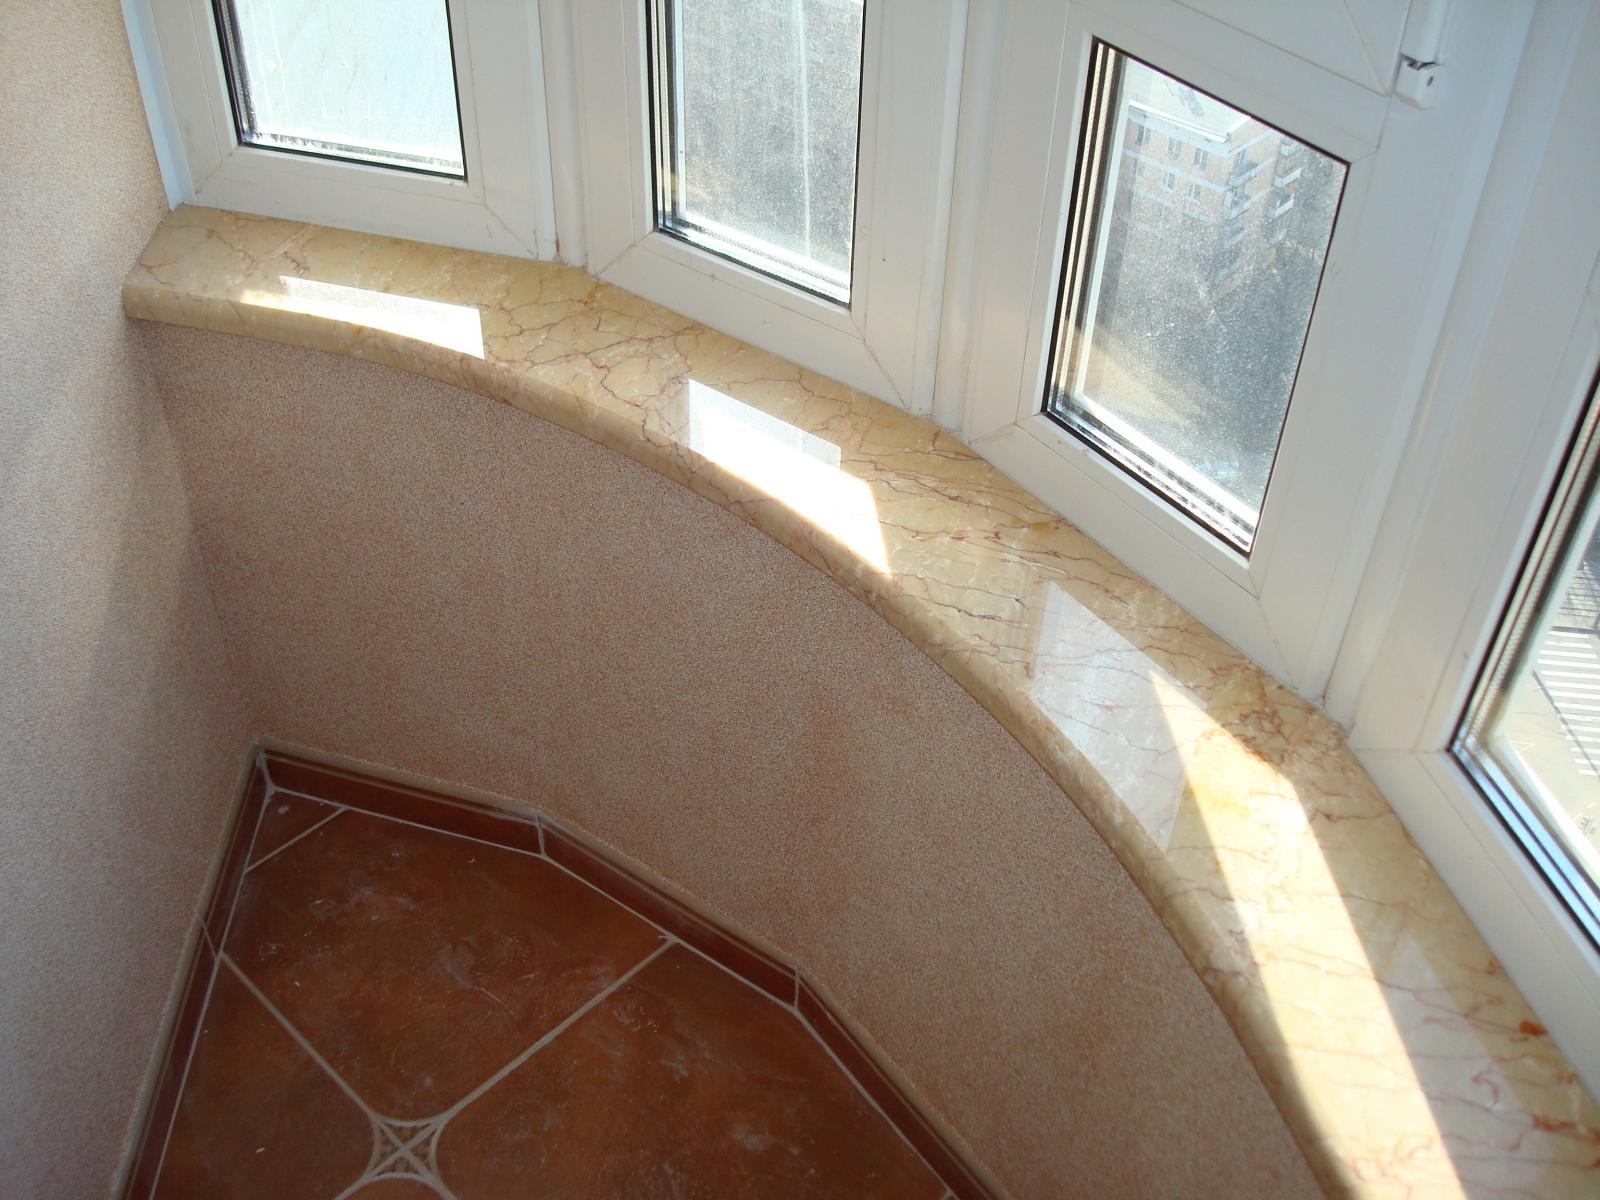
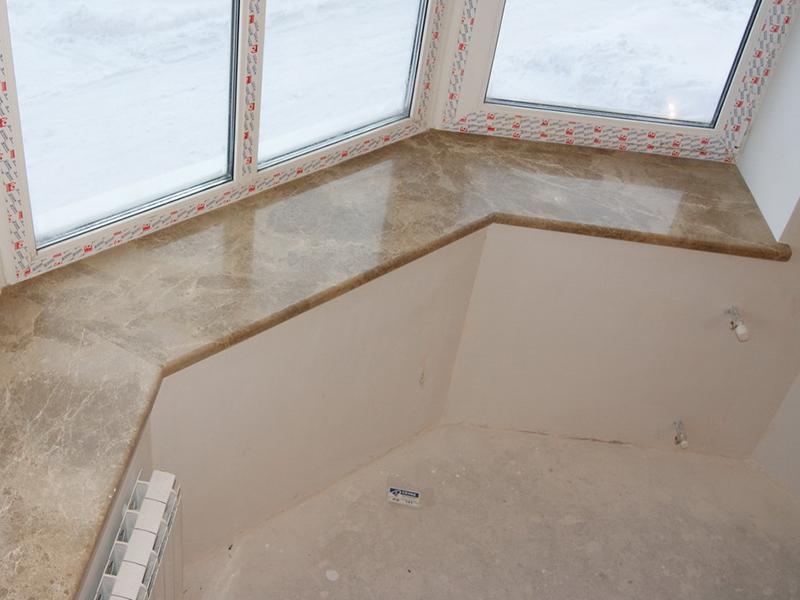
Marble or ceramic window sills look very nice, but through them the heat quickly leaves the room. However, such models have a long service life. When manufacturing window sills from chipboard sheets, it is necessary to make sure that the boards have been covered with a special layer of protection. The layer should be two-sided, thanks to which the finished window sills will serve for a long time.
Experts say that the best material for the window sill will be the one from which the window frames are made.
How to install on polyurethane foam?
Installation, in which the PVC window sill is literally glued and secured with special foam, is the most common method. The procedure itself is carried out very quickly. The procedure is especially relevant for structures that are small in width, which protrude slightly beyond the wall space. However, installation with this tool is not always suitable.

Tools and materials
To properly install the window sill slab, you will need the following list of tools and materials:
- construction sealant;
- plugs (relevant when installing a plastic panel);
- polyurethane foam;
- level and tape measure;
- square;
- bars (wooden or plastic are suitable);
- a screwdriver, as well as a jigsaw;
- pencil.


Let's consider in more detail how these devices will be used.
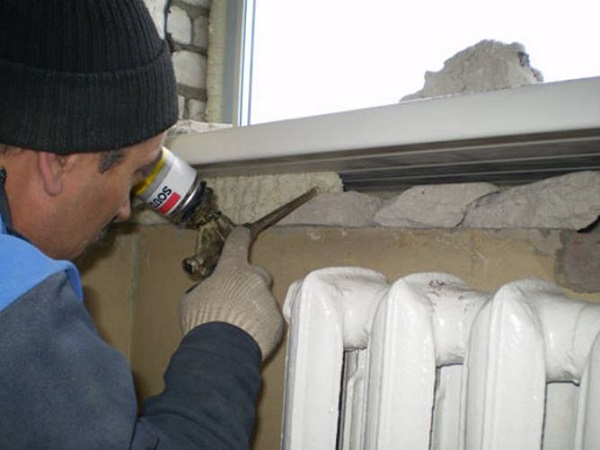
- Polyurethane foam. According to experts, the best option would be a special professional team. Foam can be easily dispensed using a polyurethane gun. The foam has a porous structure, the pores are small. But you can also use standard spray cans. The composition of the material is also important: the foam should have low expansion rates, otherwise, as a result of polymerization, the window sill will simply rise.
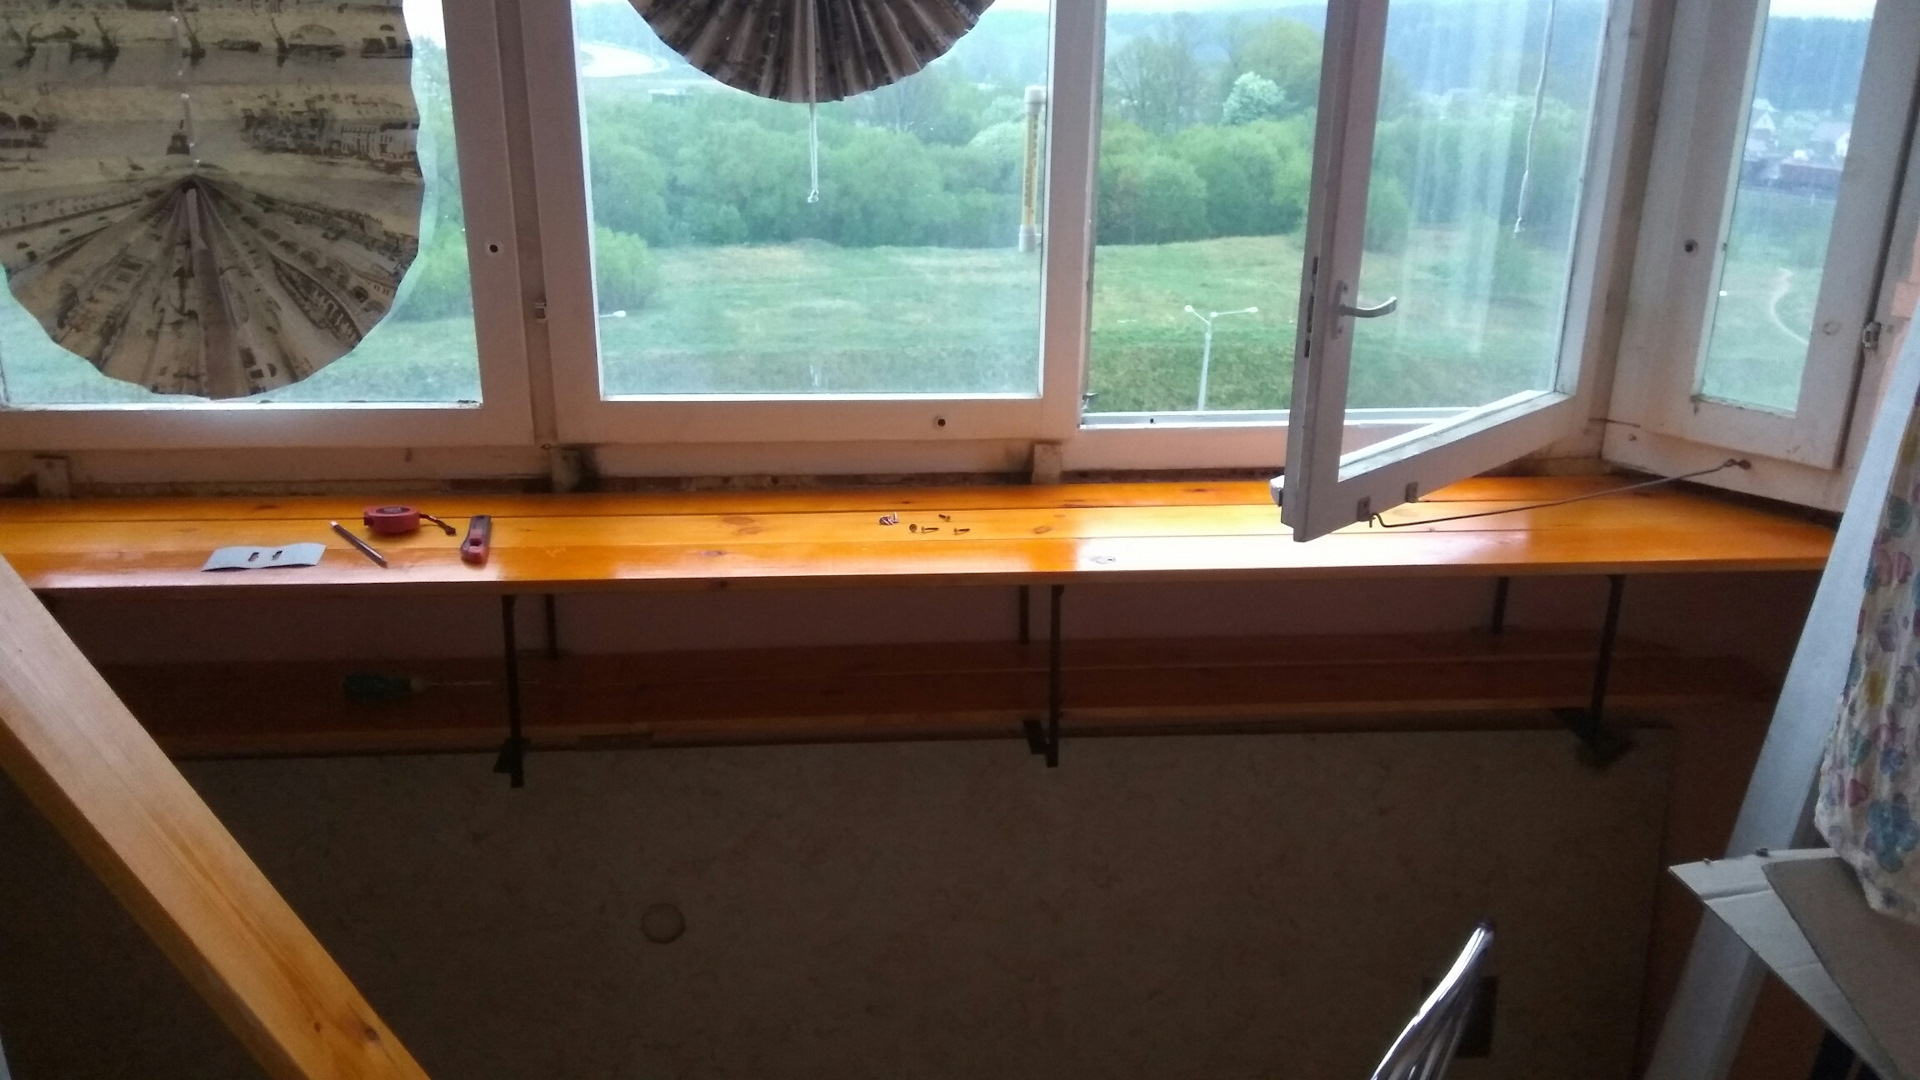
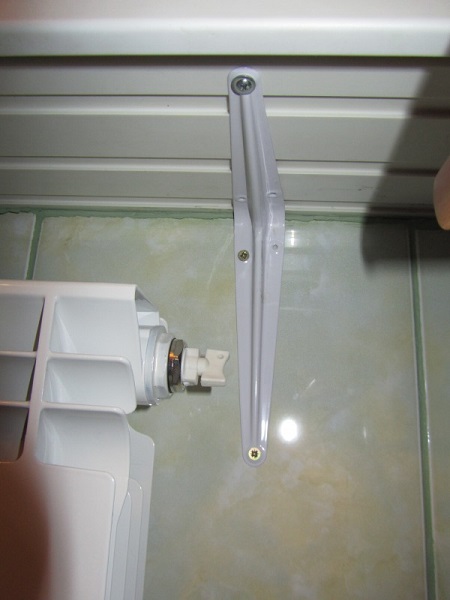
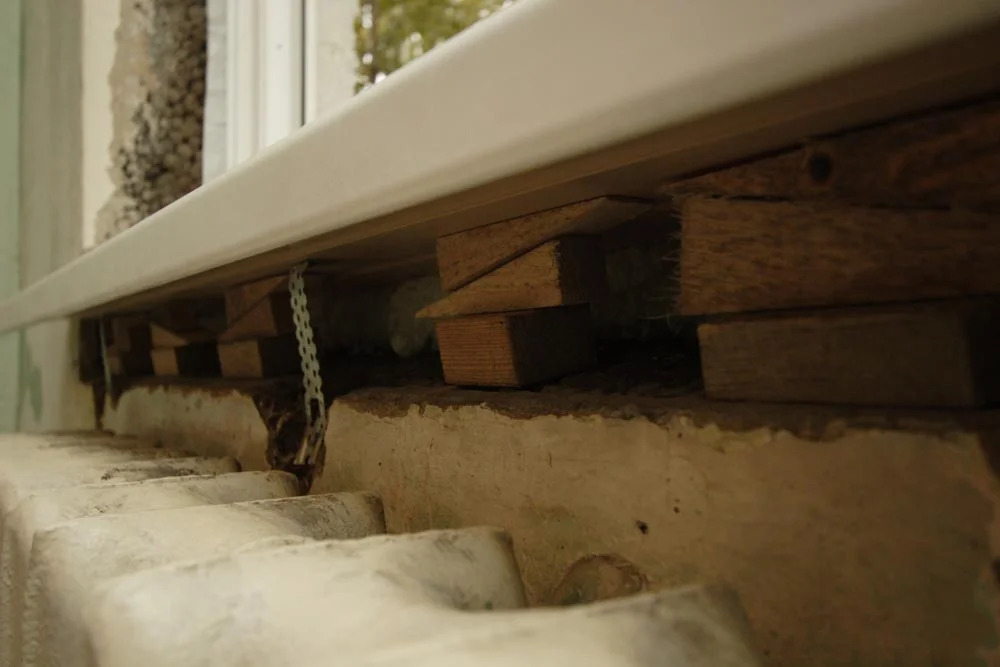
- Coasters for the window sill slab. They are needed for fixing at the correct angle. Supports are erected in two rows (the first is placed at the frame, and the second - along the edge of the wall). If the wall under the window has a small thickness, then one row is enough.
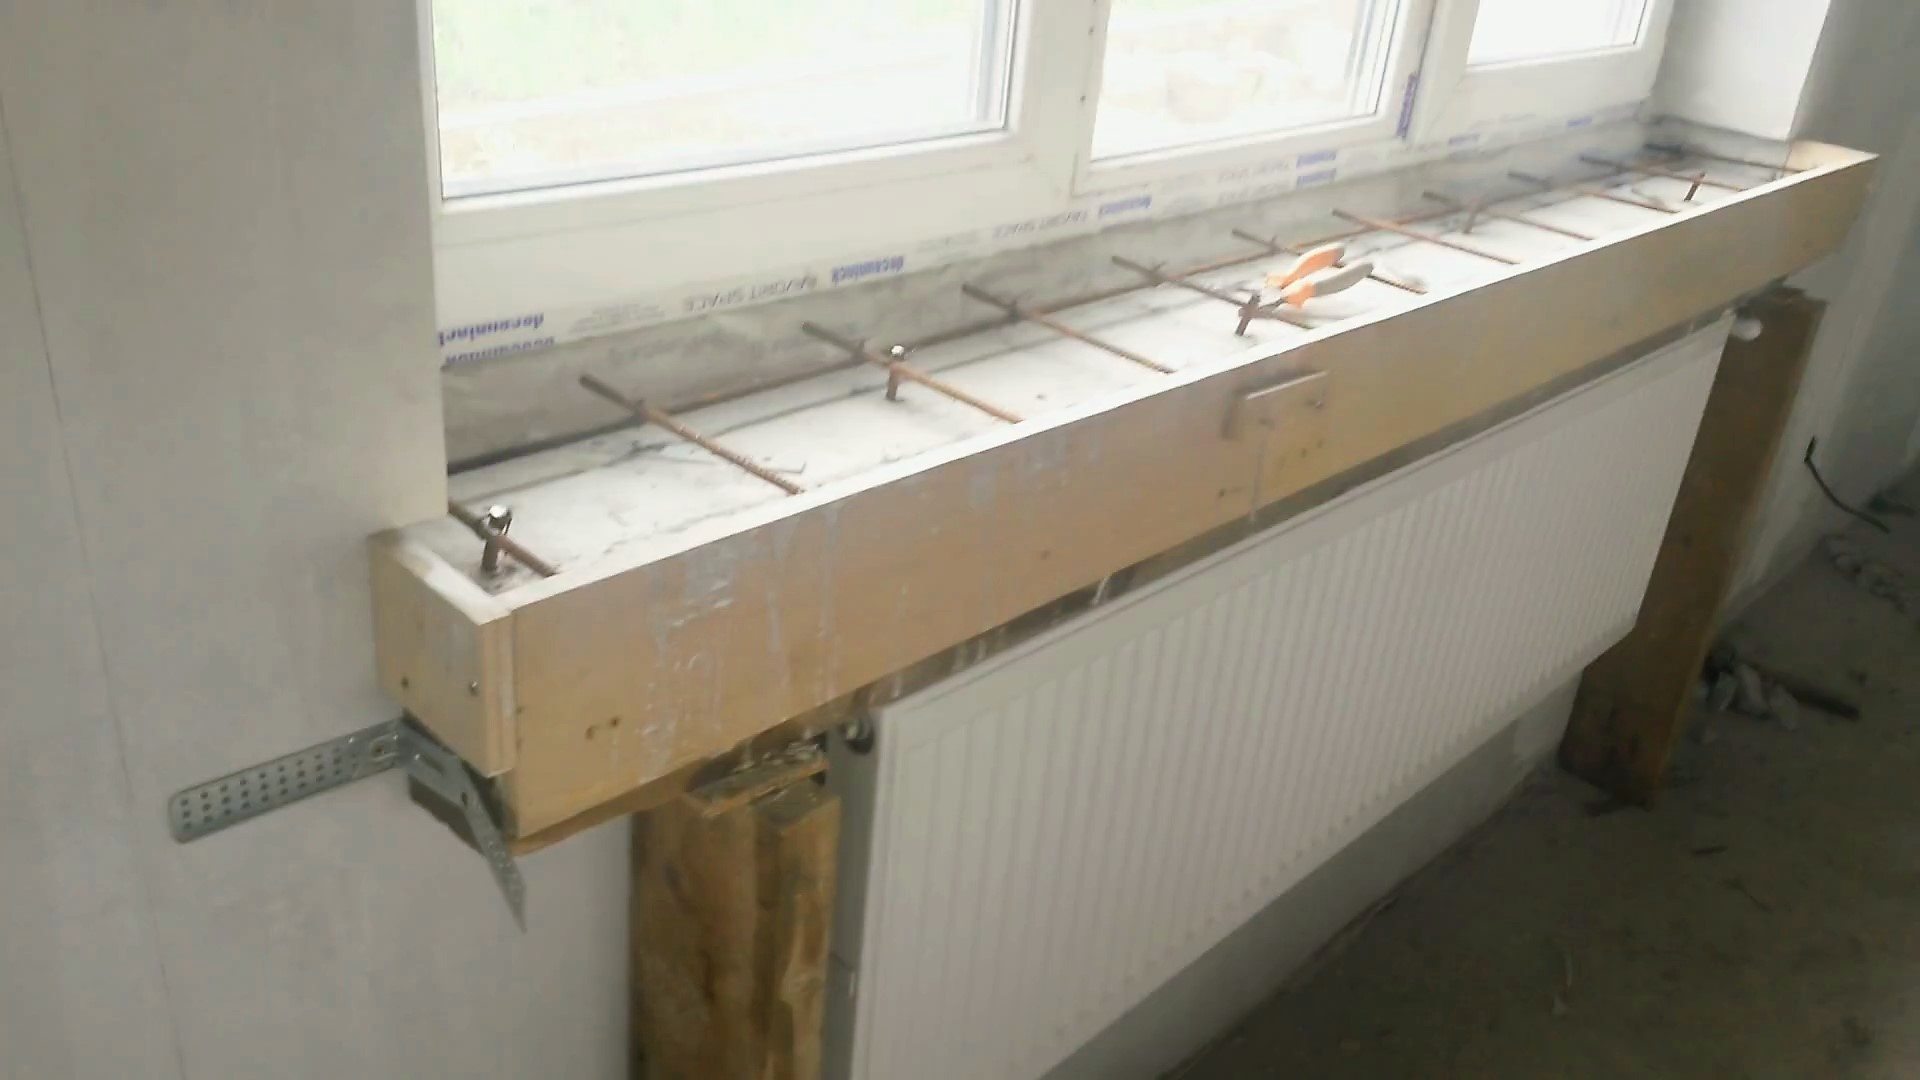
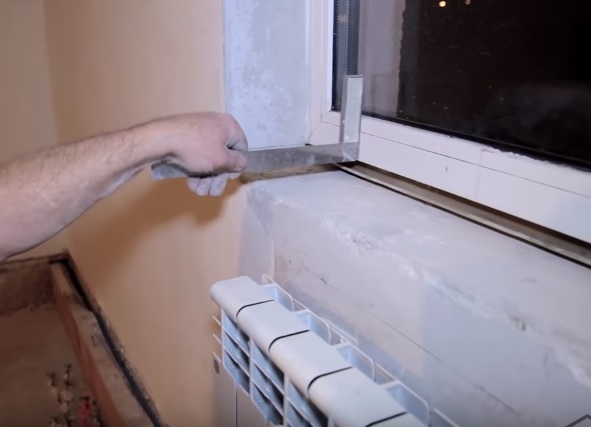
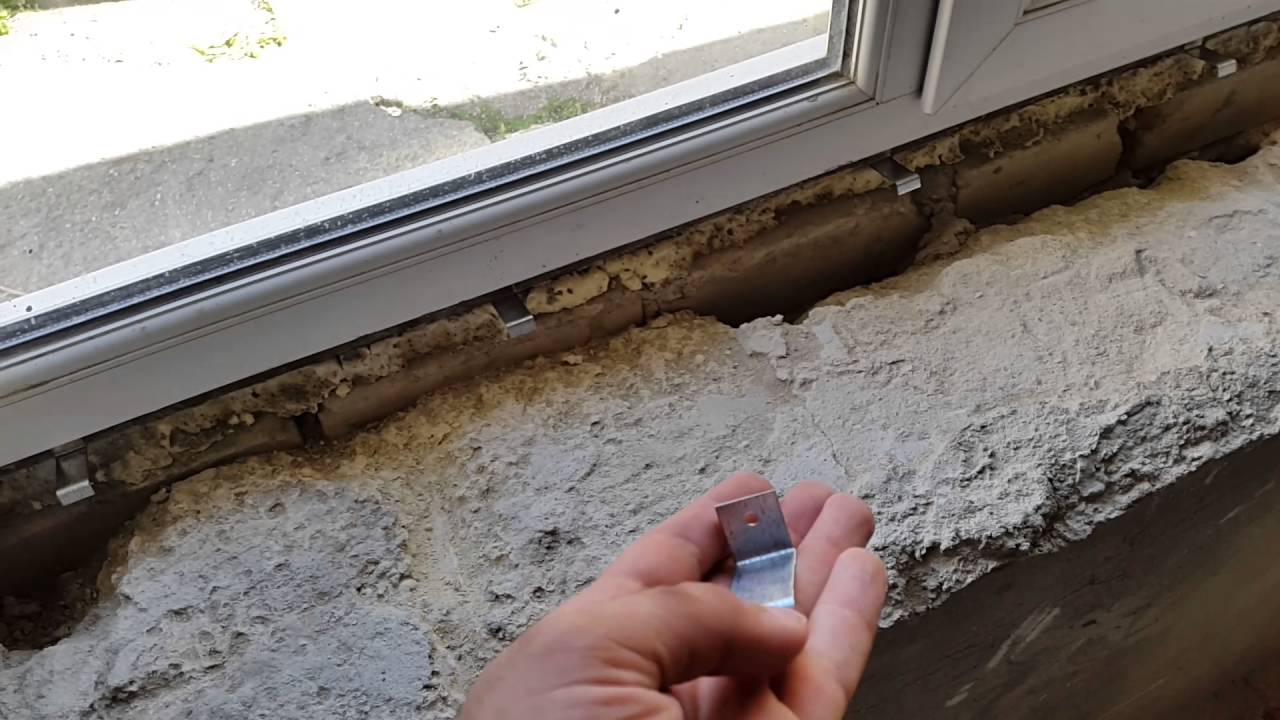
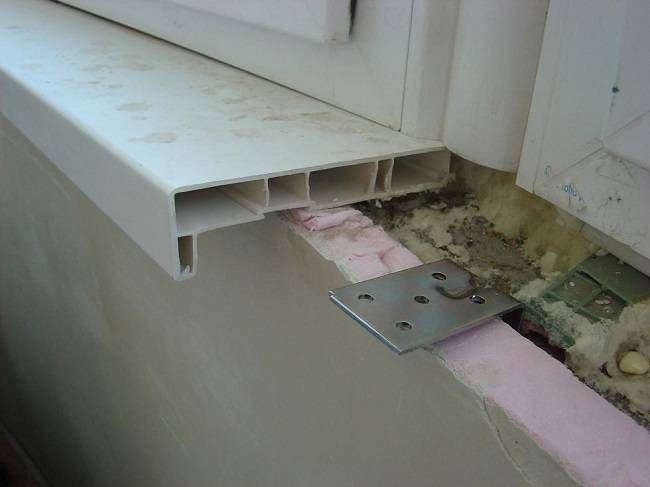
- Metal corners. They are used in a situation where there is no solid foundation under the frame. For example, if a gap has formed between the plasterboard wall and the window. Fastening in this case is carried out using corners, from which strong supports will be obtained. Corners can be used together with stands. To do this, after the introduction of foam into the window opening, it is necessary to fix the metal corners. The window sill will be fixed, and the foam, after drying, will not affect the position of the slab in any way.
- Silicone sealant. A sealant is needed to eliminate cracks and grout joints. The end is also coated with a sealant - this is necessary for processing the joints. Due to the sealing of seams and joints, moisture does not get inside the window sill and wall.

Stages of work
The installation of the slab of the window sill is carried out in the following algorithm.
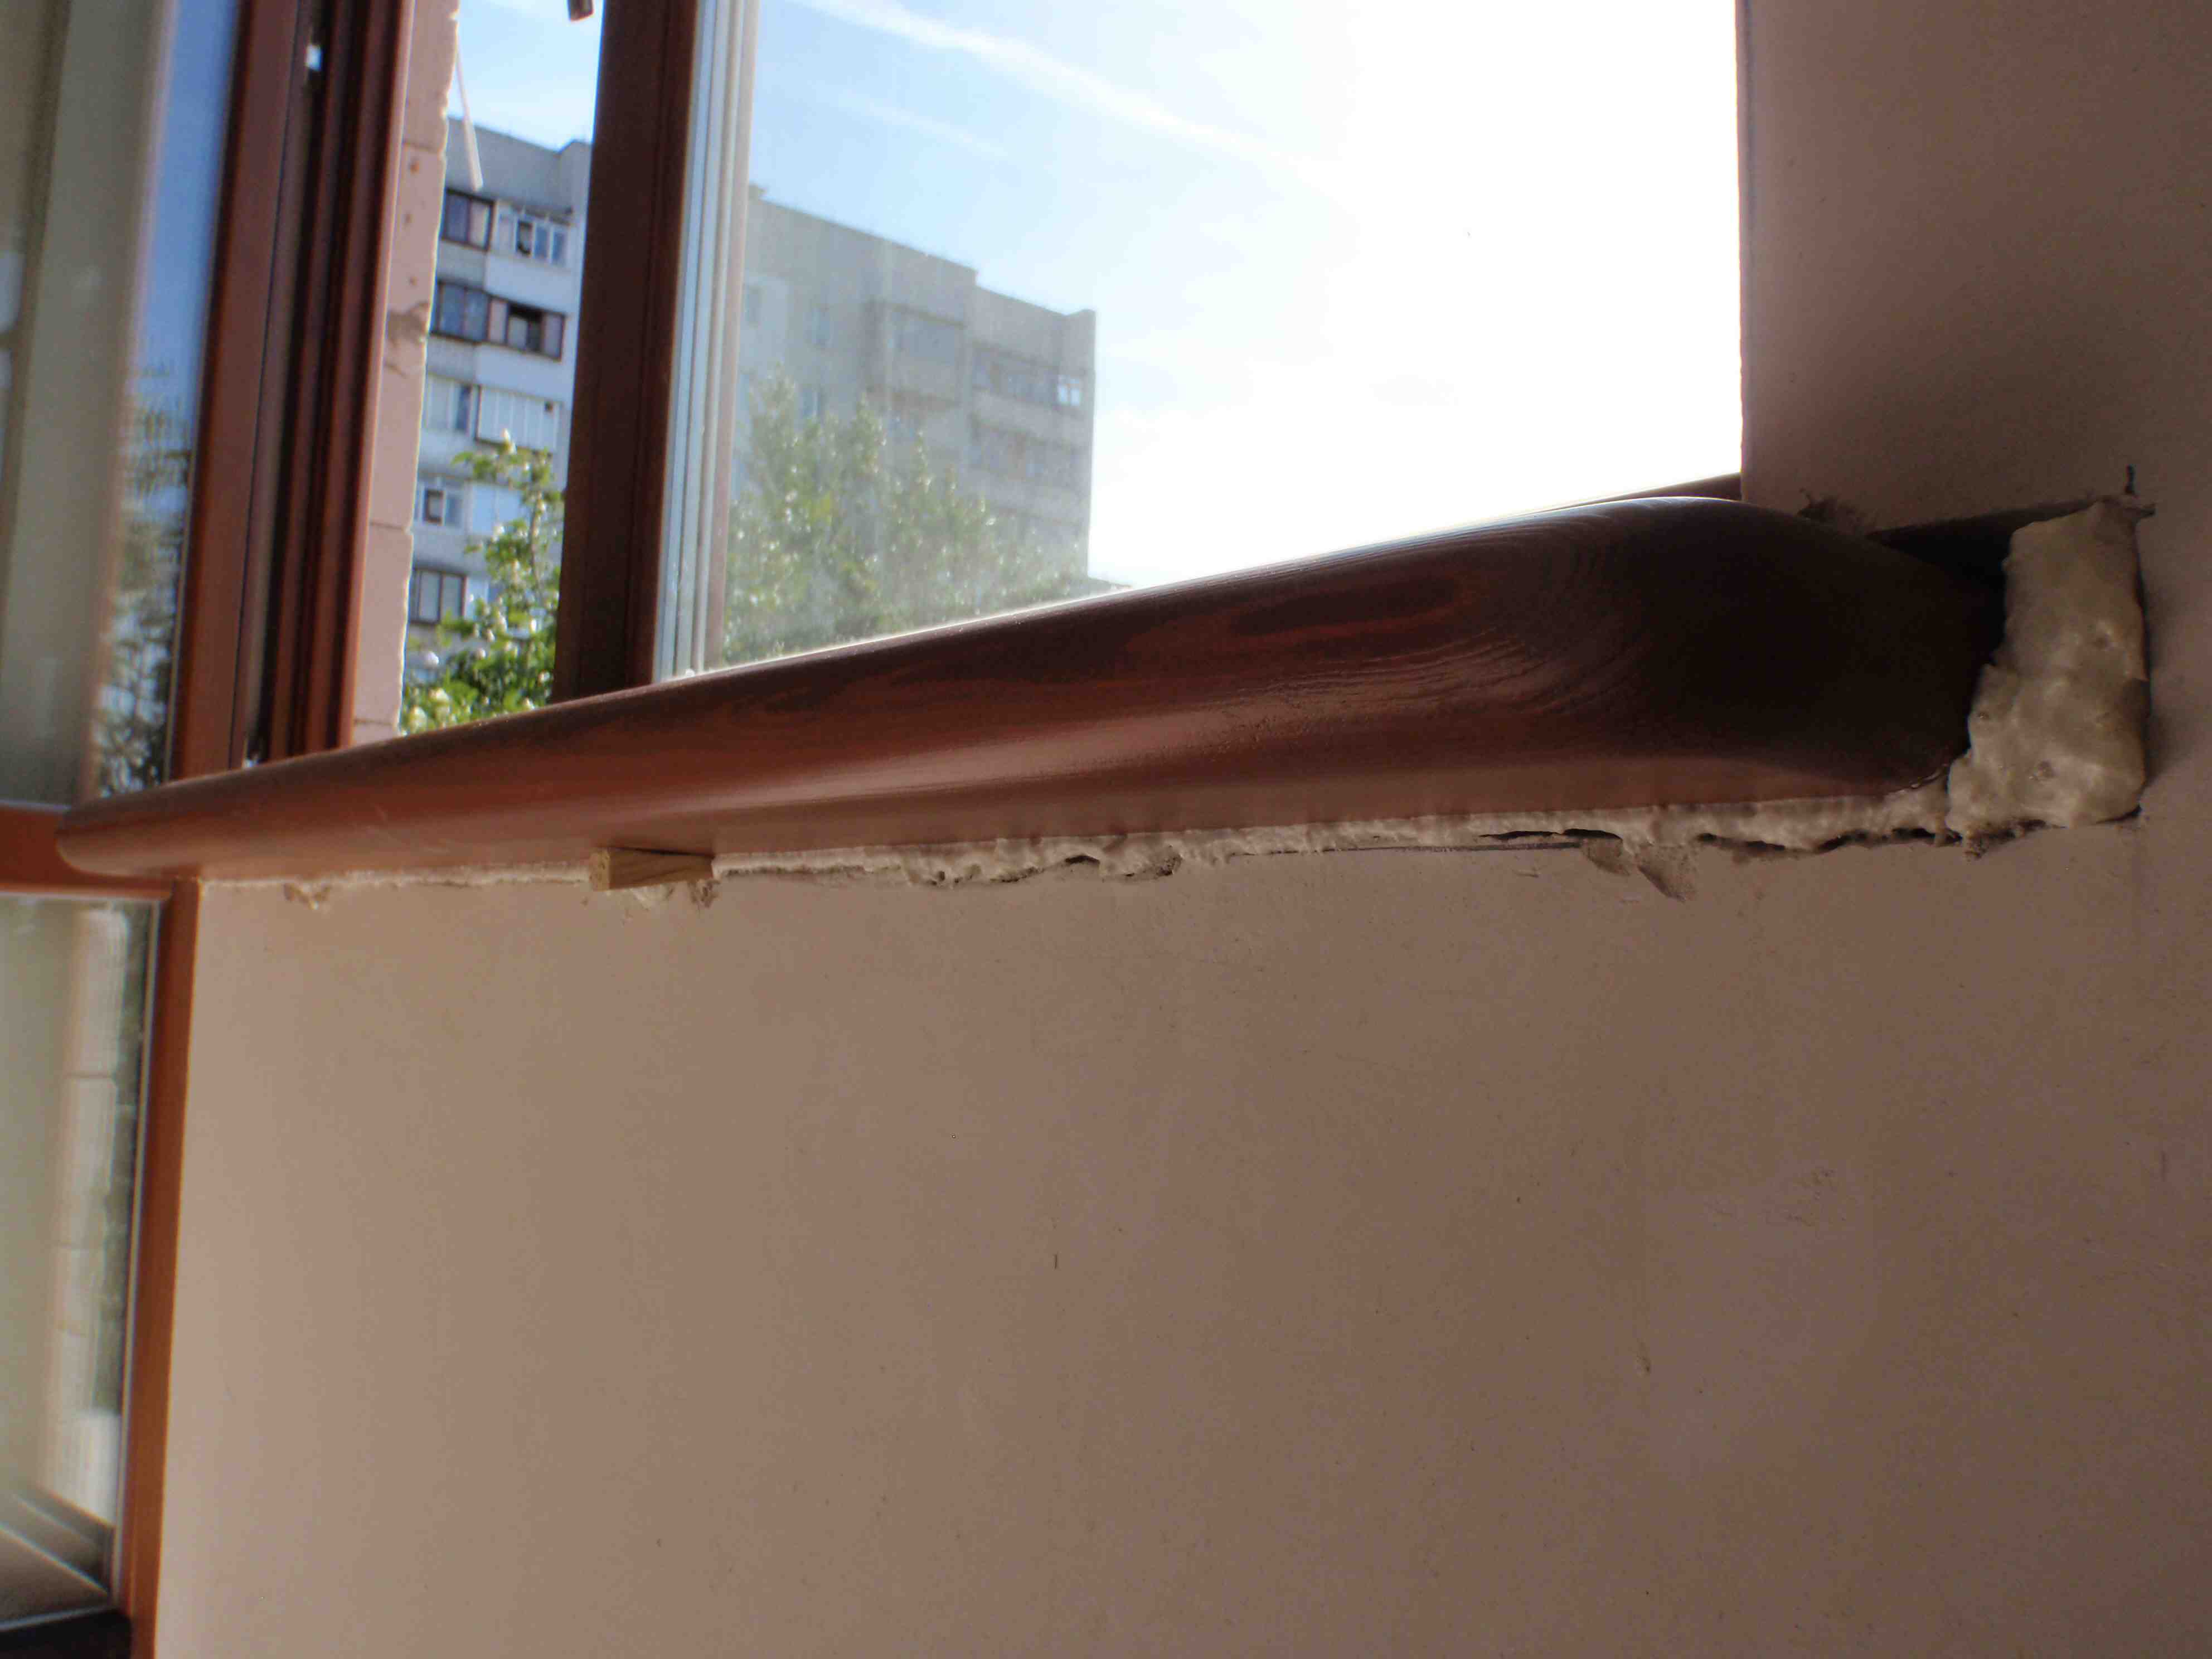
- The old window sill will have to be dismantled. Dismantling can be done in different ways, and the specific choice depends on the type of fastening of the old structure. If a window sill installed back in Soviet times is being dismantled, you will have to deal with pulling out large nails.
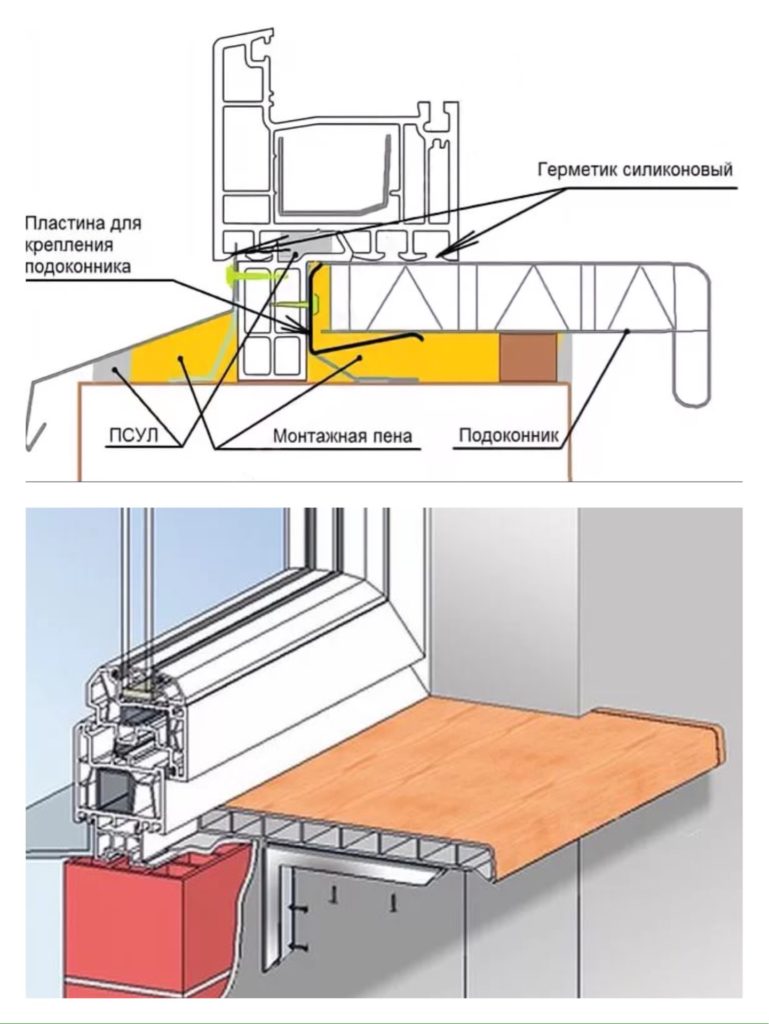
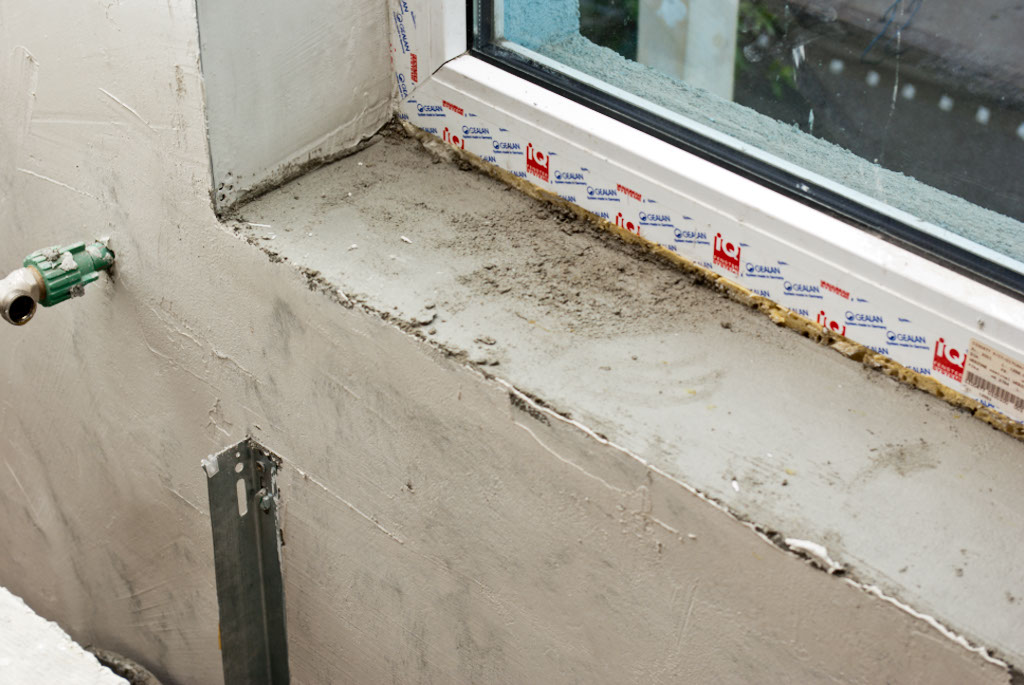
- All cracks and chips, as well as the gaps between the window and the wall, must be filled with polyurethane foam. If this is not done on time, then the window will let in cold air, and it will always be cold in the room. Therefore, it is not worth saving foam at this stage.
- Cleanliness should always be taken care of, especially before installing a new window sill. When the base is cleaned and ready to use, you need to lay out the supports in two rows. As a substrate, you can use wooden or plastic blocks, they must have a certain height. The position of the slab is measured from time to time. For this, the window sill plate is placed on the substrate, a level is applied and the position is calculated. The angle should be approximately 95-93 degrees. Due to the slight tilt towards the room, condensation will not form.
- Then you need to fill in the foam, it is important to fill the entire space under the windowsill with the material. The foam should cover the areas of abutment to the wall and trim, it should overlap the places next to the slopes.
- Wedges can simplify installation. This will require two long pegs, which must be attached to each other using prongs. The resulting structure can be simply rearranged to determine the best position for the sill slab.
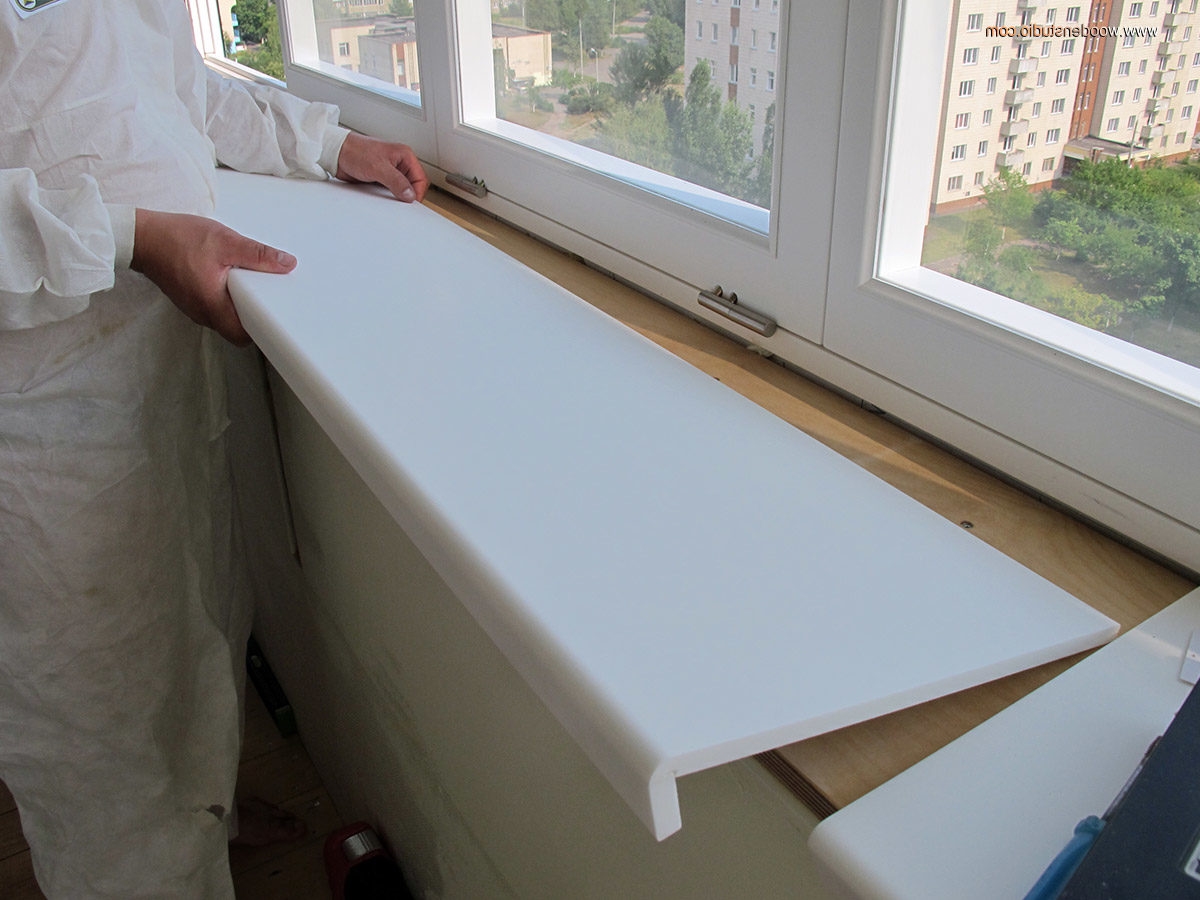
- Fasteners are carried out on a foam layer. It is important to take into account that the composition will expand in the future. After applying the composition and distributing it, you need to bring the window sill plate under the frame and fix it for several hours. Weights and other heavy objects can be used as a weighting agent. The joints must be coated with sealant.
- Experts advise another way to fix the plate. For this, two suspensions are attached to the lower edge of the window sill, which can then be fixed in the required position. However, there is a small detail here: in concrete or brick walls, you will have to drill a hole for the dowel. Then we screw a self-tapping screw into the dowel, and the window sill can be fixed.
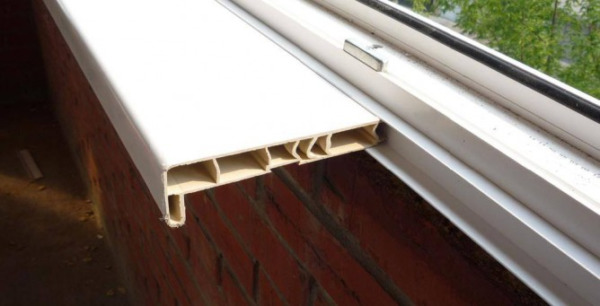
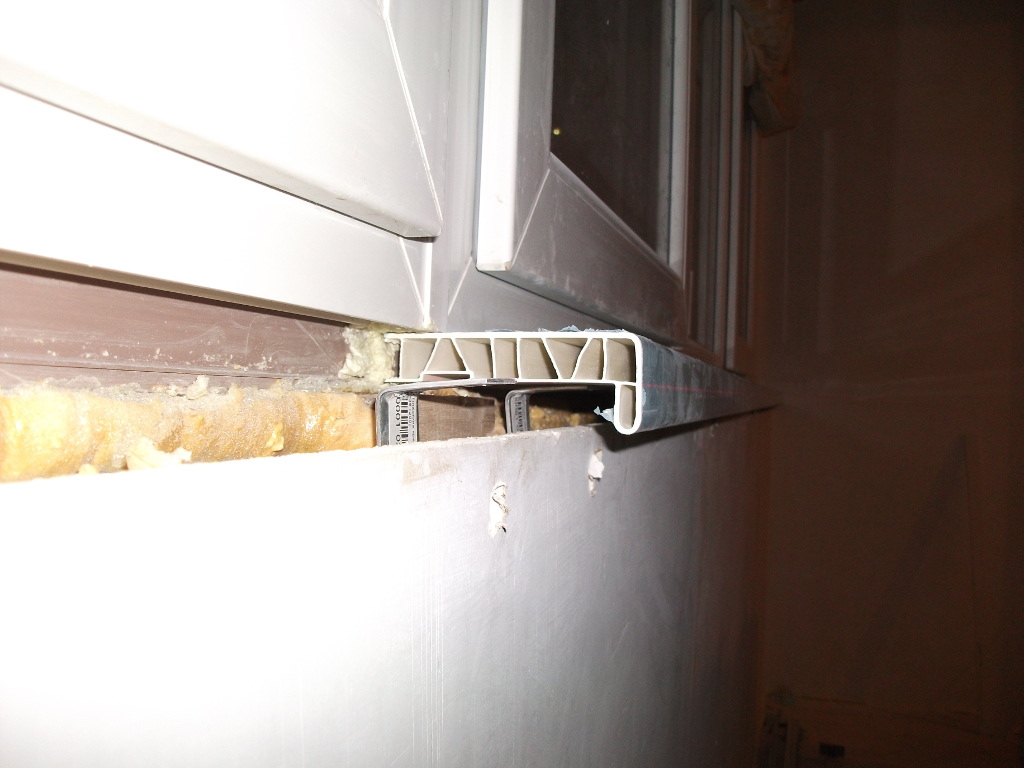
- At the end, you need to cut off the excess foam and cover the cracks with a sealant. Special strips are put on the ends, which do not need to be additionally fixed - they snap into place and hold on their own.


Another situation relates to the fastening of the window sill plate, if there is a gap instead of the base. In this case, you will have to make stops for the window sill with your own hands.
This is quite simple to do.
- The sill fits into a groove under the frame so that its future position can be determined. It will be useful to have marks that will become an excellent guideline for future installation.
- After that, the corners are attached to the wall. The size of the metal corners is selected depending on the width of the window sill slab (the width can be from 35 mm and more). The best experts call options that have stiffeners.Such models cope better with heavy weight, which means they will give good structural strength.
- The sill is reinserted into the groove so that you can align its position and make sure everything holds well. If everything is done correctly, then remove the window sill plate. A small amount of foam should be poured into the groove: the sticky material will not fall down, but will block the space, and there will be no blowing from the window.
- When the cushioning layer hardens, you need to pour in the foam in such a way that the board can be glued to it. To avoid lifting the structure, you can screw it to the corners. The joints are coated with a sealing compound, this will save the structure from moisture. After the foam dries, you can cut off the excess material and go over the surfaces with a putty.

To calculate the correct amount of foam, you can apply some material along the frame. After that, we glue the structure, and downward you can always add more foam.
Mounting on clips or mounting strips
This option is reliable and even a beginner can implement it. A special mount will help to set the window sill perfectly even and create a tight junction between the structural elements.


The works are carried out in the following order.
- At the very beginning, you need to remove dust and dirt from the surfaces, cut off unnecessary foam. Debris should not affect the abutment of the windowsill.
- Then brackets are attached to the base (you can use steel or plastic options). The pitch between the elements is approximately 200-150 mm. If you have a profile at hand, you can cut off a small piece from it and attach it to the plastic surface by screwing it in with self-tapping screws.
- If the sill slab is more than 15 cm wide, then you will need to install a number of additional wedges or stops. If the surface is perfectly flat, you can skip this step. But first you need to check this using a level.
- Then it is necessary to apply foam to the surface, which will provide excellent fixation of the window sill slab. Do not overdo it with foam, as it expands over time.
- If you remove dust and debris from the base, and then moisten it with water, then the foam will hold better.
- At the final stage, the window sill slab is fixed in place and adjoins other elements. If all the previous steps have been done correctly, the details of the window structure will be tightly connected to each other.
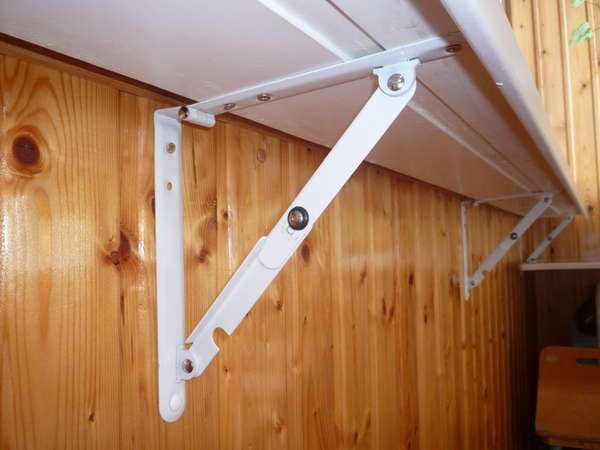
How to install on brackets?
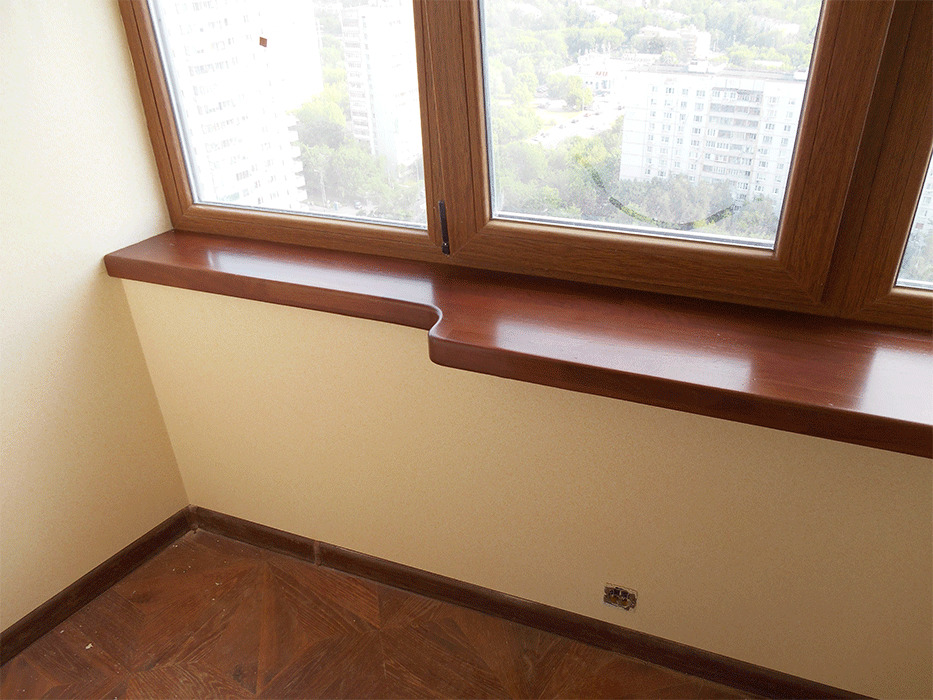
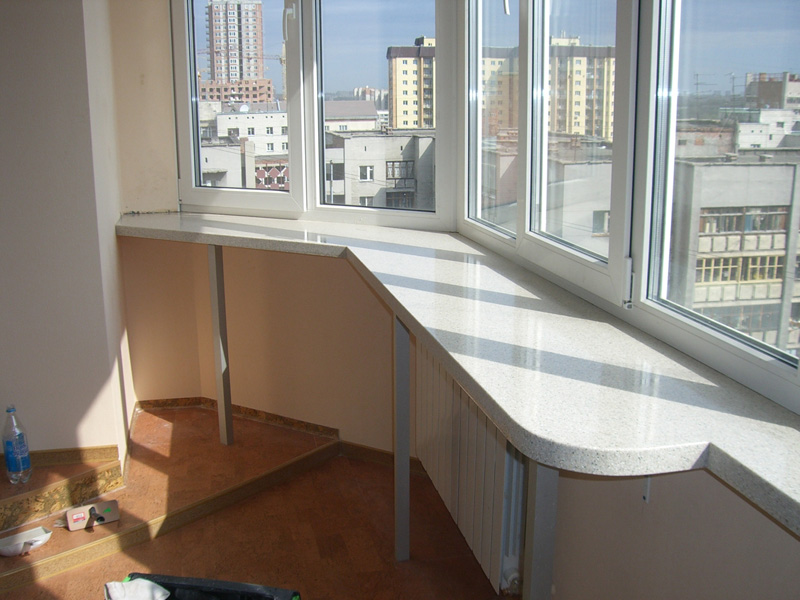
Installing a wide window sill has several nuances. This is a fairly popular option, since a wide window sill can act as a shelf. On the windowsill, you can arrange beautiful flowers, arrange an impromptu vegetable garden or use it as a countertop. Also, the window sill can easily turn into a bar counter or become a natural continuation of the recreation area. Installing a wide window sill is different from other options. However, the installation of such a window sill does not involve much effort. On sale you can find everything you need for high-quality installation of a wide window sill slab.

The algorithm of actions is also simple.
- First you need to stock up on everything you need. In addition to the window sill slab, special latches will be needed (with the help of them, the window sill slab and the window are fixed). Polyurethane foam is purchased separately, with which voids will be filled. The polyurethane foam will also act as "glue" for the window and sill. Brackets are also required (you can take furniture samples, which can be found in different colors).
- You need to start the installation by attaching the clips to the strip under the window. Then a window sill plate is inserted into the grooves. In this case, the help of another person may be required - one must hold the structural elements, and the second will take measurements. If the situation permits, you can put stops so that the window sill is at a slight angle.After all the procedures, you can attach the brackets, marking the areas for their subsequent fastening along the wall and on the windowsill itself.
- If in the future a small garden will be located on the windowsill or it will be used as a bar counter, it is worth placing the brackets in a special way. They should have a step of 50 centimeters, which will give the structure additional reliability.
- The markings for the brackets remain on the walls. According to the marking, you need to make holes in which the dowels are installed. Then the brackets are attached. The resulting construction will easily withstand the window sill.
- The foam is applied over the surface in the same way, as with the installation of a conventional window sill.
- The window sill is almost ready, it remains to snap it into the clips and fix it to the brackets at the bottom. To do this, you can use self-tapping screws of a special configuration with a length of 20-16 mm. It is better to screw the self-tapping screws with a screwdriver. Additional holes are not required, the hardware perfectly passes through the material.
If you use a transforming mechanism, then a wide window sill can easily turn into a folding narrow one. If a wide surface is needed only occasionally, folding brackets can be included in the design. Thanks to them, a "folding" window sill will turn out, which can be turned into a bar counter or a comfortable wide shelf.

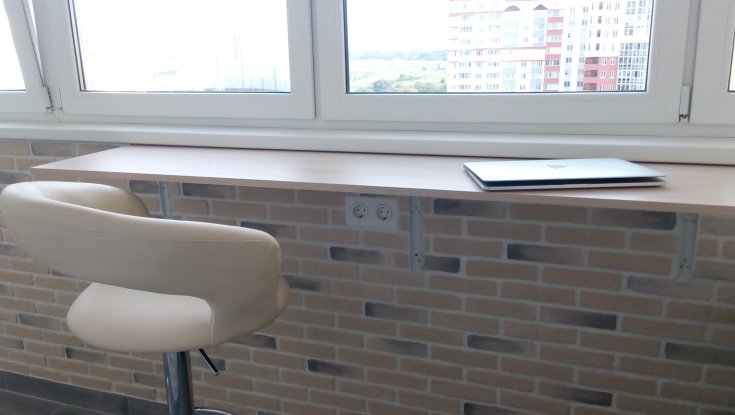
A folding tabletop in the form of a window sill can also "work" as a full-fledged table for receiving guests (the option is relevant if an impromptu bar or living room is created on the balcony or loggia).
General recommendations
Having decided on the option of the window sill, you need to pay attention to some of the nuances. The recommendations below will simplify installation.
- Depending on the material, the method of fastening the window sill is chosen.
- Of particular importance is the quality of insulation, as well as the moisture-resistant qualities of the filling.
- Preparation of the foundation is the key to the success of the whole business. Before installation, you need to remove the debris inside the room under the frame, get rid of cracks and crevices. This will ensure that cold air will not penetrate the balcony in the future.
- The old glazing needs to be replaced with a better one. Options are available in wood, metal-plastic or aluminum. After that, you can begin to mount the window sill itself.
- The window sill can have a non-standard shape: it can be semicircular or curved. In this case, you need to decide in advance on the fasteners. You can develop a project and make a drawing, pick up materials.
- If a stone or granite window sill is being mounted, experts advise making a cement screed. It is necessary to take into account the amount of cement mixture and the weight of the structure.

Even after the window sill is ready, you need to play it safe and check everything again. The evenness of the structure is checked additionally with a level.
Also, a load is placed on the windowsill and left for about a day. If after 24 hours the window sill already withstands the load well, then it is completely ready for use.
How to properly install the window sill, see the video below.


