Threshold on the balcony and loggia
The porch is an important functional unit on the balcony, it is he who will not allow the cold to enter the room. On the other hand, in addition to practicality, it is also a decorative element, without which the transition from room to balcony would not be complete and aesthetic.

Overview of species and purpose
It should start with the fact that doubts about whether a threshold to the balcony is needed now and then prevail over people during repairs. But you can't do without a sill, the exit from the room will be rough, unfinished, that smooth transition between the rooms will not happen, which even just visually suggests itself. As already mentioned, without a sill, a breeze can walk under the door, and the cold will more persistently ask to enter the room. And if the balcony is not insulated, it will be more than noticeable.
You can make the gates yourself, different materials are used for this - from plastic to brick. And it is performed in the form of a small step or step. Someone seeks to make the nut practically merged with the floor, so that it does not visually focus on itself.
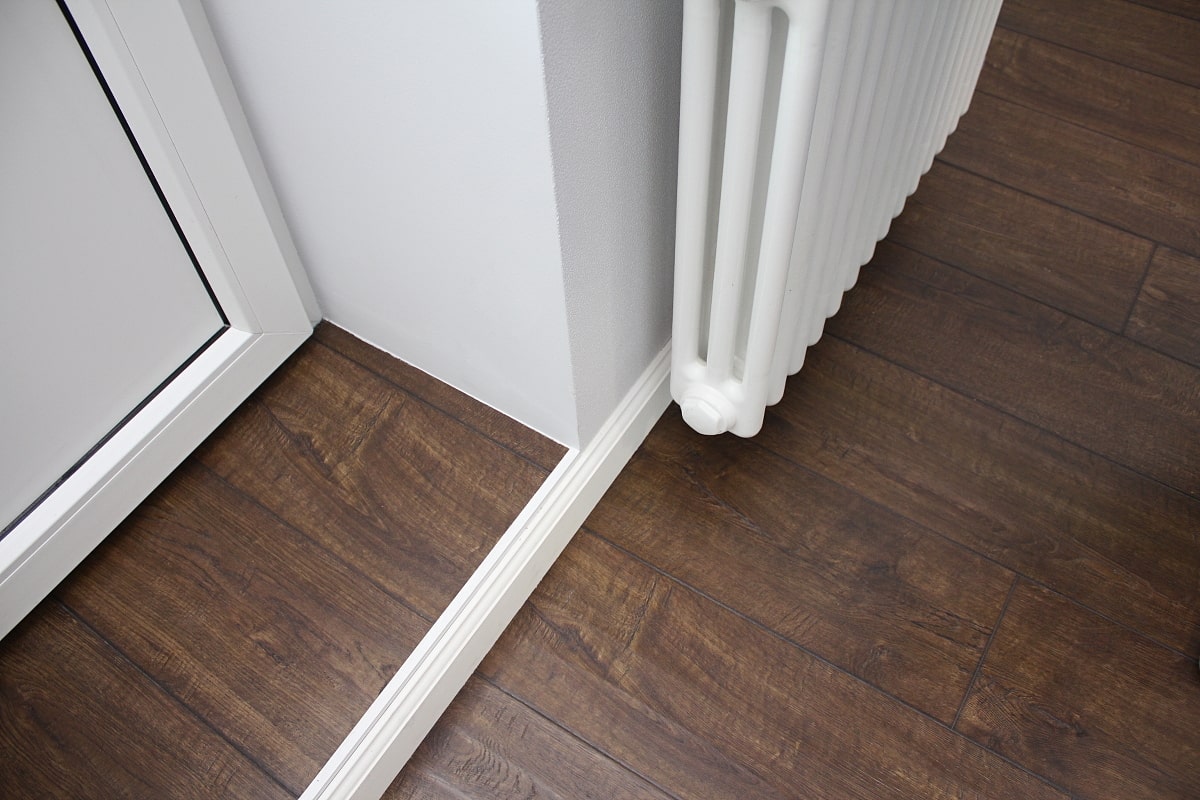
Someone makes a more noticeable step, but combines it with a balcony door in color so that the transition looks organic.
Finishing options
First you need to decide what finish for the sill is chosen - under the floor, lined in the room, or under the balcony door. Some third option is also being considered, but still it should be combined with something, with some noticeable interior element. This is more difficult to do, because the sill is often equipped with the material that the flooring represents.
The threshold can be decorated with different materials.
-
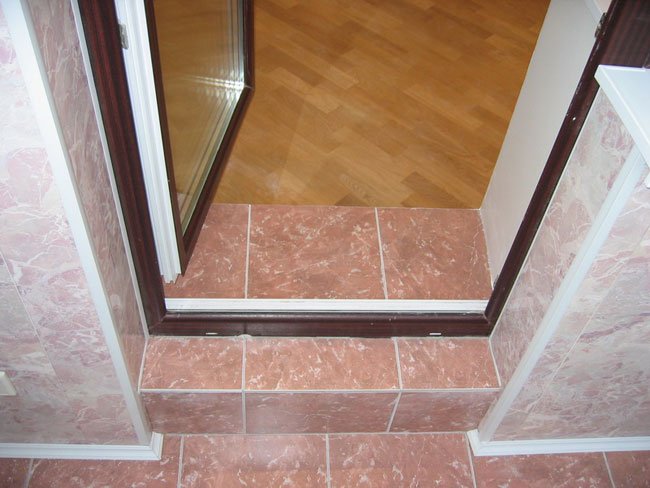
Tile. Ceramic tiles will be relevant if they represent the flooring of the entire room. Of course, this option is found only in the kitchen. Tile is a convenient and practical material that is easy to wash and clean, and there shouldn't be any big problems with installation. The main thing is to choose a non-slip look that is as comfortable as possible in everyday life.

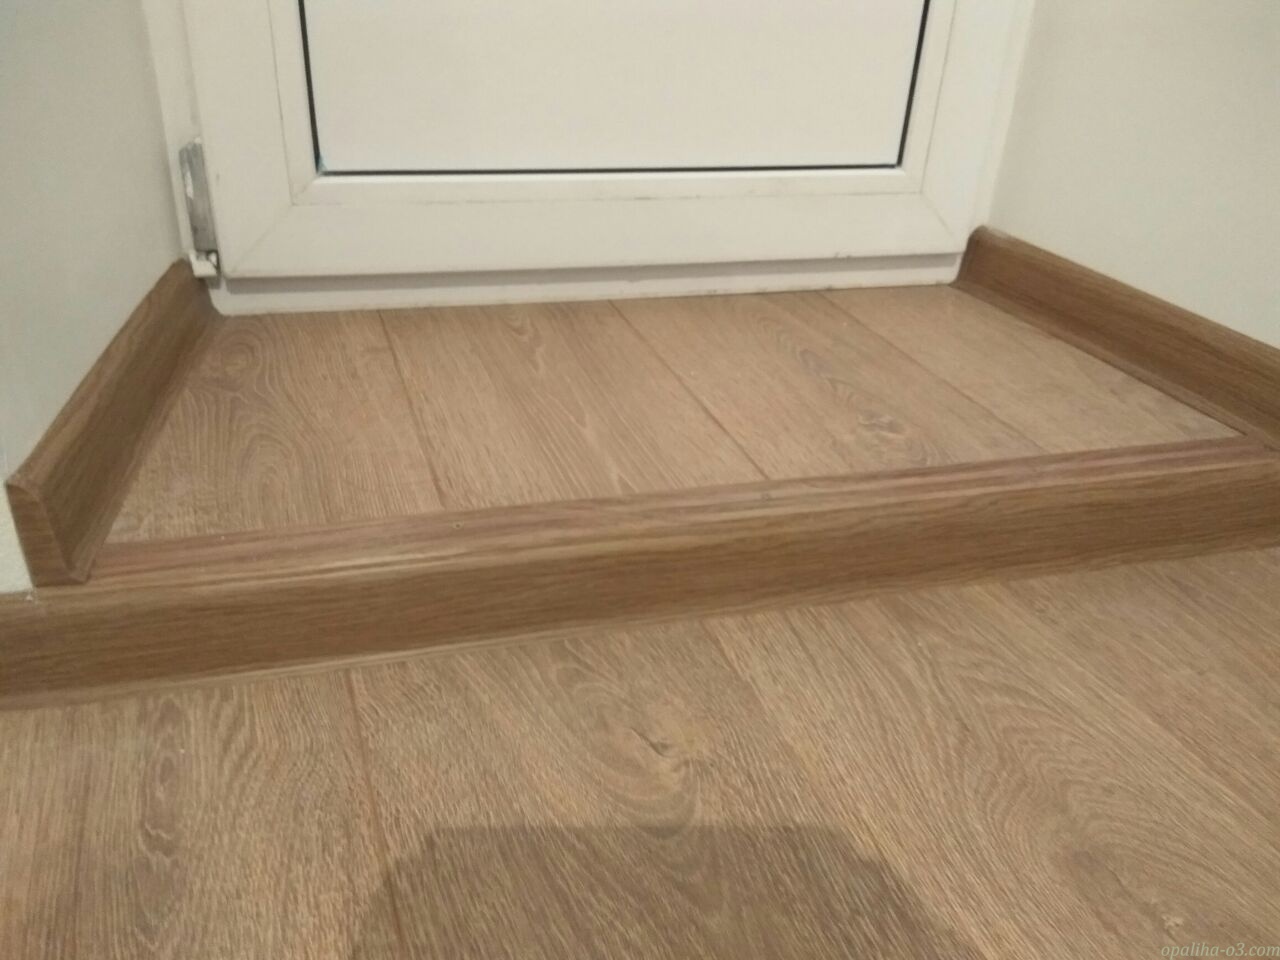
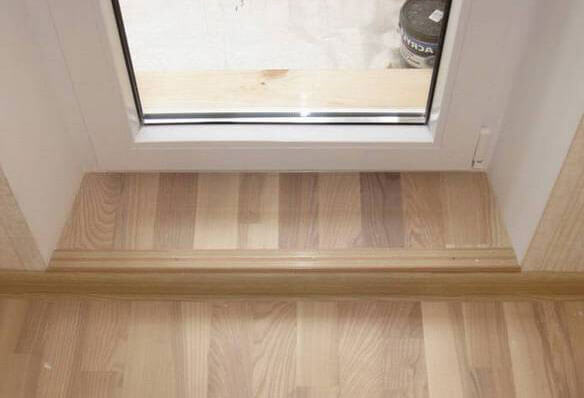
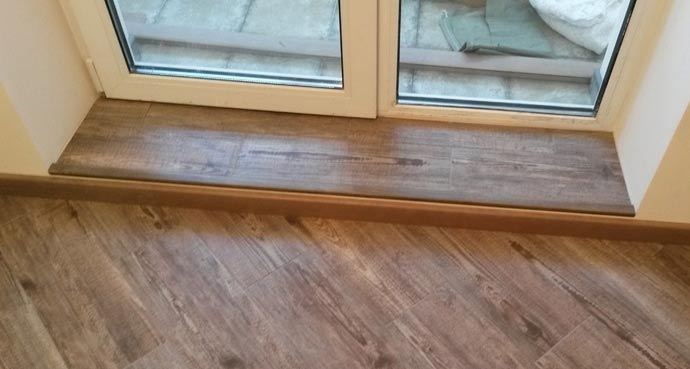
- Wood. Natural wood will always be the most preferred material for flooring, although so-called substitutes try to supplant it every now and then. And yet, no analogue will be able to repeat the original drawing, the texture of the tree. The wooden nut will need to be impregnated with an antiseptic, varnished - this way it will look neater and last incomparably longer.
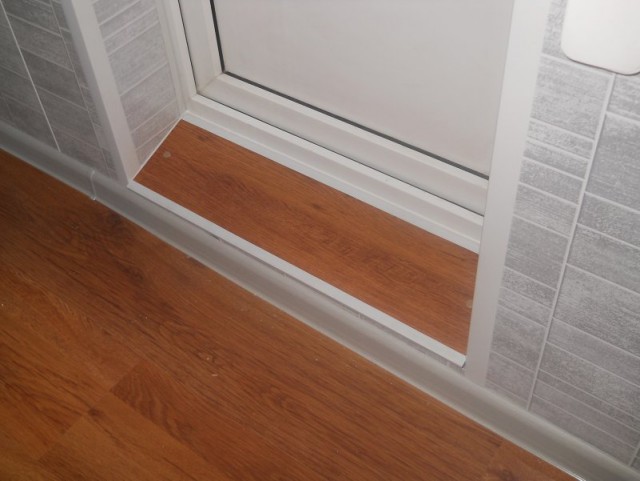
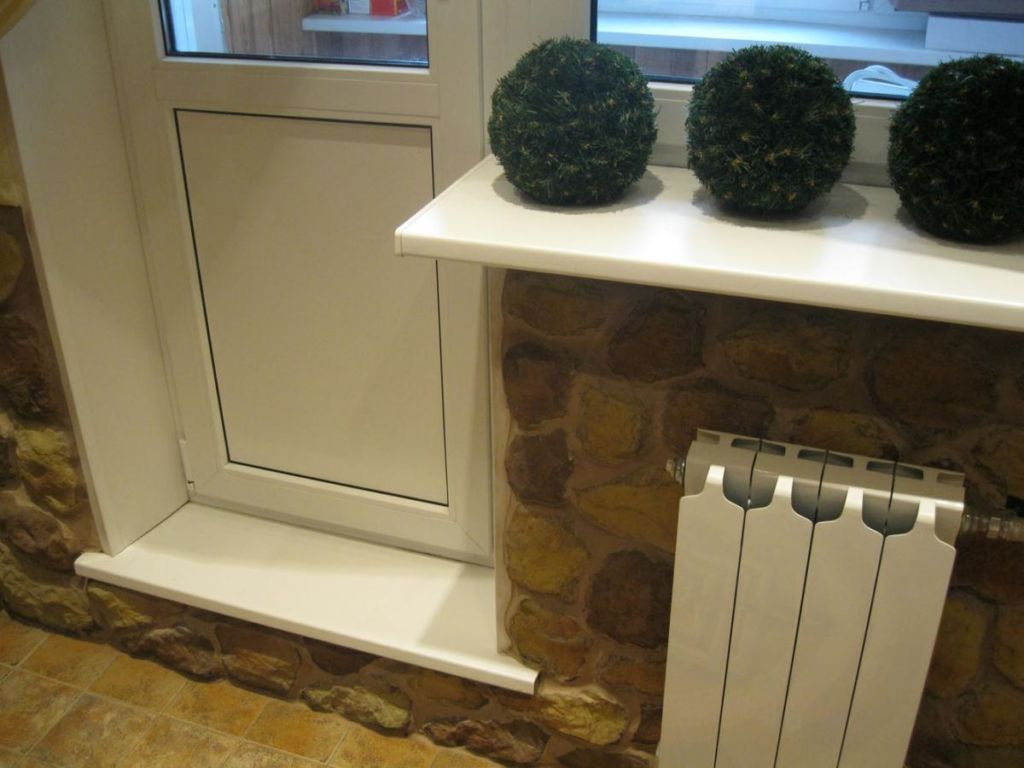
- Plastic. This design is due to the appearance of metal-plastic entrance systems. In this case, the material of the sill will be synchronized with the material of the balcony door. The plastic floor can be called practical, it is easy to maintain in order, it is quite easy to wipe it with a damp cloth. But in terms of impact resistance, this material is somewhat vulnerable; careful handling is needed.
- Linoleum. It is called the most budget-friendly finishing option, and if the floor is covered with linoleum, the same sill will be a logical continuation. Unfortunately, if the linoleum is thin or of low quality, it is not difficult to scratch or tear it.

- Laminate. The most popular analogue of natural wood, in which the possibility of damage to the laminated layer can be distinguished from the disadvantages. If this happens, the material will lose its main properties. But they often decide to decorate the entrance to the balcony with laminate, which means that during operation the material is predictable and rarely disappoints.
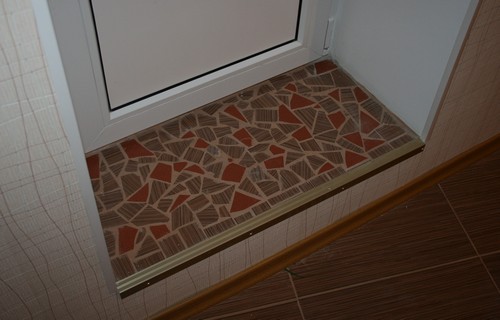
You can also beat the transition with a mosaic of broken tiles, but then, as mentioned above, you need to choose a partner for such a fragment.For example, if a panel from the same fragments or a frame for a mirror from them will hang on the wall. But this option is for the most creative and risky.
What can be made of?
To install a nut on a block, you need to go through the entire procedure, consisting of several simple steps. Each type of material makes adjustments to the general instruction.
Brick
If the difference between the floor and the doorway is high, the use of bricks will be wise. The height is not less than the size of the brick. And also a layer of leveling mixture will be applied to the brick, and on top of it there will also be tiles for cladding. Therefore, the height of the nut can be calculated in advance. Of course, she shouldn't block the door.
Let us examine what the installation of a brick sill consists of.
-
Clean the base to the utmost evenness of the surface. The smoother it is, the easier it will be to lay a brick row.
-
Prepare CPR (cement-sand mortar): take 1 part of sand for 3 parts of cement, dilute with water. Although you can go the easy way - buy a mixture that is simply diluted with liquid according to the instructions on the package.
-
The solution is distributed over the base, after which the first brick is laid out. Then the mixture is applied to the end side of the brick until the joints are filled. The next block is laid, and so on. To erect a sill onto a balcony, usually one row is enough.
-
A layer of mortar is applied to the entire surface of the brick row, alignment is carried out.
-
Moisten the dried mixture with water and process with a grater. The surface will be almost flat.


The method is obviously not the most difficult, but there is enough dirty work.
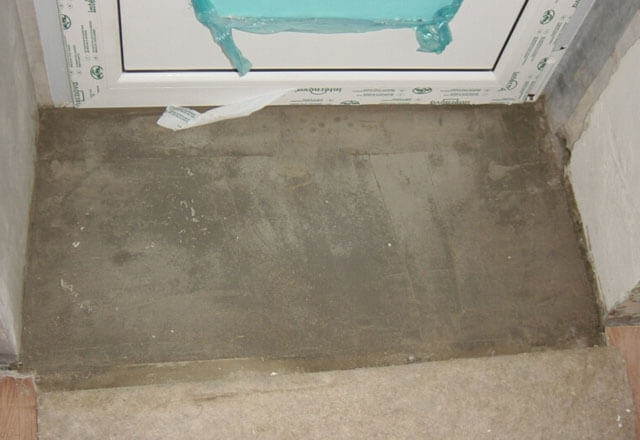
Concrete
For the arrangement, a cement mixture is used. First, the area for the sill is cleared, the contours of future changes are outlined, and measurements are taken. Further, formwork is constructed from a row of wooden blocks, it is fixed in designated places. The formwork should be equal to the height of the drop. To strengthen the nut, you can use chipped bricks or just gravel.
The solution is made as follows: for 1 part of cement, 3 parts of sand are taken, diluted with water, poured into the structure at the top level. Excess concrete composition must be carefully removed with a trowel. If the sides of the wall are rough, the nut will grip more tightly. It is possible to finish the concrete structure in about a day, when the concrete hardens completely. Chipboard, fiberboard, tiles are used for decoration.
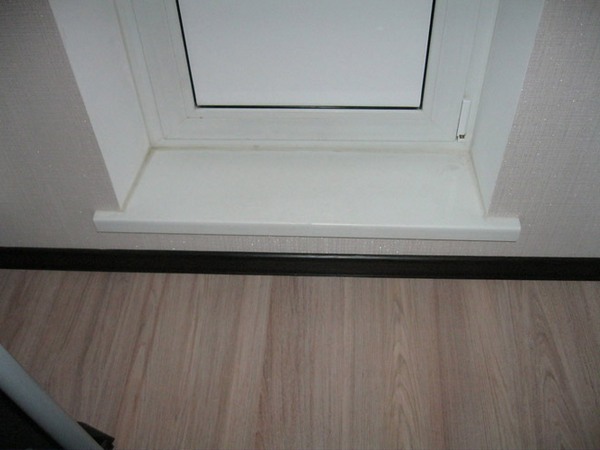
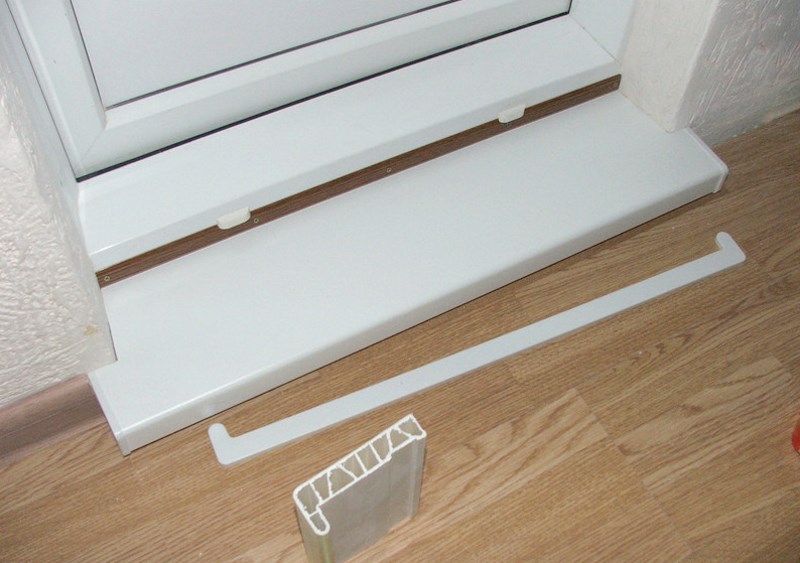
From a plastic window sill
A very popular repair option, although such a nut cannot be called the most practical. If the entire balcony block is made of plastic, visually this does not cause contradiction.
Here's how to mount such a nut.
-
The surface, as in other cases, is thoroughly cleaned and must be primed. The old nut, if any, will have to be dismantled.
-
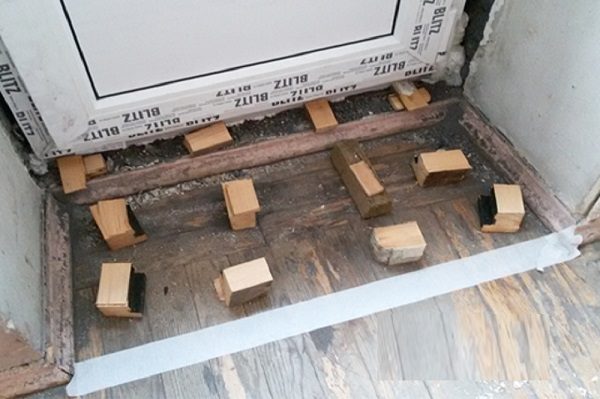
On the base of the sill, the bars are symmetrically laid out. If you install the sill solely on polyurethane foam, it will not be 100% reliable. The threshold fits exactly on the bars. Their size is selected so that the finished sill does not interfere with the use of the balcony door.
-
Now you can take the plastic window sill in your hands and bring it to the size you need under the sill.
-
The threshold is applied for fitting, whether the surface is even, checked using a level. If you need to cut the structure, this is done now. If the threshold has approached, but the surface is uneven, substrates are installed under the bars. And they can be any materials, for example, the same plastic or fragments of gypsum board.
-
After adjusting the sill, you can apply polyurethane foam. It is applied between the bars, and on the bars themselves there is a layer of liquid nails.
-
It's time to glue the threshold. Since the foam is inherent to expand, after the installation of the structure, the surface should be loaded.

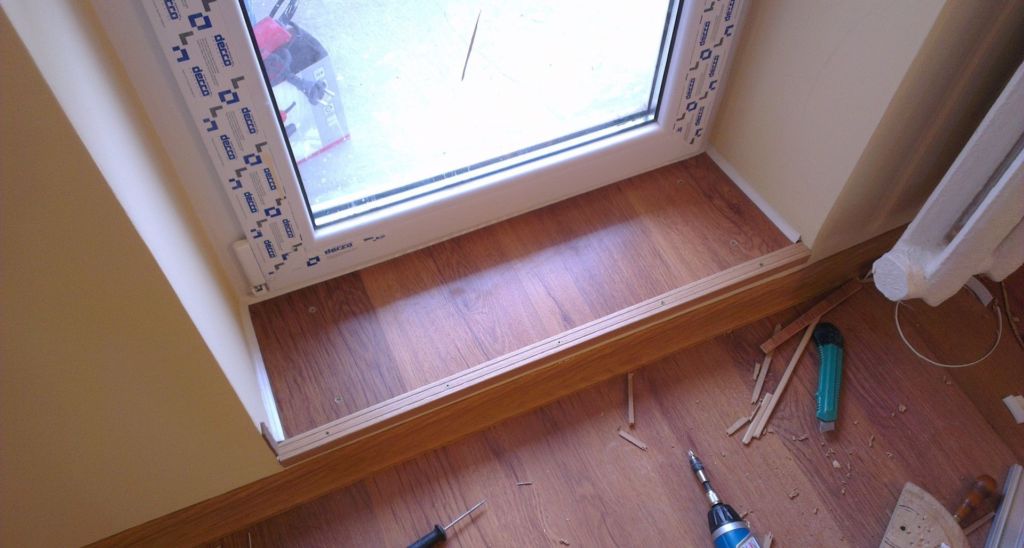
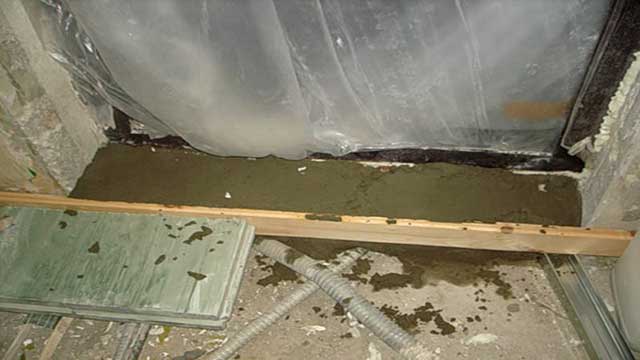
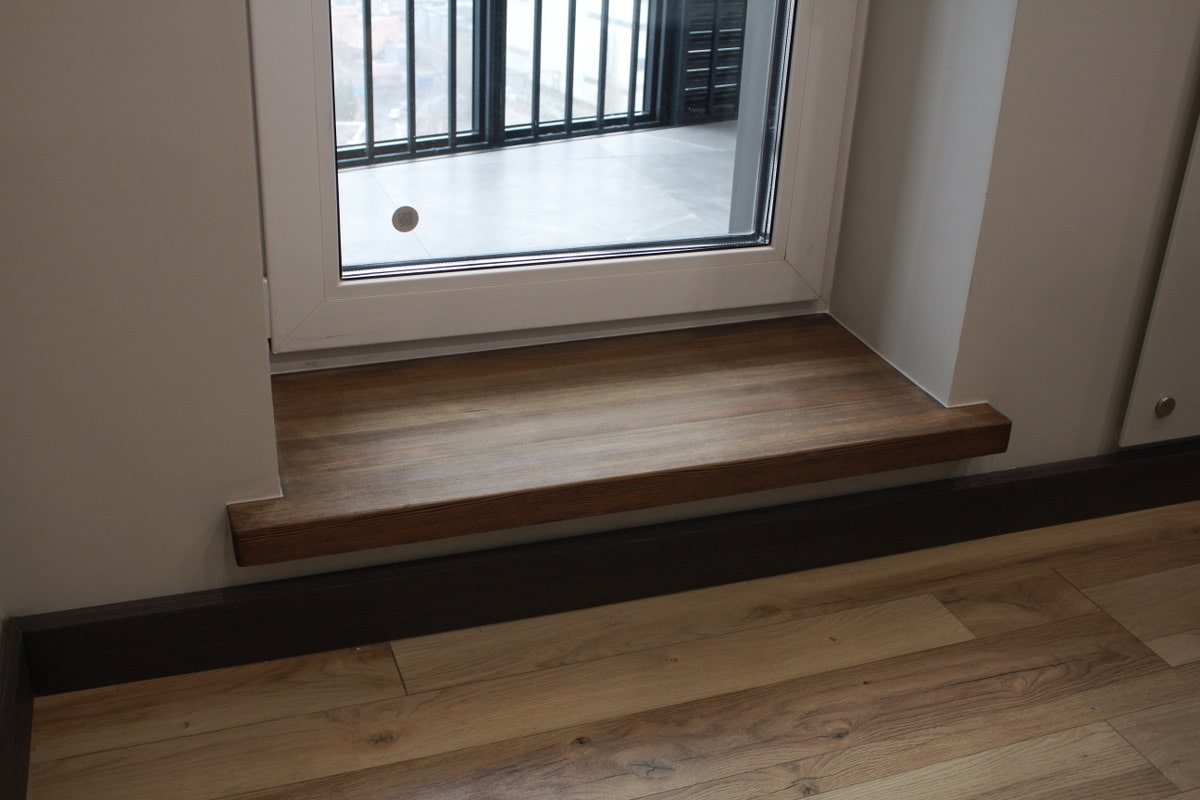
Made of wood
This material is durable, environmentally friendly, beautiful and easy to use. You can close the distance between the room and the balcony with a wooden switch with your own hands, and even inexperienced owners can do it.
The work begins with marking the wooden blocks, which are cut to the specified dimensions, and the frame is made. The bars are fastened together with metal corners and self-tapping screws. The frame is leveled with clippings or underlays. Further, holes are made in the bars, as in the concrete threshold - dowels will be screwed in there.
After fixing the frame, you can additionally insulate the mini-system with mineral wool. Then the board is measured according to the frame dimensions, cut and fastened with self-tapping screws. The wood is treated with impregnation, stain, varnish or paint.
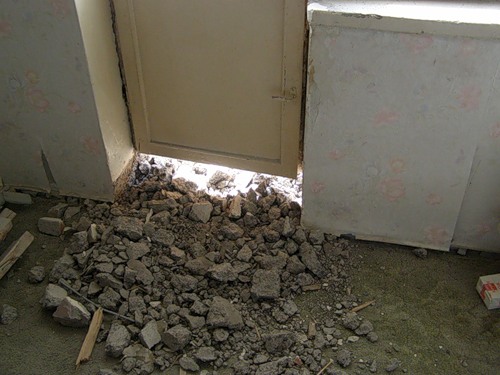
Dismantling thresholds
For various reasons, the threshold has to be removed - the structure has broken, the plastic has burst, everything needs to be removed, and the balcony door also replaced with a new one - in short, there are many reasons. Sometimes this is not the replacement of one nut with another, but its fundamental demolition, since it was decided to combine the loggia with the room in the house. Before dismantling, the doors are removed, the balcony box is disassembled. Wooden products can be removed simply, but you will have to tinker with brick ones - a hammer and a chisel are used, which must be used carefully. If they do not solve the problem, a drill is taken.
Near the wall it is more efficient to work with a grinder with a stone attachment. It is not always possible to reach every place with a disk, only by hand, with a hammer and a chisel. Of course, you need to dismantle the old nut with glasses, a respirator, gloves and overalls. The work is literally dusty.
Changing the sill or installing it from scratch is a task faced by residents of panel and brick houses. This is not the most noticeable fragment of the interior, but even if the color discrepancy between the PVC sill and the balcony door is conspicuous, it will create visual discomfort. And, most likely, the owners will decide to redo everything.

Therefore, initially you need to calculate everything, spend time choosing the right materials - and do everything as best as possible.
For the finishing of the threshold on the balcony, see the video below.


