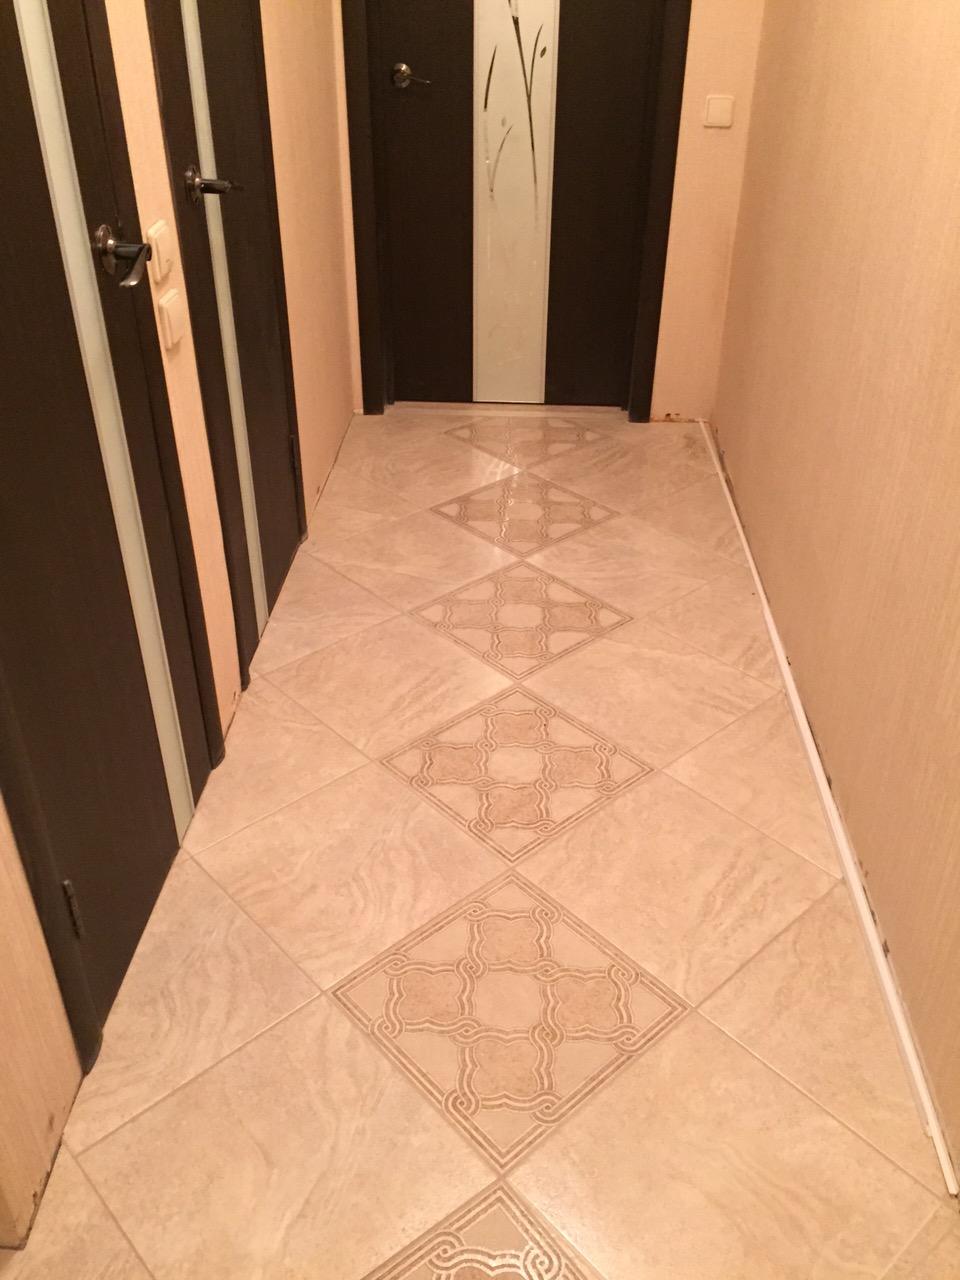
Laying tiles in the hallway
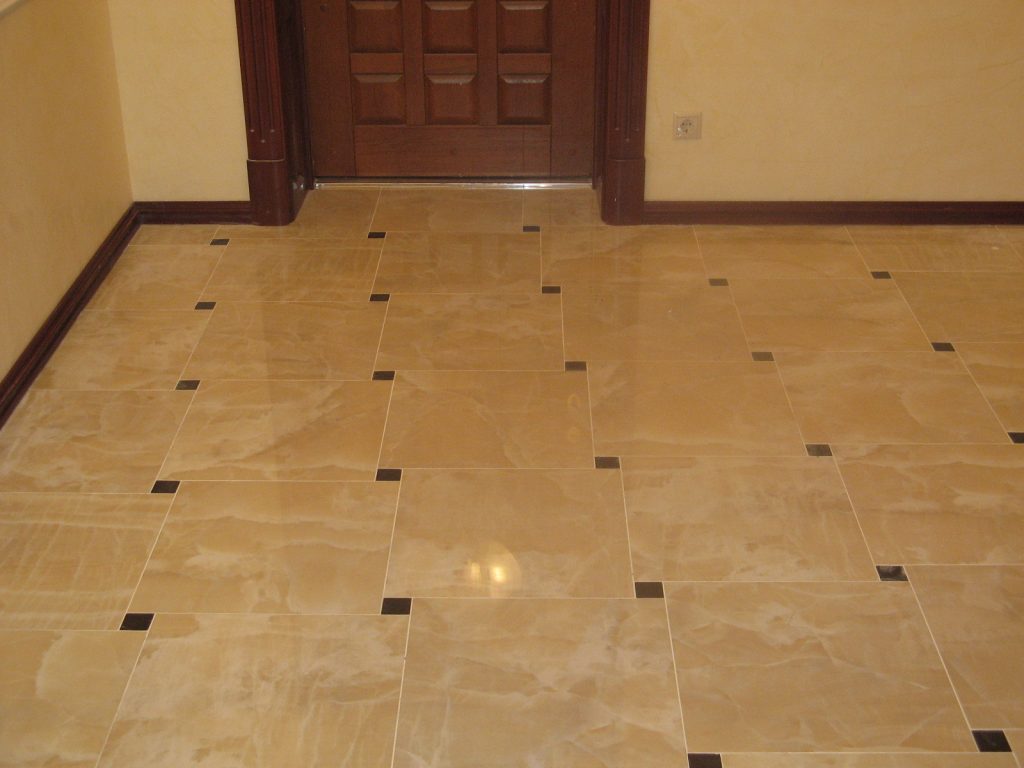
Laying tiles on the floor in the hallway will give the interior a chic look. It looks really beautiful. Porcelain stoneware tiles are not just a fashion trend, but a kind of harsh necessity for people who value the most durable materials based on stone and other minerals, rather than wood.


General rules
The tiles in the corridor (hallway) will not only bring luxury to your home, but also make the atmosphere in it the most solemn. By what the floor is in the hallway, it is often judged on the wealth and security of the owner of a house or apartment. Consider the basic rules for styling.
-
Before the start of laying work on the re-laying of the tiled covering, the old one is removed. - cracked tiles along with the remnants of masonry building materials. The resulting debris from the previous tile laying is completely collected and taken out.
-
The floor is measured using a liquid or laser level gauge. Excess building materials that interfere with the forthcoming work are carefully cleaned up until the evenness of the floor reaches optimal values. If the distance from the top of the entrance door sill is, for example, 5 cm, then the same level is maintained from everywhere. It is easy to check this by placing the laser level gauge in different places, for example, with a step of 1 m along both coordinate axes of the plane in which the foundation or interfloor floor lies. In addition, the walls are also measured - the distance from floor to ceiling, when you are sure that the ceiling is also horizontal.
-
The floor is subjected to a screed leveling it. But this is an optional rule. The fact is that the tiles are laid on a cement-sand mortar, which, in turn, will be placed even on a rough concrete floor.
-
When laying each segment (specimen), the tile is inspected for chips and cracks. Rejected elements can be stacked, for example, under a future wardrobe, where they are not visible to unauthorized observers. If this is not possible, then use them as building materials for other purposes - damaged tiles will ruin the appearance of the floor and the corridor as a whole. Use only whole and perfectly even elements, without any defects.
-
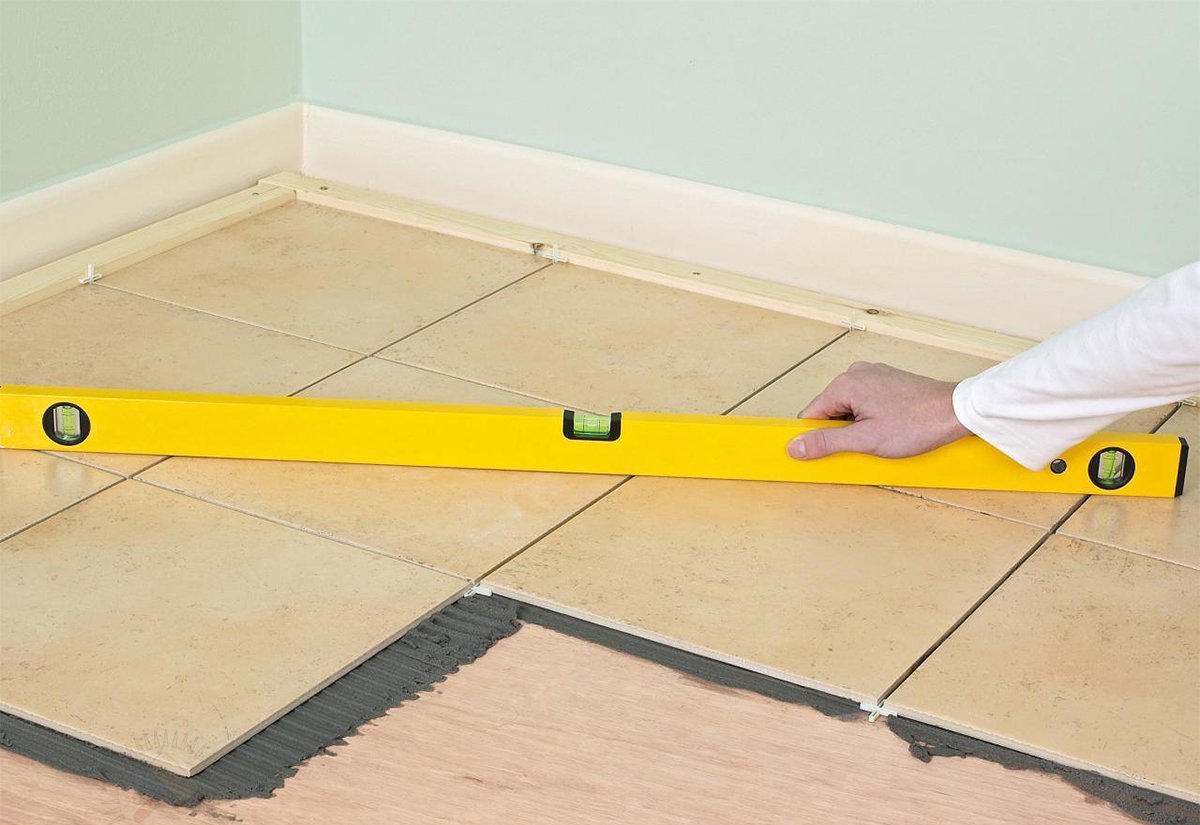
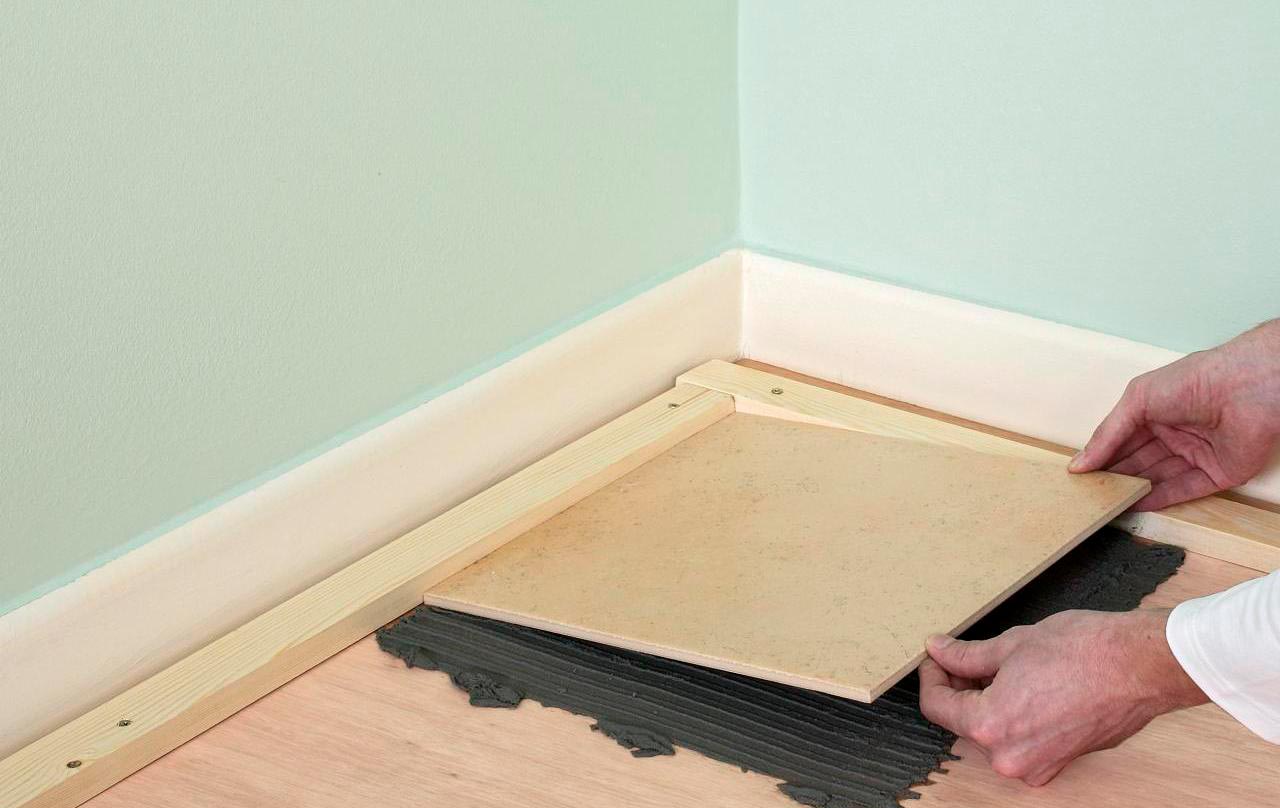
When applying on a layer of construction solution, check each laid instance with a level gauge. Use your fist or rubber mallet to hit it if necessary.
-
Stick to a clear work plan. Start from the farthest and most difficult to reach corner, gradually working towards the exit.


Do not walk for at least two to three days on the finished layout. The mortar must gain hardness and strength in order for the coating to serve you for many decades.
What is required?
In addition to the tile itself, you need sand and cement, grout (seam) glue. You can do without it if the tiles fit tightly, end-to-end. Here's what you need from the tools.
-
Building level. A liquid bubble or laser device is used.
-
Stroymarker. A thick, oil-based felt-tip pen is considered optimal. Older craftsmen are more likely to use a simple pencil.
-
Roulette ruler. Two-, three-, four- and five-meter tape measures are available. For large rooms, 10- and 20-meter versions are used, in areas - 50- and 100-meter tape measures.
-
Rubber hammer. It is not recommended to use a simple (steel) hammer - the tile will crack if you hit it too vigorously. An alternative is a wooden mallet.
-
Simple or notched trowel ("trowel"). Serrated, in contrast to the classic smooth, applies masonry compounds, instantly forming ribs in places where they are needed.
-
Square ruler - it may be necessary in places where it is necessary to recheck, maintain a right angle in order to lay the tiles perfectly straight. In special cases, a special protractor ruler is used - where the tiles are laid out not at a right angle, but in a special way.


Having prepared the necessary tools and building materials, proceed to the beginning of work.
How to prepare the foundation?
If no questions arise with the preparation of the concrete base (a layer of expanded clay concrete is immediately laid on the concrete floor), then the preparation of the wooden floor includes several steps.
-
It is extremely difficult to lay floor tiles on wooden boards. Here the skirting boards are disassembled, and the old flooring is disassembled with the help of a nailer or screwdriver.
-
The lags are checked along the earth's horizon - using a level gauge. Dangling joists are fixed with additional anchors. If it is impossible to raise or lower these beams, an additional board or plywood is mounted on them. If the logs were not fixed in this place, then here pieces of plywood, slats or a loose piece of board are placed under them. Do not use wood chips - it is unstable, because under the influence of gravity from above (additional load), the beam can sag again, and the horizontal is broken - a depression is formed.
-
Cover the logs and additional components with antiseptic, fire-resistant and moisture-proof impregnations.
-
Pour expanded clay - the upper edge of its layer should be level with the horizontal surface of the base.
-
Lay the roughing board perpendicular to the joists.
-
Place waterproofing layers on this covering. In the simplest case, they can be roofing material or polyethylene.
-
Lay a metal mesh over the waterproofing, fixing it at regular intervals with self-tapping screws.
-
Perform a screed over the mesh, having previously placed the mounting beacons. The self-leveling compound used when pouring the floor, due to its fluidity, will withstand the floor horizon before hardening. The thickness of the screed must not exceed 3 cm.
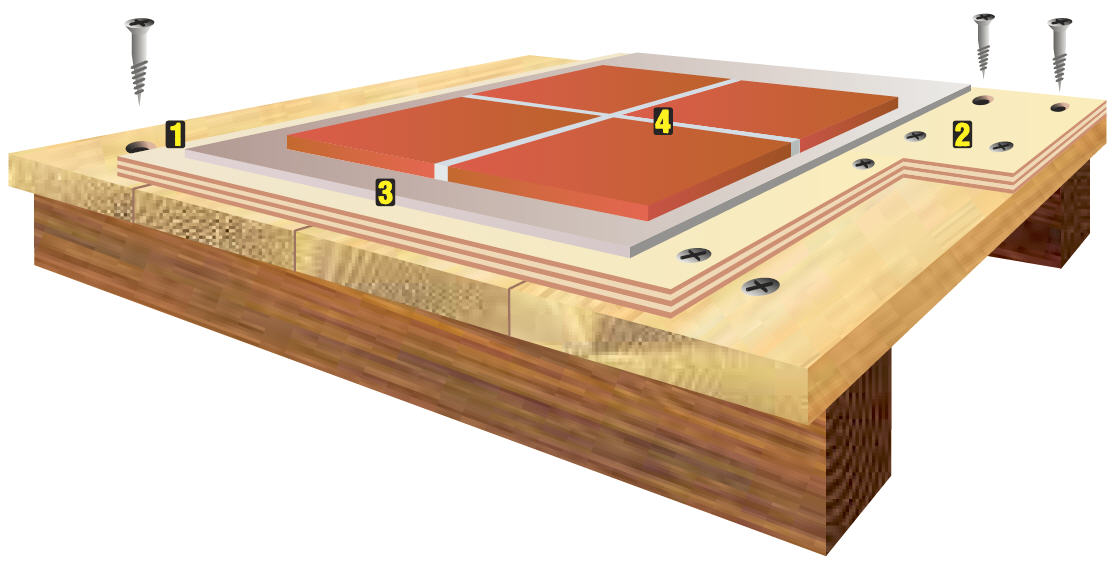
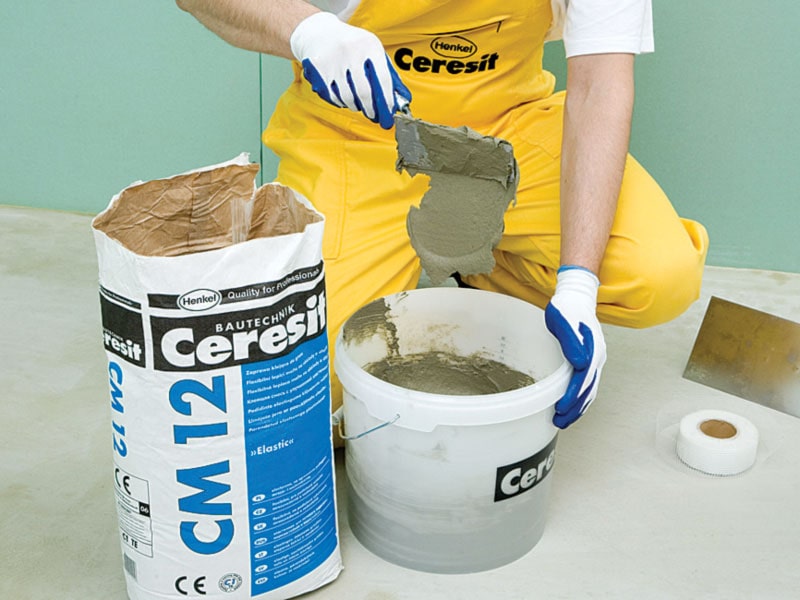
The finished base is lined with tiles. To fix it, you need cement glue.
Laying technology
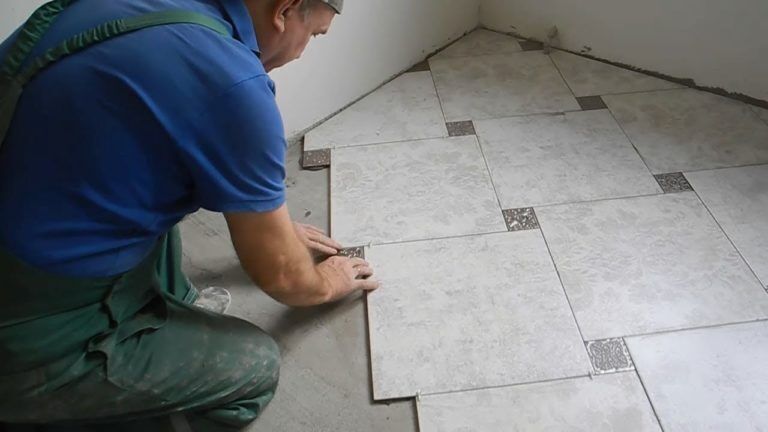
Laying can be done end-to-end - tile elements are always strictly rectangular, since they are made, like bricks and tiles, using pre-prepared forms. In this case, it is quite easy to lay the tiles with your own hands.


Butt
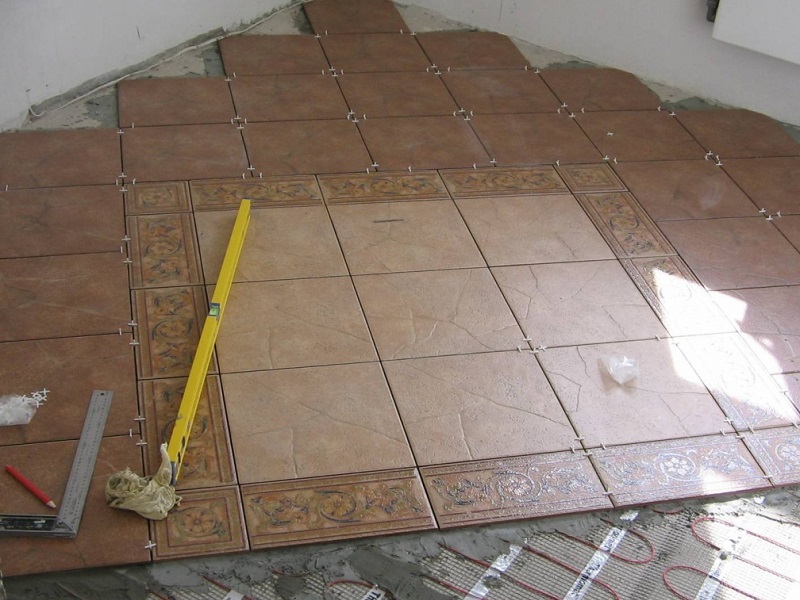
When laying tiles end-to-end, the first rows are required at the edges of the walls. If the width of the hallway, for example, is 3 m, and the length is 4, then it will not be difficult to lay half-meter squares. In reality, the dimensions of the laid out site are taken a couple of centimeters more. If necessary, the walls at the tile level are trimmed to the desired condition. Consider the dimensions of the hallway before buying porcelain stoneware: 3 m - in width - are divided by 30, 50 or 60 cm. In length 4 m - by 25, 40, 50 cm when choosing a square or rectangular tile.

Offset along the seam
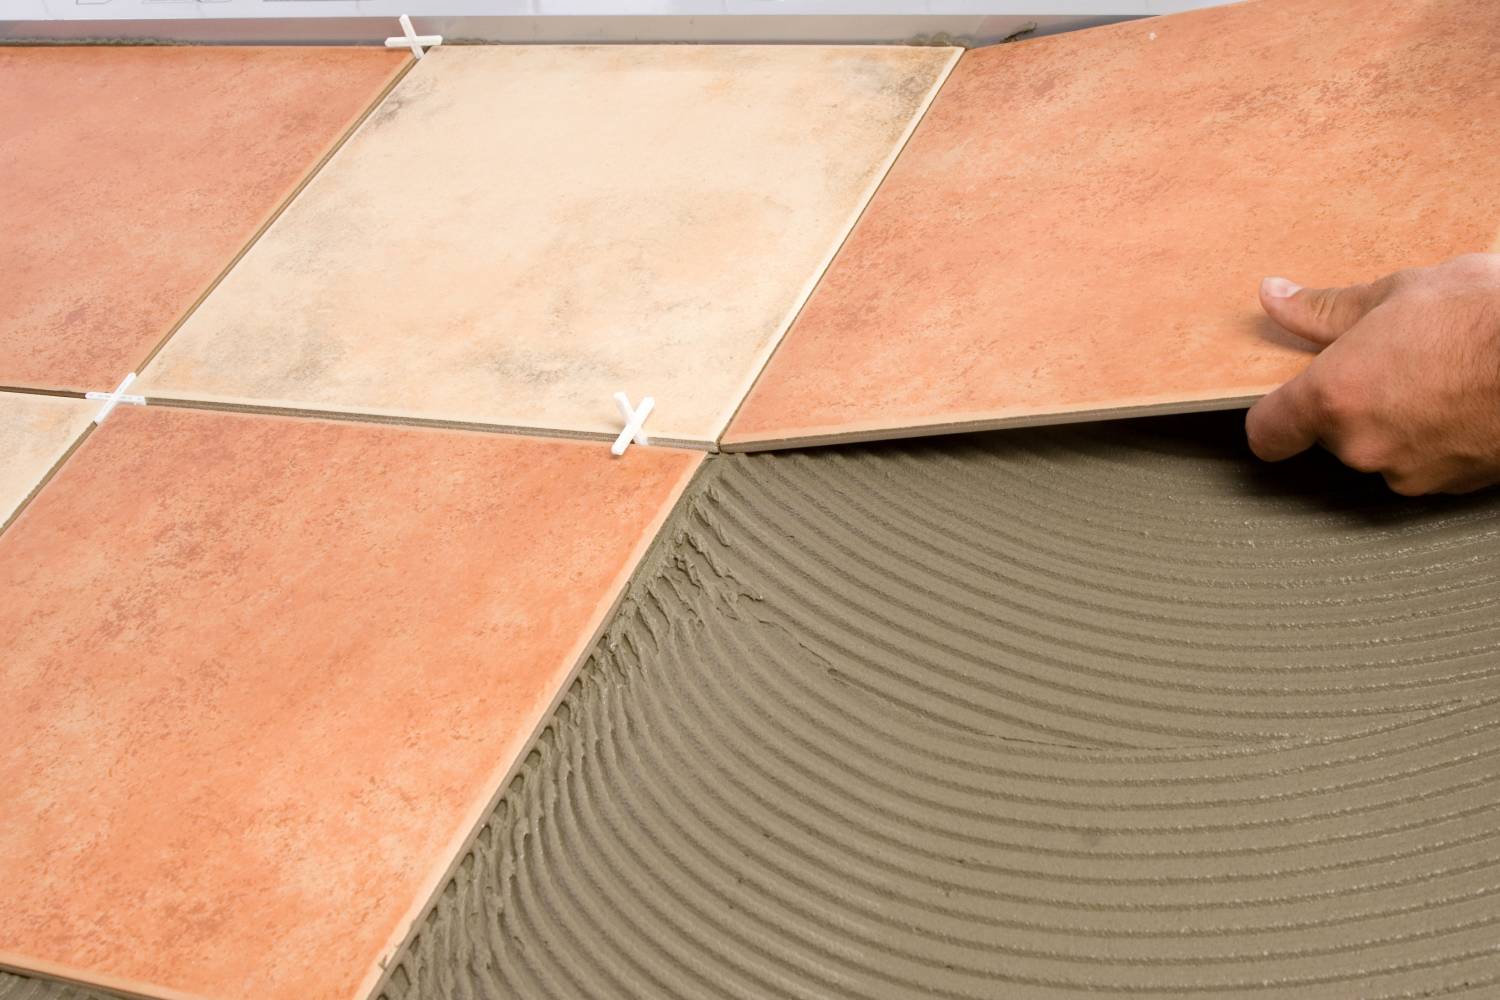
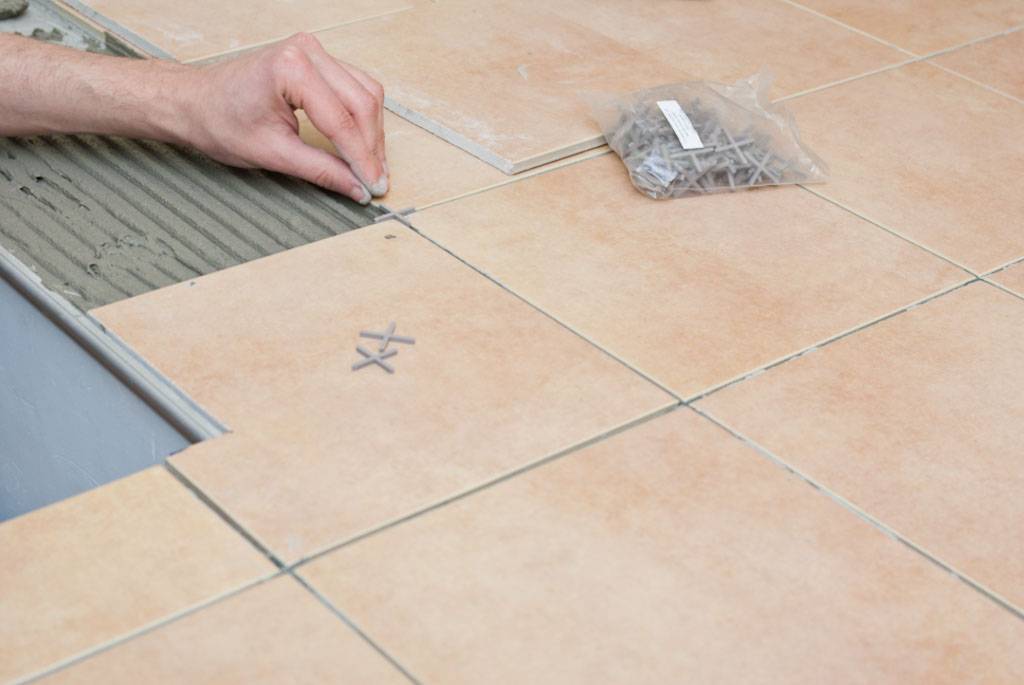
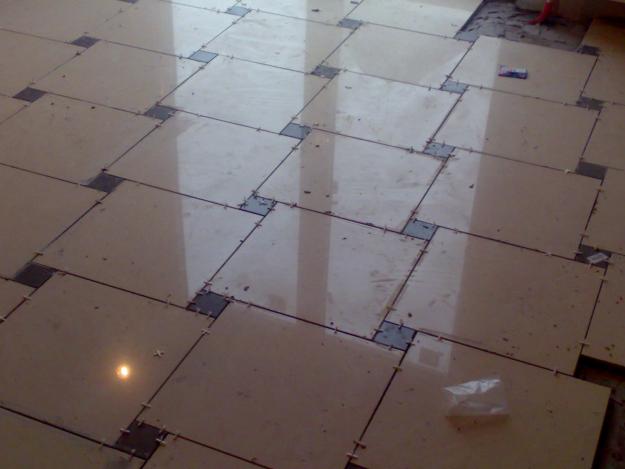
To set a shift along the seam, for example, by 3 mm (distance between tiles), use plastic crosses. Place them correctly at the intersection points of the seams. This joint is filled with either cement glue or a special grouting compound applied after the tiling is hardened.
To imitate brickwork, when long clinker tiles are laid with a longitudinal-transverse shift, the main area is formed in the image and likeness of "brick alternation". Elements that do not fit into the remaining gaps are sawn in half and placed in the remaining narrow spaces. In the places where the butt gaps meet, T-shaped inserts are used - crosses cut off from one of the four sides.


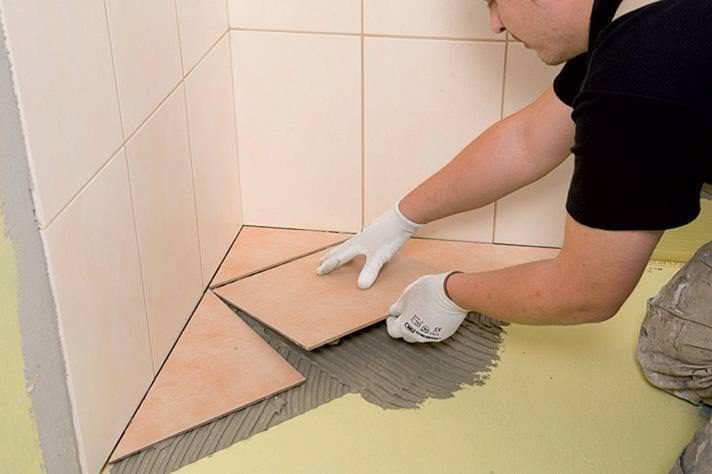
Laying out corners
Laying out right angles - as a rule, there are no more than 4 of them, but due to the peculiarities, for example, with additional partitions, additional corner points are formed - check them with a square. The slightest distortion somewhere in the middle of the masonry - the ingress of foreign objects and particles - will lead to the loss of the overall rectangularity at the main corners. Do not use defective tile elements and spacer crosses made in violation of technology. If the violation is missed, and the masonry is coming to an end, and the previous rows have gained load strength, then the problem specimen is cut down with a grinder to the desired condition.


Recommendations
Do not use mortar or cement that is (nearly) out of date.
When accepting the tiles, check their integrity, evenness, and the absence of signs of careless loading, transportation and unloading. The packaging, like the product itself, must be intact.

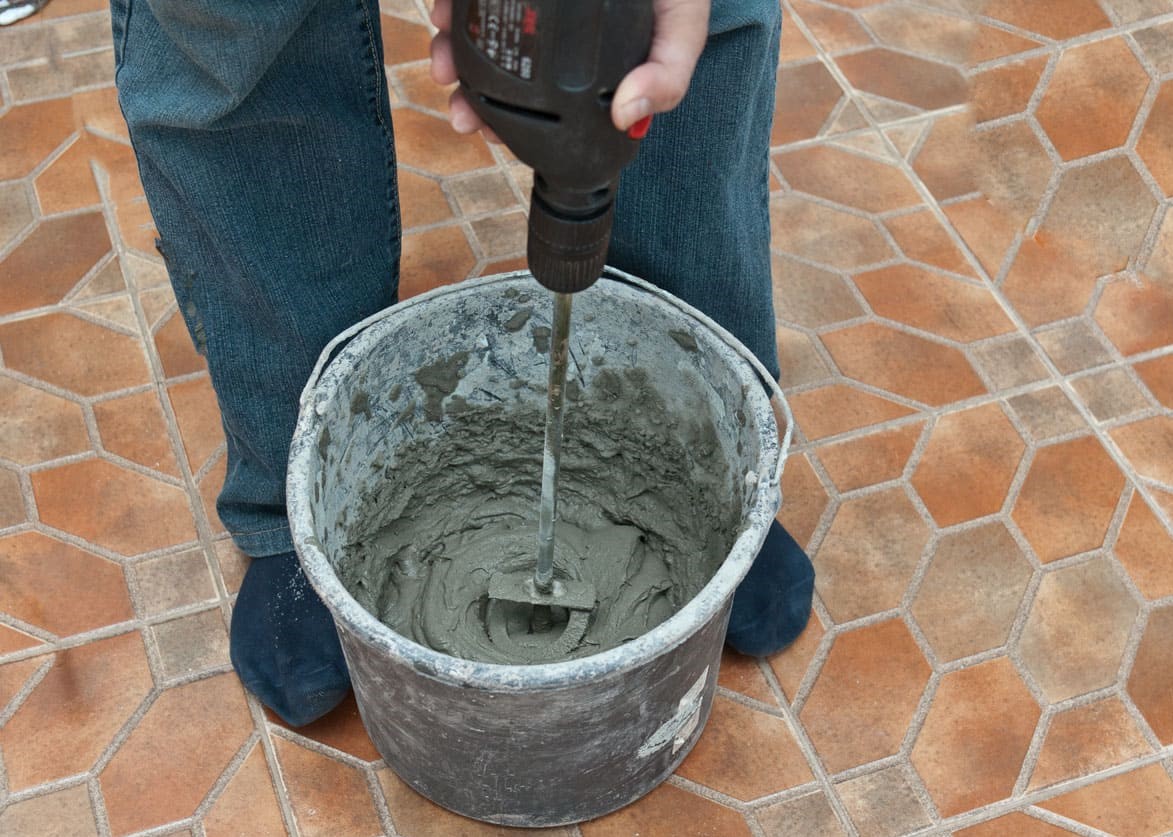
When preparing a cement-sand mixture, do not disturb the proportions of sand and cement. The concentration of cement in relation to sand is prohibited more than 10: 11, otherwise the screed (or masonry mortar) will crack due to the excessive hardness of its particles.
Do not prepare a "skinny" mortar - in a proportion less than 1: 3, as it crumbles during the operation of the tiled masonry.
How to lay tiles, see the next video.


