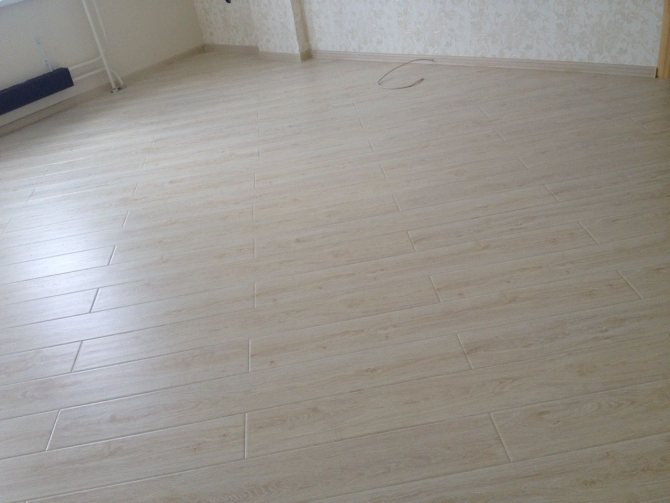
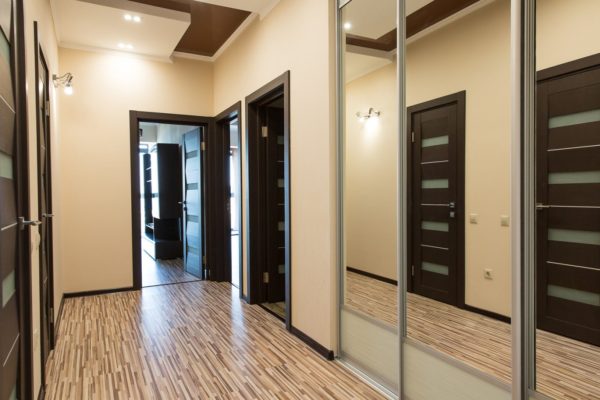
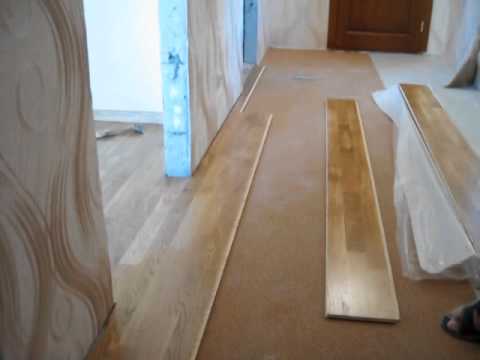
Laying laminate in the hallway
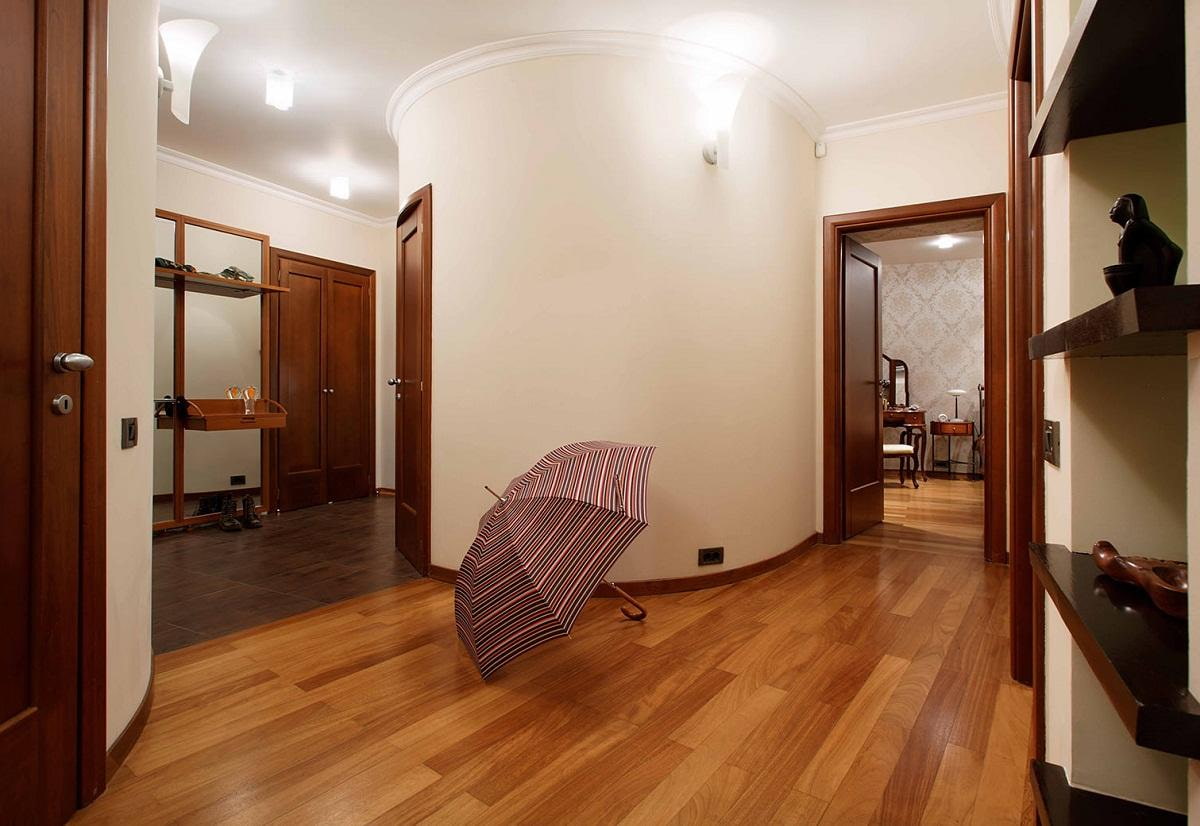
Laying laminate flooring is a common practice to replace old flooring with a new one. So, the laminate is installed when discarding old linoleum. Its styling, unlike the laying of new linoleum, has its own characteristics.

The ways
Before choosing the best way to lay laminate flooring, it is useful for a beginner to familiarize himself with the basic rules.
- Laying along or across the room determines how many years a given coating will last. The fact is that the sections of the laminate are connected using the so-called interlocking joints. Transverse - in relation to the direction of travel - laying will significantly reduce the service life of the coating. In the corridor, it should be longitudinal.
- Two legs from a sofa or chest of drawers should not be installed on one lock connection. Excessive loading will destroy the tool joints, and the sections will begin to diverge.
- Smooth, glossy sections of the laminate in a long room are laid parallel to the light reflection - this partly masks its seams. However, the imitation of natural wood is laid perpendicularly - this emphasizes the "wood effect".

In addition to transverse and longitudinal layouts, it is possible to lay the laminate diagonally (or "herringbone"), as well as create the effect of a visual labyrinth.
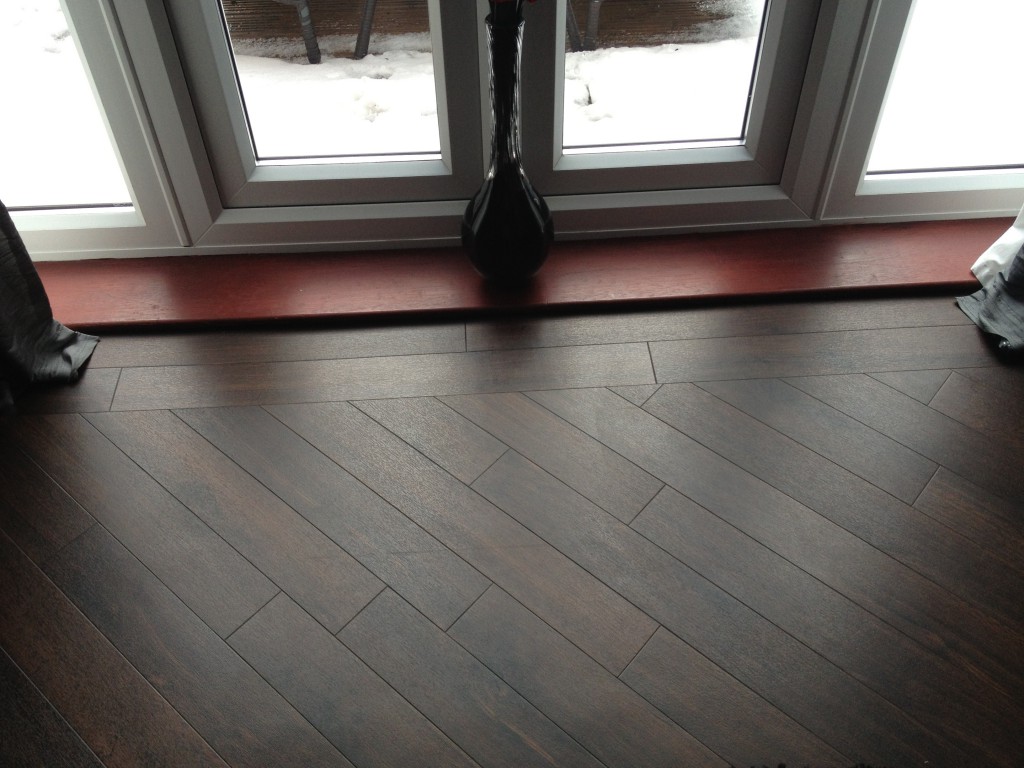
Transverse arrangement
They are used in the presence of a V- or U-shaped chamfer, three-dimensional texture, register design. The incident light emphasizes all these features, even in narrow, confined spaces. The effect of visual expansion of the territory is created. If the sofa is facing the window, then the laminate is laid transversely. But this method is the most time consuming - due to the greater number of joining sections. The economy also suffers from the significant squaring (area) of the cuttings.
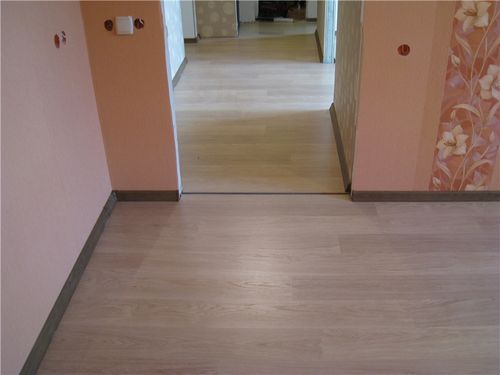
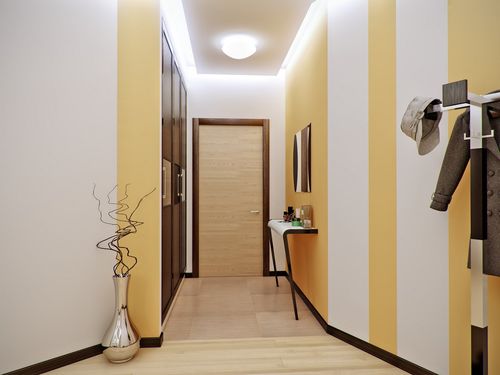
Longitudinal laying
Allows to give visual uniformity to the entire floor. The joints are concealed, while there is less waste, the labor intensity of the process is significantly reduced. Longitudinal assembly of the laminate can be done even by a beginner.

Diagonal assembly
Produced at an angle of approximately 45 degrees. The disadvantages of the method are even higher labor intensity, the inability to adapt the trims in any other place where replacing the floor covering would not hurt.
Laminate, laid in this way, is frayed even faster in the places where the sections fit. Finishers will ask for a noticeably large amount when laying the laminate diagonally. But this does not mean that it cannot be laid on its own and in this way. Laying the flooring diagonally will only require a slightly higher investment of time due to the slightly higher attention to the complexity of the installation.

Labyrinth method
Styling is used only in a non-standard room. Many owners of country houses and apartments, having familiarized themselves with the price list for assembling laminate flooring in each of the 4 ways, decide to abandon the assembly with the help of the wizards and prefer to figure it out on their own. But for people who are not constrained in income, this factor is not of fundamental importance.
Labyrinthine flooring looks chic for kitchens, lobbies, showrooms and similar spaces, where the largest number of people gather. Naturally, high quality laminate flooring is not cheap. This arrangement of laminate sections can also save a situation in which laying the laminate across or diagonally would lead to overruns.
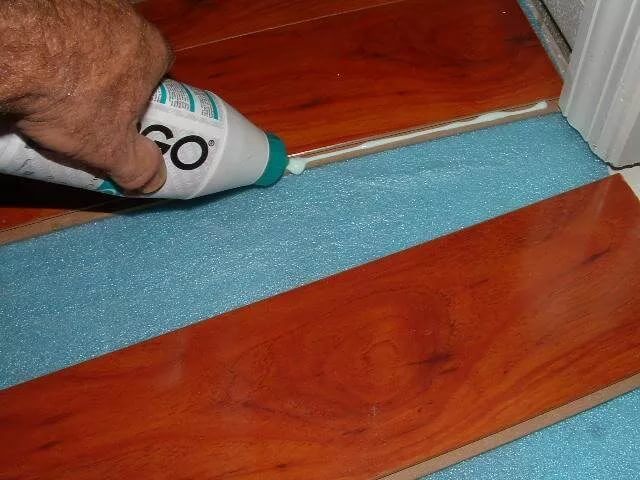
In inconspicuous places where furniture stands, labyrinth assembly is used in combination with patchwork (mosaic). Special glue is required here, since the locking joints are cut so randomly that not all of them will hold when joining without an adhesive.
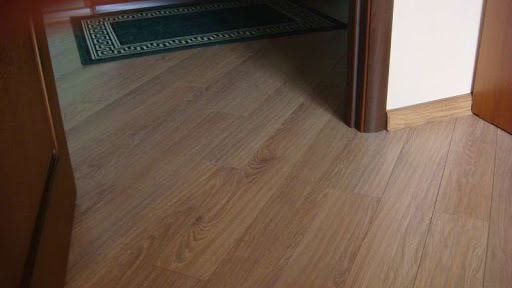
Labyrinth and diagonal laying of the laminate makes it possible to significantly diversify the design of the floor and the room as a whole. The diagonal assembly looks effective when in rooms that have one additional (internal) interior passage, the arrangement of the panels is different. In addition to the effect of visual expansion of the living area, L-shaped (corner, with a turn) corridors look decent with the labyrinth and diagonal method of laying out the coverage.
But with a significant load of furniture in any of the rooms - or corridor - the "oblique" or "winding" arrangement of laminate panels will lose all meaning and appearance.
Tools and materials
It will not be possible to lay the laminate by hand in the hallway, even if you have ready-made pieces of it at hand, without additional tools. You must have:
- tape measure and pencil (the latter can be replaced with a construction felt-tip pen);
- 1.5-meter level (shorter length will lead to significant errors when laying laminate flooring);
- jigsaw and cutting saw blades for wood (instead of a jigsaw, a grinder with cutting discs for the same tree is also used);
- an electric or hand drill (its functions are also performed by a hammer drill in a shockless mode, working with a special adapter cartridge);
- technical vacuum cleaner for construction work;
- a square ruler (a right angle is required for many construction and finishing works);
- a hammer and a hacksaw for metal (the latter will be replaced by a grinder with an angle grinding disc that cuts all metals and alloys, up to steel);
- bracket for connecting laminate sections.


Specialized, hard-to-find and rare inventory for strip layout is not needed here. Each home master has these devices. However, when setting up work on laying laminate sections on a stream, a cross-cut machine is used. Auxiliary building materials for laying laminate flooring are represented by the following list:
- vapor barrier - polyethylene with a thickness of 0.2 mm;
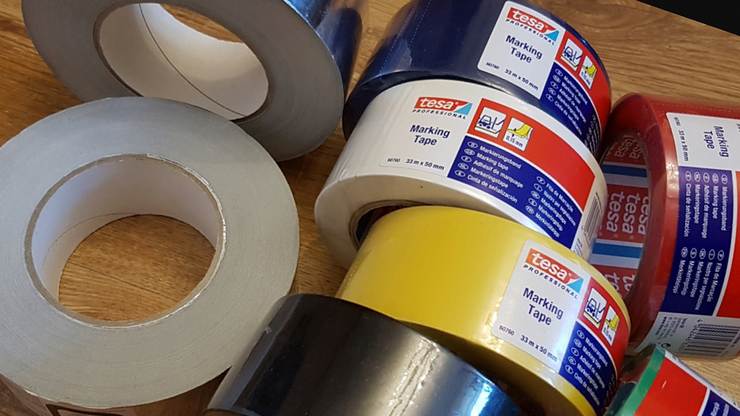
- backing, construction tape and adhesive film;
- expanding wedges;
- plinth fasteners and plinths around the perimeter of the room to be finished;
- additional components.
With a large area of the room, it is divided into clusters using expansion joints. If this is not done, then in the heat, the laminate will bulge and bend. Or, if the installation was carried out in the summer heat, in the winter time, the locks will rivet and lose their meaning.

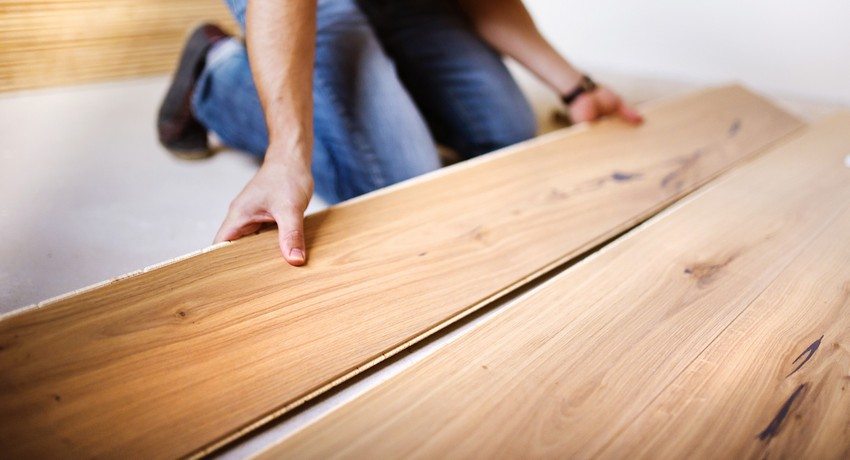
Installation process
Follow the steps below to properly lay laminate sheets.
- Remove the old covering from the floor (old laminate, linoleum). Remove old skirting boards.
- Mark and cut the laminate strips into sections of the required size - in accordance with their future location and the size of the room.
- Clean the paved floor surface from dust and debris formed in the process of dismantling the old covering.
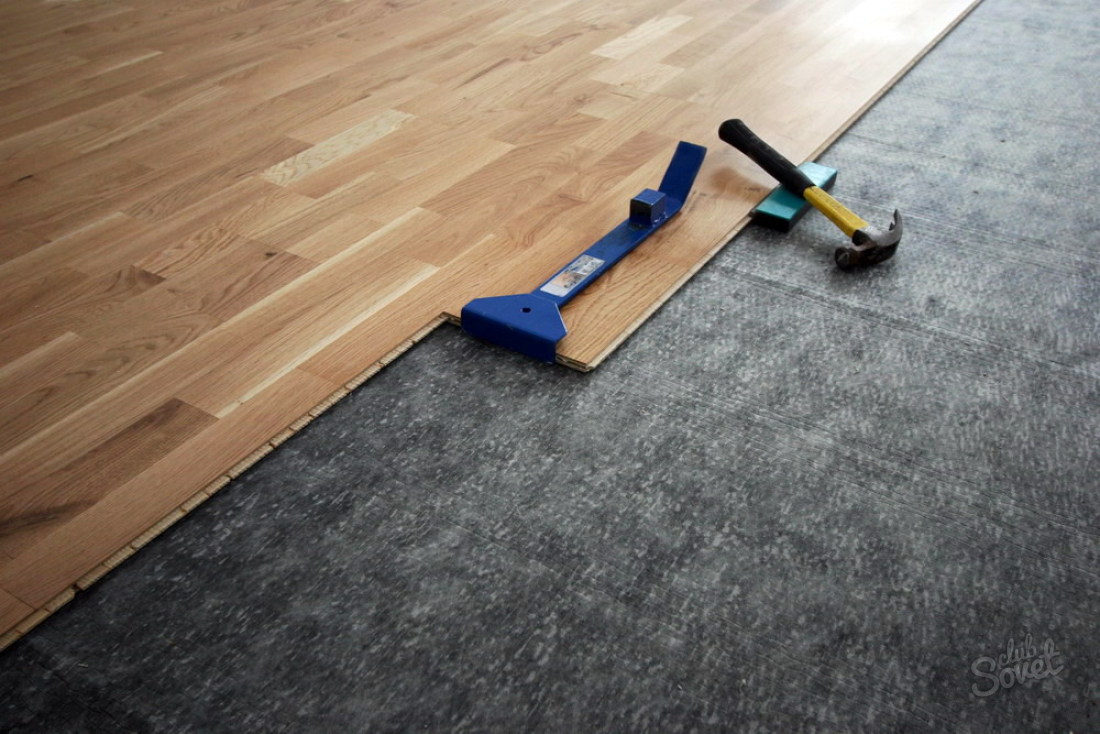
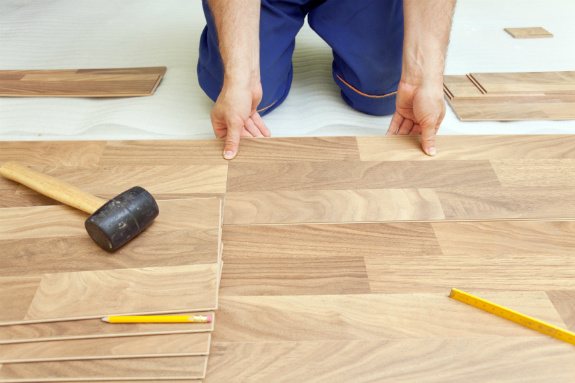
- Start positioning the laminate sheets as they should end up. Align the first row (strip) parallel to the wall. There should not be any extra gaps, except for technological slots, which serve to compensate for temperature fluctuations in the building material.
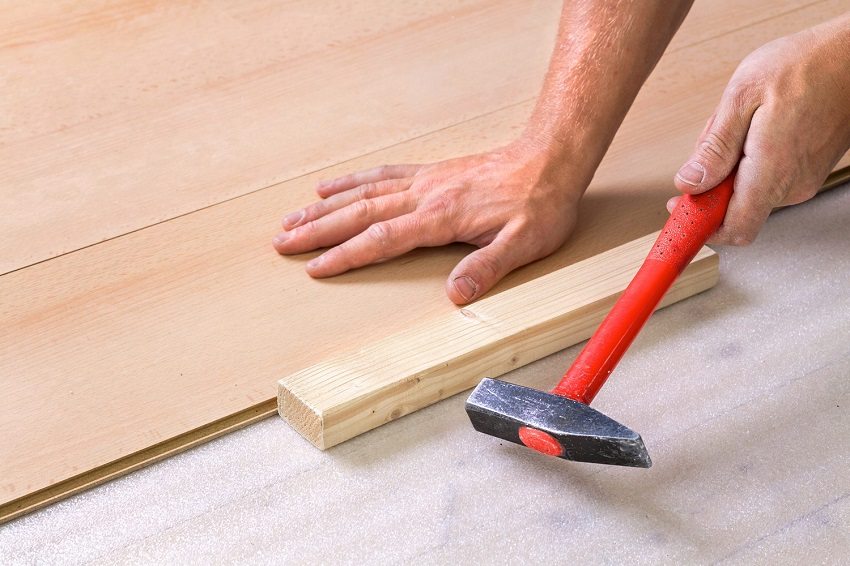
- After fixing the first sheet, place the second one next to it. Using spreading wedges, grip the locking “spike” into the “groove” - in accordance with the instructions.
- Repeat the same steps for the rest of the laminate strips. Make sure that there are no unlapped areas - they are given out by swollen areas. If it does not overlap somewhere, open the joint of the sheets to this point and repeat the overlapping along the entire remaining length.

After finishing laying the flooring, install the skirting boards. For them, holes are drilled in the lower part of the walls, where their edge passes into the floor, forming an angle around the perimeter.Insert the dowels (plugs) into the holes and fix the plinth sections with self-tapping screws.
Before installing the next section of the skirting board, install the corners and transitions along the installation process. This will give the skirting boards a neat and finished look.
Then close the built-in gutter in the skirting board with the supplied longitudinal technological cover.

All about laying laminate flooring in the hallway in the video below.


