Laying laminate flooring in a narrow corridor

Laying laminate flooring in the hallway has always been a daunting task. The fact is that the floor covering of the entrance area is characterized by mechanical stress, penetration of moisture and dirt. Therefore, even at the installation stage, measures should be taken to ensure that the laminate lasts as long as possible. We will tell you how to do this in our review.

The ways
Laminate is one of the most demanded materials used in the design of corridors and hallways. Its advantages are obvious:
-
lack of visual cracks and joints;
-
ease of installation;
-
a variety of textures and shades;
-
ease of combination with tiles, plaster and other finishing materials;
-
the ability to combine several types of laminate to create stylish interior solutions.

At the same time, it also has its drawbacks. They are not always obvious to apartment owners at first glance, but experienced craftsmen can note the following difficulties:
-
only some, mostly expensive, models are highly resistant to moisture;
-
when a large volume of water unexpectedly flows in, any laminate is deformed;
-
When walking on the floor in shoes with sharp heels or on solid soles, or when heavy objects are dropped, loud noises will be heard throughout the room.
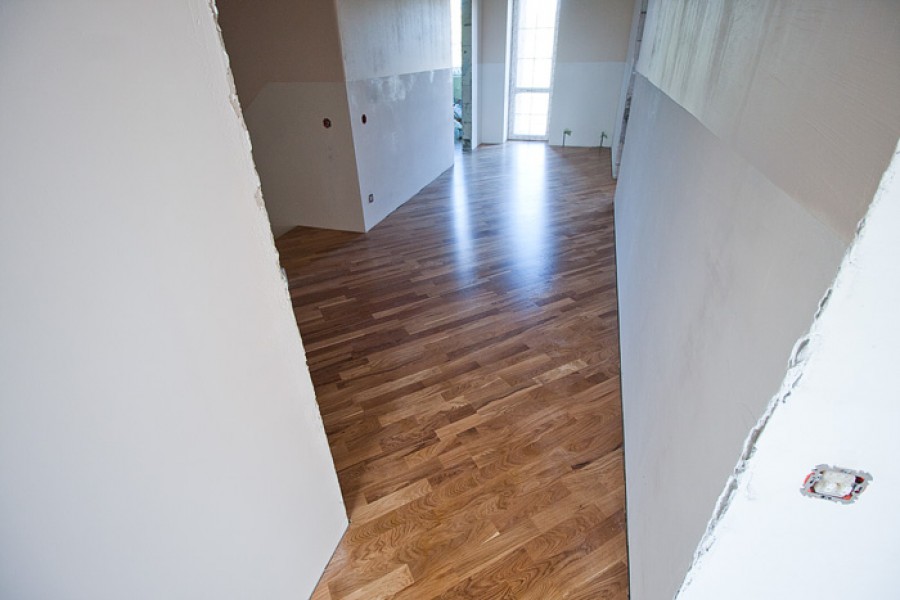
The main difficulty lies in the fact that for laying the laminate, it is necessary to carefully prepare the floors, since it requires a perfectly flat base.
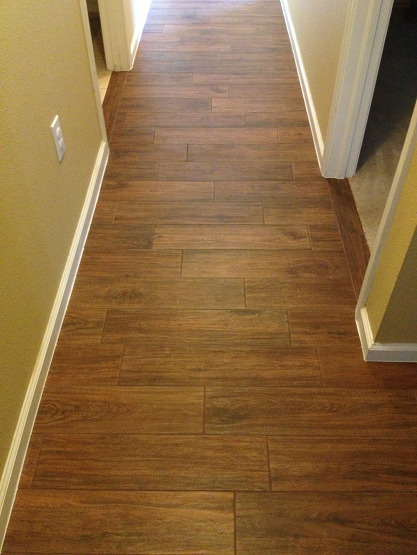
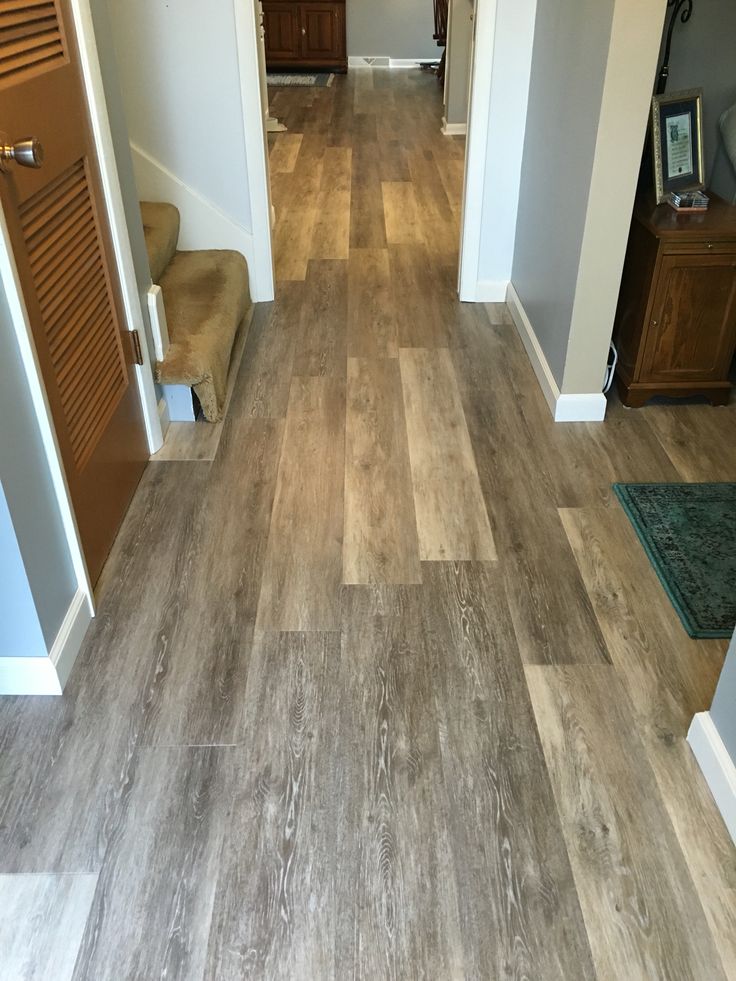
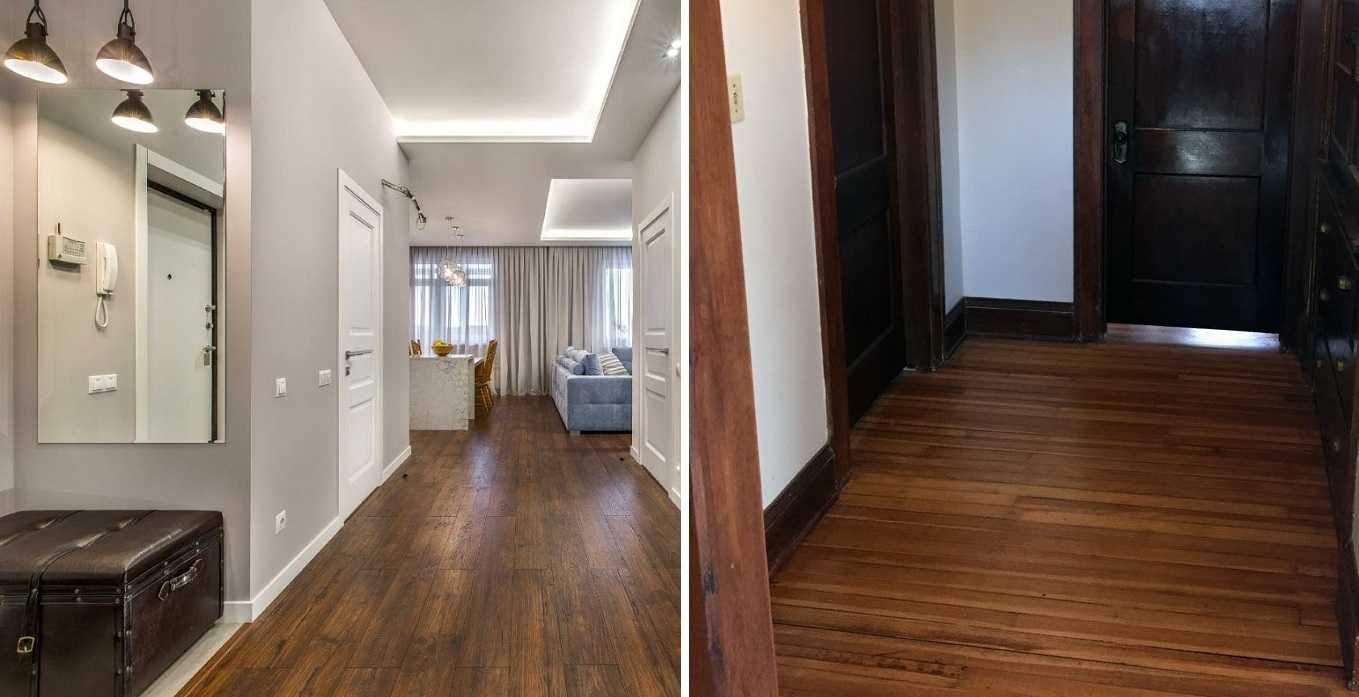
The use of laminated panels allows you to achieve various visual effects in the hallway. For example, divide a room into zones or visually expand a narrow corridor.
When choosing how to lay out the laminate, it is necessary to take into account the direction of the daylight source - the laminate can lie parallel to it, perpendicular or diagonally.
Typically, a finish across the direction of the daylight source is used to achieve a perfectly smooth finish. The parallel method is optimal for narrow rooms, it allows you to visually expand its boundaries. Both the one and the other type of installation refers to direct. It is often used by beginners who are just taking their first steps in the repair and decoration of premises, since it is easier than everyone else in installation.

When placing the laminate along the daylight line, the panels are mounted parallel to the long corridor wall. In this case, lighting from a window located in adjacent rooms will make the joints of the panels almost invisible, since there is no shadow casting. Such a flooring looks perfectly smooth, like a single panel.
This option is suitable for a hallway where the light source is located along the line of a short wall. Achieving a similar effect when the windows look at a long wall, as well as in corner rooms, will not work.
Diagonal installation is optimal for oversized rooms. It allows for effective zoning of space - such a solution contributes to the visual expansion of the walls. However, the corridor should be decorated in a minimalist style. If the hallway is cluttered with furniture, then the impression will be the opposite.
In addition, the diagonal layout of the lamellas causes a significant waste of material, since it is necessary to adjust the panels to the cut point.
Materials and tools
The floor covering in the corridor is subject to increased weight and mechanical stress. That is why it is necessary to put lamellas here, the resistance class of which is not lower than 32. This laminate can withstand frequent stress, it withstands the maximum level of traffic and retains its aesthetic appearance for several decades.

Individual users are trying to save money and purchase panels of classes 21-23. This laminate is good for walls; it is laid on the floor in rooms with minimal traffic. For the entrance area to the house, the wear resistance class should be much higher. Of course, such a finishing material costs much more, but it also serves for 10 years or more, and not 2-3 years, like thin lamellas.
Surface preparation
As we mentioned, laminate flooring requires a perfectly flat surface. That is why most of the installation work is occupied by the preparation of the base.
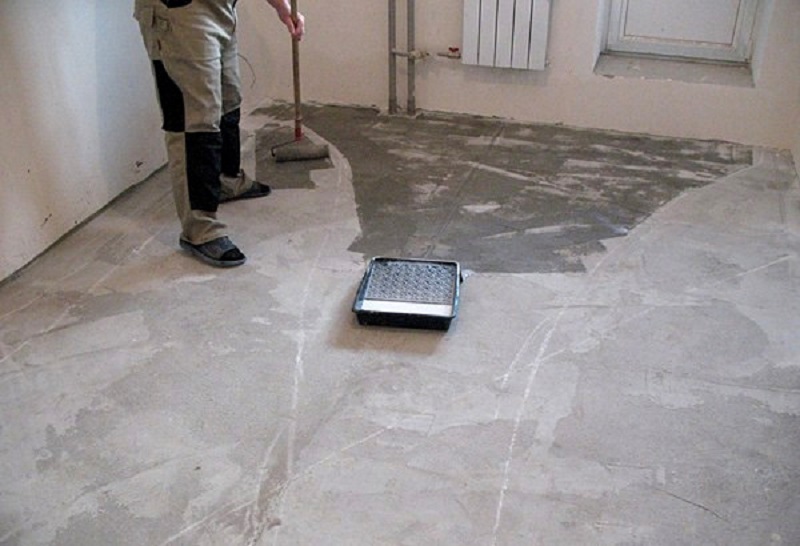
If it is made of concrete, check for evenness. This can be done using the building level. Even if it varies by 1-2 mm, you still have to perform alignment. It is important to check the strength of the base - it should not fall down.

If the coating was originally made of wood, you should make sure that it is strong. The tree should be free of chips, cracks, traces of activity of fungi, mold and insect pests. If deformation is found, the damaged boards must be replaced. In old houses, it is sometimes necessary to completely change the covering.
If the laminate is laid on a new surface, it must be further leveled with mortars and mortars.
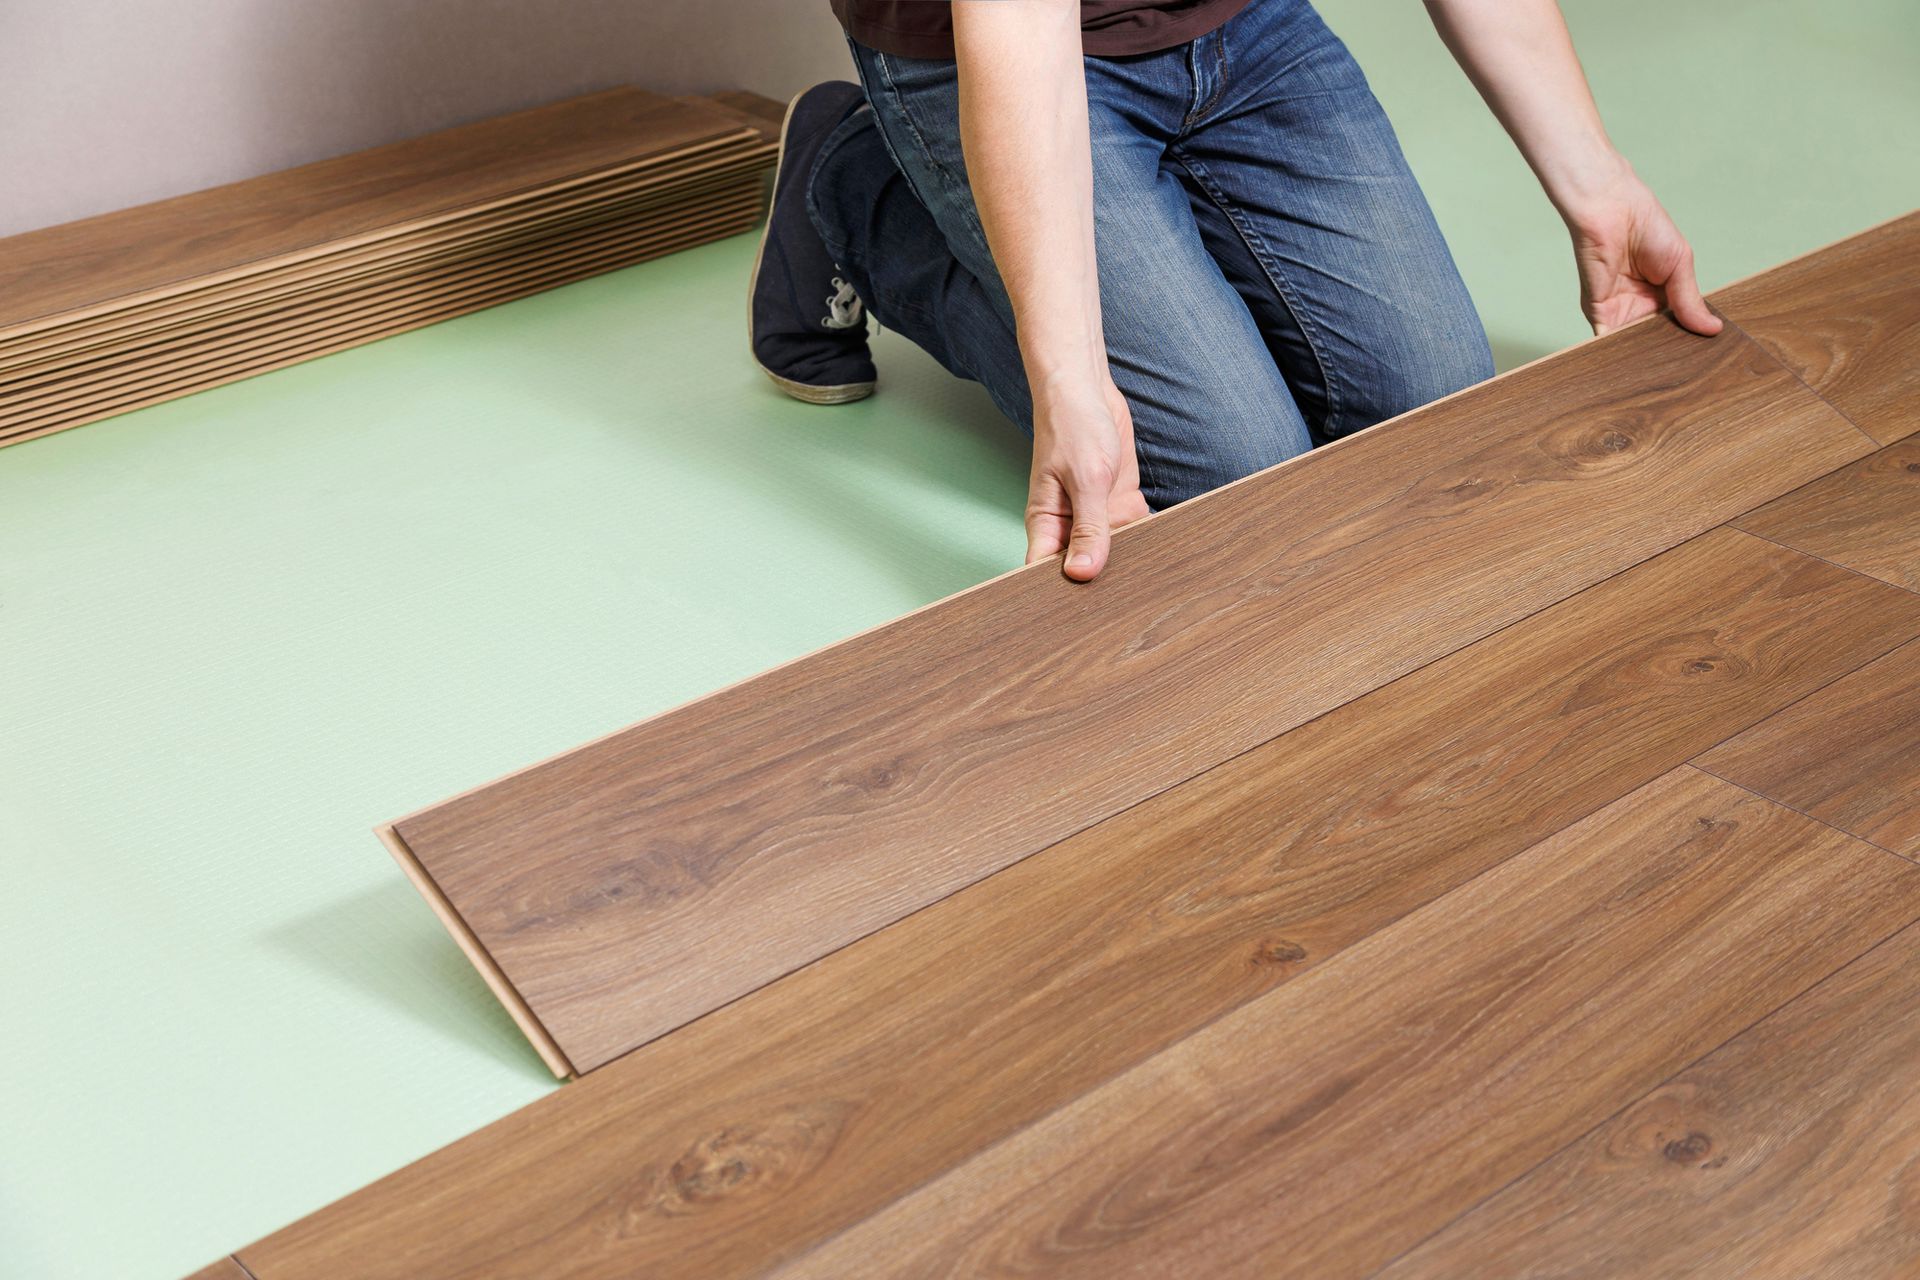
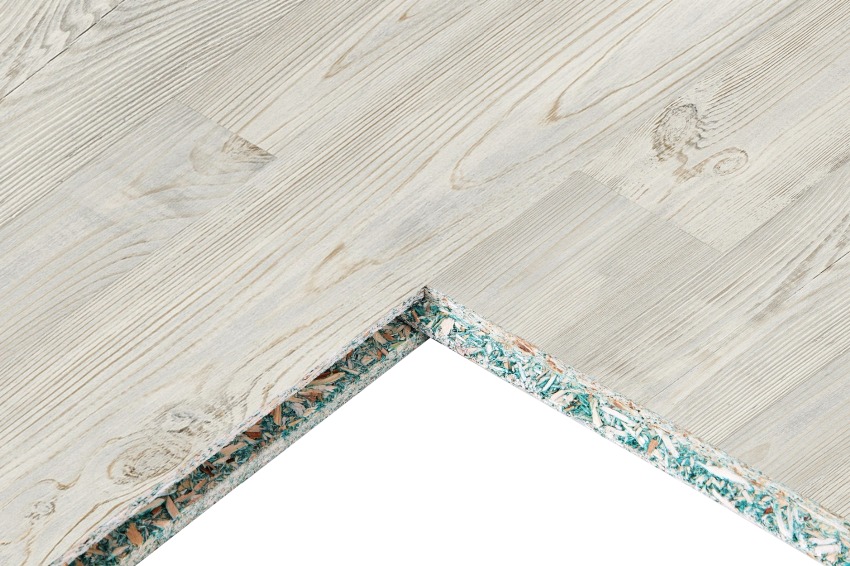
Laying laminate flooring requires a backing. Experienced craftsmen usually connect its sheets with adhesive tape - this allows you to prevent the sheets from shifting during the installation of panels. In addition, if an unexpected leak occurs, then all the water will remain in the apartment and will not leak to the neighbors below. If you live on the ground floor of an apartment building or in your own house, then it is not necessary to connect separate layers. In any case, the underlayment must be static, otherwise the flooring is unlikely to be strong.
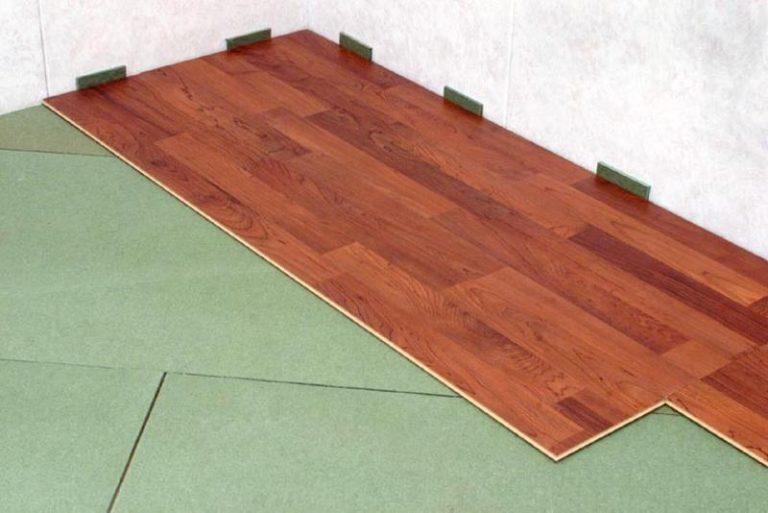
Don't skimp on the backing material. It is better to give preference to high quality materials, in this case, after laying the facing materials, there will be no gaps in such a flooring.
Keep in mind - the preparatory layer should adhere to the walls as tightly as possible, in some cases even slightly protrude onto them. Professionals recommend laying the substrate staggered or perpendicular to the direction of installation of the lamellas.
The roughing base must be thoroughly cleaned of dirt, dust and debris. It is best to use a vacuum cleaner for cleaning. To perform moisture insulation, a plastic wrap is laid, and a substrate is already attached to it. In addition to insulation, such a base additionally absorbs sound and makes living more comfortable.

Installation process
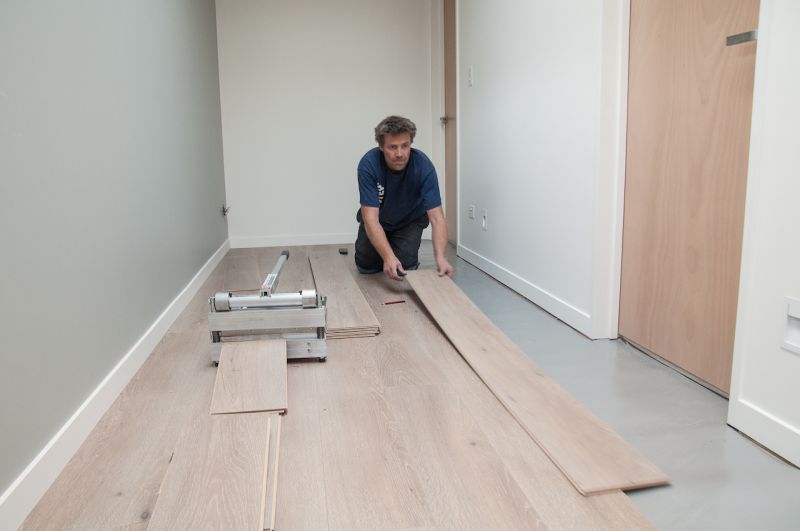
To properly lay the laminate in the narrow space of the corridor, you need to follow certain instructions. Installation consists of a series of steps.
Laying the first row. The installation of lamellas in the room should be started from the wall. In this case, all the main lamellas are connected by their ends. To make the technical gap uniform, you can use pieces of the laminate itself on each segment, or take special wedges.

The first panel of the second row is inserted with the side surface, slightly pressing it against the panel of the previous row. To do this, the docked strips are slightly raised at an angle of 20-30 degrees, and the second laminate board is inserted into the lamella of the first row with the elongated side into the groove. All other rows are laid in the same way. In the hallway, the panels are laid without a breakdown.
The last board is cut to a suitable length. Its remains are placed as the first element of each next row.
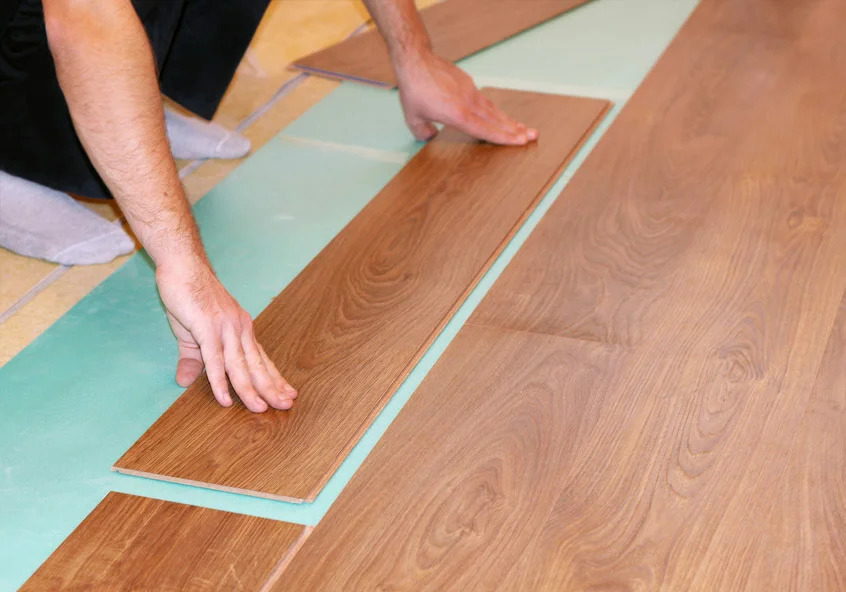
The utmost care should be taken on the last row. It will have to be cut so that the length fully overlaps part of the strip, while remembering the size of the expansion gap.
Always use joint sealants during installation. This will minimize the risk of moisture penetrating the interpanel seams.
Despite the seeming ease of work, laminate flooring takes a lot of time, even when the corridor is very small and narrow. The duration and complexity of the work can also be influenced by the presence of pantries, external corners and protrusions.

In those areas where the boards adjoin corners and niches, curly cutouts should be made. Such a procedure will require scrupulousness, but there is no need to rush - the result should be as accurate as possible.
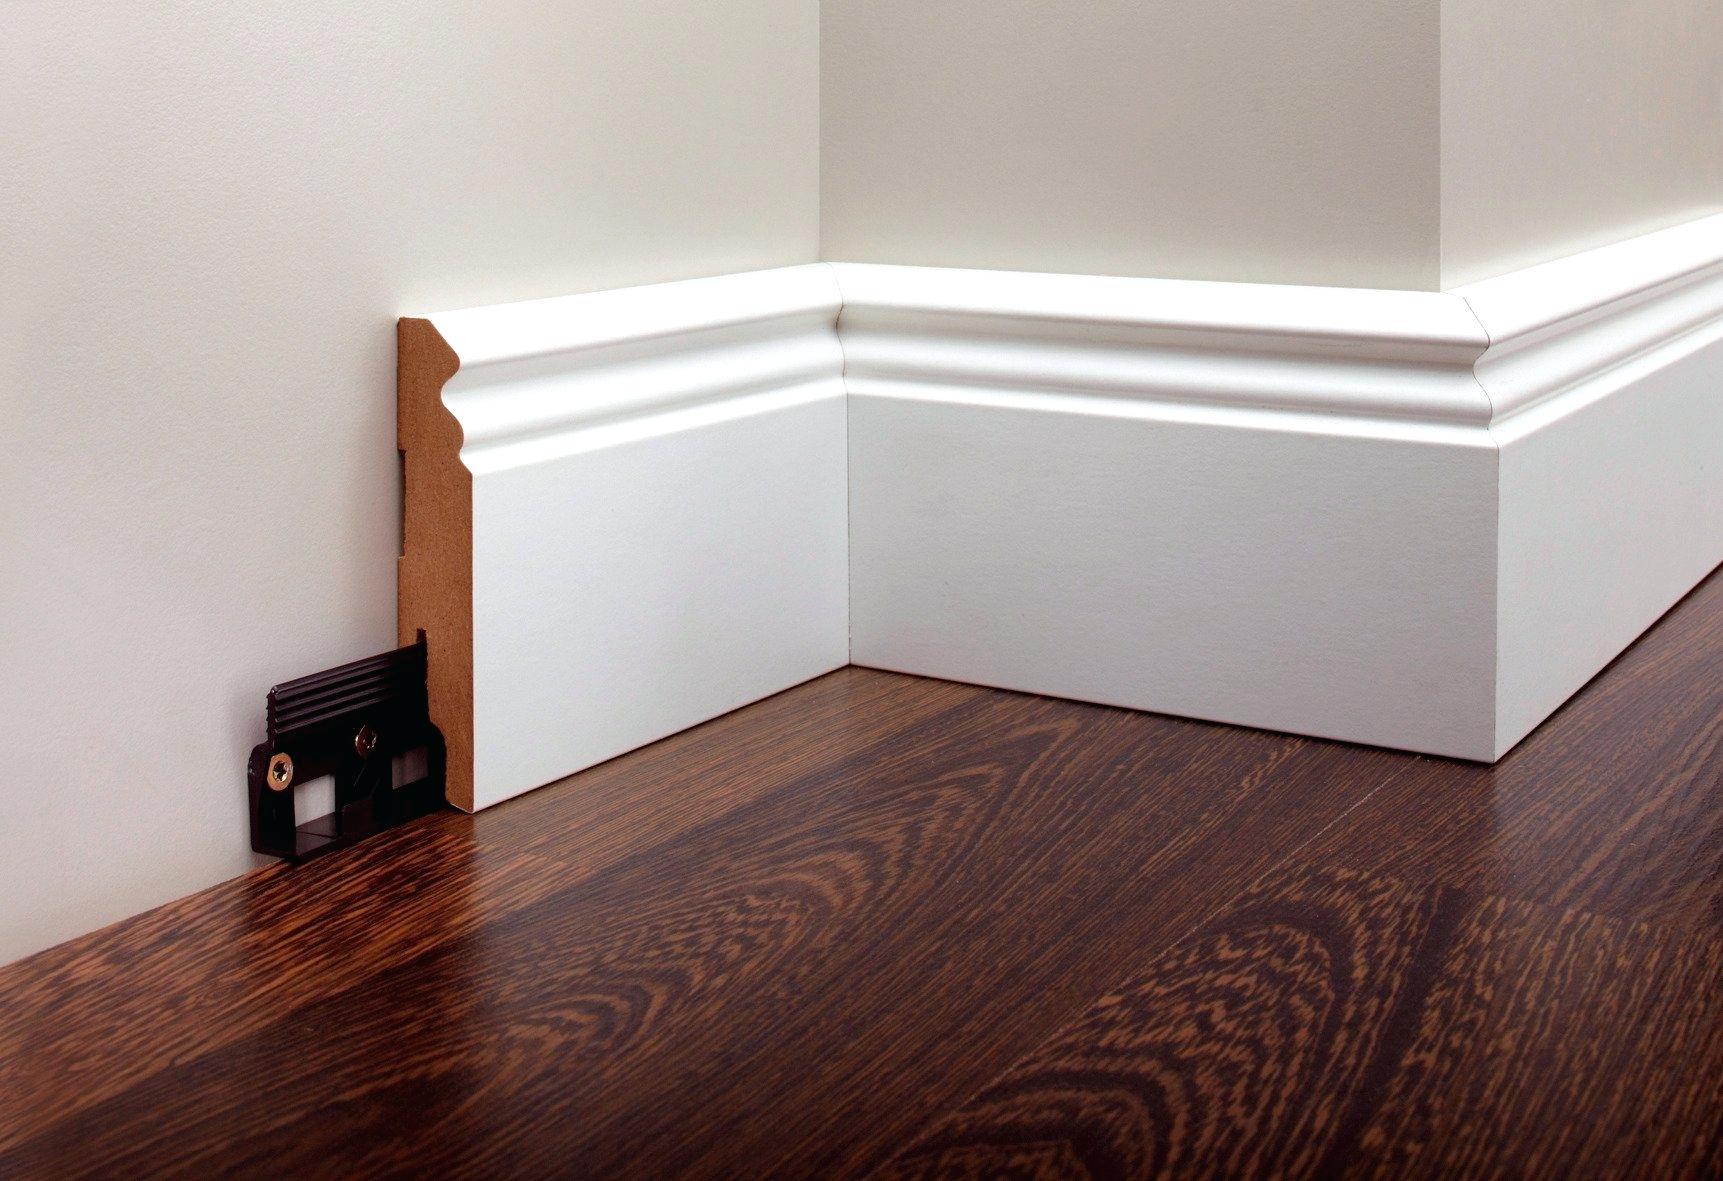
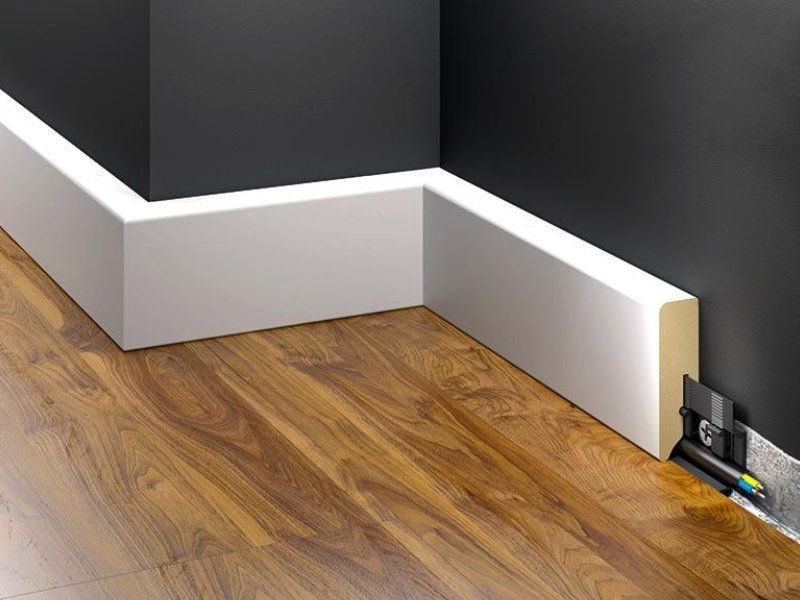
The installation work ends with the installation of the plinth. It allows you to give the design a complete and aesthetic look.
How to lay laminate flooring, see the video below.


