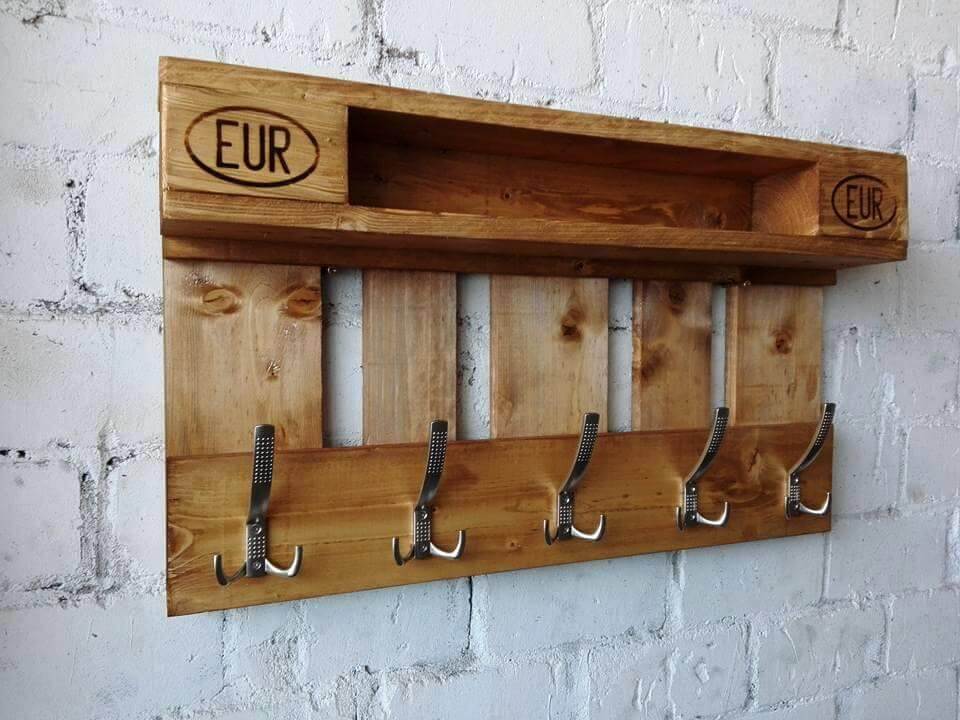
Making a wall hanger made of wood in the hallway with your own hands
A hanger is an essential element for storing things in hallways. Such designs can be created from various materials, have different shapes and colors. Often, these storage systems are made by hand. Today we will talk about how you can make a wooden wall hanger with your own hands.

Projects
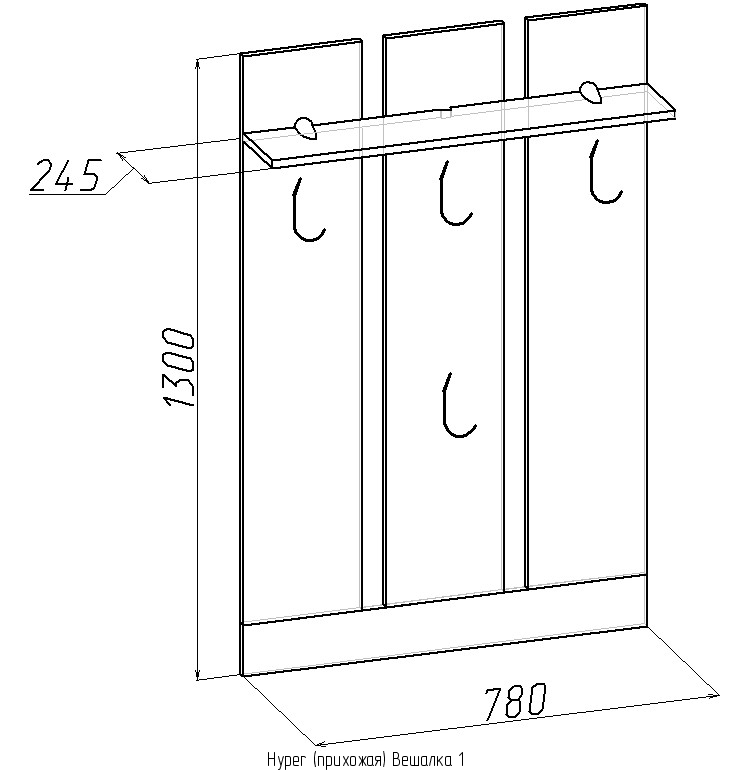
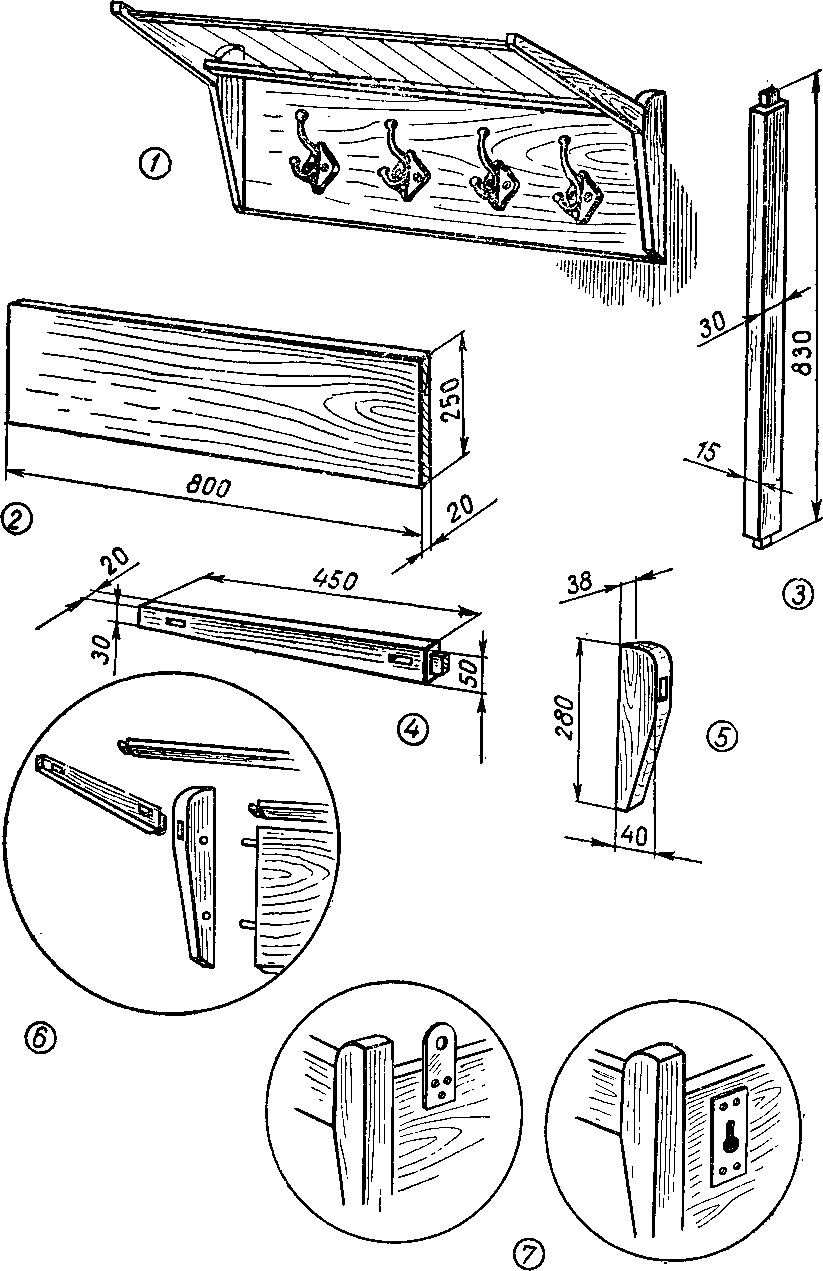
Before proceeding directly to the very manufacture of this structure for corridors, you should choose a suitable project. You can make a schematic drawing of the future wooden product yourself.
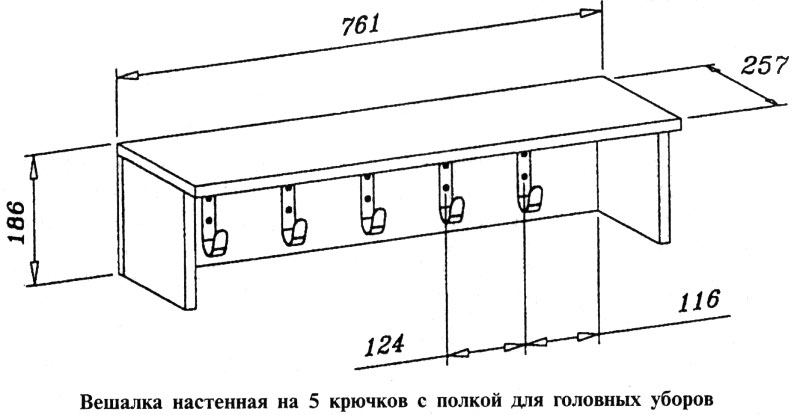
In the drawing, a sketch of the hanger should be reflected, it is also worthwhile to determine in advance all the dimensions and mark them. Calculate the amount of material required.
What is required?
Before you start creating a wall hanger made of wood, you should prepare all the necessary materials and tools:
- wooden blanks (their height should be 190-200 centimeters);
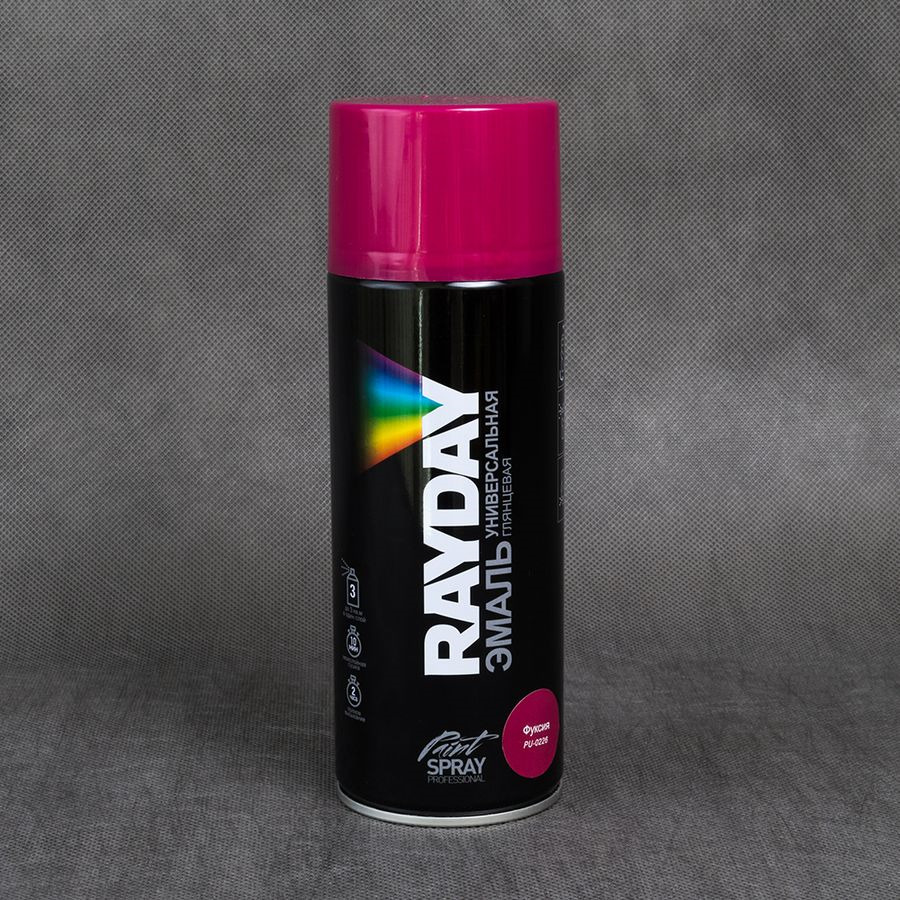
- paint (aerosol, acrylic);
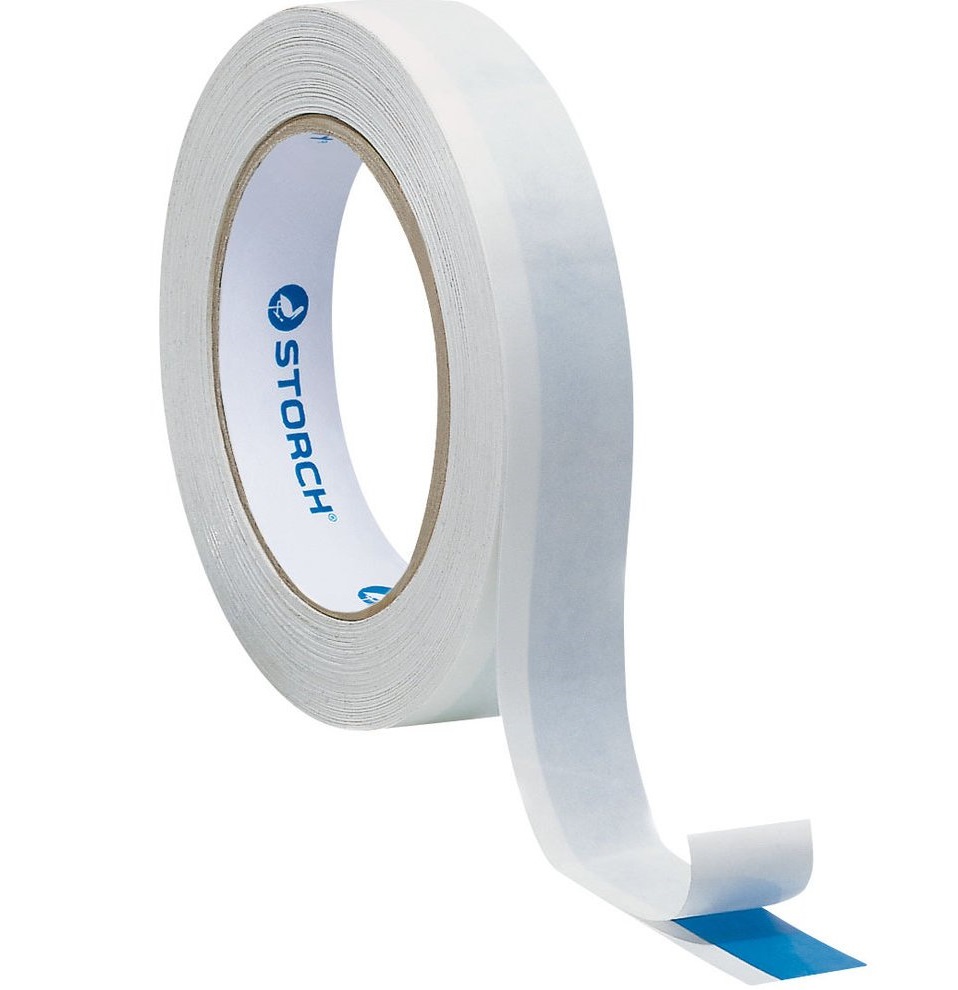
- masking tape for double-sided decoration;
- hacksaw for wood.

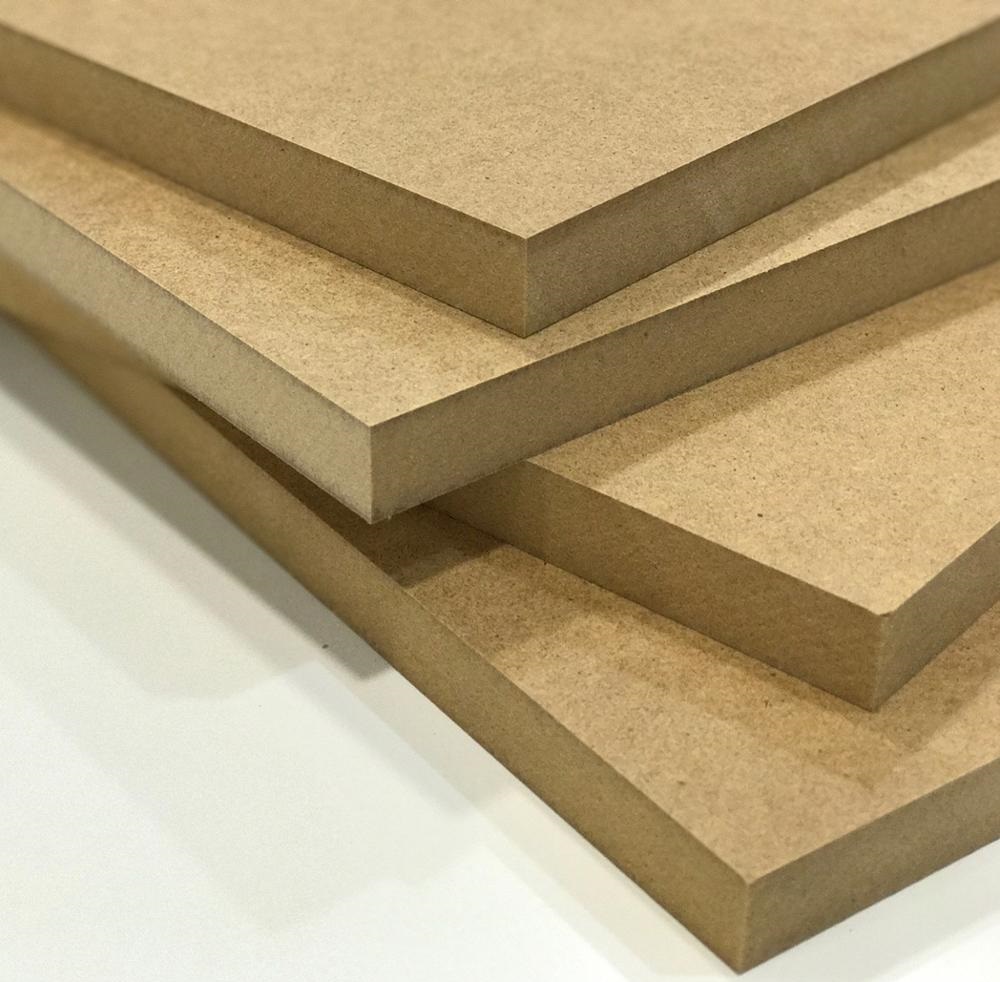
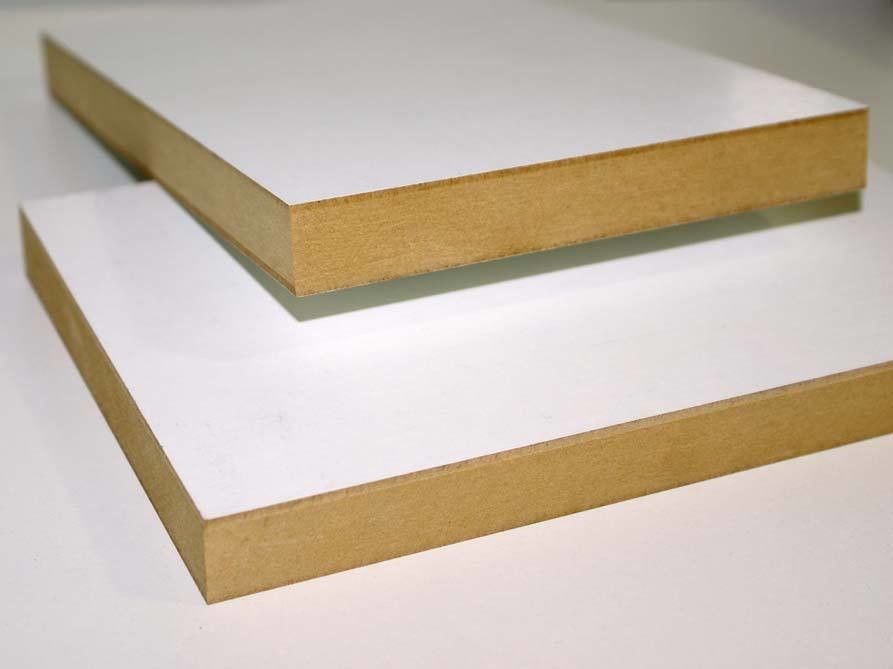
As a basis for making a wall hanger, you can take chipboard. This raw material consists of glued and compressed wood chips, which are covered with a special outer protective layer that imitates natural bases.

You can also take MDF. Such material is considered to be much more durable compared to the first option. It is produced by high pressure pressing. Small sawdust is taken as raw material. They are pre-mixed with an adhesive.
How to do it?
If you are planning to make a homemade wall hanger, you will first need to take wooden slats and paint them with paint of a suitable color. When painting in several layers at once, you can use double-sided tape.
If you use a composition from cans, then other surfaces need to be covered with a film so that the coloring matter does not get on them.
After the paint is completely dry, it is recommended to cover all this with a special protective varnish so that the coating can last as long as possible.
There are other options for the design of such wood supports.
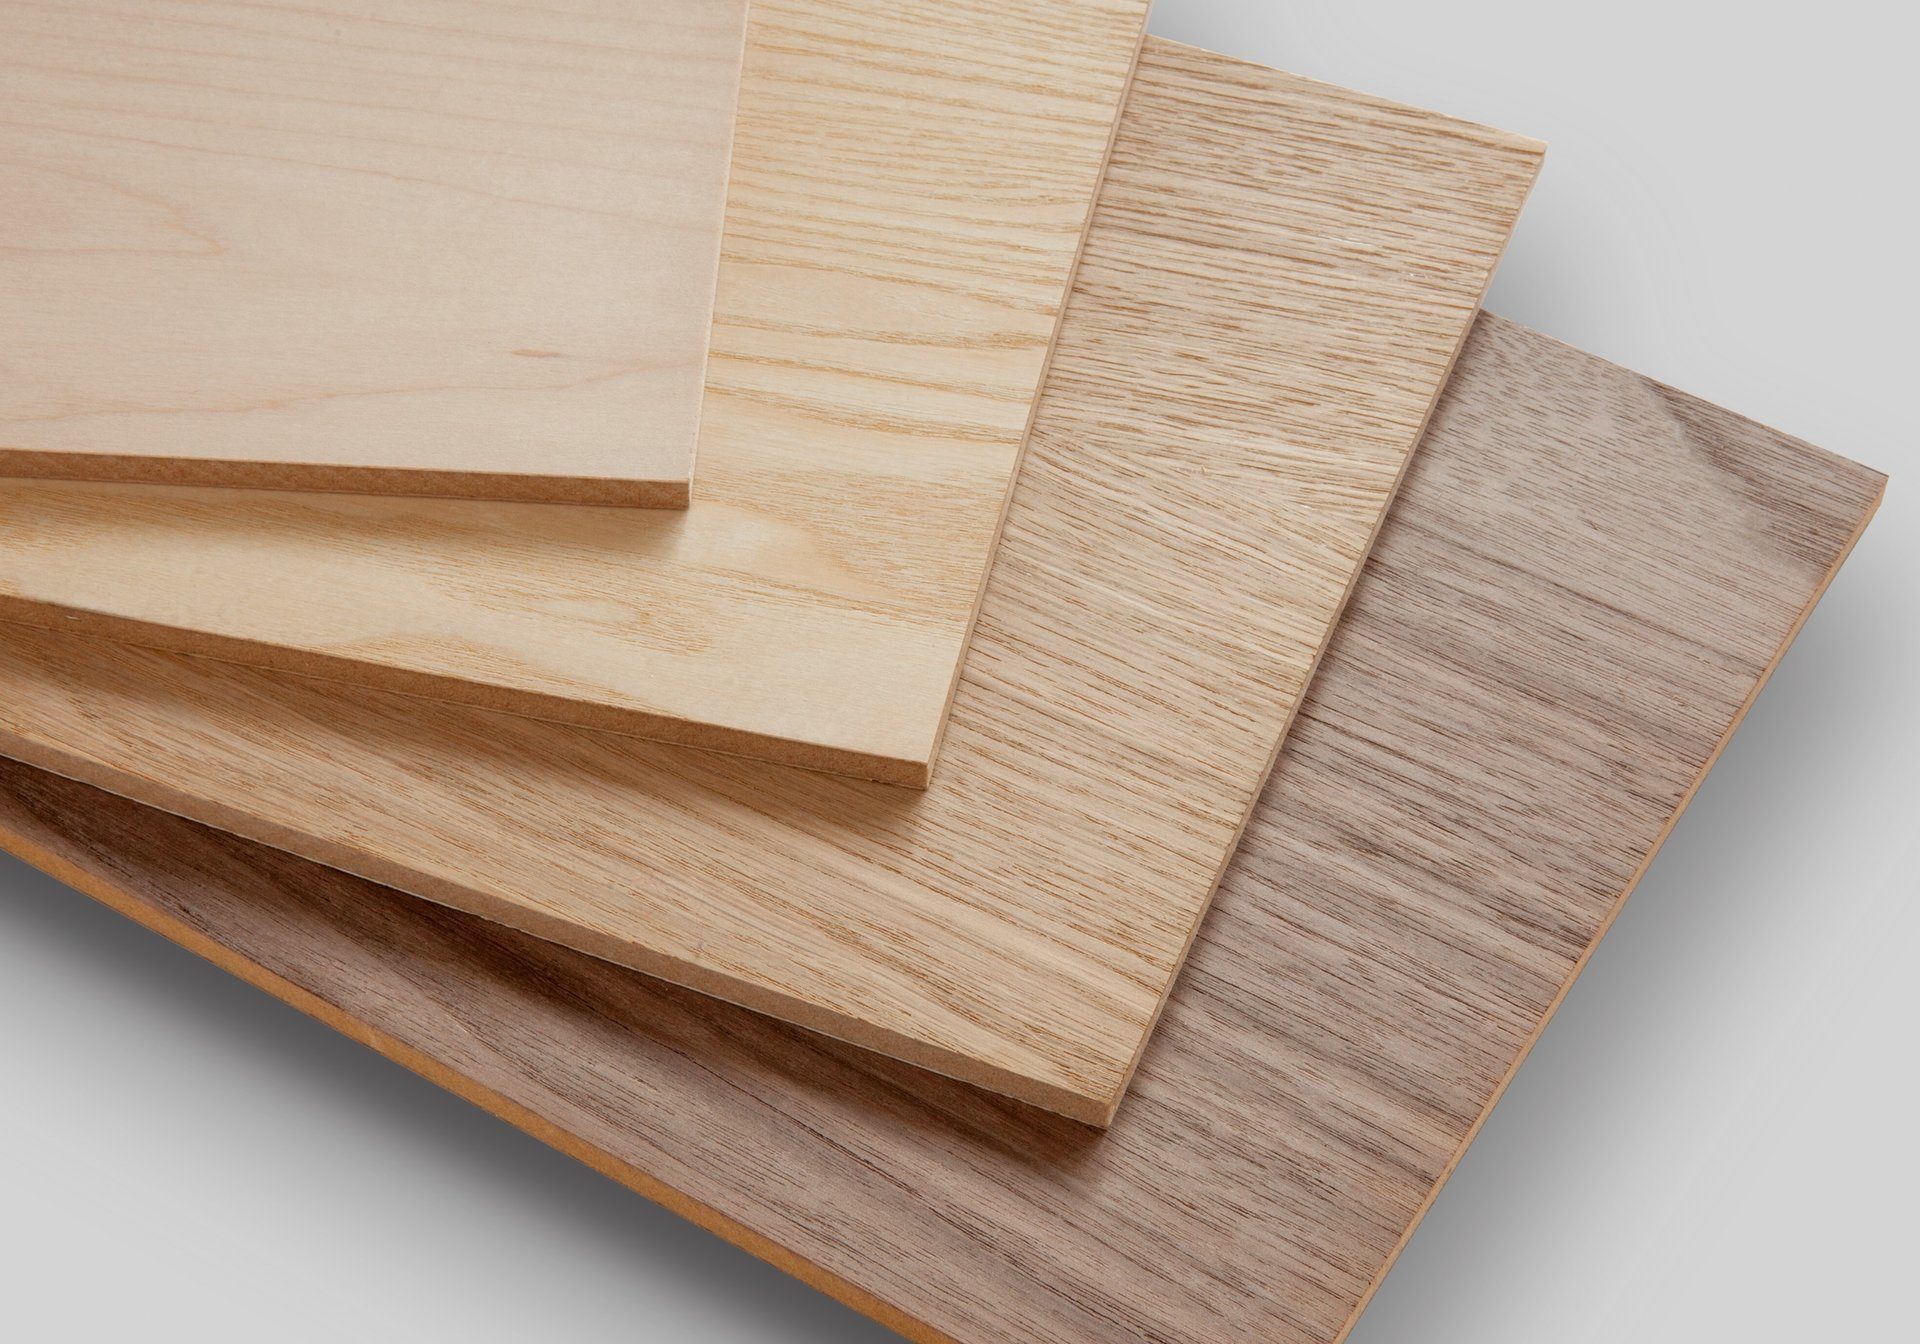
- Veneering. This procedure is the gluing of a thin layer of solid wood. After such treatment, the surface is almost indistinguishable from real natural wood.
- Lamination. With this treatment, a hard decorative film is glued under the influence of strong pressure. Lamination can only be used on chipboard. This coating will quickly fail if exposed to moisture.
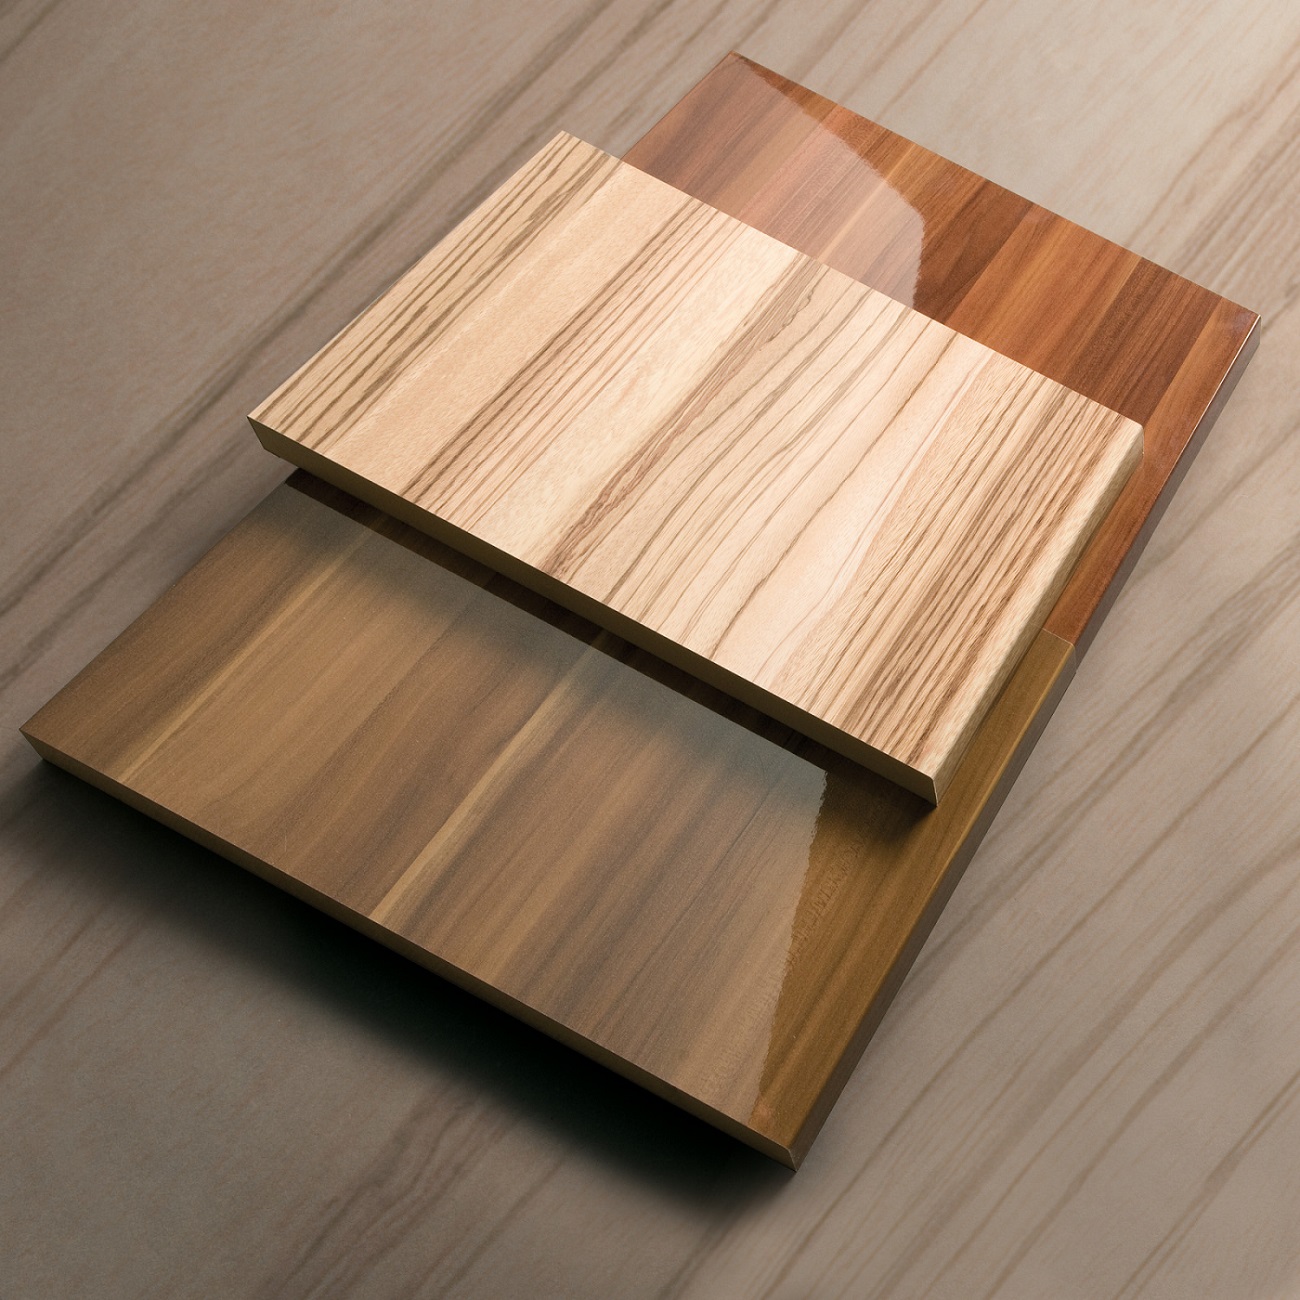
- Lamination. In this case, a special paper base is taken, any pattern you like is applied to it, which is then processed with a special melamine resin, which forms a strong and durable film. It is fixed to the surface by hot pressing. This film has excellent water-repellent properties.
Cutting slabs of glue and sawdust outwardly differs significantly from the front section. When creating elements of a wooden blank, they have to be cut off. The ends of the boards and beams should not be hidden, but it is better to hide the cut of the chipboard surface.
There are several simple options for how to make a DIY wall hanger.
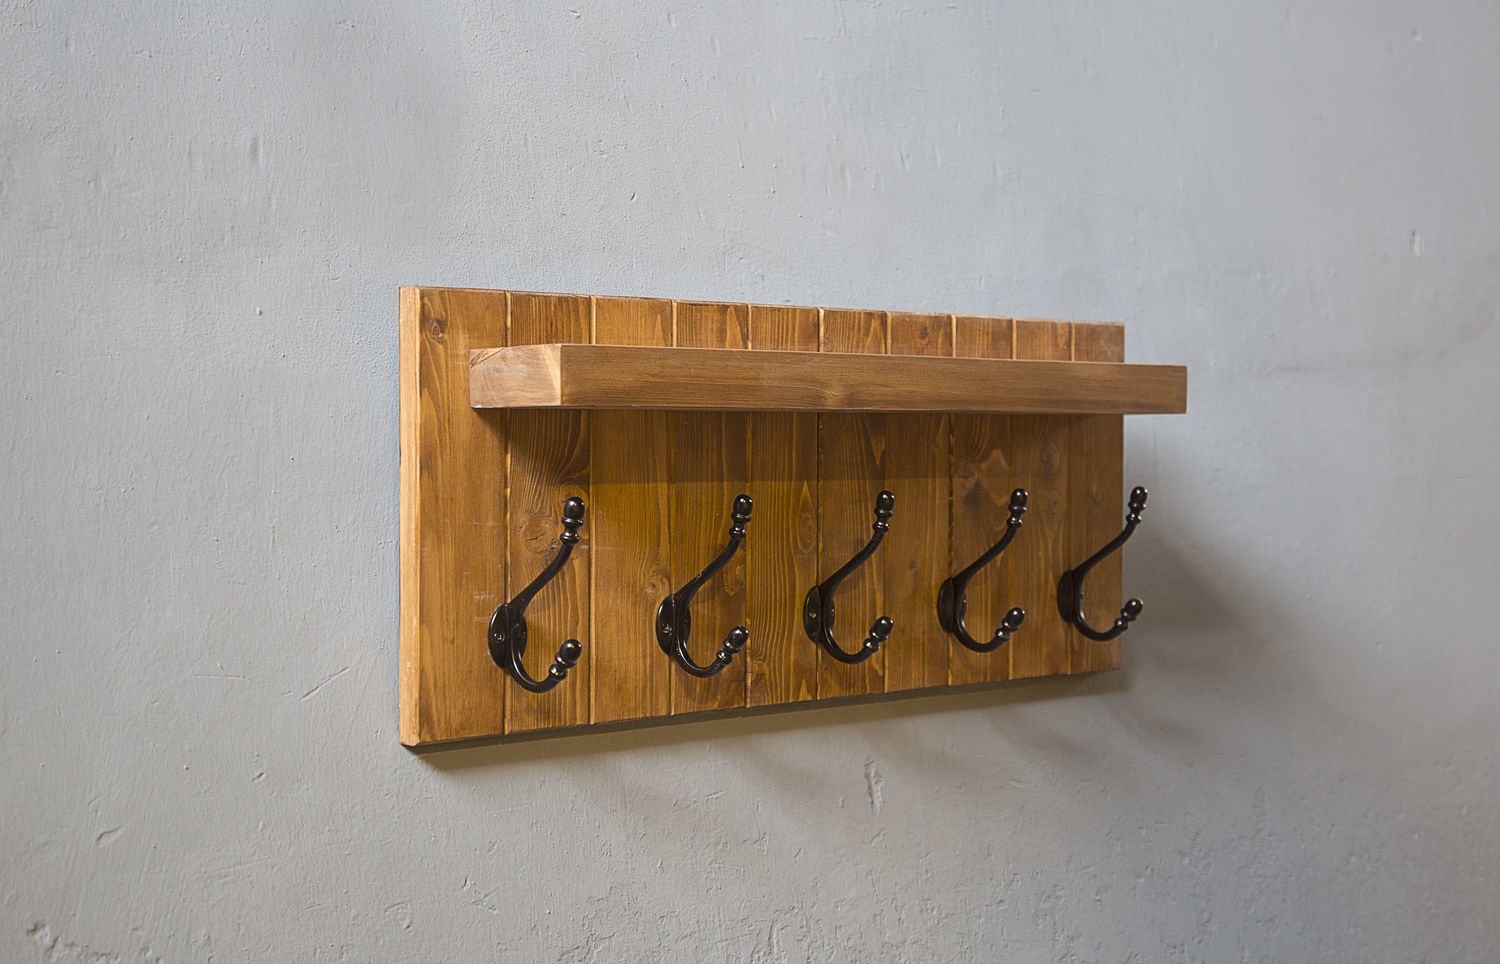
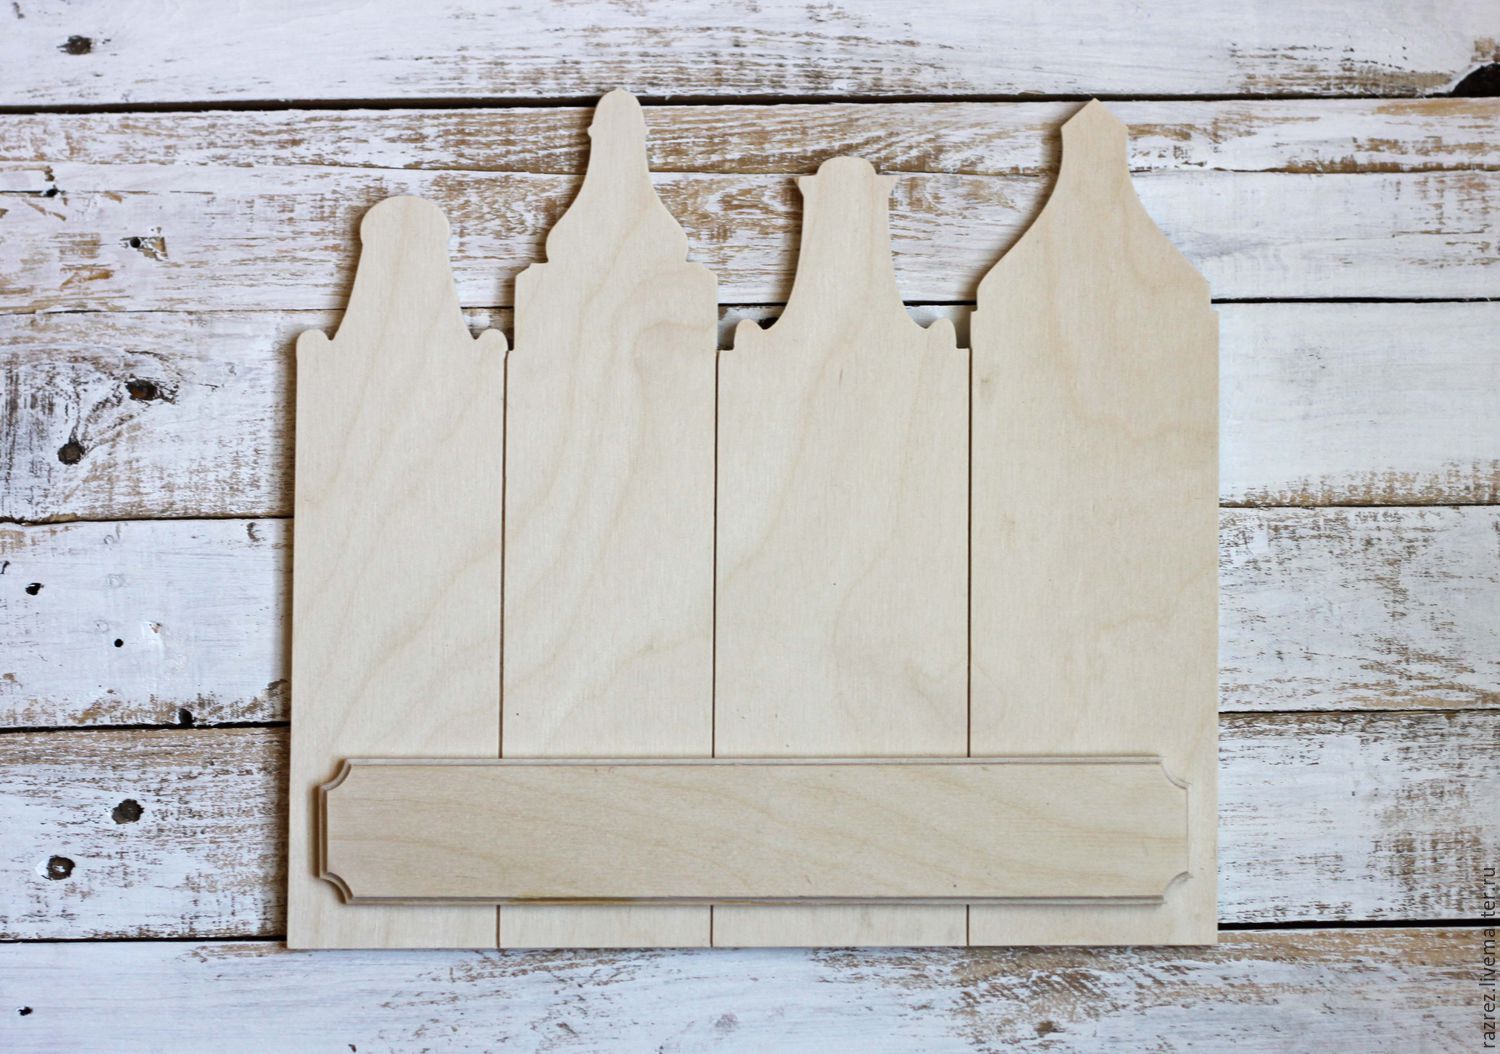
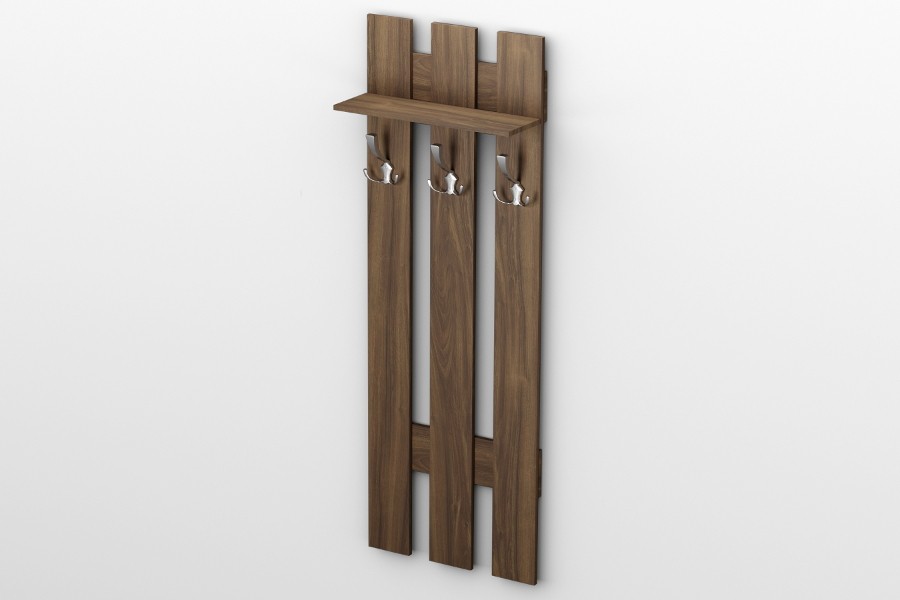
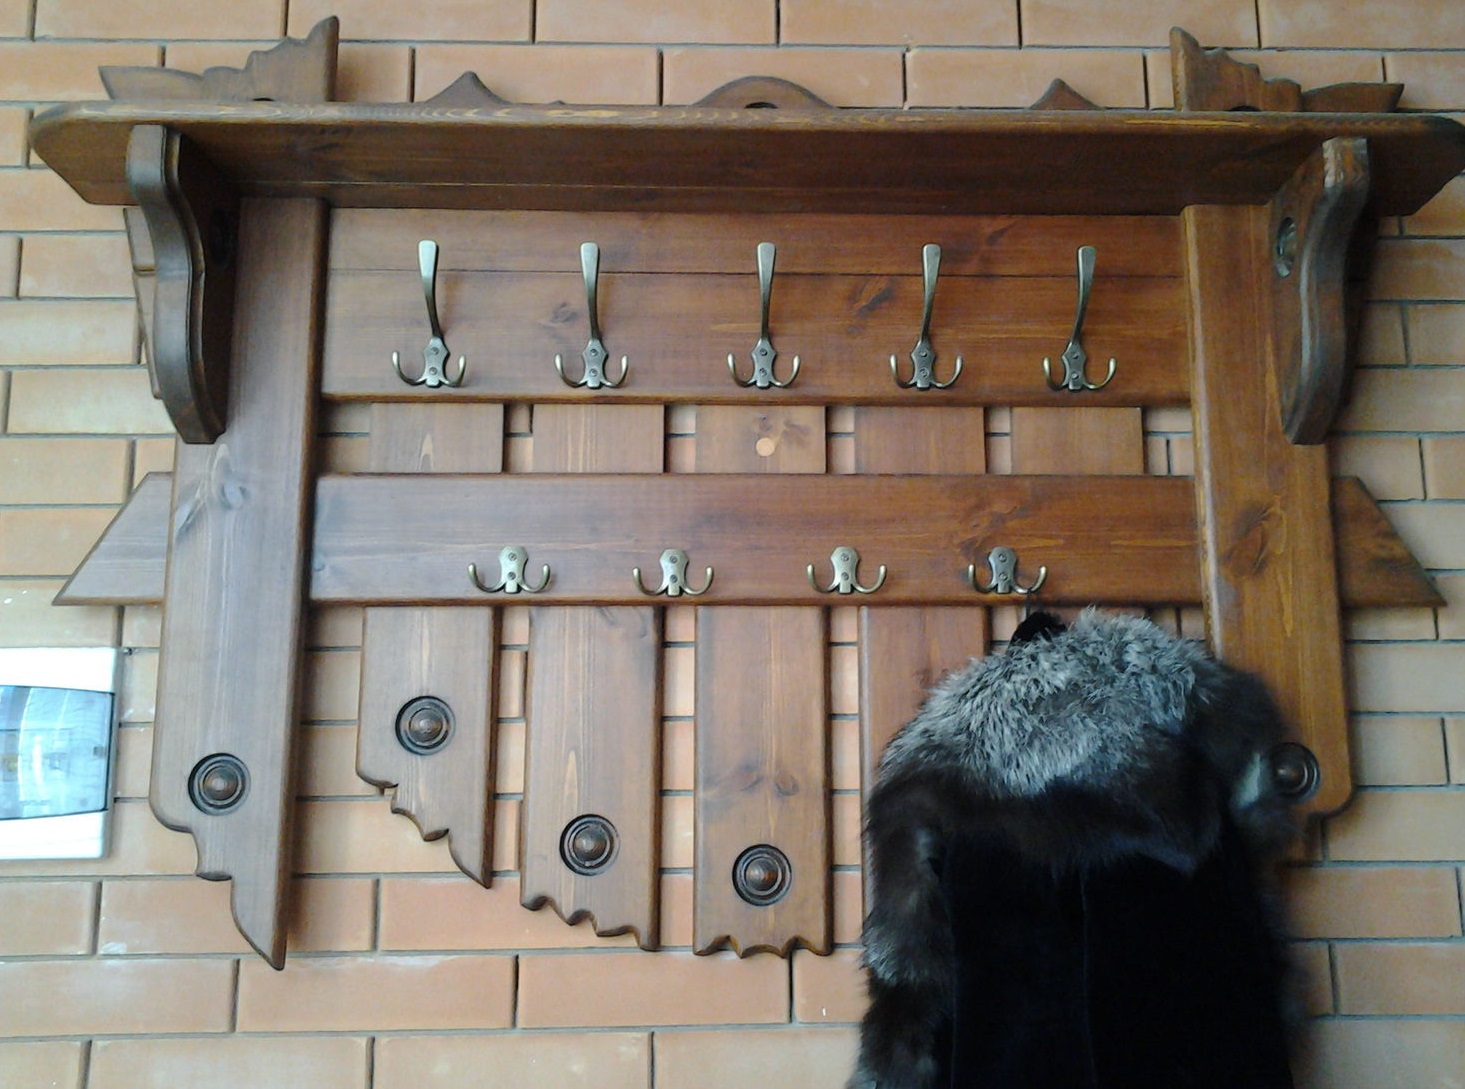
- Vertical shield. This design is a product going down from the shelf. It prevents garments from coming into contact with the wall covering.Its length may be small, but there are models in which the shield goes down to the floor. Often such hangers are made near the front door in the wall. The vertical shield can be made from both vertical slats and from one whole panel.
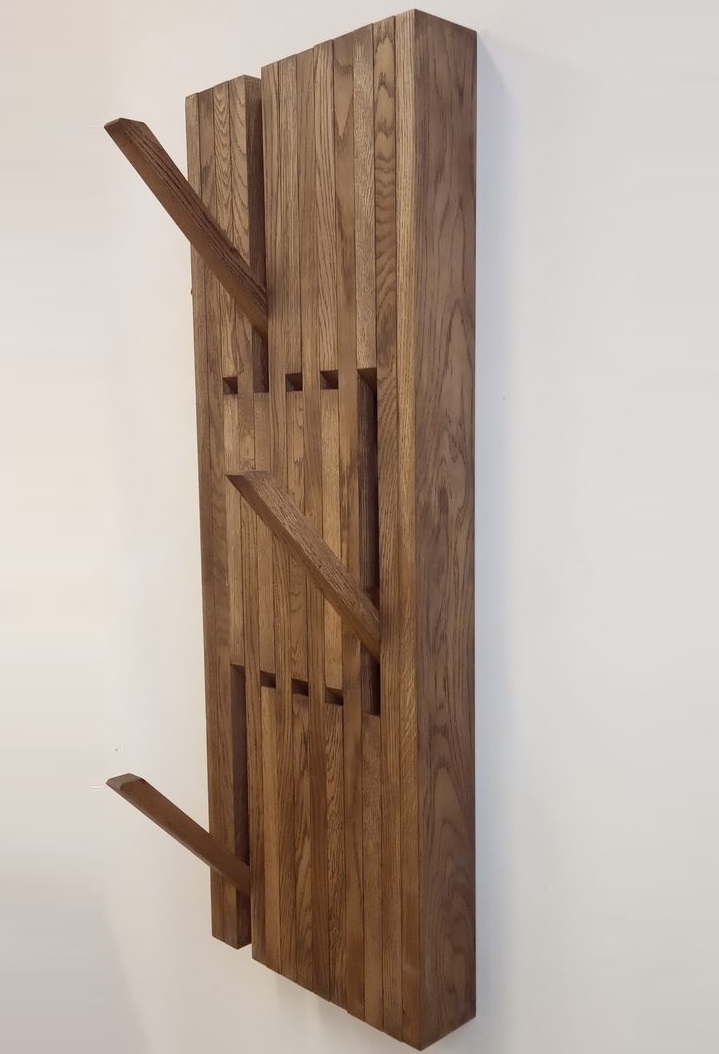
- Transformer shelves. These corridor structures consist of several vertical beams that are placed in parallel. At the same time, special convenient movable type hooks are installed between them. They are fixed on hinges, which are made of the same material as the base. Such details look like small reclining bars, the lower part of which rests against the wall. When folded, the hooks are easily transformed into one of the rows of beams.
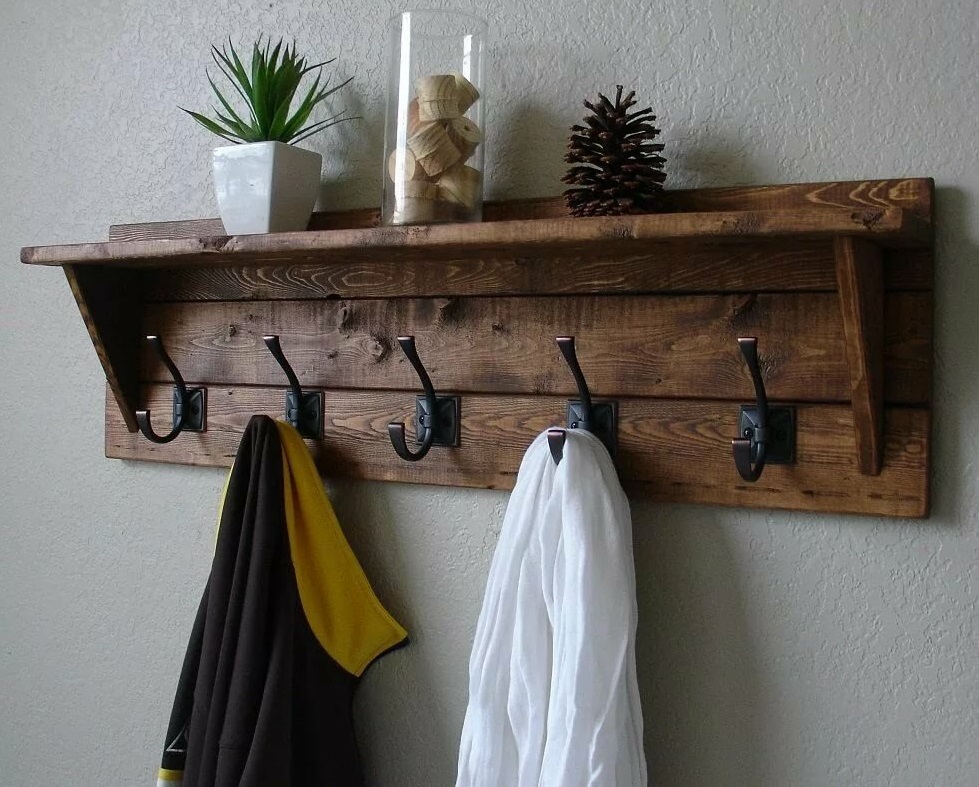
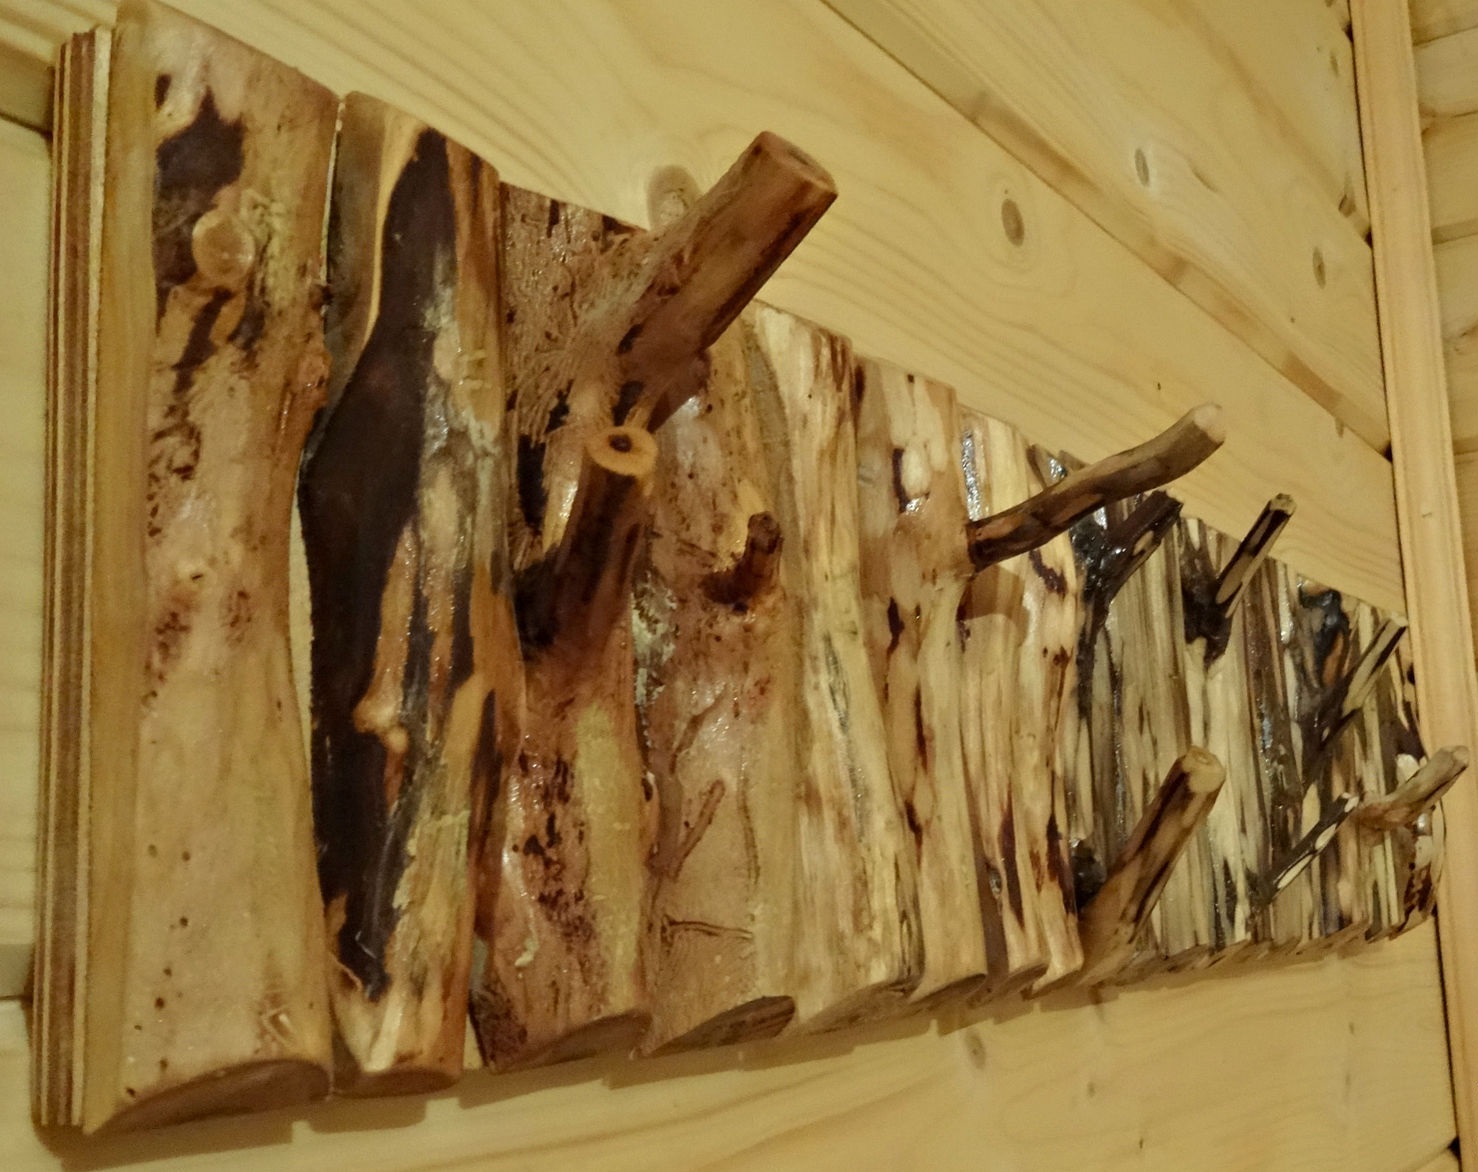
Often, to complement the interior of the hallway, beautiful homemade hangers made from a long and processed natural trunk with knots are hung there. This option will look pretty interesting and beautiful.
In this case, the wood base can be cut into several small pieces of equal length. After that, they are placed in place between the wooden horizontal slats, which replace the board. The resulting product must be thoroughly dried, sanded and coated with paint and protective varnish.
In any case, wooden blanks will need to be treated with special antiseptic compounds, which will make them as reliable and durable as possible.
Waxing can be used to decorate and protect wood surfaces. In this case, a layer of wax is laid on the product and all this is well polished. Such a composition is formed from beeswax. It is preliminarily completely melted and poured into turpentine. The whole mixture is thoroughly stirred and cooled.
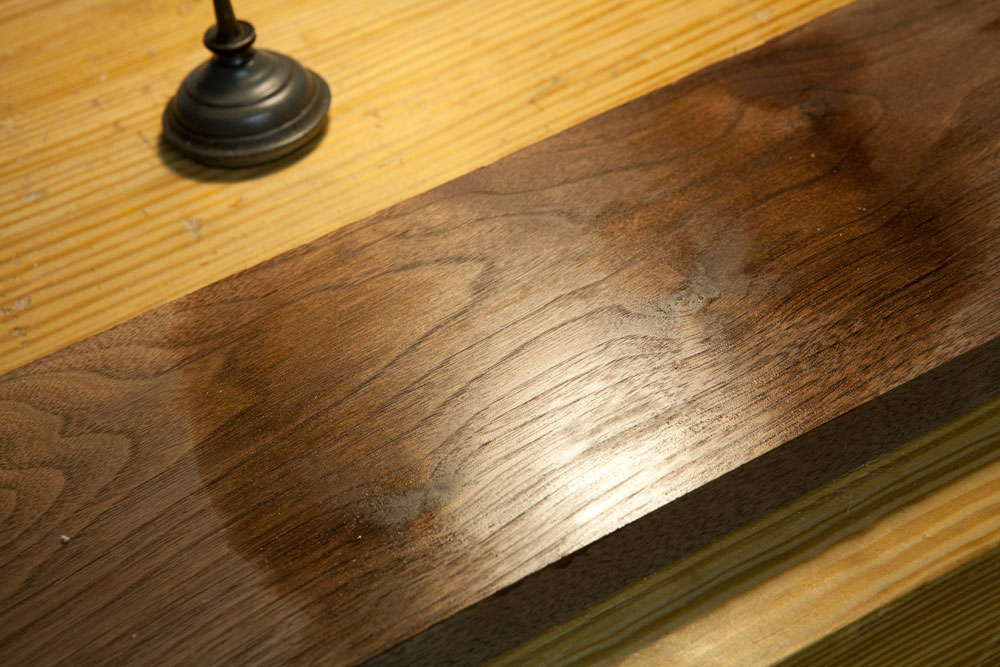
The finished composition is carefully applied to a clean, polished wood base. It can even be applied to varnish or paint. But at the same time, the temperature of the substance should not be higher than 25 degrees.
Sometimes workpieces are fired as well. This procedure will make the drawing on the tree much more expressive and beautiful. At the same time, its structure will acquire maximum resistance to moisture and various bacteria. But it is worth remembering that only conifers are worth burning.
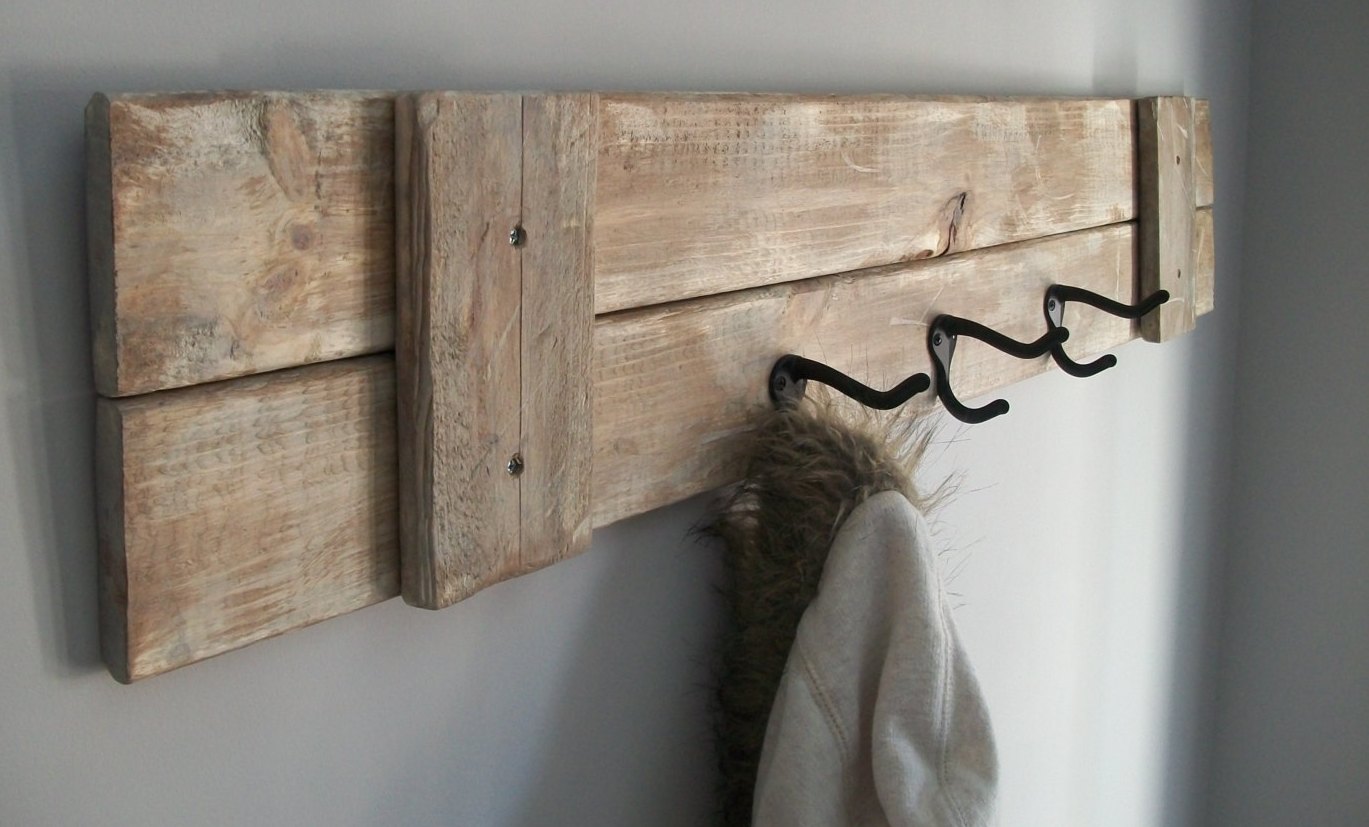
If you use old boards as a base, then in advance their surface is sanded, removing the upper darkened layer. All parts are dried in advance at room temperature.
For other nuances of making a wall hanger, see the video below.


