We make a hanger in the hallway with our own hands
The hallway should be equipped so that the room is comfortable and at the same time gives the most accurate description of all housing as a whole. Any interior design can be supplemented with practical and original clothes hangers. The modern market is full of options in wood, plastic and metal. When choosing, you should pay attention to reliability, environmental safety, long service life, strength, beautiful appearance. And if there is no suitable option, then you can make the desired hanger with your own hands.

What do you need to work?
The types of hangers are very different, which affects the materials from which they are made. Nowadays, it is completely easy to find everything you need to assemble any structure. If you have developed creative thinking, you can use natural materials, as well as various objects. Use metal, wood, or some kind of plastic as a base for the hangers. To work with the latter two, you will need the following tools.
-
hacksaw or jigsaw for sawing off parts of the desired size;
-
a blowtorch is needed when working with both wood and plastic;
-
sandpaper is necessary for cleaning parts;
-
a screwdriver and self-tapping screws or a hammer and nails will be needed to connect the parts of the hanger, as well as fix it to the wall;
-
a set of screwdrivers and an awl can be useful at different stages of creating a hanger;
-
a simple pencil is needed for drawing markings;
-
a tape measure or ruler will help you take accurate measurements;
-
the board will be needed to simplify the organization of hangers;
-
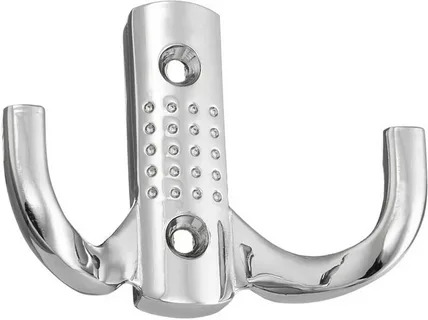
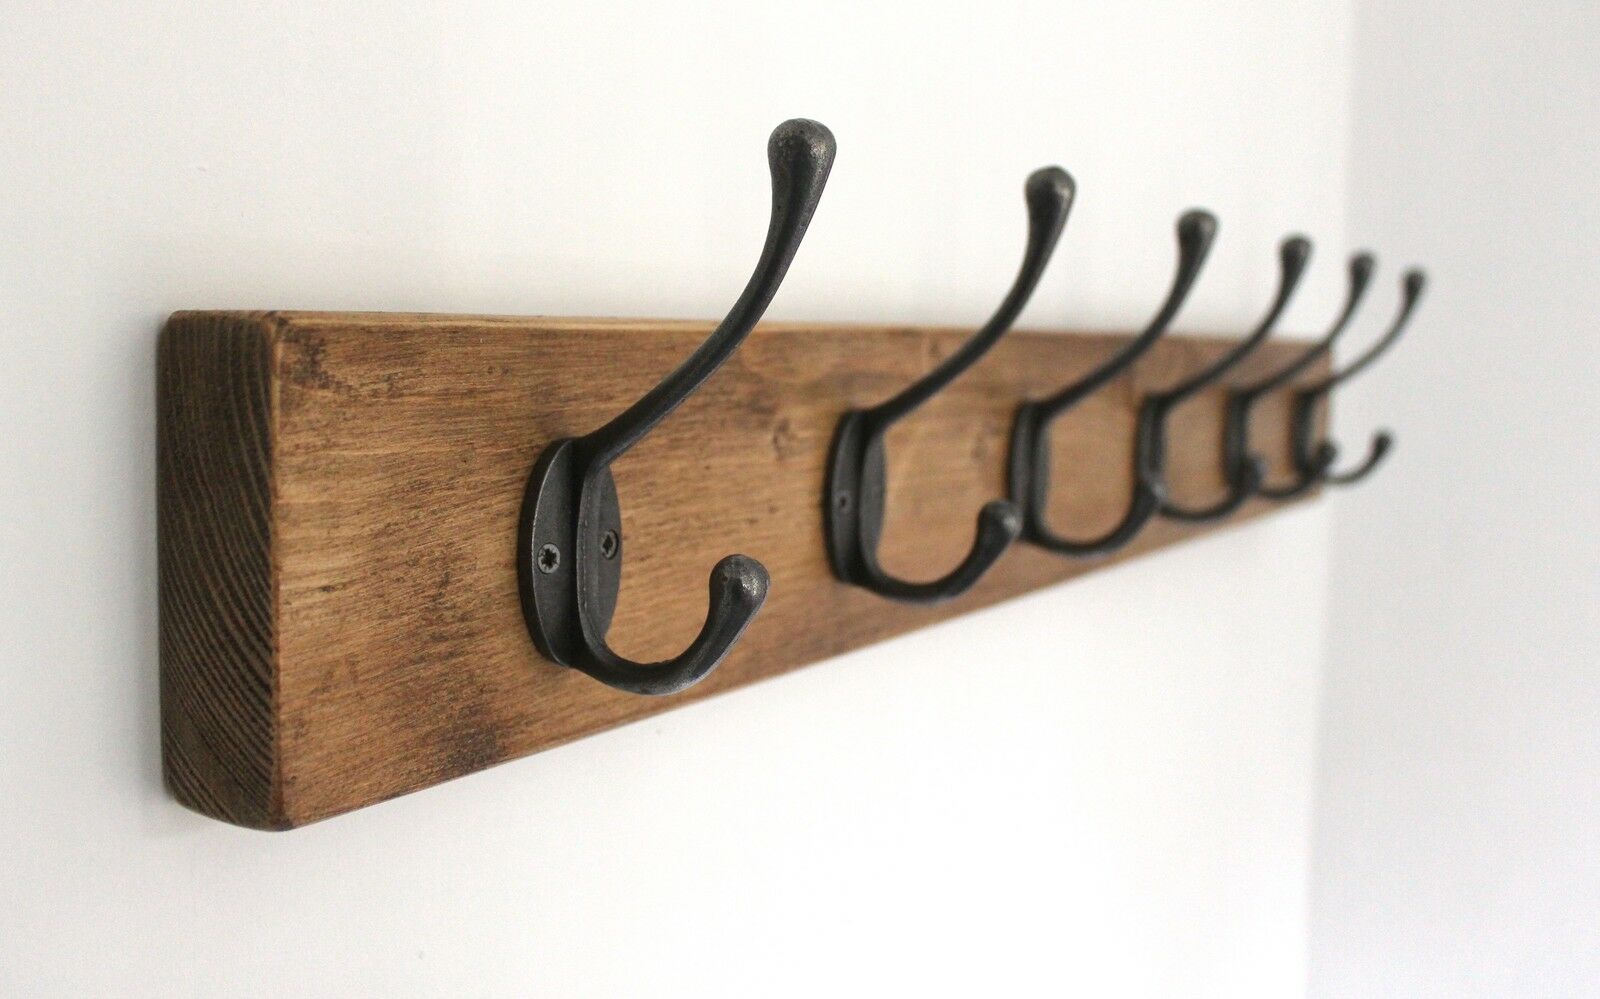
hooks are convenient for placing things;
-
for decoration, a primer, varnish or paint, a roller, a brush, and decoration elements are useful.


It is worth noting that metals are more difficult materials to work with. And not everyone can work with them.
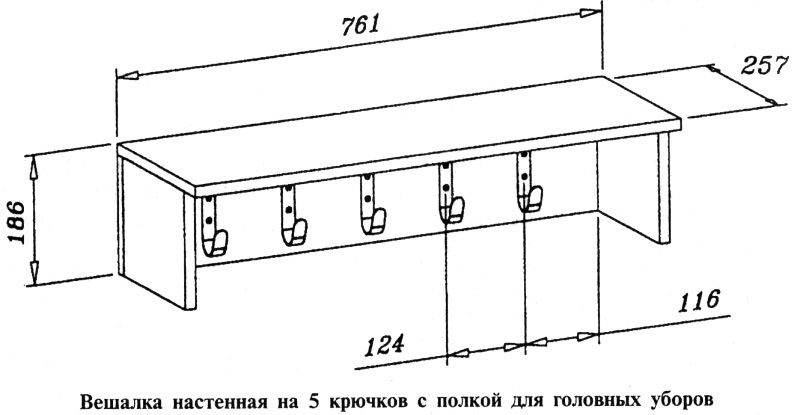
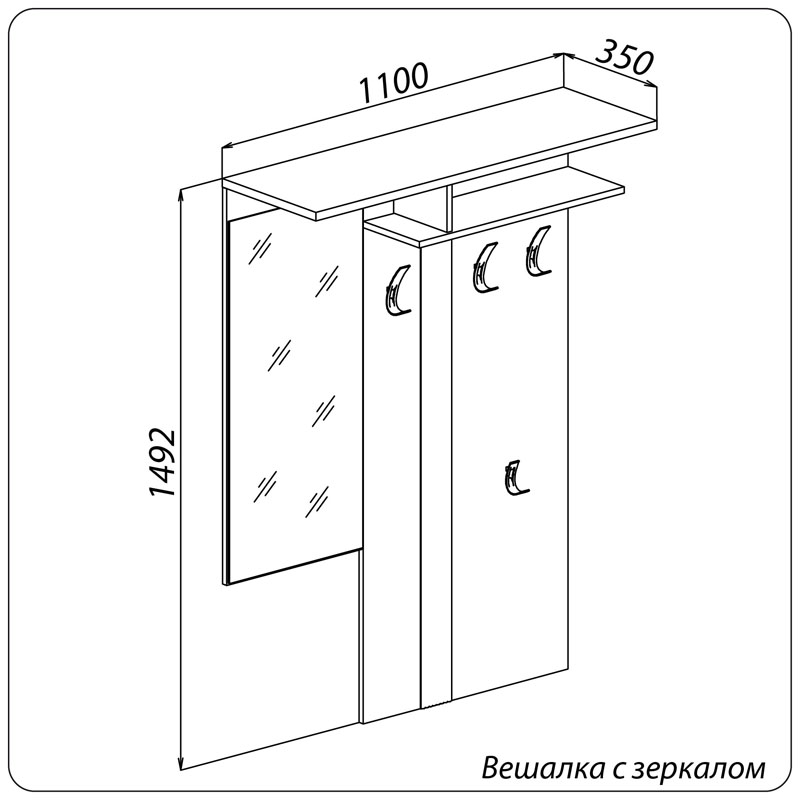
Schemes and drawings
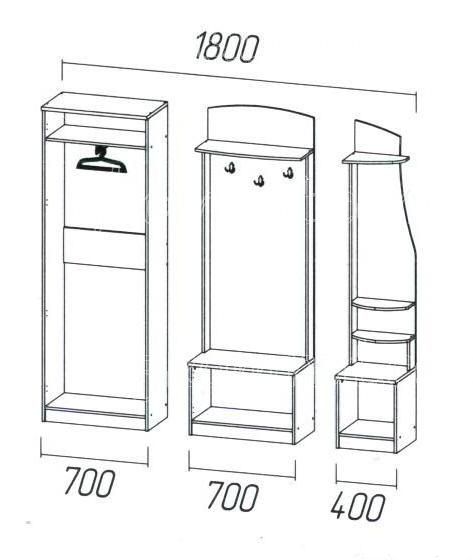
Before drawing up a drawing of a clothes hanger, you should decide on its shape and evaluate the size of the hallway or corridor. For example, in an oblong room it is better to place a long structure with shelves. In small rooms, compact models are optimal.
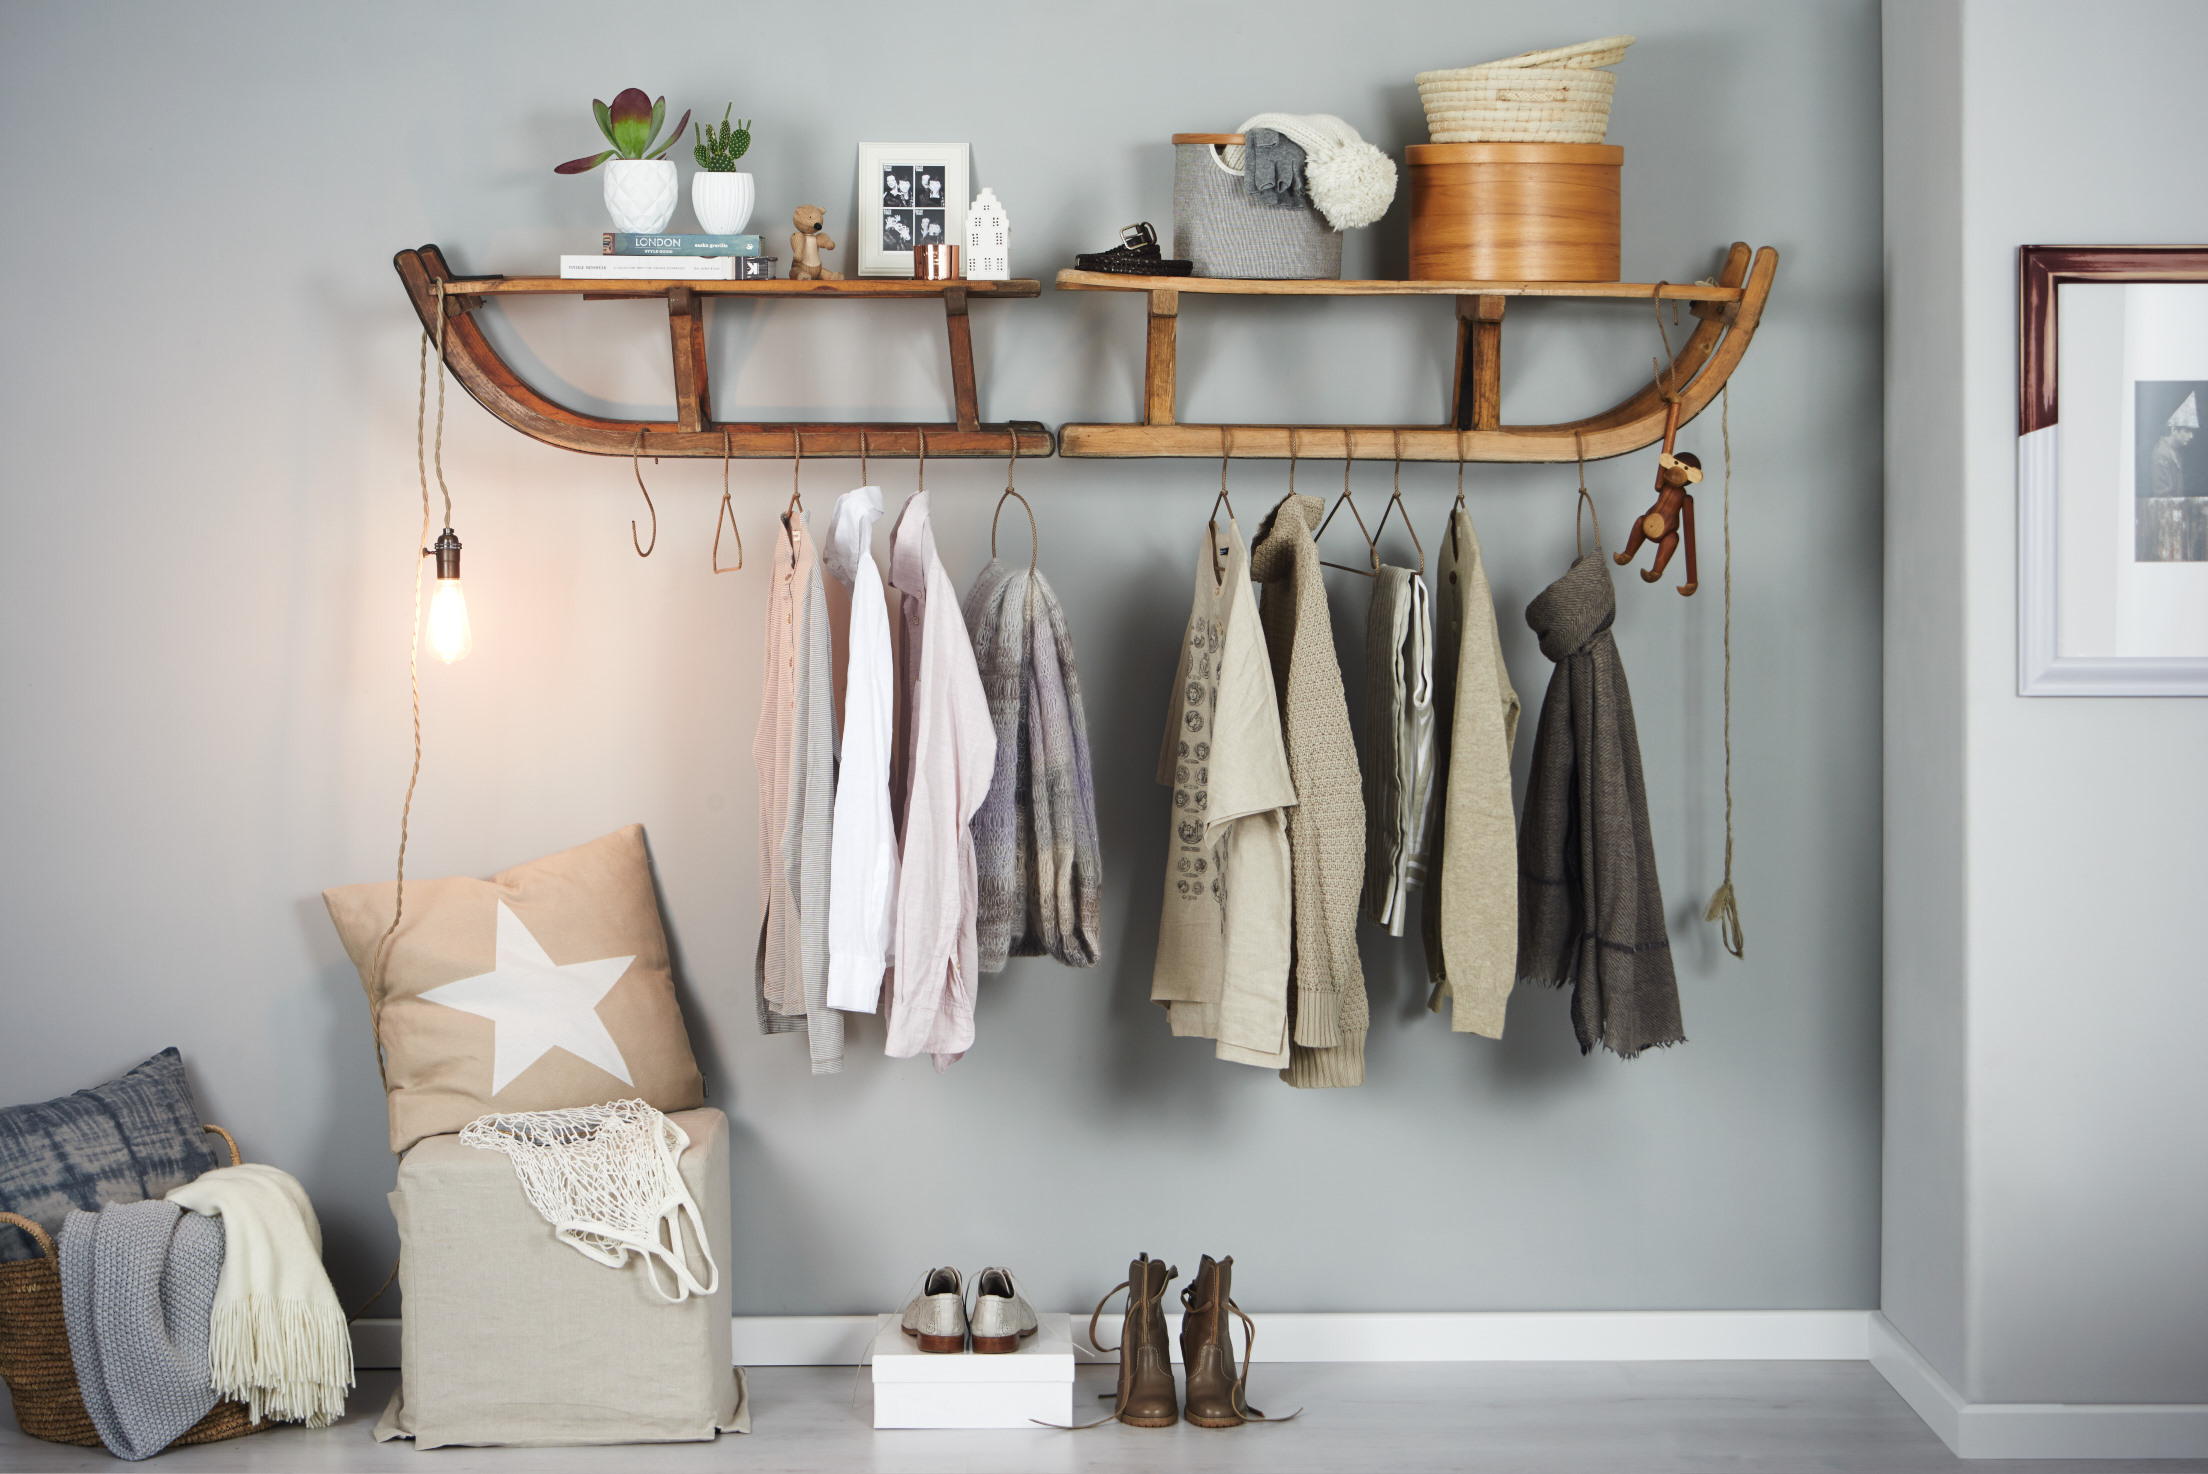
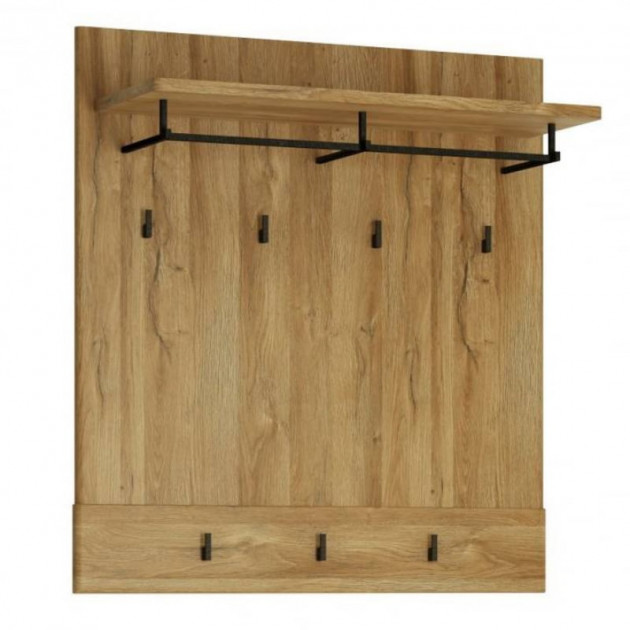
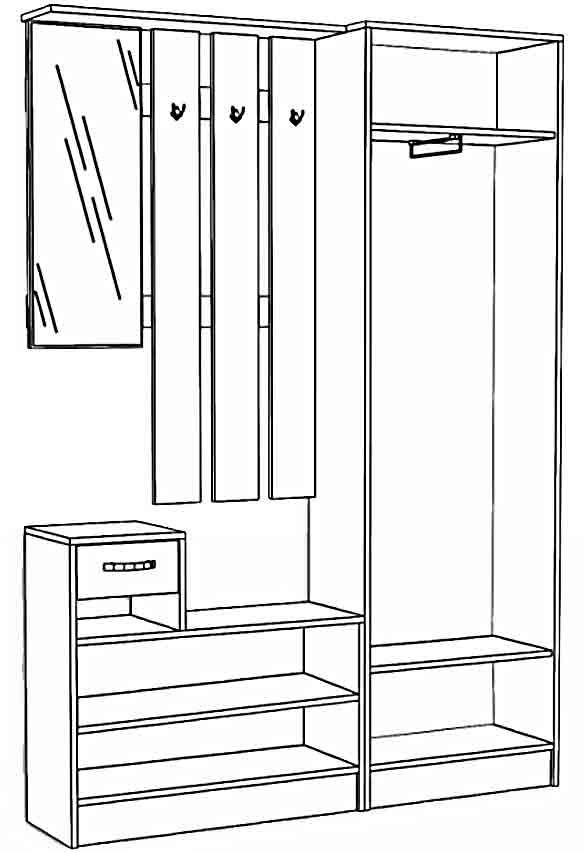
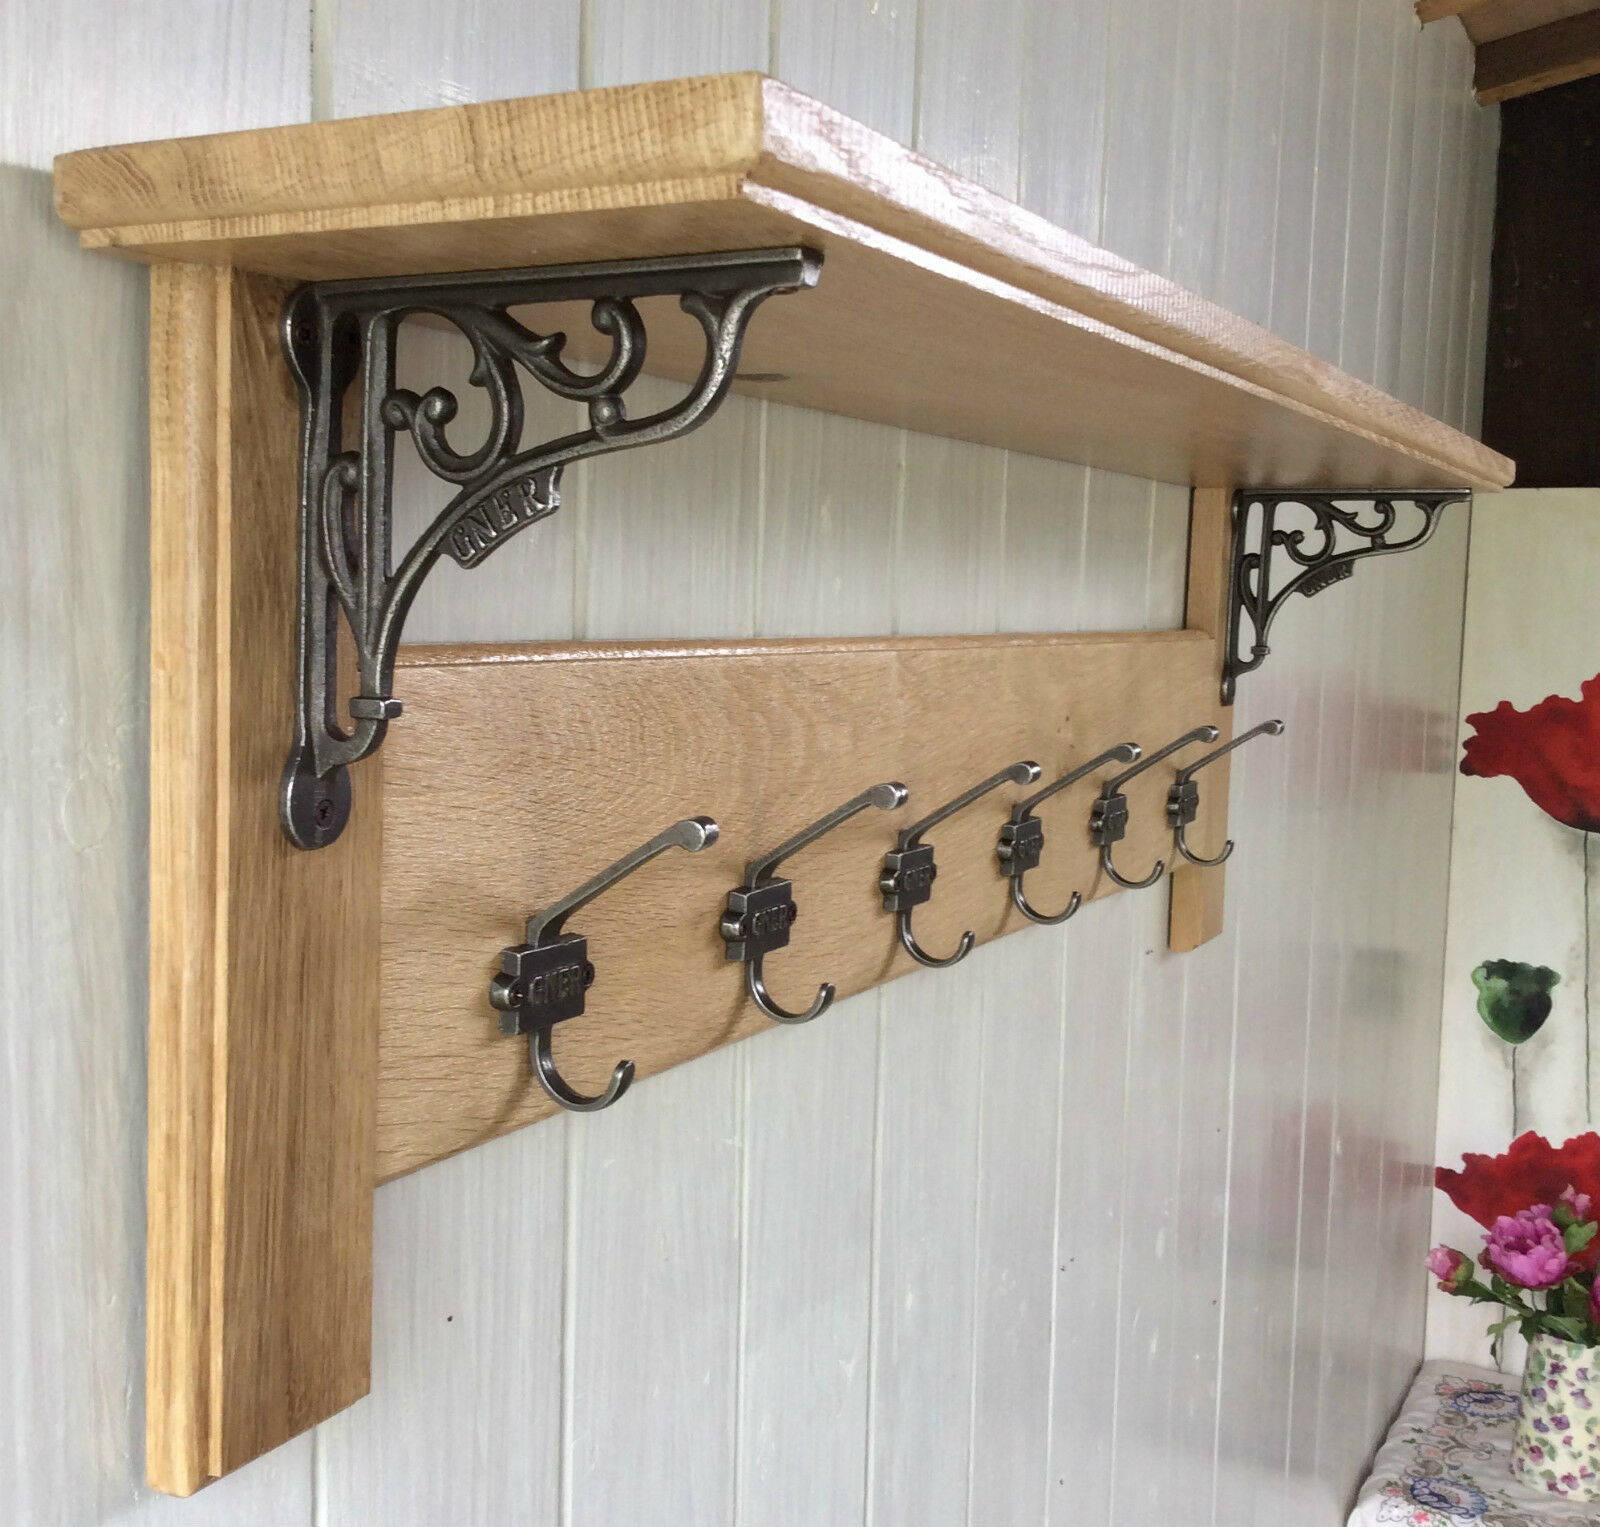
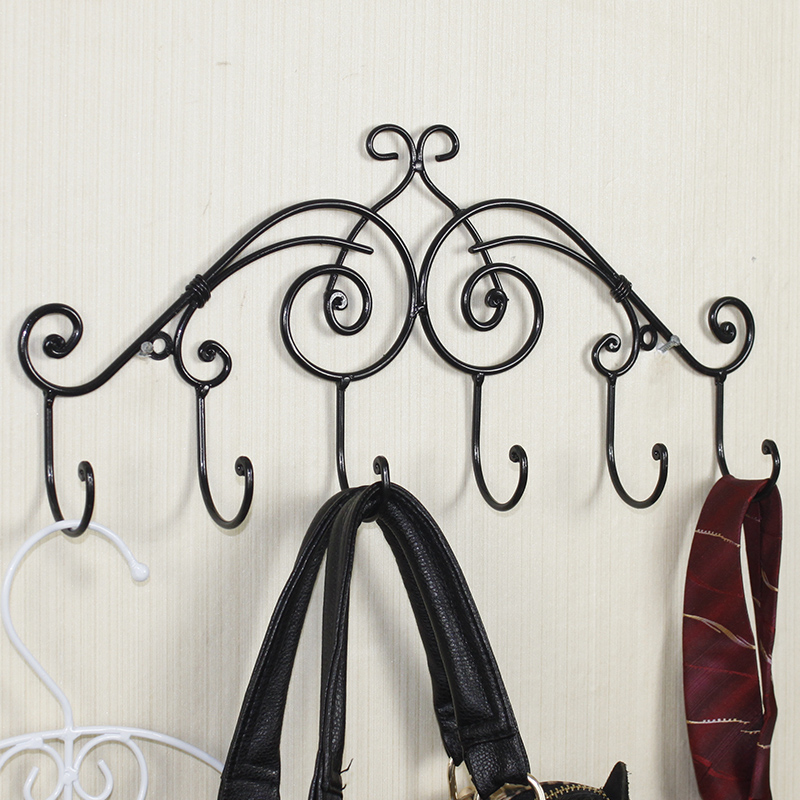
The simplest version of a corridor hanger is a board with hooks attached to the wall. You can also arrange the side and top shelves with your own hands, which are suitable for hats, scarves, and various accessories. A mirror can be used as an additional element. In this case, the form of the structure is chosen in accordance with the interior and your own wishes.
For example, for office space, it is better to choose a hanger with straight lines in a classic style. In this case, it is preferable if additional elements will be absent.

At home, you can experiment with original options that will appeal to all family members. It is very convenient if the hanger is designed as an open mini-wardrobe. In this there is a place for outerwear, and for shoes, and for various useful little things.
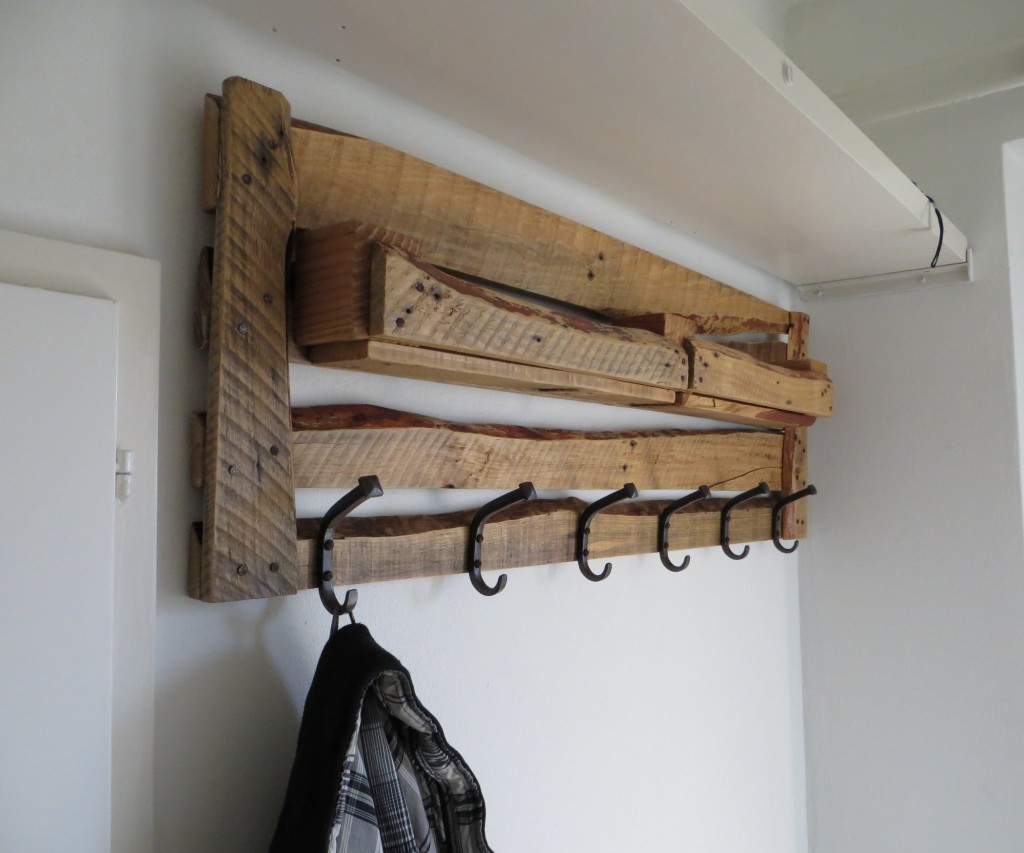
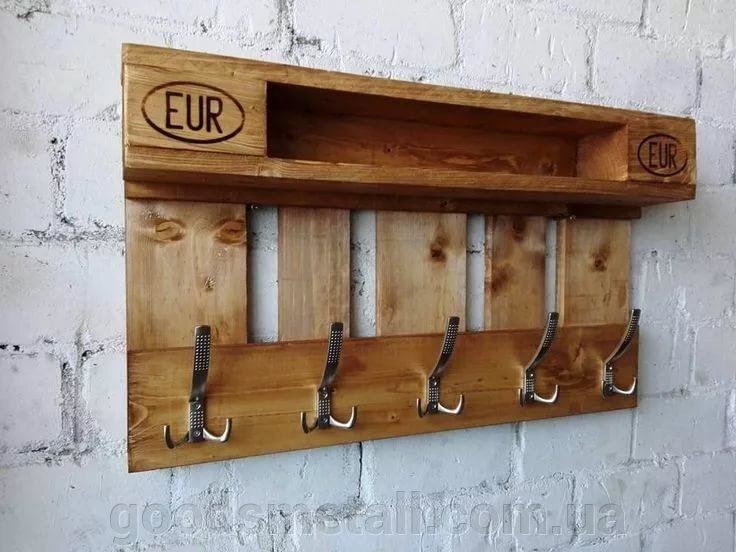
Making a hanger made of wood
Wood is a great material for crafting and crafting hangers. It is quite easy to make a standard model yourself in a short amount of time. It is desirable that a design drawing be made in advance. Further, it is enough to adhere to certain work steps.
-
On the platform, which is stable, a board, rail or chipboard sheet lays down. Marking is applied to it, according to the one on the sketch.
-
Along the lines drawn, cuts should be made using a saw to form the supporting part of the hanger.
-
After that, using sandpaper, the cut plane is cleaned, as well as the edges of the workpiece.
-
Further, the details of the structure are processed using a blowtorch or stain. You can also apply a pattern by burning. The top can be coated with paint or varnish.
-
At the next stage, they are connected into a single whole in accordance with the drawing.
-
The hanger is now in place. This can be a floor version or hanging on a wall using hinges or holes in the base of the structure. It should be noted that the second option is more sustainable.
- Final work includes fastening the hooks made of metal or plastic. This is done on a basis, as planned by the manufacturer. The most effective way of fastening is using self-tapping screws. You can also use magnets, adhesives, vacuum suction cups. However, such options are weaker and are only suitable for light garments and hats.
- To get a high quality fixing, you can also use fixing with wooden rods. As a rule, options are used with a length of up to 10 centimeters and a thickness of one centimeter. Holes with a depth of one and a half centimeters are made on the frame along their diameter by drilling. Glue is applied to their base, and then rods are inserted into them. At the end of the glue hardening, the structure is completely ready.


Important: when creating a wooden hanger, use only well-dried wood. If you make a frame from raw wood, then it will dry out after a while. As a result, the details will decrease in size, and any indentations will become larger. The hooks will fall out, and thus the product will become unusable in a short time.
It should be emphasized that wood is a high-quality and durable material that is widely used in everyday life. An interesting addition to such a hanger will be copper or mirror elements.


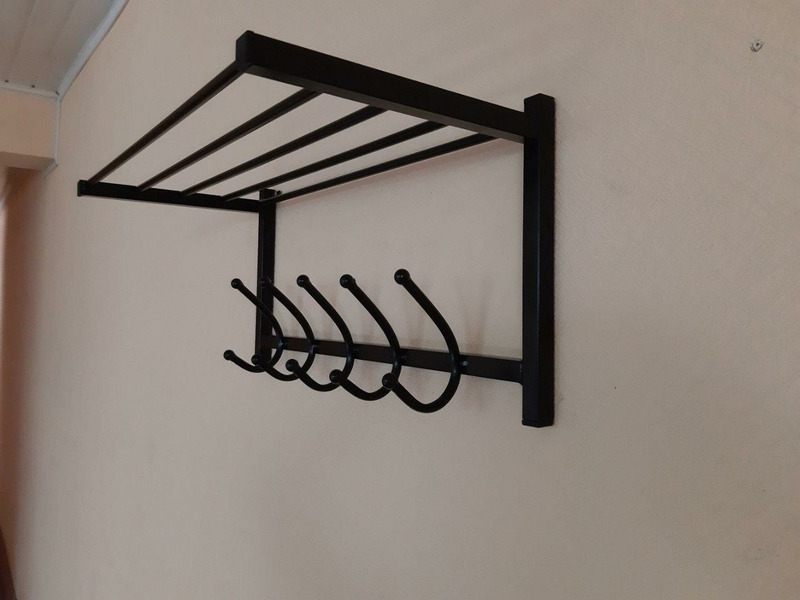
How to make it out of metal?
The process of creating a metal structure for outerwear is more complex. Most often, forging is used for this. Moreover, all the work can be represented as a series of stages.
-
Development and preparation of the drawing.
-
Creation of a certain number of parts. They can be made independently or purchased ready-made. In the latter case, it is better to contact special companies that can produce custom forged items.
-
Next, you should assemble the structure according to the drawing.
-
At the next stage, the product is painted.
-
After that, the final installation of the hanger is carried out to a permanent place.
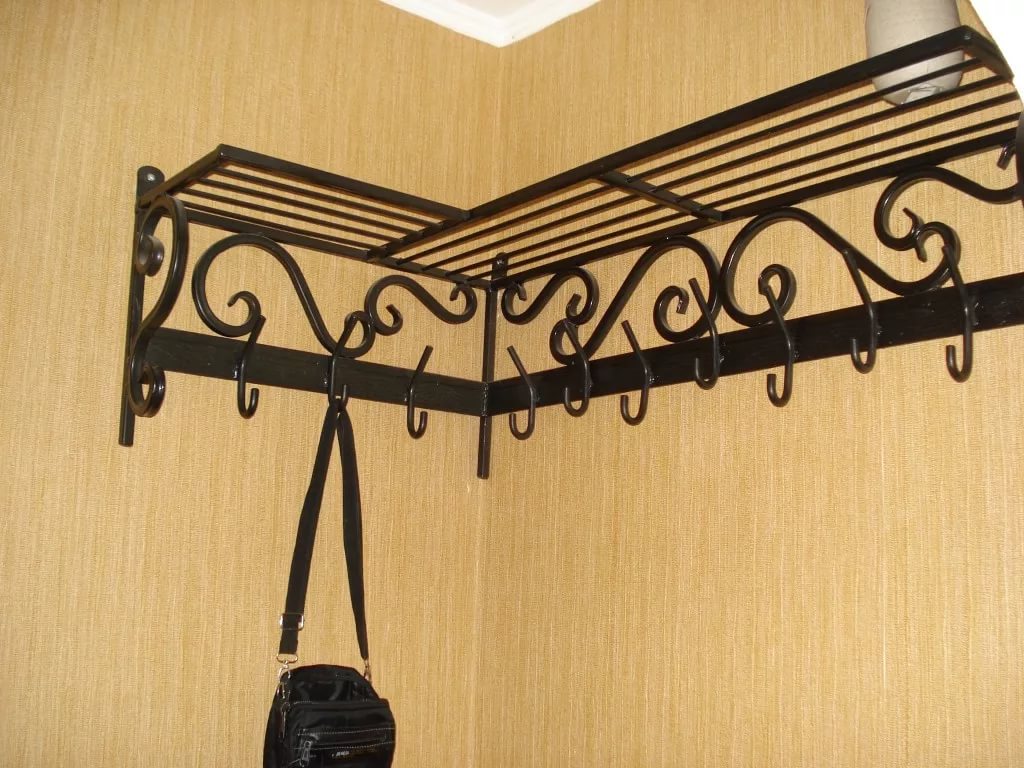
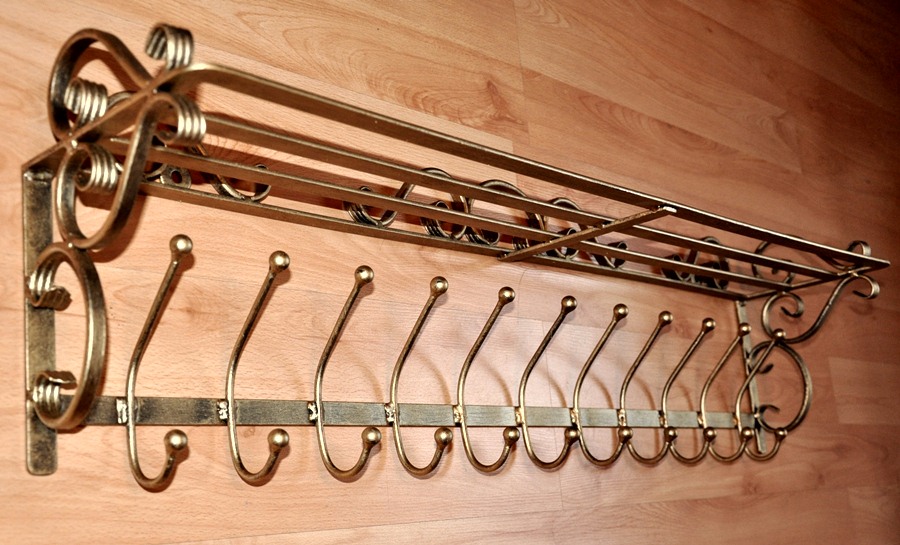
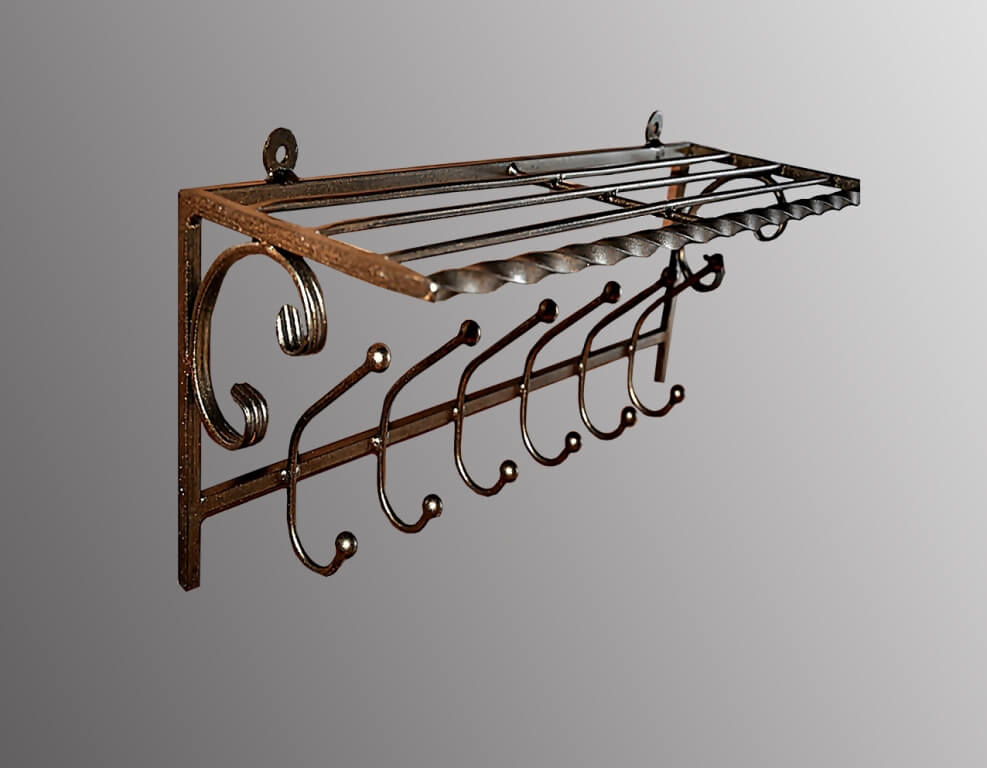
If you have special tools and skills, you can make a metal hanger in two parts. For this, a strip and twelve-millimeter rods are used.
-
Chalk marks on the blanks where the surface will be textured.
-
This bottom strip will house the hooks and side pieces that have monograms on them.
-
The rod is used to create forged lace.
-
A homemade stamp is used to apply the texture. In this case, it must be heated in the furnace.
-
The ends of the blanks are shaped like crow's feet on a strip and in the form of curls on bars. This is done with a hammer on an anvil.
-
After the texture of the pattern is pierced, the edges should be marked with stripes to highlight the borders. To do this, you need a cut-off wheel.
-
Textured rods are made with curls on a snail machine. This is done without heating so that the metal does not break in the sawn places.
-
For the manufacture of hooks, six-millimeter rods are used.
-
After all the parts are ready, you can start assembling.
-
First, the corner is mounted, and then the monograms are tacked onto it by welding. A similar operation is done with the other bracket.
-
The shelf is made of 8mm rods and is attached to the side parts.
-
Further, forged lace and a strap with hooks are attached to the structure.
-
At the next stage, the final welding and cleaning of the seams are carried out.
-
Holes for wall mounting are made in the legs.

Other original options
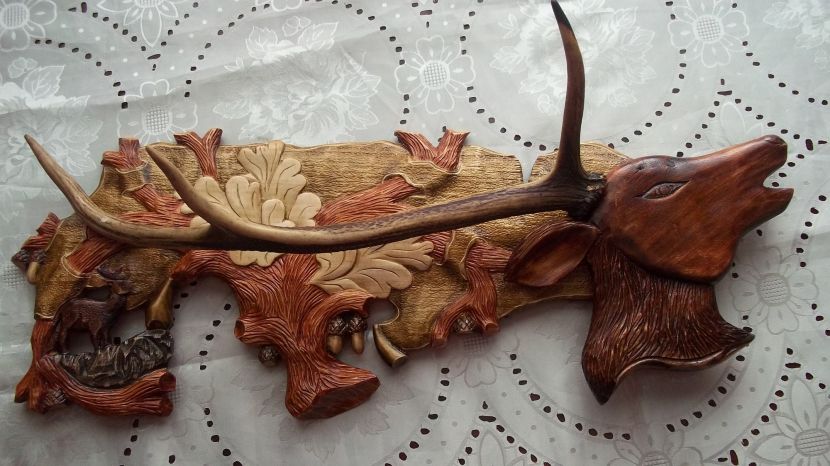
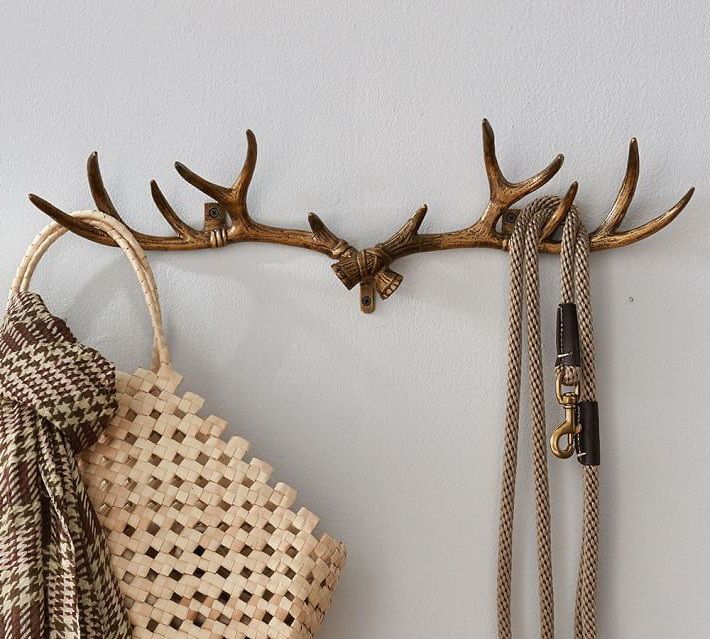
Original models of hangers can be created using things that have not been used for their intended purpose for a long time. For example, they can be made from laminate or plastic. At the same time, you can choose the best options for shapes, sizes and colors that fit the general style of the interior or characterize the hobbies of family members. One of the effective options will be a design for outerwear made of deer antlers.
-
To do this, it is enough to thoroughly clean the horns. And then cover them with varnish.
-
At the same time, the base of the hanger is made of plywood, board or chipboard, and then treated with paint or varnish.
-
For a secure attachment, the base of the horns is leveled, and then small holes are made in them.
-
In the base board, recesses are created into which the horns are tightly inserted and fixed with self-tapping screws.
-
The hanger is now ready to be installed.
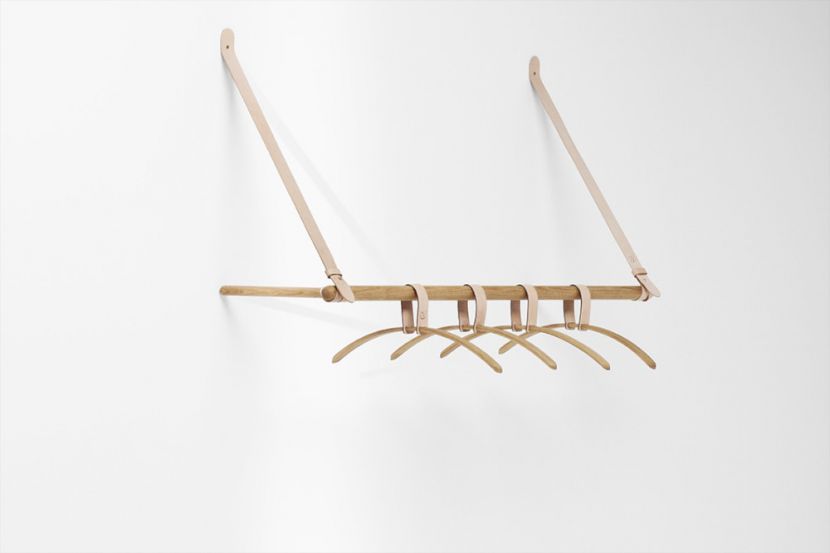
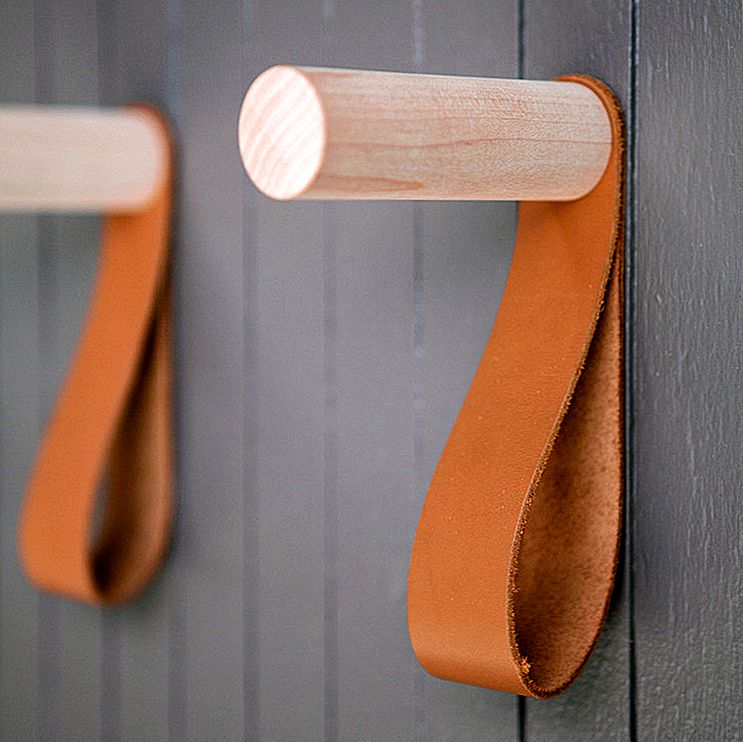
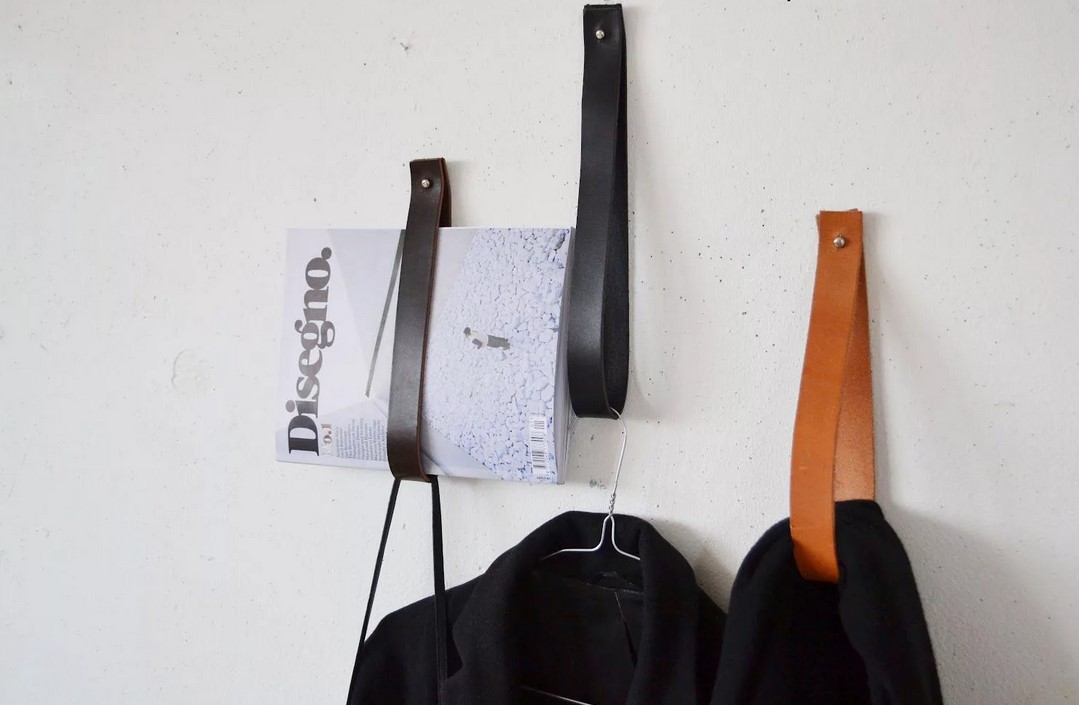
Also, a beautiful model will turn out from leather straps. This hanger can complement almost any interior. At the same time, it is made quickly and effortlessly. For the construction, you will need a pair of belts, pieces of leather, a wooden branch, rigid metal hooks, threads with a needle, scissors, and a hole punch.
-
The belts should be cut to a specific length.
-
They need to grab the branch and sew in the place of the girth so that a loop is obtained. It is advisable to choose well-dried and sanded wood. To do this, you can use sandpaper.
-
At the seams, make decorative straps from leather pieces.
-
Make holes at the top of the belts using a special hole punch.
-
For them, using hooks-fasteners, the hanger is mounted on the ceiling or wall.
-
Next, hooks are made of wire of the usual shape or in the form of a dollar and hung on a wooden branch.
Branches and planks can also be used to create an interesting model for storing overhead items. These materials are inexpensive and are part of many popular interiors.
-
The hanger frame in the form of a rectangle is created from a board with a thickness of 2-2.5 centimeters. As a rule, its dimensions depend on the geometric parameters of the room. The boards are fastened with self-tapping screws.
-
Inside the frame, metal corners should be installed for greater rigidity.
-
Ears are made on the upper part of the frame.
-
The branches must be cut to the width of the base and set vertically inside the hanger.
-
They must be fixed using self-tapping screws at the top and bottom of the frame.
-
The hanger is mounted on the wall using the ears.


How to make a hanger in the hallway with your own hands, see the video.


