What are the storage racks and how to choose them?

A rack is a useful thing in everyday life that you can either buy or order from craftsmen, or do it yourself. In the closet, shelving is usually especially relevant. And if you choose and arrange the structure correctly, you can achieve the most rational and ergonomic use of space, even modest in size.

Advantages and disadvantages
The main purpose of shelving in a closet is to avoid chaos, organize space, and make a convenient approach to what is stored on the shelves.
The built-in shelving unit is comfortable as follows.
- Saving useful footage in the apartment... Siled storage always loses out in this way. In addition, logistics is disrupted by the very fact of finding things in different places. Objects collected in one place are more convenient to organize and organize. So less is lost, and order in the apartment is easier to maintain.
- Racks eliminate the need to buy additional furniture or organize a wardrobe, which entails significantly higher costs. And racks, even if they are not ordered, can be made from standard blanks with your own hands, which is much cheaper.
- Effective use of space... If the apartment has a pantry, it means that you can rationally use its footage without allocating such a zone on your own. Today there are many ideas and diagrams showing how to make every corner functional, how to organize vertical and horizontal storage, how to arrange everything as economically as possible.


The drawbacks of the shelving are at least. The main thing is that the shelves will gather dust faster.
But if you wipe them regularly, the problem will not bother.
The second disadvantage is relative: you have to think over the layout of the shelves, which is not always possible to do it yourself, and the involvement of professionals is associated with unnecessary costs. But there is also a way out - you can always spy on the Internet for suitable options for your pantry footage and borrow the best one.

Species overview
There are several types of shelving, each of which can fully meet the request. It is important to choose the one that best suits the requirements of the room.
By type of structures
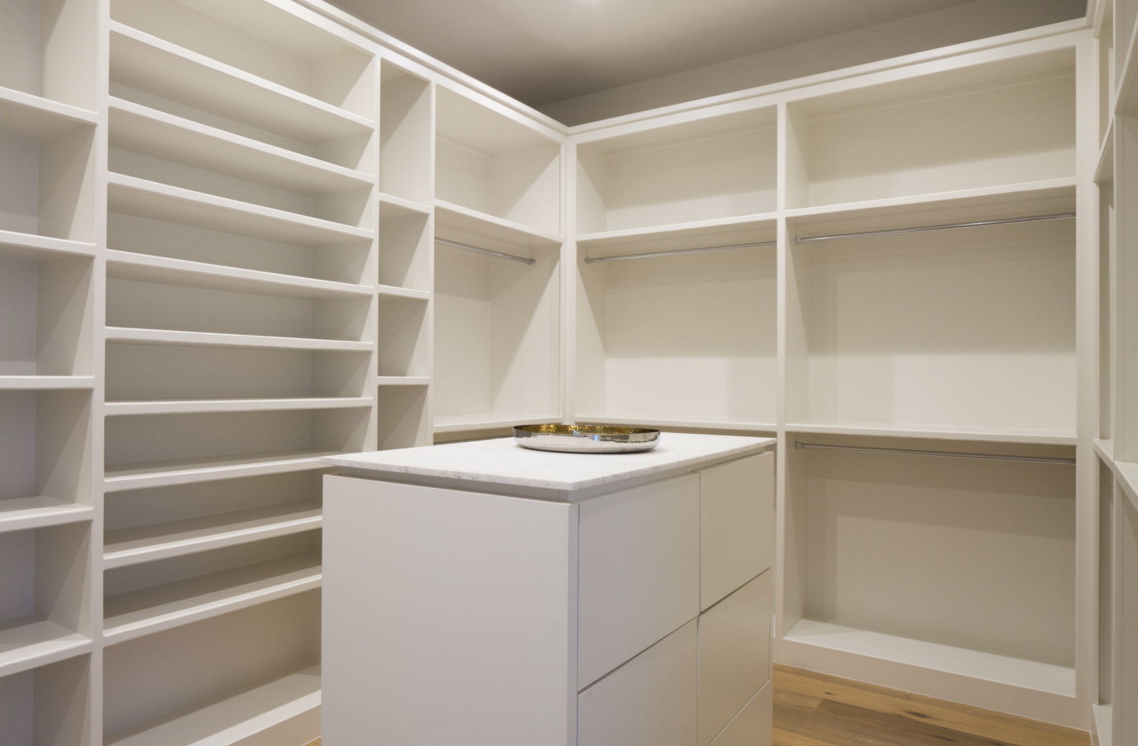
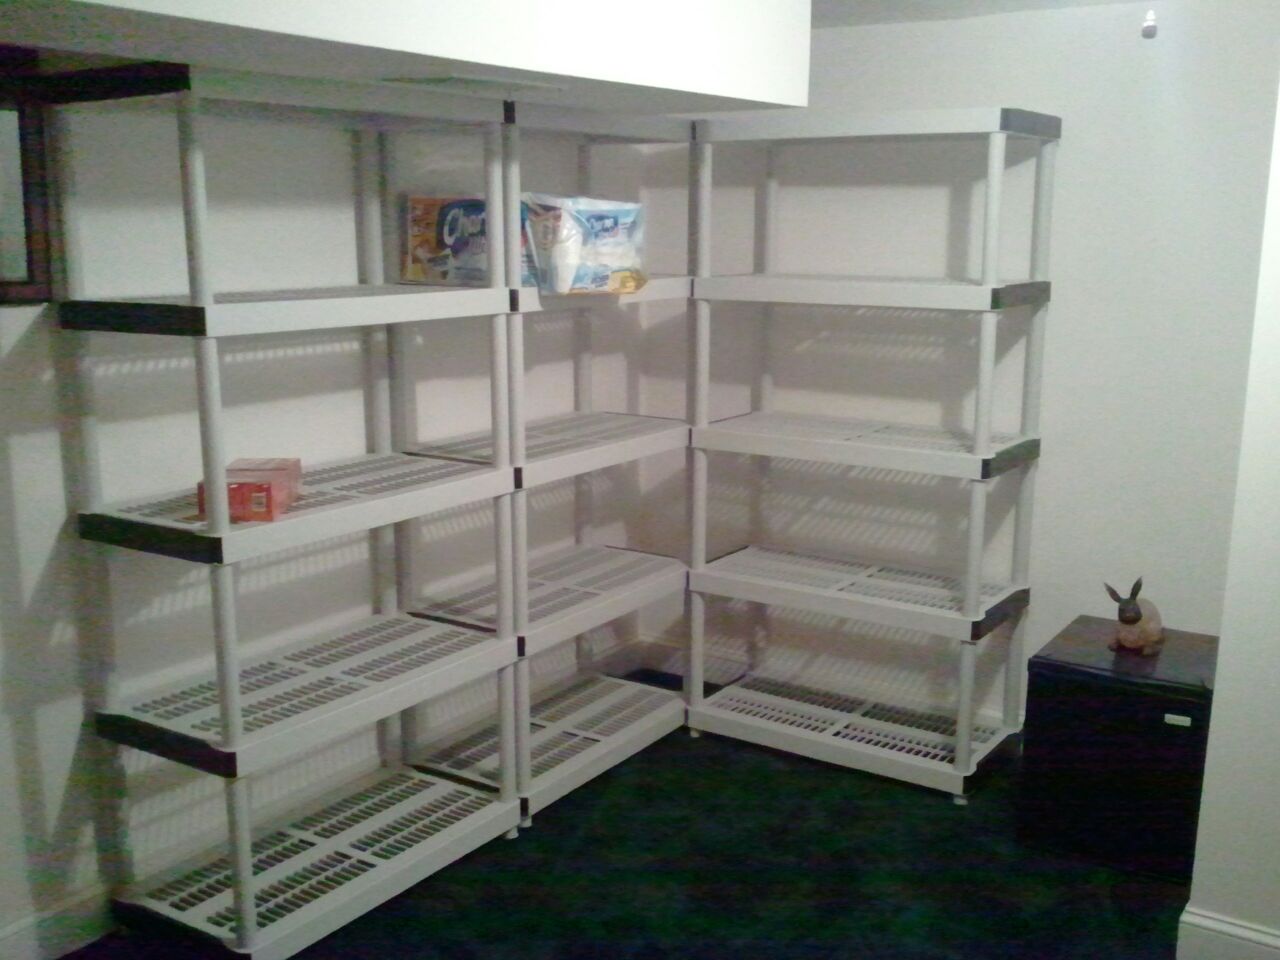
There are two basic types - linear and corner shelving.
The rack must fit without defects in the given space, each shelf must be in its place.
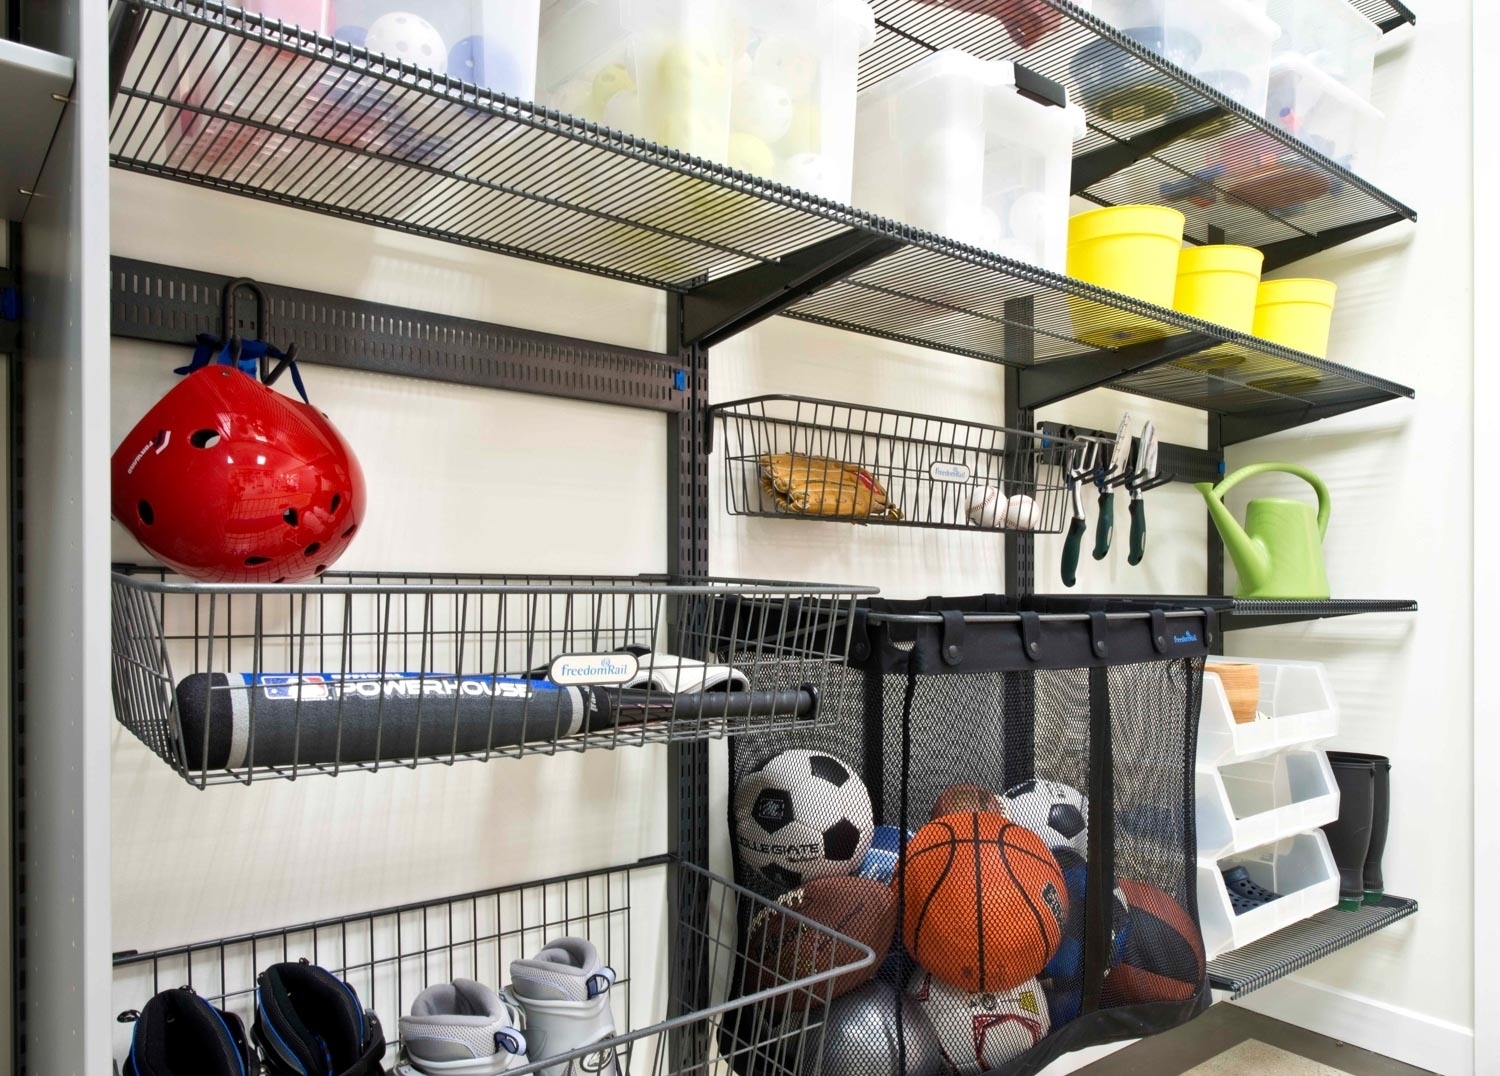
What modern shelving designs can have, in addition to standard shelves:
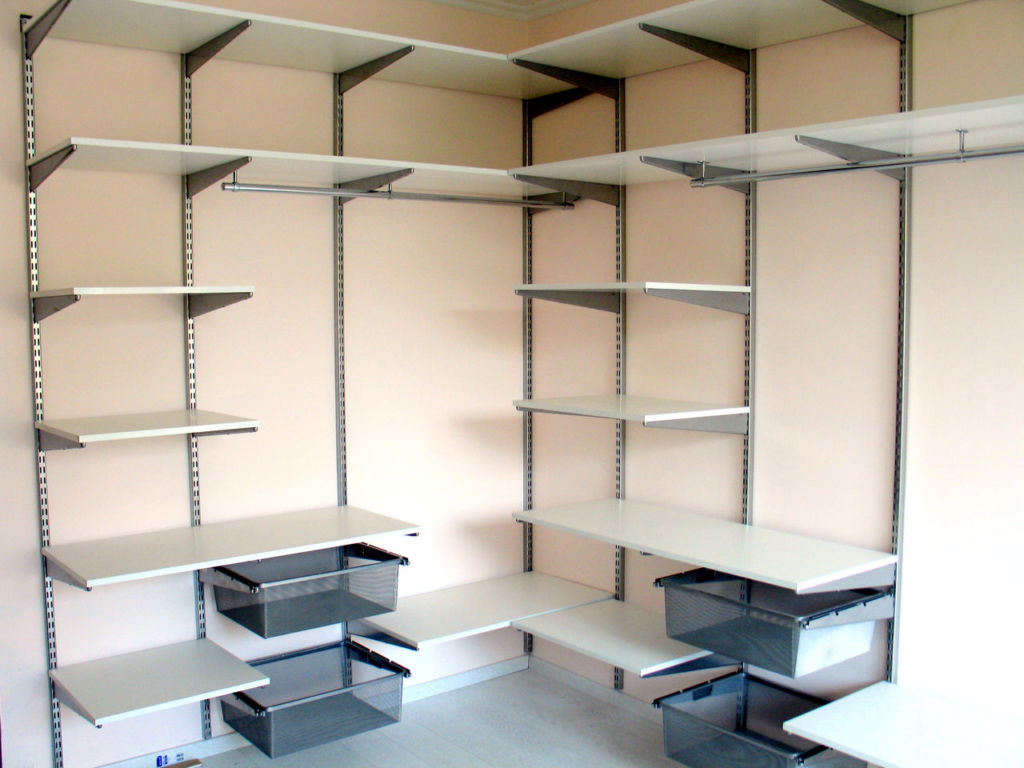
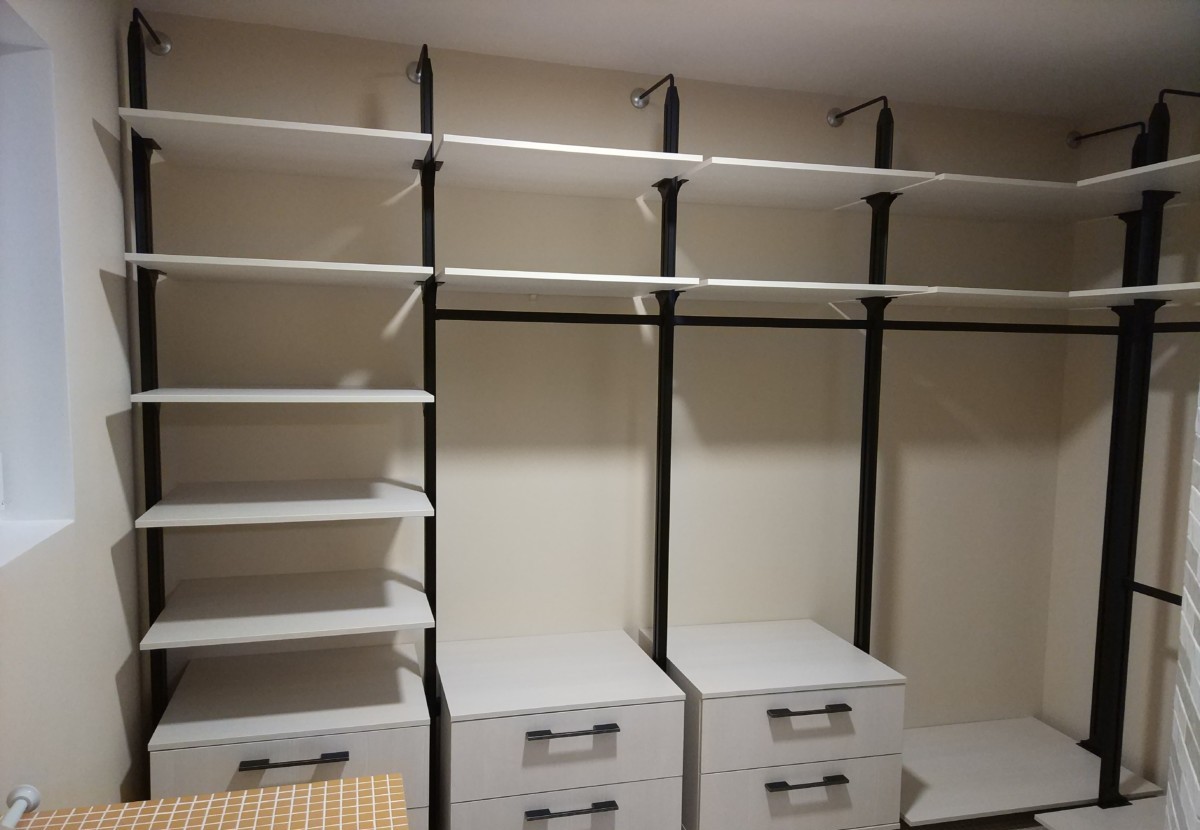
- open shelves with pull-out drawers;
- compartments for cans of different heights;
- closed showcases with a glass facade;
- shelves with roll-out baskets, in which it is convenient to store vegetables / fruits - potatoes, onions, carrots, apples, etc.
- compartments equipped with metal fasteners, suitable for storing wine, spices;
- low shelves for all sorts of little things;
- the compartment in which the work clothes will be located;
- storage compartment for vacuum cleaner, mop.

Whatever the pantry space, air must circulate freely in it.... This will be helped by the free lower part of the shelves and high legs. The place below can later be used for baskets or a box. It is great if the shelves of the rack are adjustable, and their height can be changed as needed.
Shelves can be modular, prefabricated, with a back wall and designed without it... Wall-mounted prefabricated options involve fixing the rack to the wall - filling the model in this case will not be thorough.Convenient racks, reminiscent of shelves with drawers, built into a niche, have become popular.

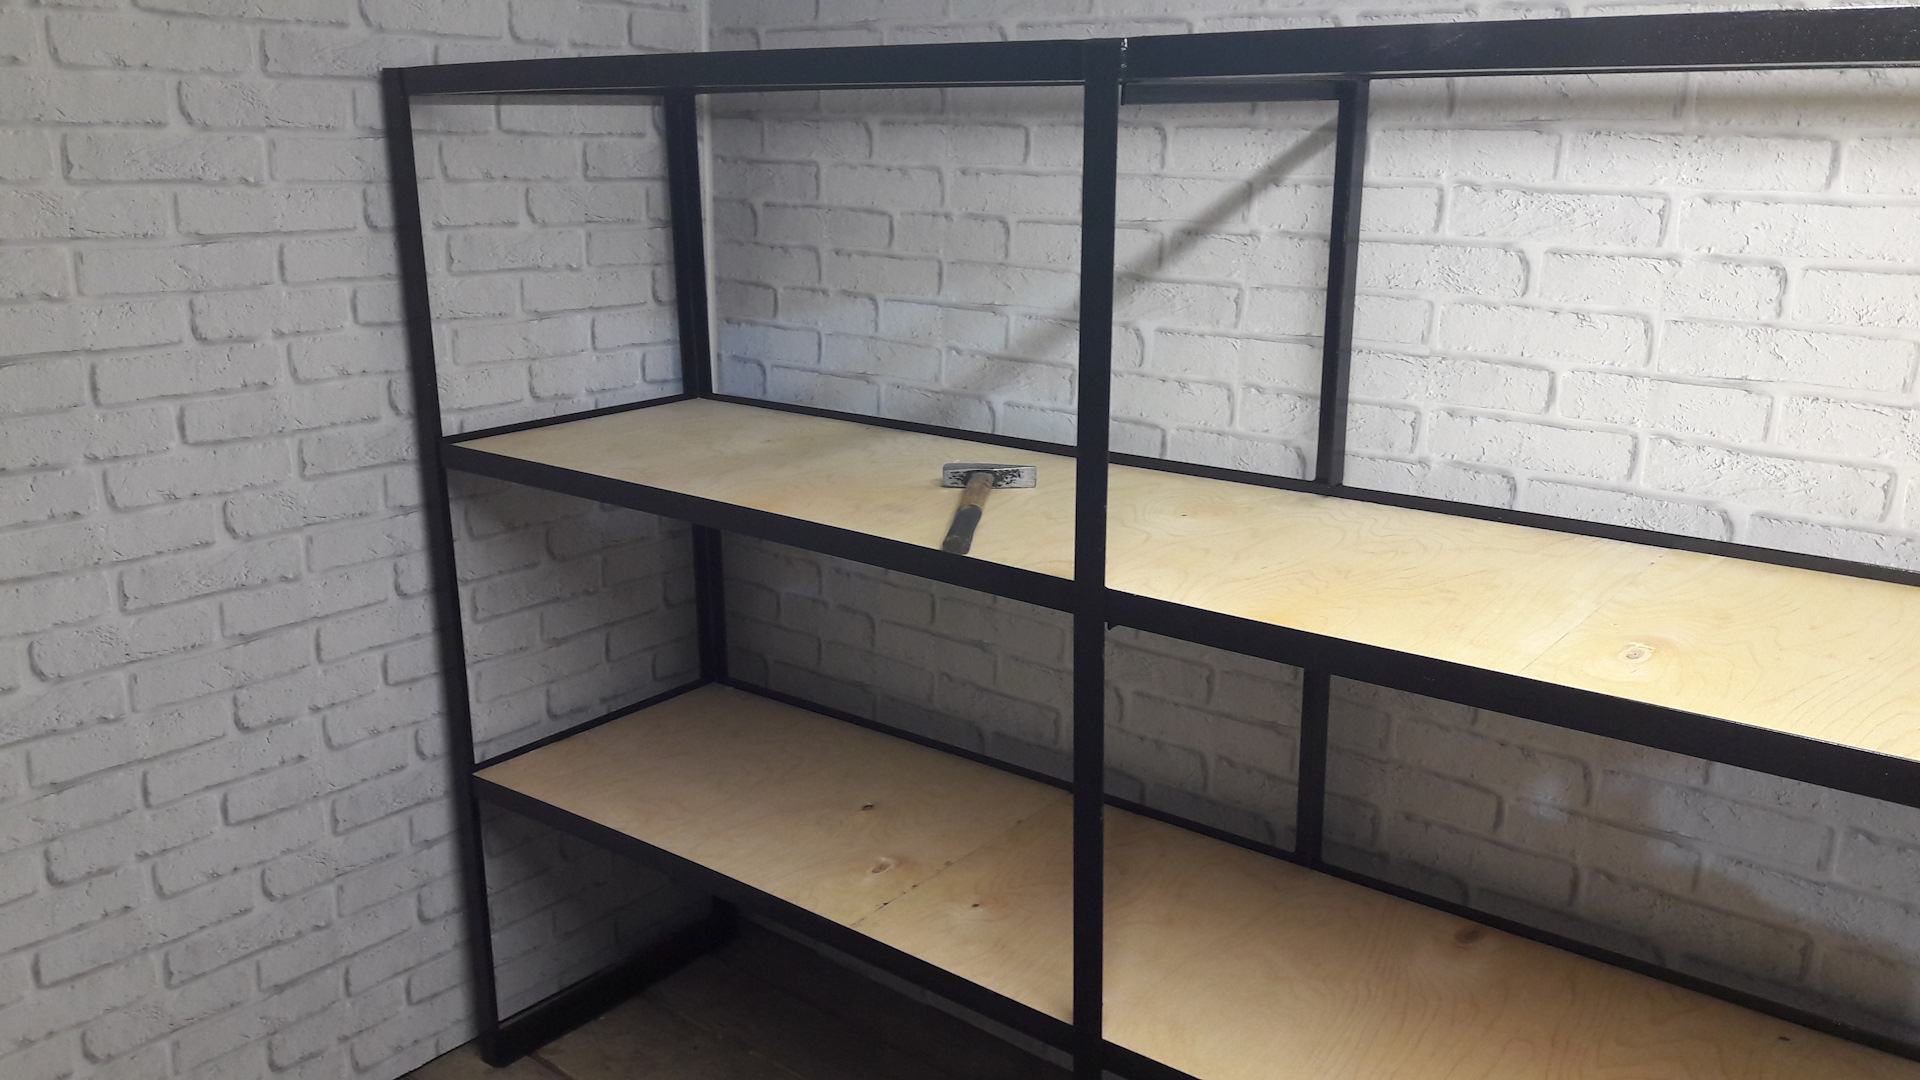
By type of material
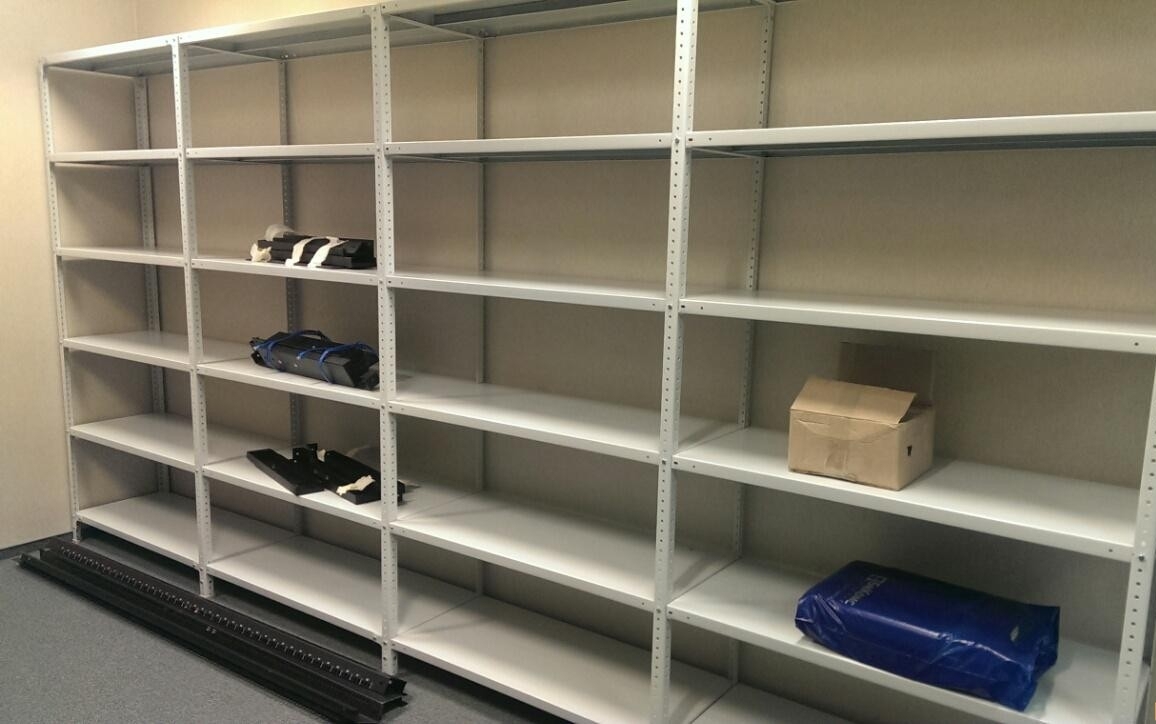
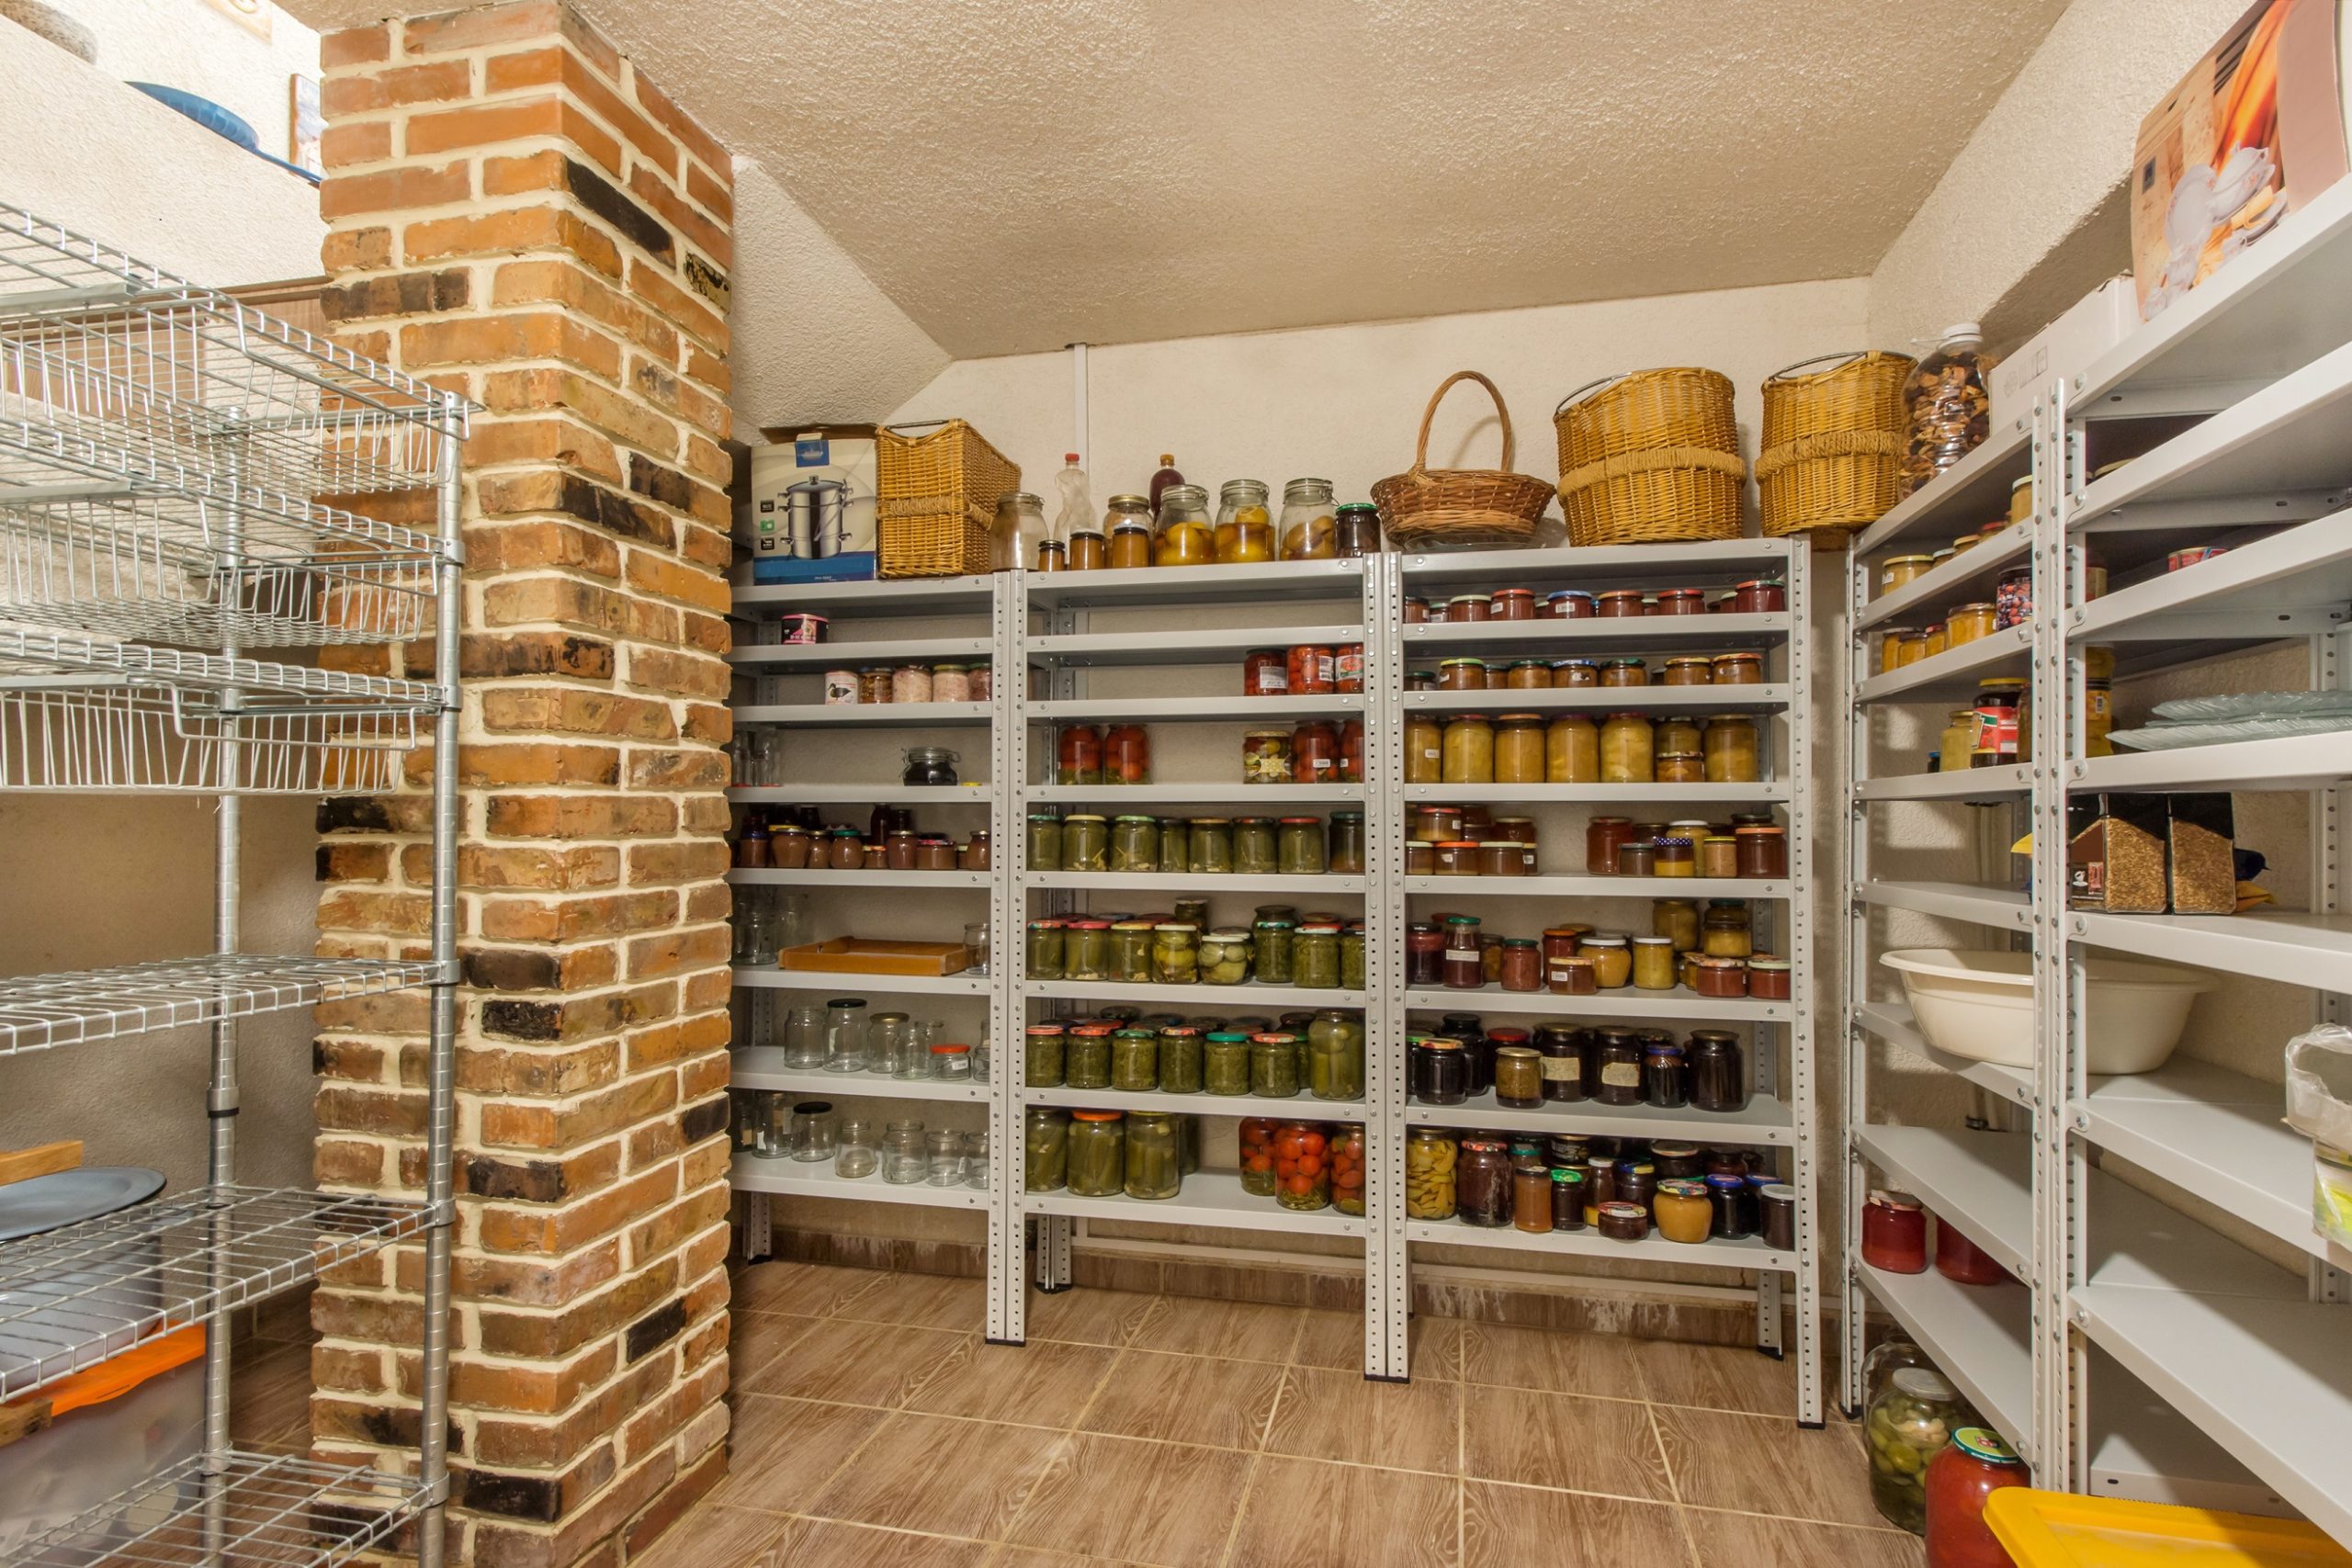
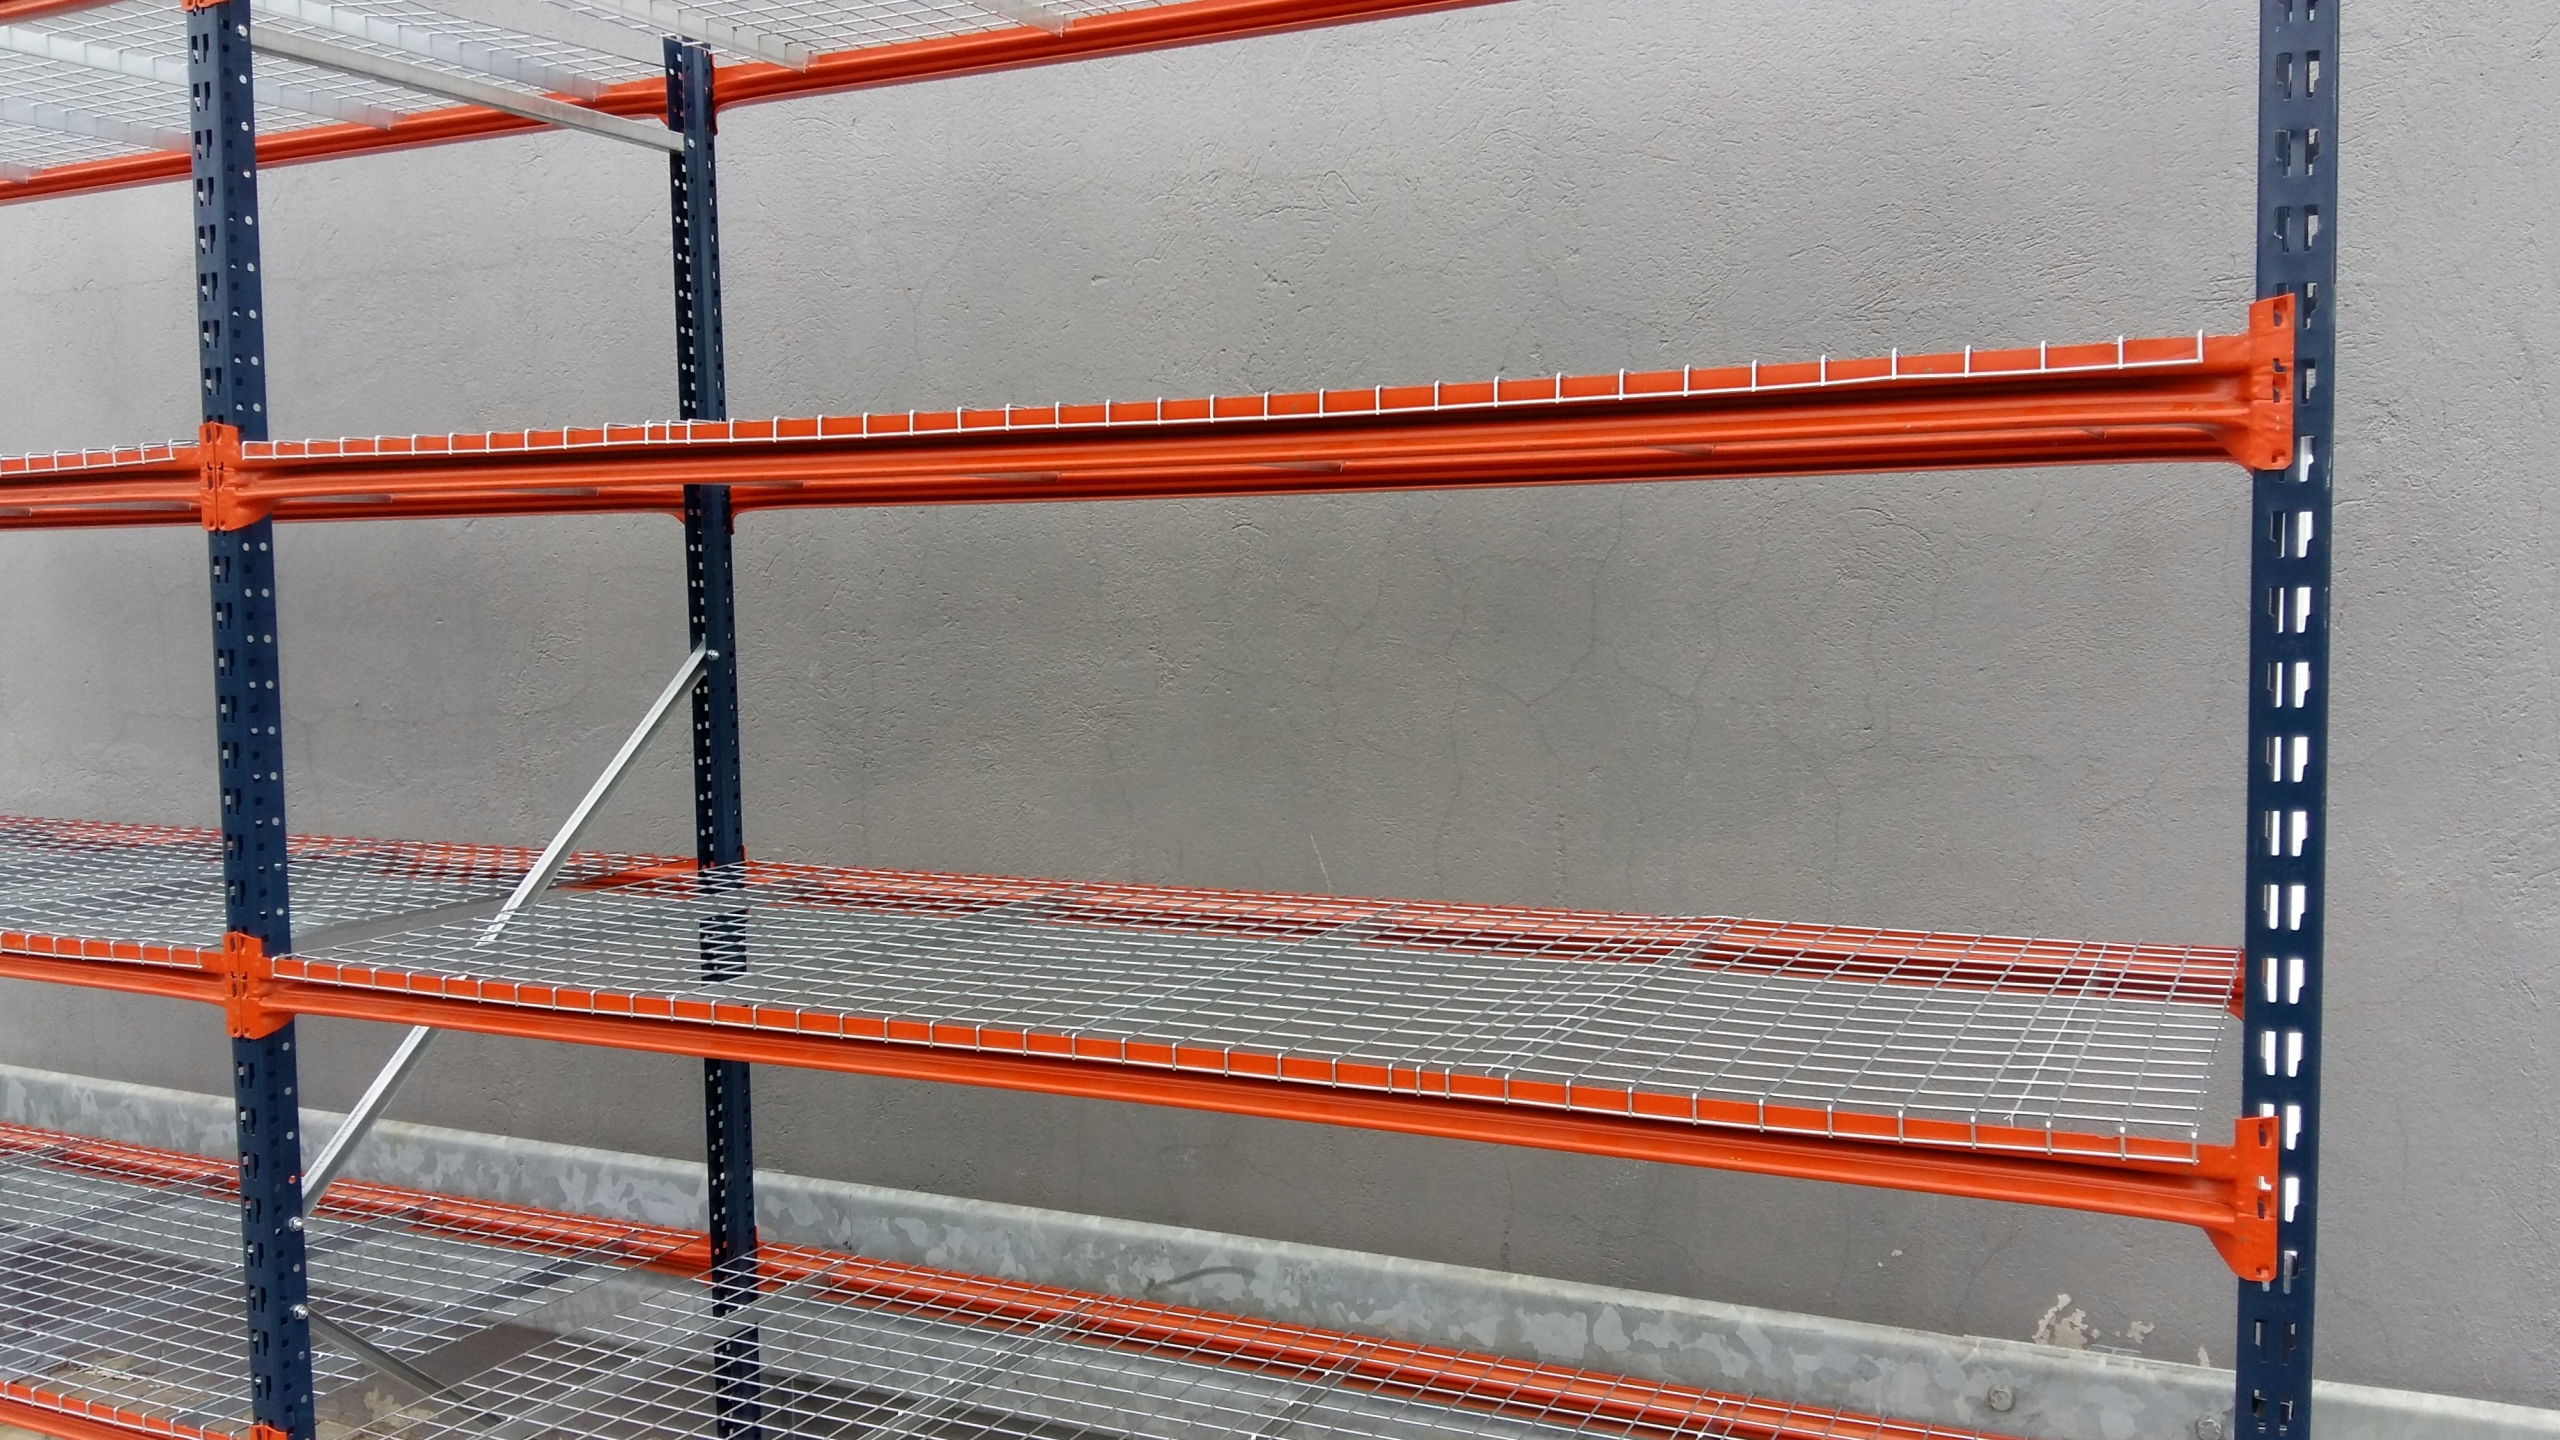
The main types of raw materials for the construction of shelving systems - metal and wood... Both materials guarantee that the frame will be reliable, and the structure itself will be durable and resistant to all kinds of damage. Materials must provide the structure with the ability to withstand heavy objects. Therefore, glass, even if it looks weightless, is far from competition with metal and wooden shelves.... And yet, even iron structures must be commensurate with the weight of the objects that are placed on them. All the heaviest things are put on the floor.


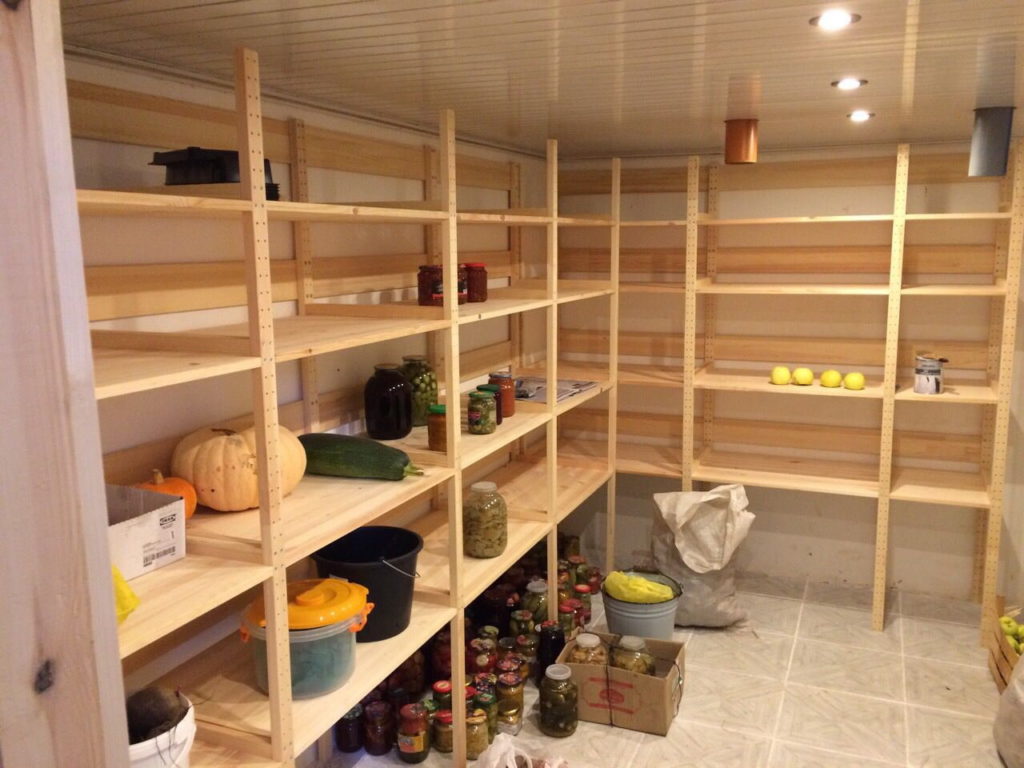
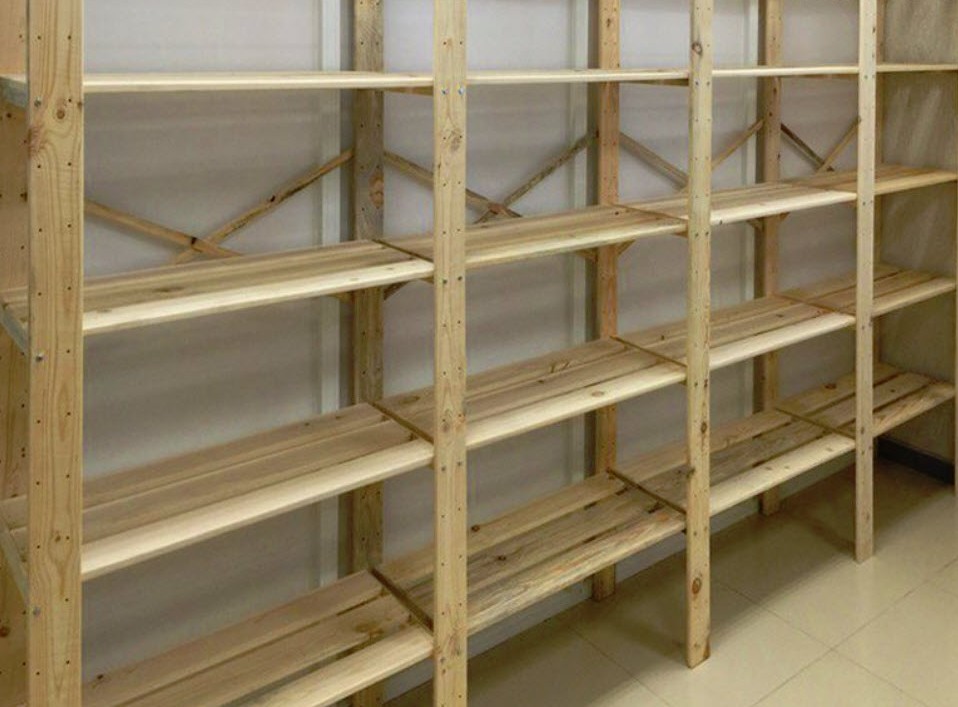
Wood is preferred over profile racks, because such systems are associated with living space, while metal is still more associated with warehouses and industry.
Although today such a division is conditional, and metal shelves can also comfortably fill the pantry space.
A compromise option is to purchase a combined model that includes wood, metal and tongue-and-groove material. However, this often happens with homemade models, when what is on the farm is taken.


Each type of material is demanding on operating conditions in its own way:
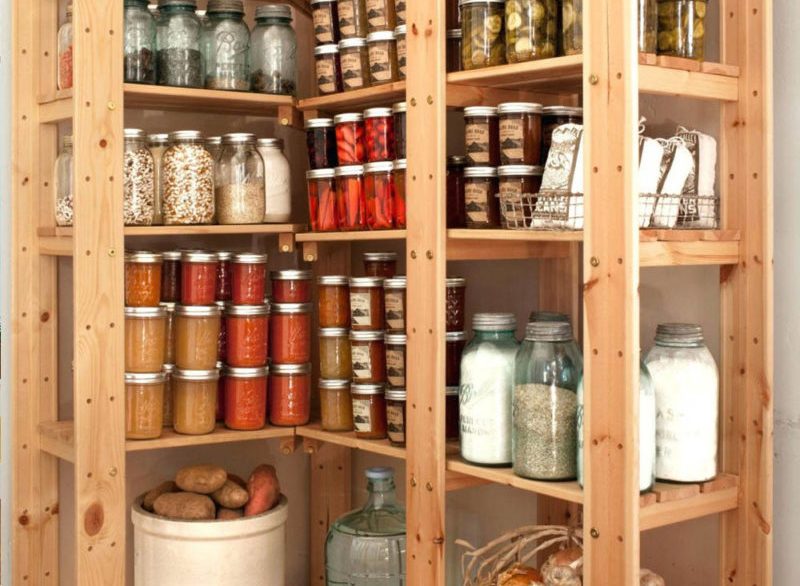
- for cans with seaming, wood is more suitable;
- if the shelves are diverted mainly for granular substances, preferably MDF, laminated chipboard;
- if this place is intended for tools, then, most likely, racks with a metal frame will be required;
- plastic is used less often and only for storing lightweight items.
You need to choose a material and design only based on the tasks, budget and interior features in the apartment as a whole.

Nuances of choice
There are several criteria for choosing a rack that help you not to buy a "pig in a poke".
- Yet before going to the store, you need to measure the place where the structure will stand... Height and depth are taken into account. If the rack is made to order, the measurements will be made by the master, but it is also necessary to inform the specialists in advance of this data, at least approximately.
- Structures with thin metal plates are practically not suitable for domestic use., they can be immediately excluded from the applicants.
- Models with wheels are good somewhere, but in the pantry they are completely inconvenient.... The structure will move out, things will fall from it, in a word, a useless acquisition.
- The option where there are at least a few closed shelves and pull-out drawers is always more convenient... This protects objects from accidental falling, because the pantry is cramped, and while a person is looking for one thing, he may inadvertently touch another. With a closed shelf and roll-out drawers, such cases are minimized.
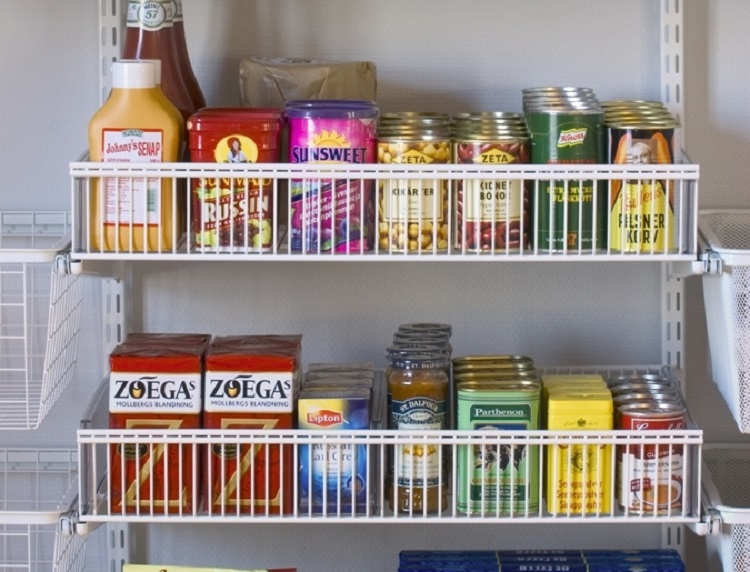
- Shelving models with baskets and metal nets are also beneficial, in many respects are convenient from the point of view of protecting things from falling.
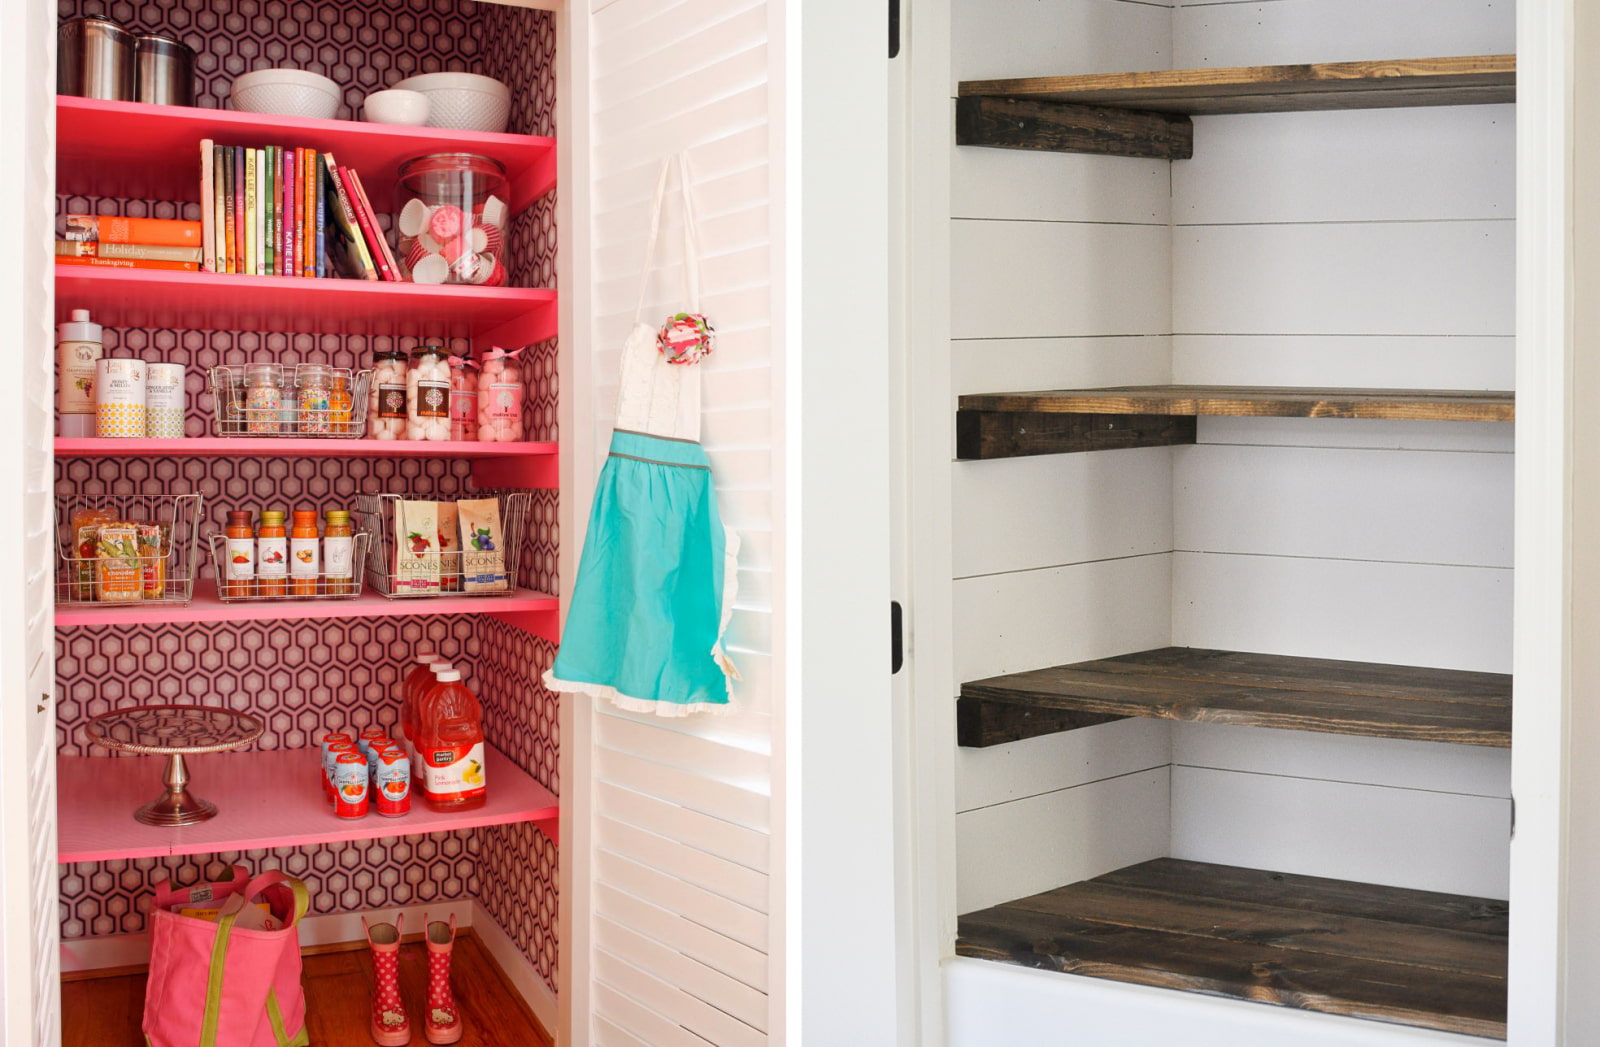
- Practicality in the case of a pantry is always a priority over decorative qualities.... It is enough just a laconic rack, the color and structure of which does not hurt the eye, so that the device takes its place and looks organic in the pantry.
- If the rack contains drawers, baskets, you need to check how they workwhether the mechanism is perfect.
- The depth of the rack must be significant, otherwise objects will crawl out and hang from the edges.


If a suitable rack is seen in a store, and a potential buyer decides that he can do the same himself, and it will come out cheaper, the trip to the store was not in vain.
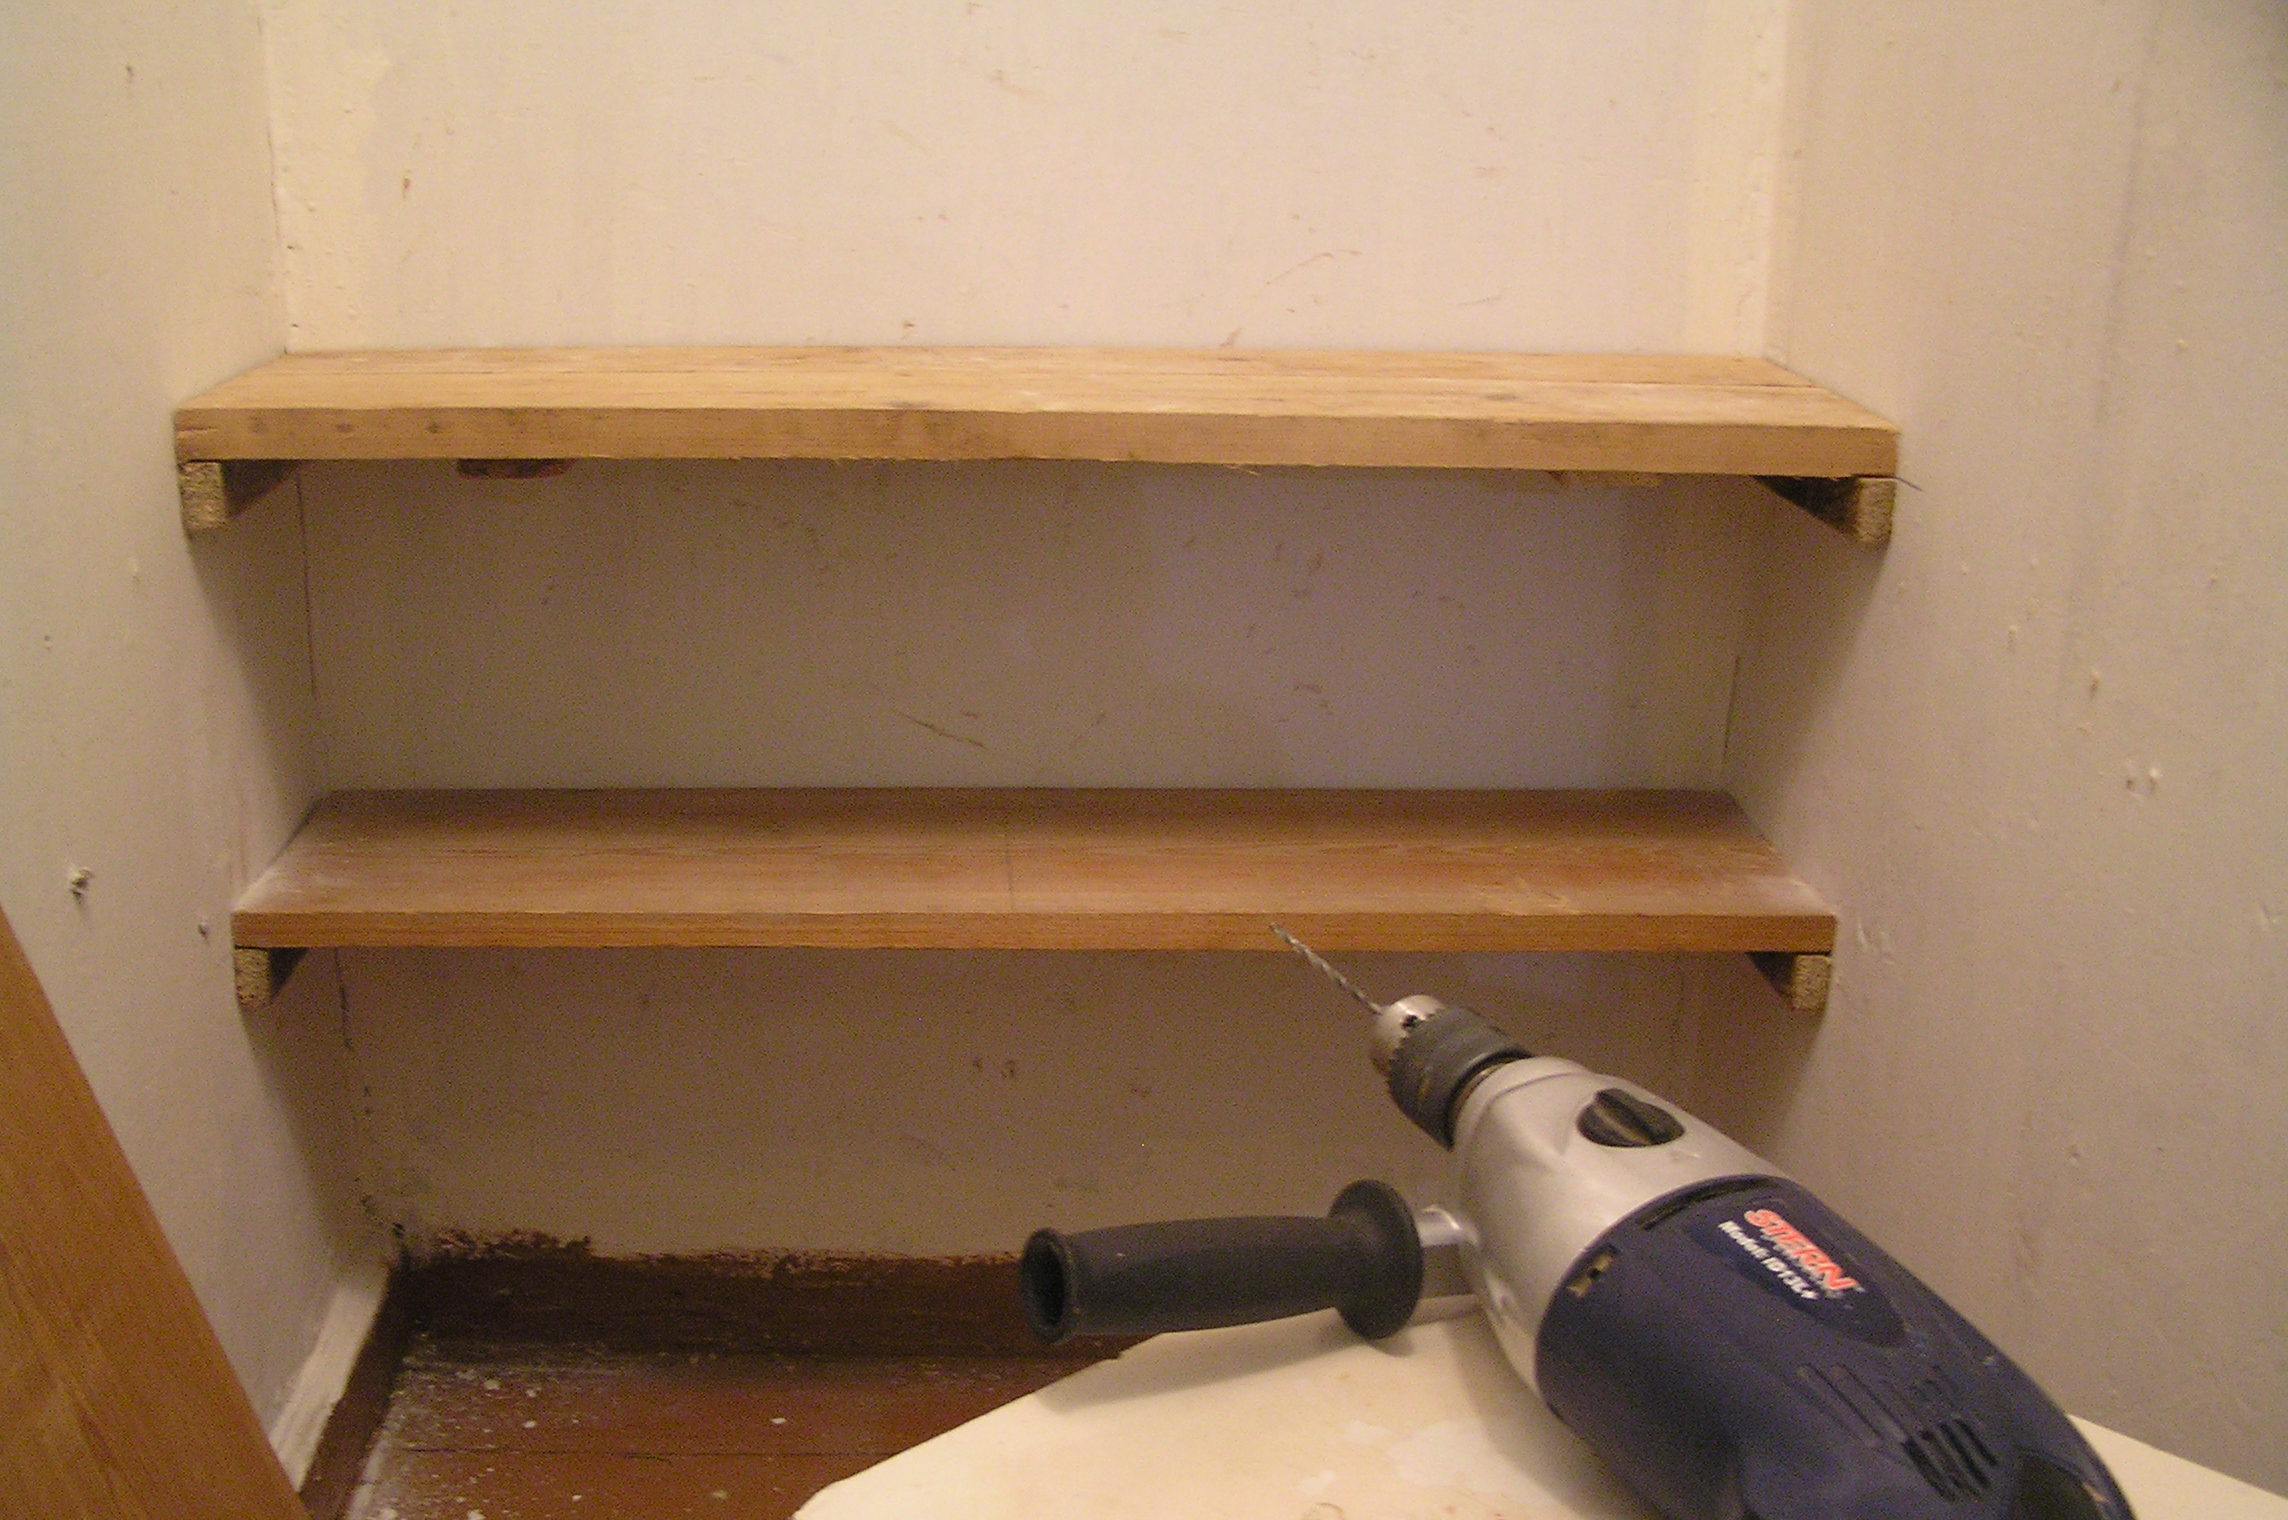
How to do it yourself?
Wooden products are easy to work with, and therefore they often make just such structures with their own hands.
There is nothing complicated in the structure of the rack:
- vertical struts (the number depends on potential loads);
- horizontal jumpers;
- the shelves themselves.
For racks and lintels, a bar with a section of 45 by 45 mm (or slightly more) is suitable. This thickness is usually sufficient for the wood surface to withstand a series of seams.

For jumpers, slats are used that have a thickness of half that (if there is a circular machine, they can be cut from beams). And for the shelves, sheet material will fit - MDF, chipboard or even plywood.
But for a more presentable rack, it is better to choose edged boards with a thickness of 20 cm.
Only experienced carpenters can try to do without metal fasteners; they work with wooden fasteners and wood glue. For all the rest, such a super task is not worth it, therefore you can choose a compromise solution - self-tapping screws will be used as fixators, but combined with adhesive fastening. The main connections will be dowels, galvanized self-tapping screws will also come in handy.

How to assemble a rack
The sequence is as follows:
- First, side racks with partitions are built, subsequently shelves will be installed on them. And in order not to "get lost" in the dimensions of the structure, a preliminary drawing can be made on paper.
- Bars and planks are usually sold in 3 or 4 m lengths, and you need to purchase such an option so that the cut gives 2 racks at once.
- The purchased timber is cut with a circular pendulum saw (another name - "butt") into 4 equal pieces. The saw will create perpendicular cuts to help keep the rack stable. There is no such saw - a miter box and a hand saw will help.
- Jumpers are made from the remaining bar, it splits into two parts. For this work, you will need a circular machine.
- Using a tape measure, markup is done, you can, for example, 50 cm - which is equal to the rack depth. The marks should be clearly traced with a carpenter's square.
- And again a pendulum saw and cutting rails are used.
- At the next stage, the racks are marked according to the height of the shelves.... You need to take one, put it on a flat horizontal and draw a line. Then attach a rail to it and make a simple stroke. Horizontal lines are drawn on the sides, the indent from the edge - the thickness is slightly less than that of the lintel.
- According to this design of the side post, the lintels will be recessed into the beams.... Then you can take the rest of the racks, lay them side by side so that the ends rest against something solid. Labels are transferred with a square to all elements.
- With the help of a miter box, cuts are made in the bar according to the markings... You cannot go beyond the horizontal line. The unnecessary part between the cuts is knocked out with a miter box and a hammer.
- You need to check how the rail sits in the finished groove... After a successful check, a major fastening is made.
- Two holes must be drilled in the pre-assembled sidewalls, which will not allow the wood to crack when tightening the self-tapping screw.
- The jumpers are removed, the adhesive layer is applied from below and on the sides, the groove is also coated... The jumper returns to its place, the connection nodes pull together the self-tapping screws. The parts should be pulled together, which will allow the glue to seize normally. Remains of glue are immediately removed with a sponge dipped in water.
- Installation of shelves... The boards are marked along the length with a tape measure and cut with a miter saw. When installing, there should be ventilation gaps between the boards. All parts are processed with a grinder.
- Edge boards are trimmed to form a recess for the posts.
- The board and the place where it is placed are coated with glue.... The structures must be allowed to dry, and then capital connections are made on the dowels.
- Dowels and wood drill are taken... On the drill (for reference) masking tape. Self-tapping screws are unscrewed, holes are drilled wider. They are filled with glue. The dowel is inserted. It gets clogged, the glue is removed with a wet sponge.
The rack is ready.

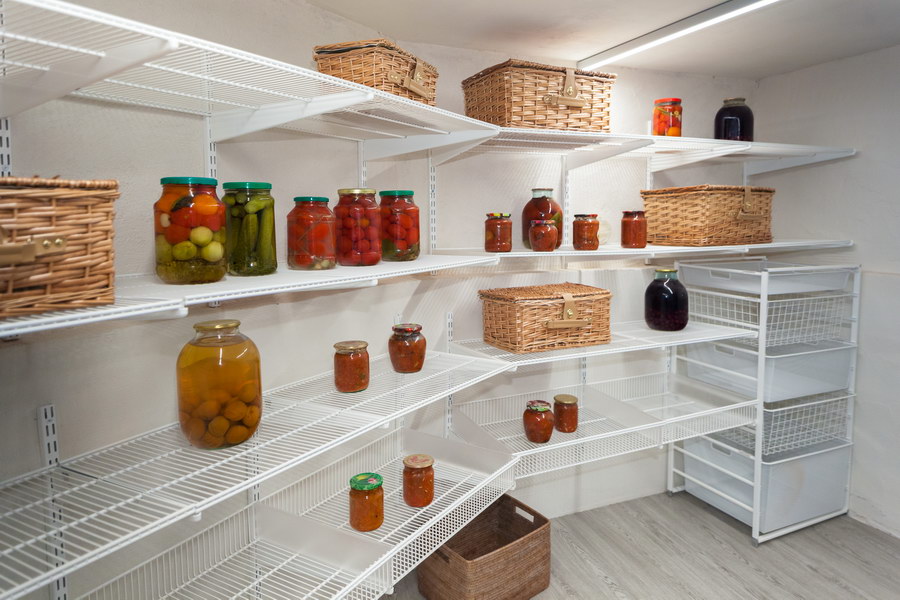
How to arrange?
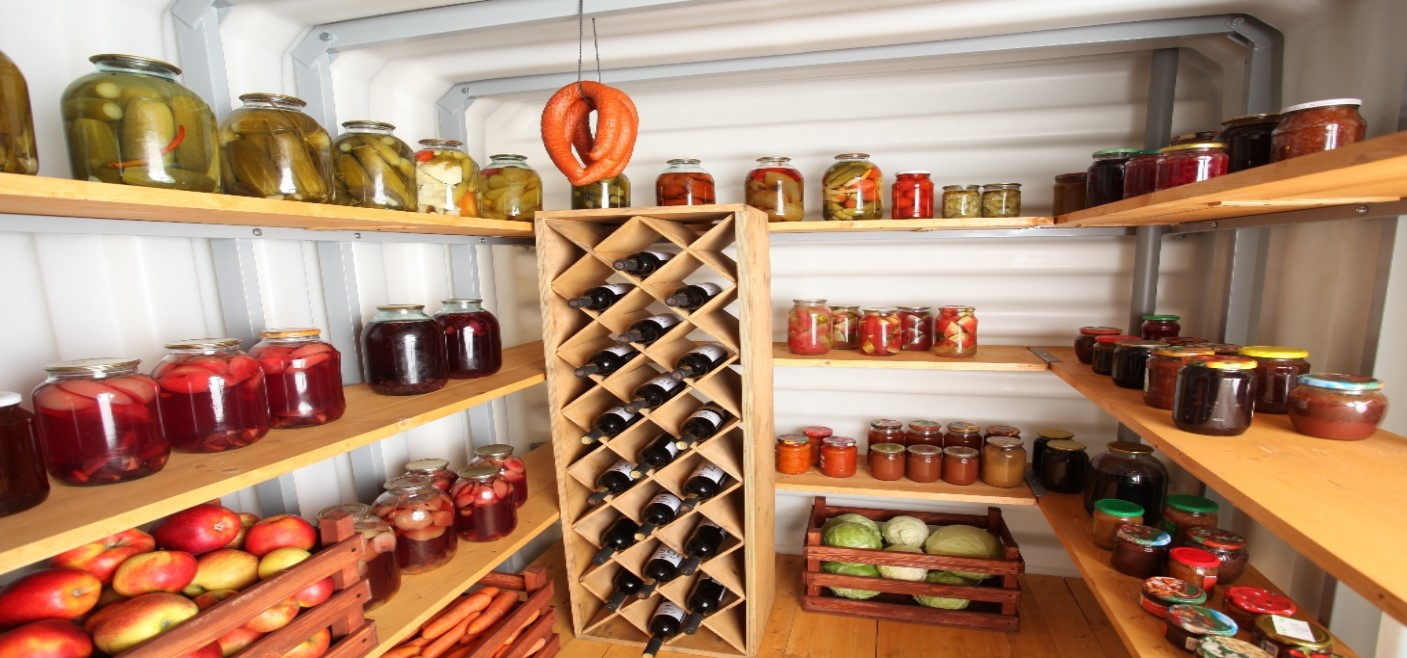
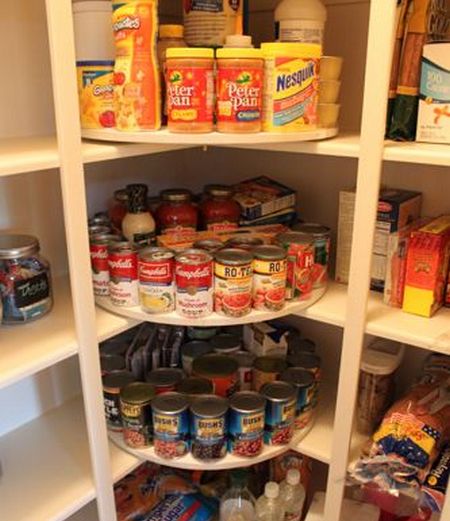
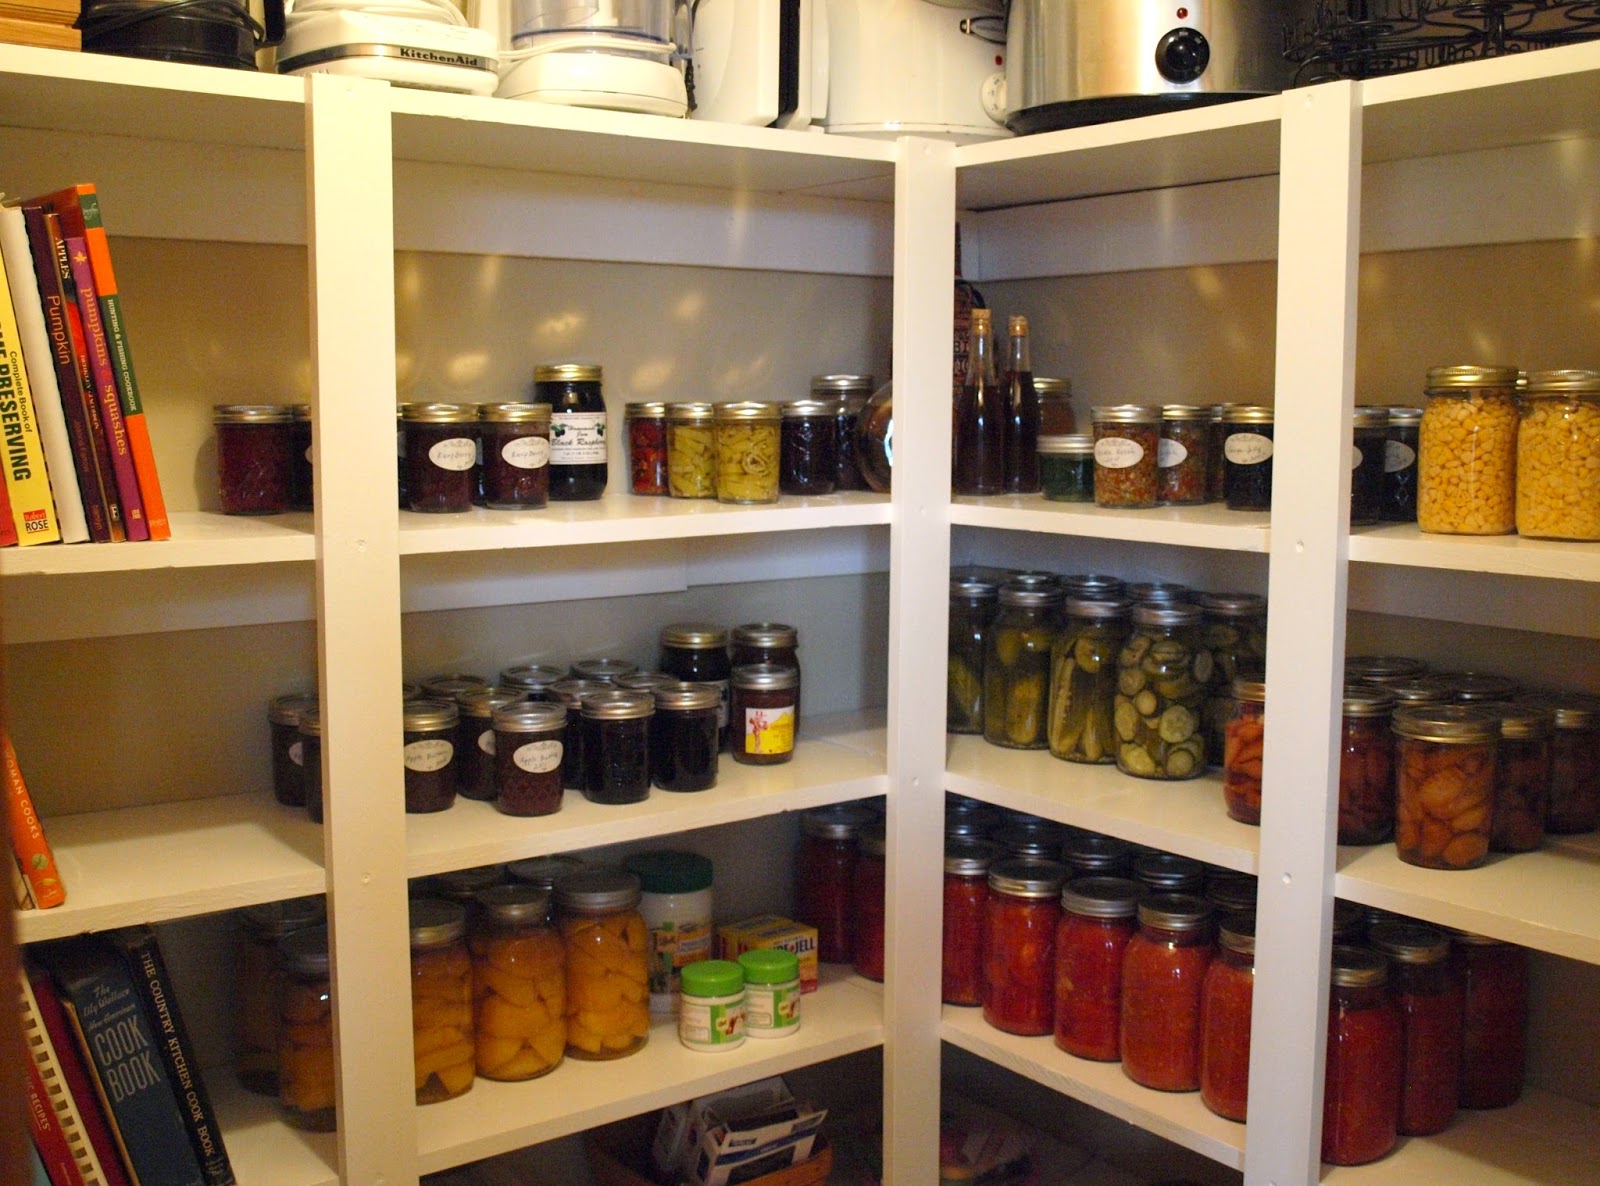
And a few illustrative examples that allow you to see what a pantry for cans with preserves or other things looks like - a whole special room looks like.
Location options:
- for spacious rooms, with the ability to adjust the shelves;

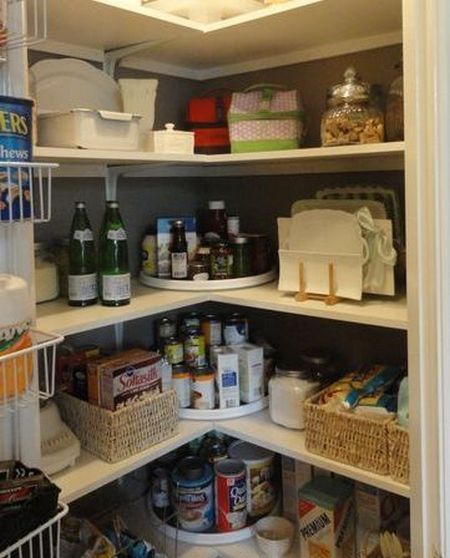
- excellent use of the angle;
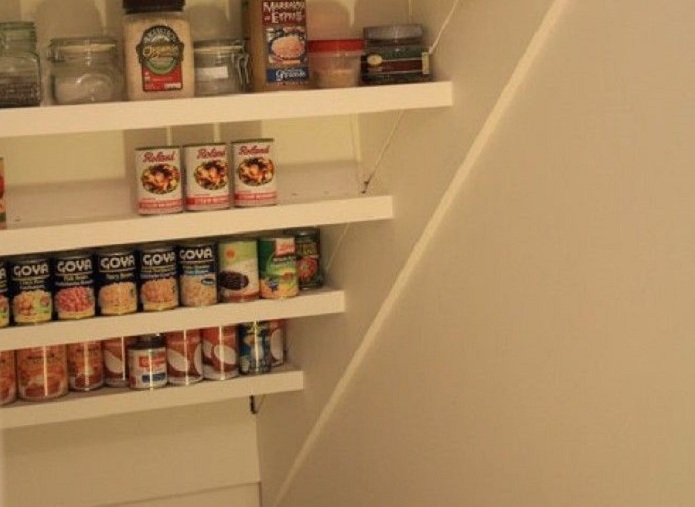
- pantry with a ladder;
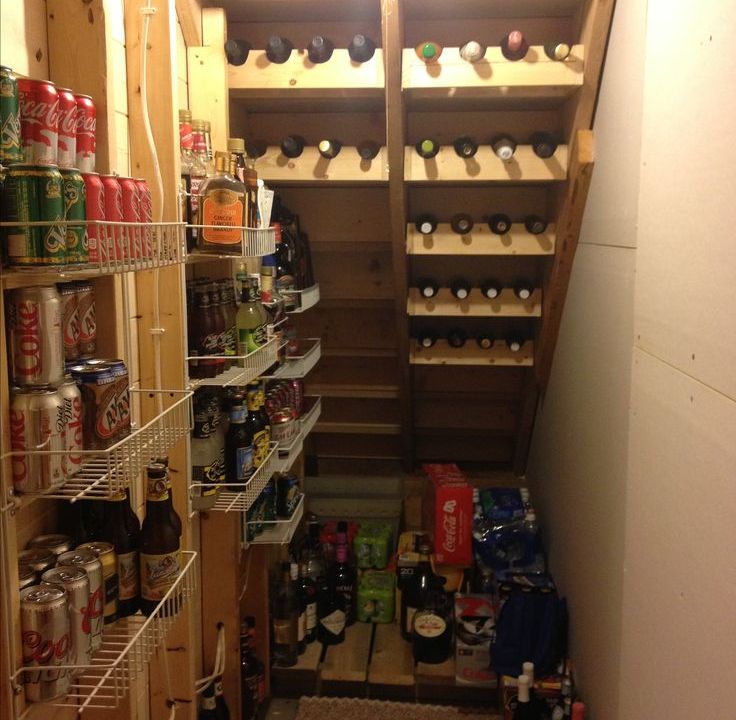
- use of baskets in storage;
- gold standard.
Next, see about prefabricated metal shelving.


