Pantry repair
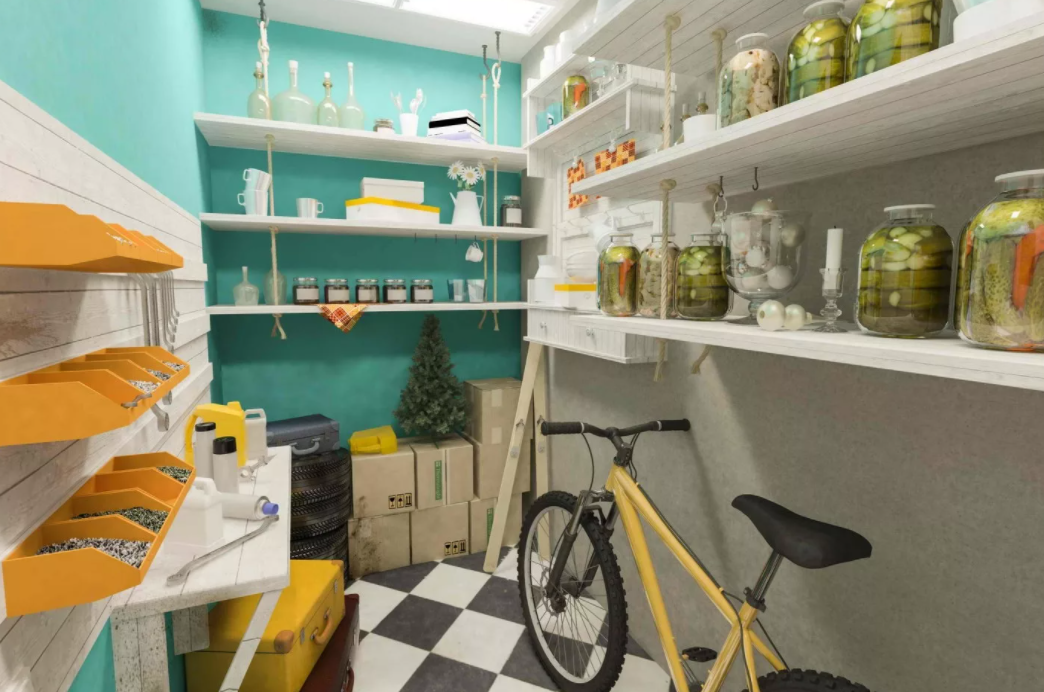
A storage room is an important part of any home. They store various things (an umbrella, a ski kit, a vacuum cleaner and much more), supplies for the winter, seasonal clothes and even a bicycle. As in another room, the closet should be in order, and you need to start with repairs. For those who decided to do this, we will give some tips on how to do it.


Whoever does not have a closet in the apartment, do not be discouraged. The storage corner can be arranged even in an old small box. Let's see where this can be done.
-
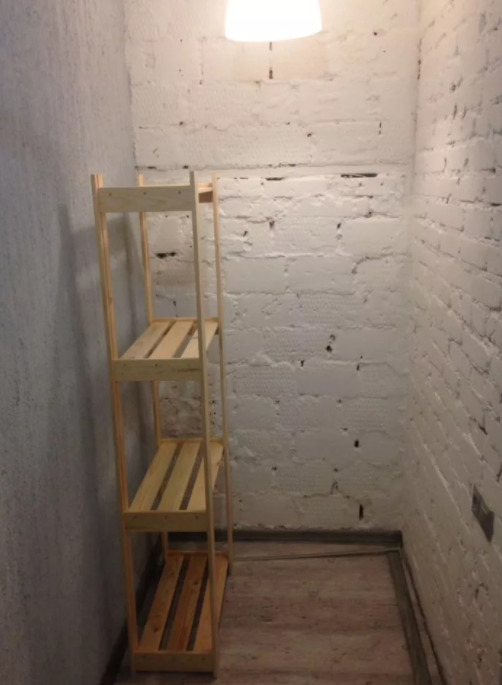
Niche. Repair in this pantry will consist only in the installation of shelves and doors. Ideal for storing empty bottles, cans of canned food, seasonal clothes, and a place for household appliances at the bottom.


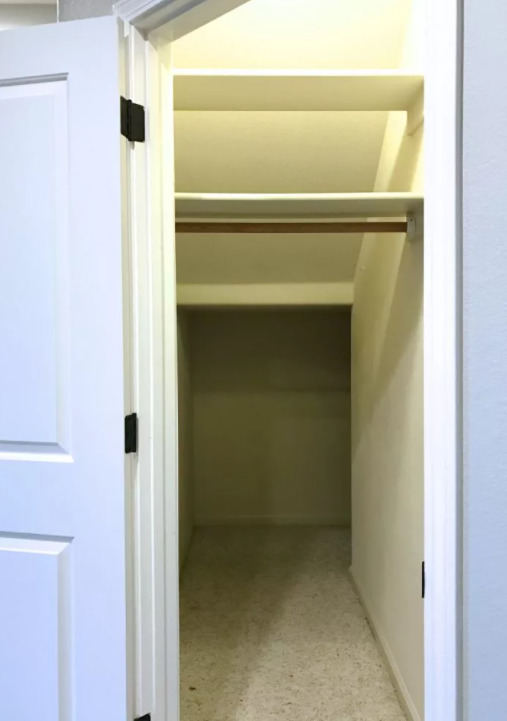
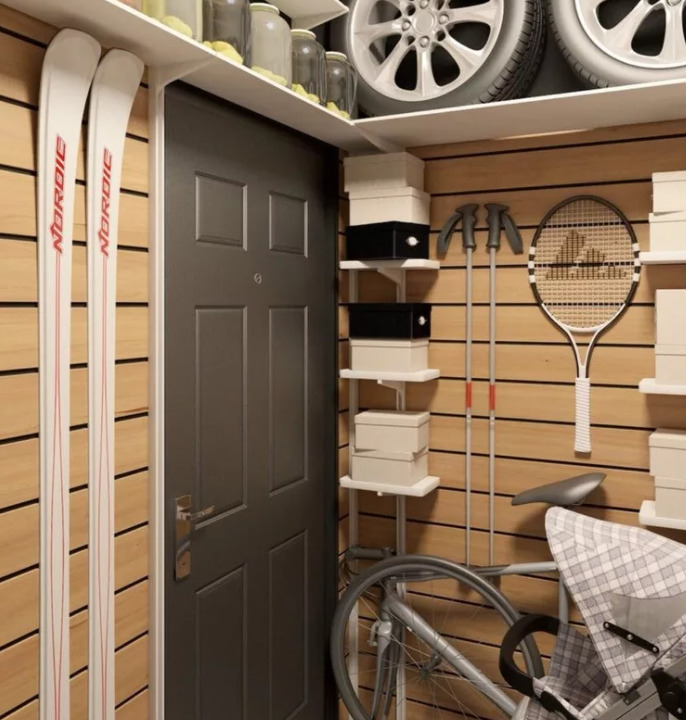
- Dead end of the corridor. If you have a long corridor, you can fence off a few meters further in a dead end, install a door - and this will be enough to equip a closet there for storing ski poles, skis themselves, winter sledges, and a scooter. You can make a dressing room out of such a pantry.
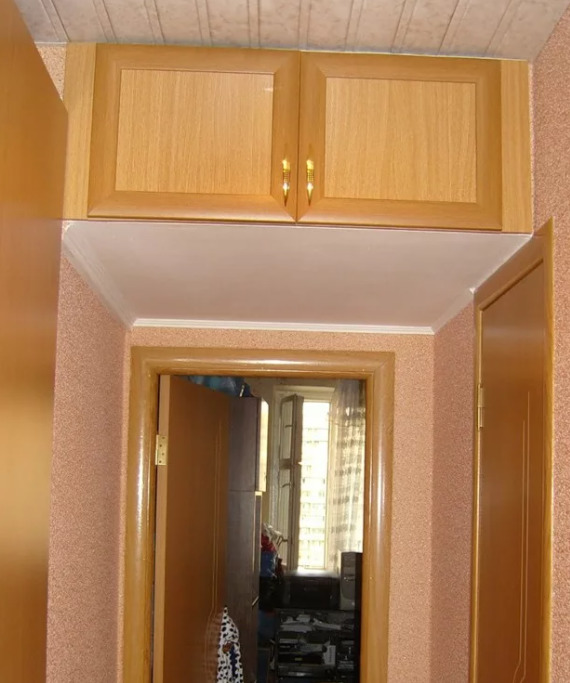
- Above the door part. This is not entirely convenient, but in extreme cases it is acceptable. It is necessary to repair this place, and keep there homework or fishing boots with other uniforms.
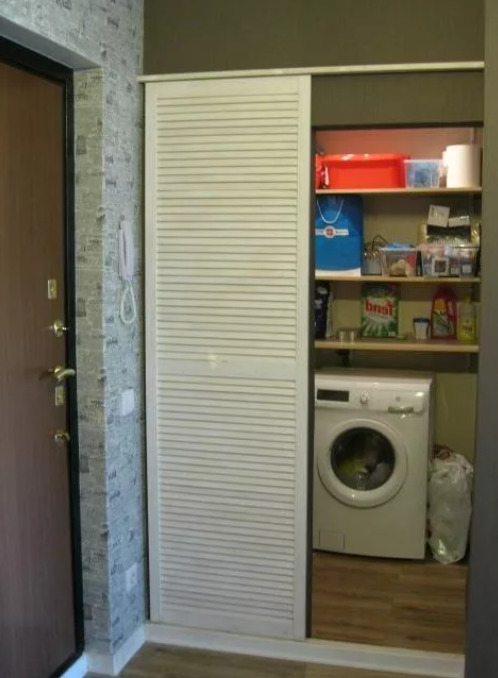
- Closet. This design initially plays the role of a small closet, but it can be more actively used to store not only clothes, but also other household items.

If there is an urgent need for a storage room, it can be arranged in one of the living rooms, simply by reducing the room due to the partition. As a rule, they choose the largest room and use drywall to separate the part for the pantry.
Such a sacrifice is made when there is no other way out. Storage rooms are usually closed and dark, so they need to be fitted with lighting and ventilation. Next, let's dwell on each action in detail.

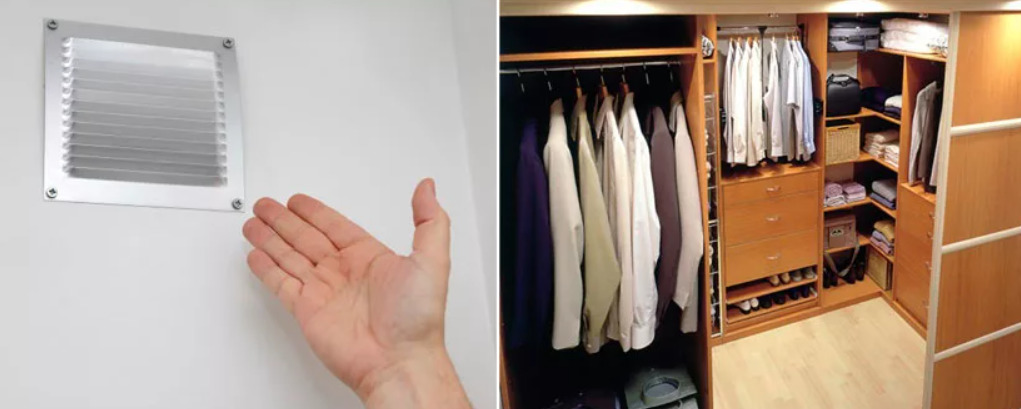
The need for ventilation
Even for a small pantry, it is important to ventilate or have a ventilation duct in it, otherwise, due to high humidity, mold will certainly appear in the storage room, which will negatively affect those items that are there.
They can absorb unpleasant odors, spoil, especially food.
If you are not using the pantry, it is advisable that the ventilation system is still functioning in it, otherwise the mold will spread to the nearby rooms or corridor.
Here are the places where ventilation is required:
-
in places where food and canned food are stored;
-
where clothes and shoes are stored, as well as textiles - places for curtains, bed linen, fabric covers, and so on;
-
where wood and metal products are stored.
And you definitely need to do ventilation if you decide to install equipment for a mining farm in the pantry, decide to equip yourself an office or create a workshop for your favorite activity. A musty smell, high levels of humidity and mold that has already appeared will serve as signals that it is time to start installing the ventilation system.

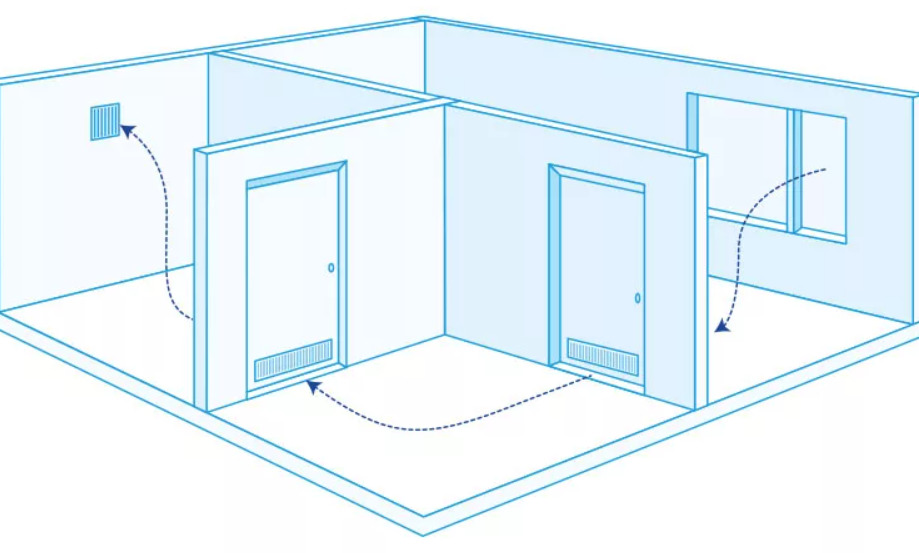
You can make ventilation with your own hands, while the scheme must be developed taking into account where the pantry is located. Usually, the ventilation duct in the storerooms is installed in the following places:
-
near the bathroom;
-
near the kitchen;
-
with access directly to the street (through the wall, but this method is rarely used).
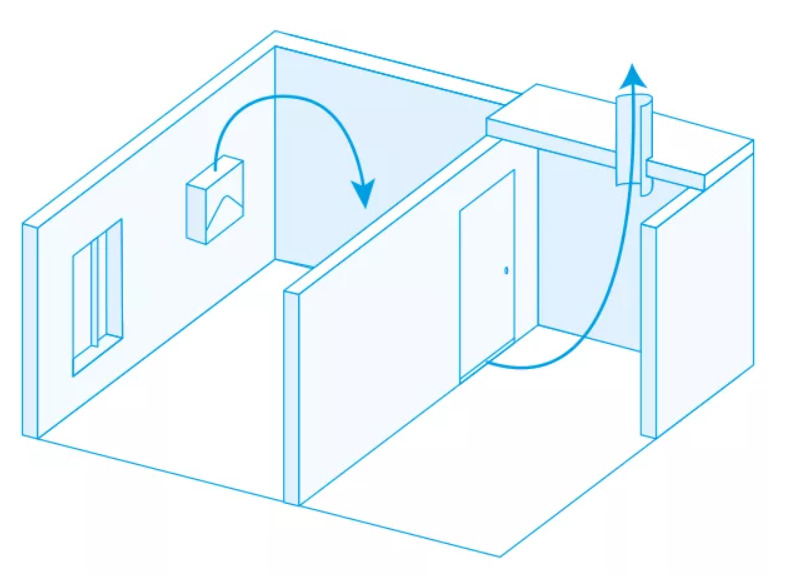

And also ventilation can be organized inside the apartment. If you can cope with the above options on your own, then in this case it is better to contact a specialist. They will help to establish air exchange in such a way that the humidity does not exceed the required values.
Before installing reliable ventilation in the pantry, it is recommended to make a kind of hood in the form of a slot under the door, which will allow the air flow to circulate constantly. And do the most elementary action - ventilate by simply opening the doors.


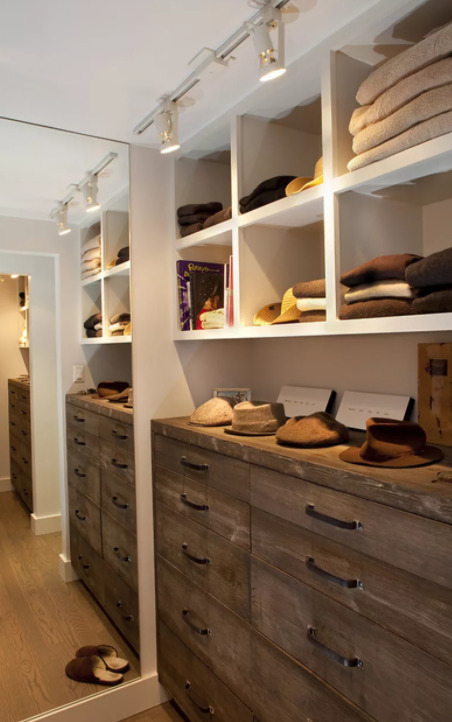
Making lighting
Usually pantries are made in remote places where there are no window frames. But finding the right thing in a dark room does not always work out the first time, so the owners need to think about arranging the light source. It can be:
-
built-in spots on the rotating mechanism;
-
various wall lamps;
-
sconces with rotary orientation (the ability to direct the light flux in the desired direction).
All of these options are quite economical, with such compact lamps you can get good lighting in small storage rooms. In large ones, you can additionally install LED lighting on the shelves.


Finishing stages
Finishing work includes the following stages:
-
cleaning walls and ceilings;
-
disinfection and drying;
-
insulation work;
-
rough (rough) plaster;
-
finishing the walls for wallpapering or painting;
-
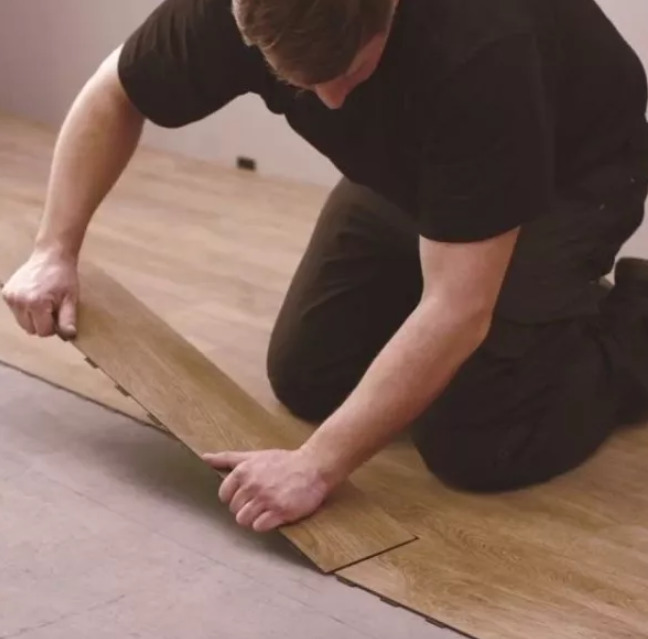
flooring;
-
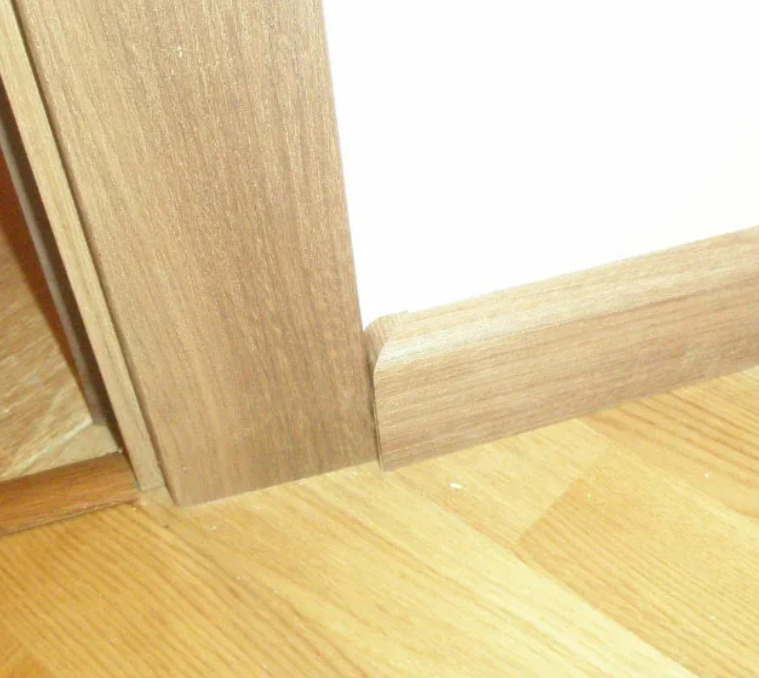
installation of skirting boards and door frames.
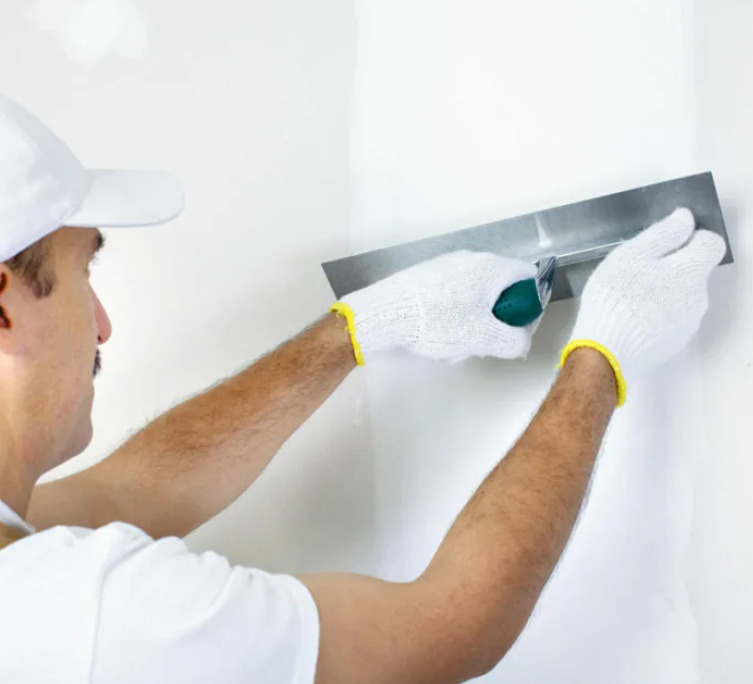
Let us dwell in more detail on some types of these works. To clean the walls, protect your eyes from excess particles and dust, it is better to clean with glasses and a respirator, as well as closed clothing. You will also need a small block of 10x5 cm, as well as an abrasive mesh.
Especially carefully you need to clean the walls, if you plan to paint, you can not level the wall so much under the wallpaper, but it is desirable that there are no bumps. To remove traces of mold or mildew, these places are painted over with a spray bottle.
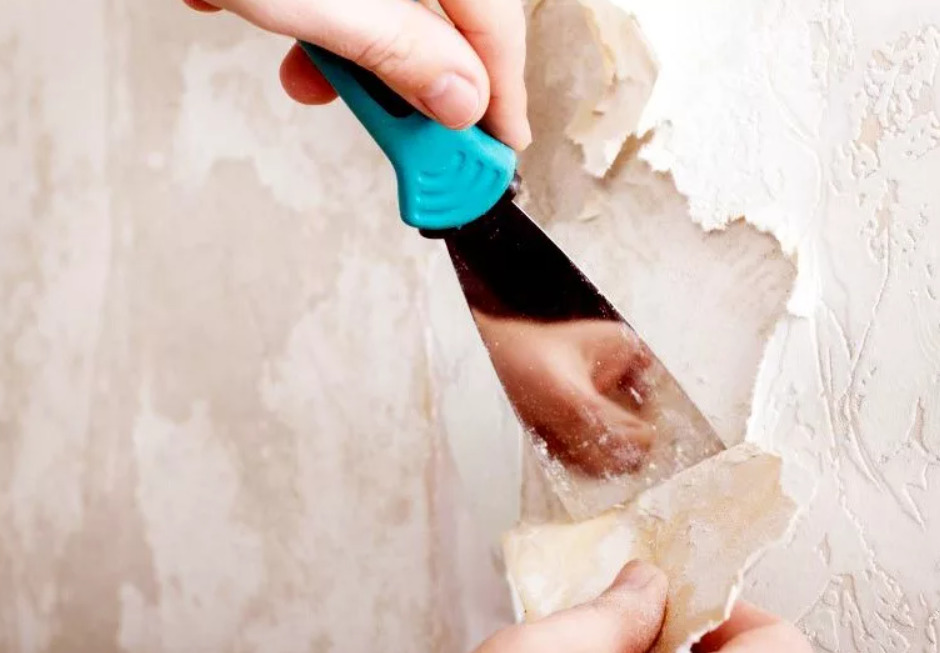
After that, the doors to the room are closed for a day, and then the old finish is removed with a spatula. If it doesn't work, then you can take a block or a drill with a nozzle. In order to prevent the further development of fungus and mold, the walls can be primed with a composition with biocides.
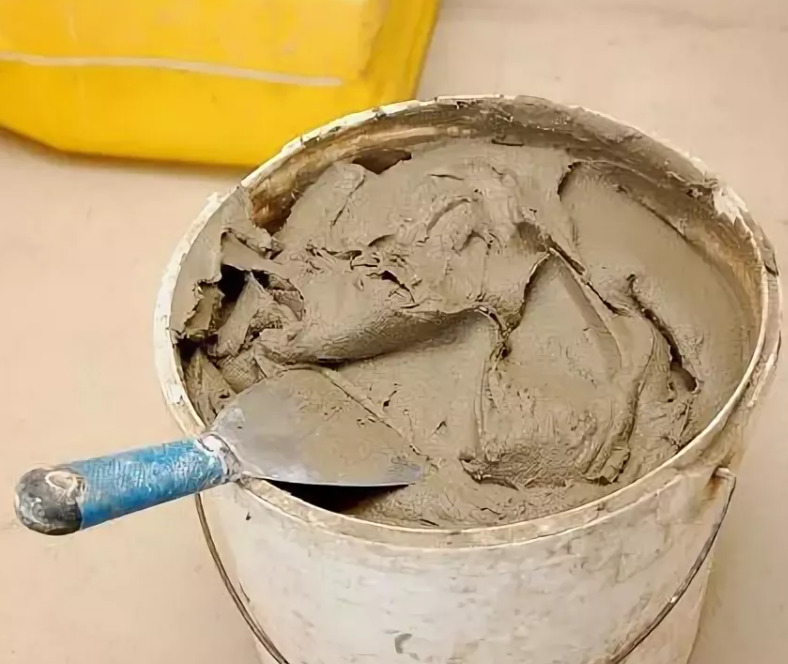
To make the plaster even, use special markers in the form of beacons. The cement is diluted in small portions so that it does not freeze ahead of time. Apply the solution from the bottom up, level it with a spatula, cleaning off the remains.
For corner joints, use triangular trowels to accurately fill right angles. After the cement base has hardened and dried, apply the plaster mixture thinly (1 mm thick). For perfect alignment of the walls, lathing may be needed.

To level the wall in the final version, the following materials may be needed:
-
plywood;
-
MDF panels;
-
laminate;
-
plastic panels;
-
drywall and other modern materials.
The most budgetary option for finishing the walls of the pantry is half-paneling, and then painting or whitewashing. Thus, it is easy to make cosmetic repairs, more often you can refresh the room by new painting or whitewashing, as well as replacing the panels with new ones.


The most durable materials for wall decoration are facing or tile. With good fixation, tile cladding will last longer than gypsum plaster. After finishing the walls, the platbands are installed on the doors, they are fixed with glue or with the help of self-tapping screws.
The pantry room is being repaired, taking into account what they are going to keep there: clothes, tools, household items, or it is a small cellar for home supplies. The ventilation scheme and the lighting project will depend on this.
It is better to finish the walls and ceiling with more durable materials so as not to make frequent repairs. Plaster, for example, can fall off over time, wallpaper peels off, but plastic panels are almost durable - an ideal solution for walls and ceilings.


And also drywall is often used - a good solution for a base for paint, but still it is inferior in strength to plastic. The finishing work is the floor. It is better to make it not from sliding materials, so choose a wooden base.
These can be specially processed boards, which must be painted later (usually brown tones are chosen). You can lay a laminate or linoleum, often the bottom in the pantry is a continuation of the floor covering of a room or corridor.
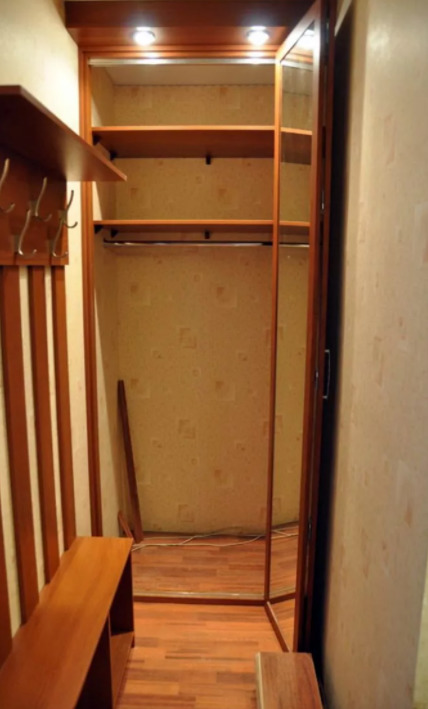
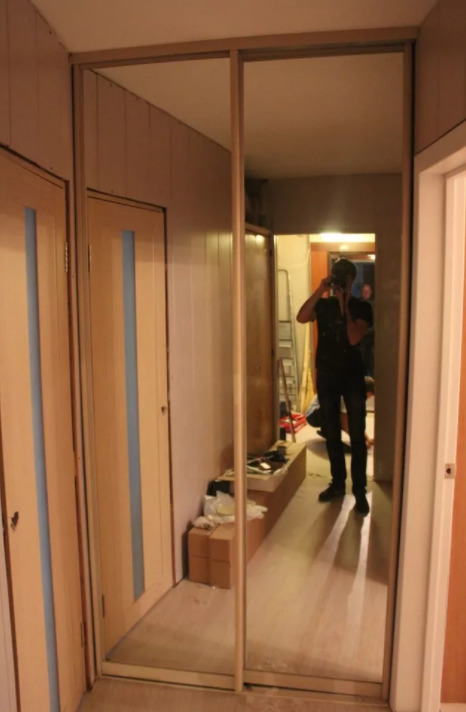
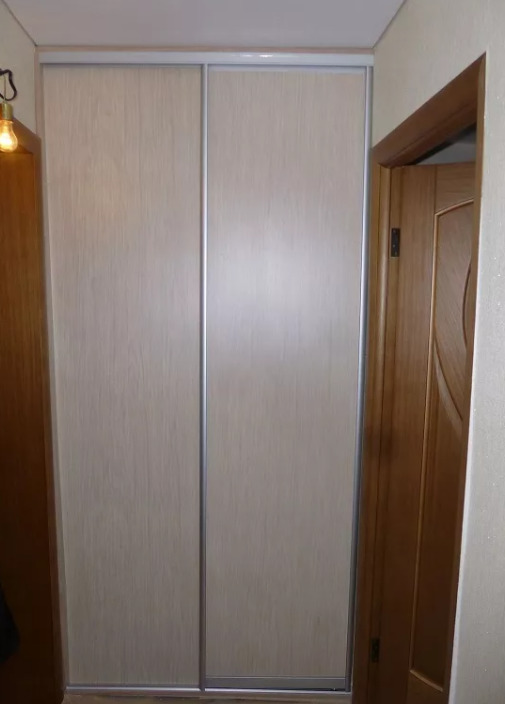
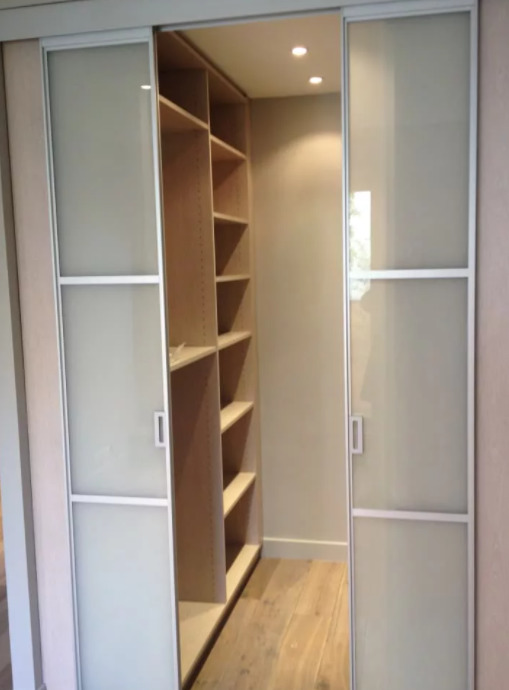
The last stage of renovation work in the storeroom is the installation of the door. Make it according to the overall design of your home. To save space, order it on sliding mechanisms. Due to the doors, you can disguise the storage compartment as a wardrobe with a mirrored door.

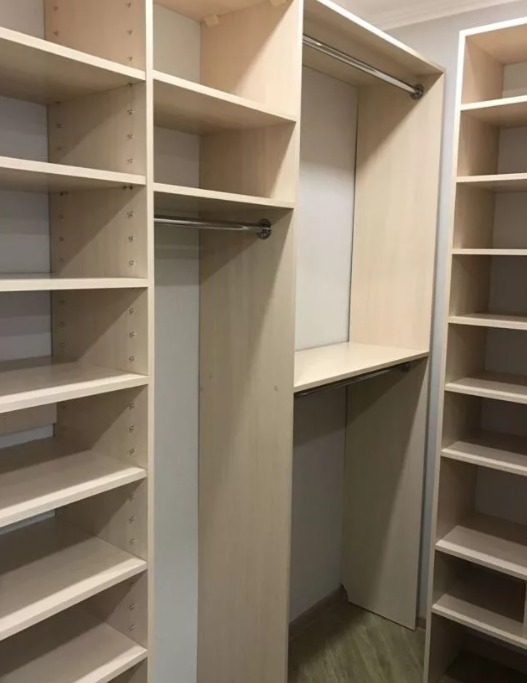
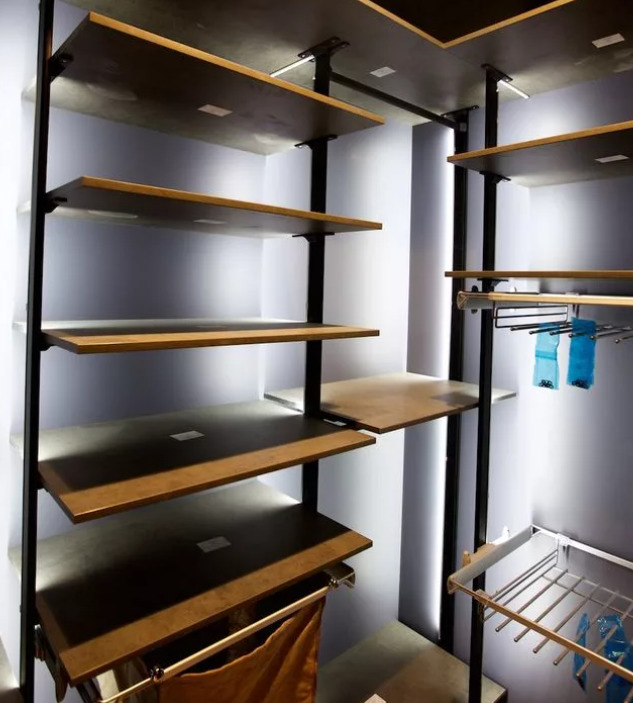
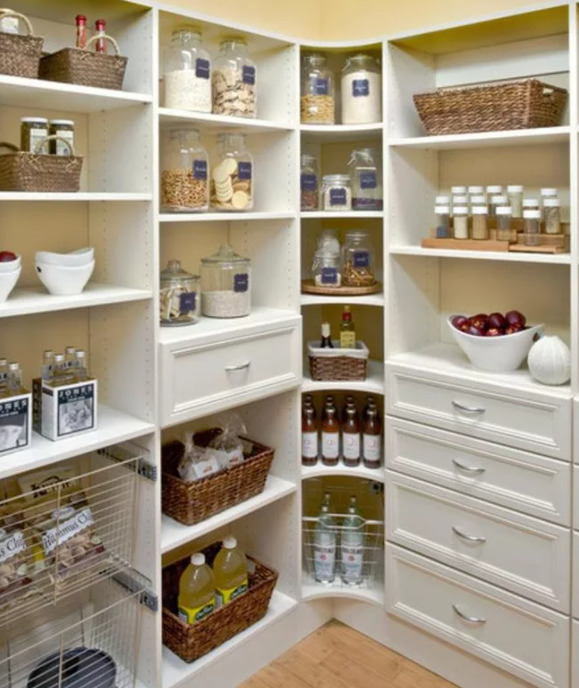
Storage system installation
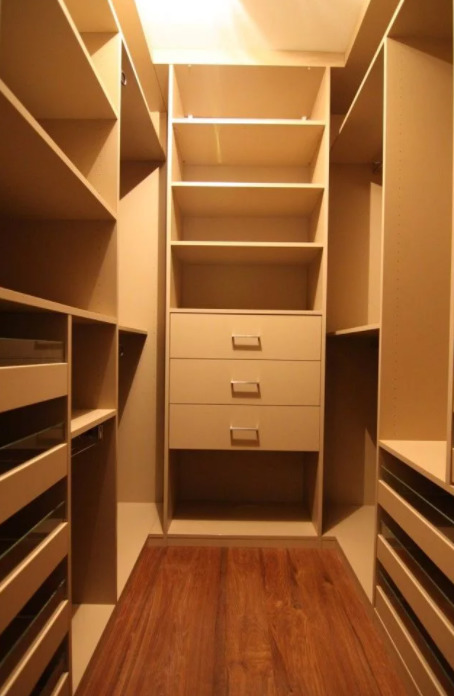
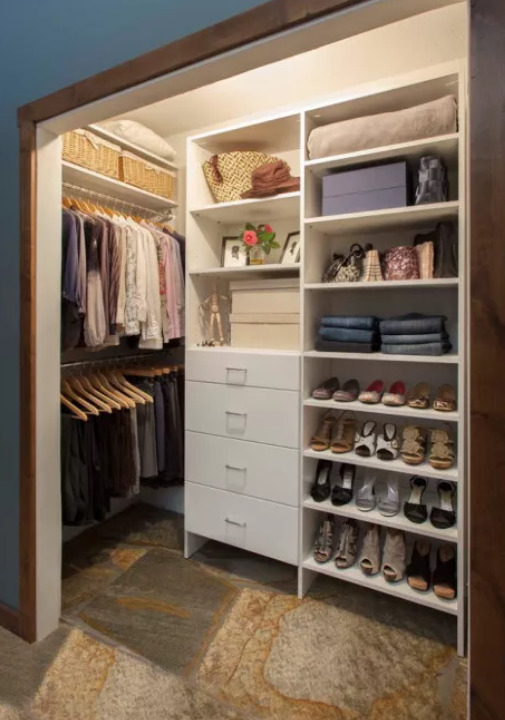
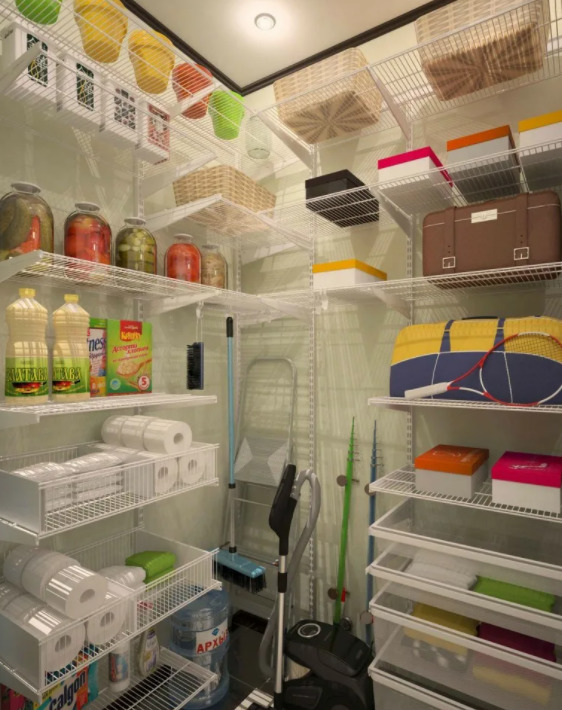
During the repair, it is advisable to immediately divide the pantry into sections. This is done for more functionality. Chaos will not give you the opportunity to quickly get to the right thing, and therefore consider the possibility of rationally using every centimeter of the area and every corner of the closet.
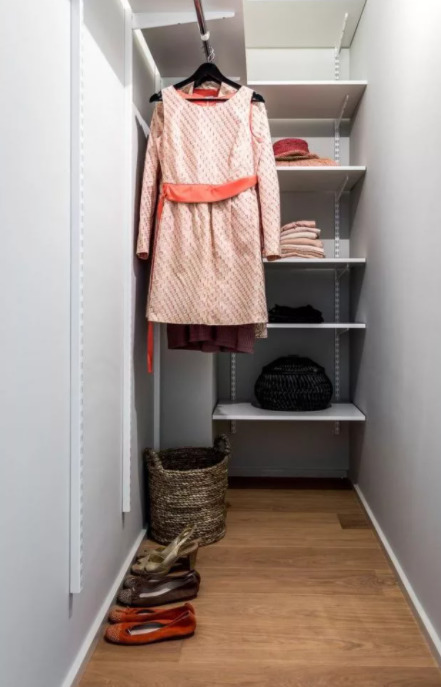
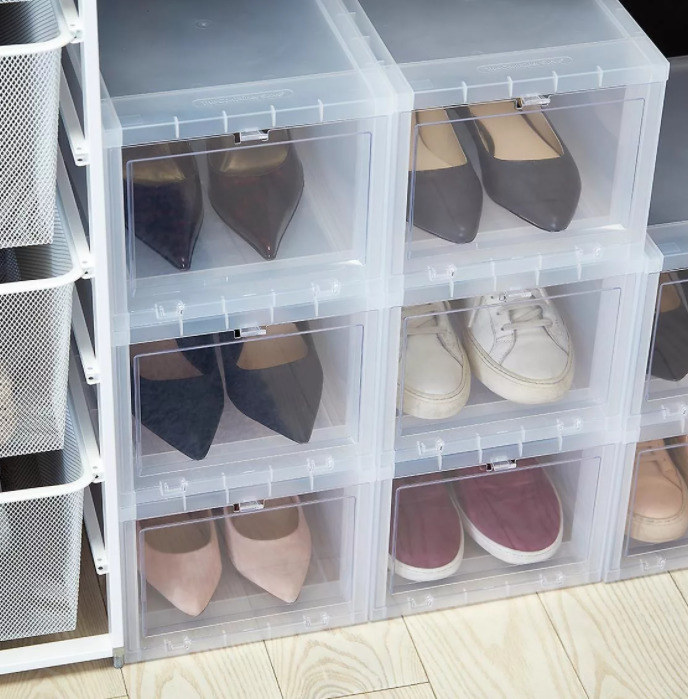
From the bottom, they usually organize storage of shoes - it is very important that seasonal shoes have their place. Somewhere below you can find a shelf for a vacuum cleaner. The space at chest level is given for objects that are often needed in everyday life: clothes, tools, everything that needs to be quickly reached.
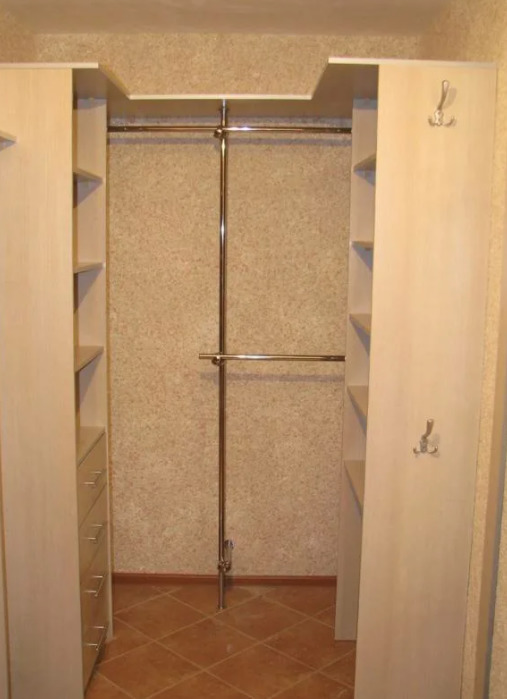
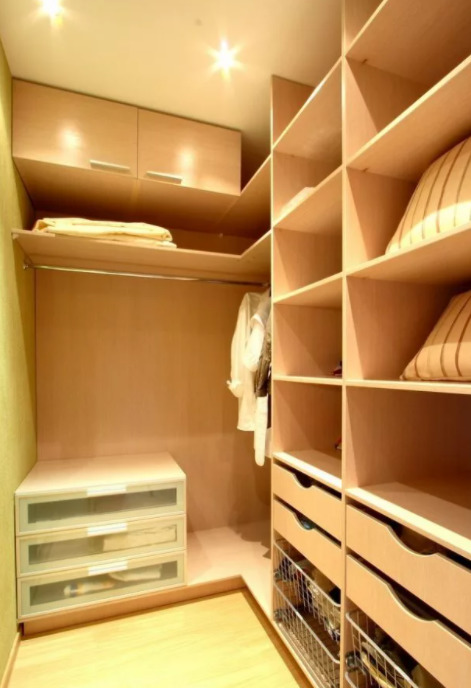
These can be drawers with a pull-out design, laundry baskets or just open shelves. Adjust the depth of the structure with shelves yourself, but optimally make shelves with a depth of at least 40 centimeters. You can take a separate corner in the pantry for clothes.
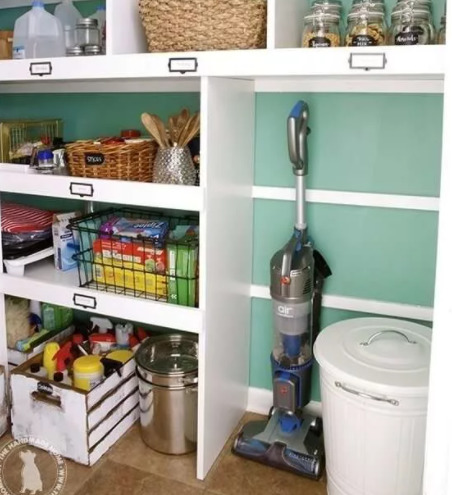
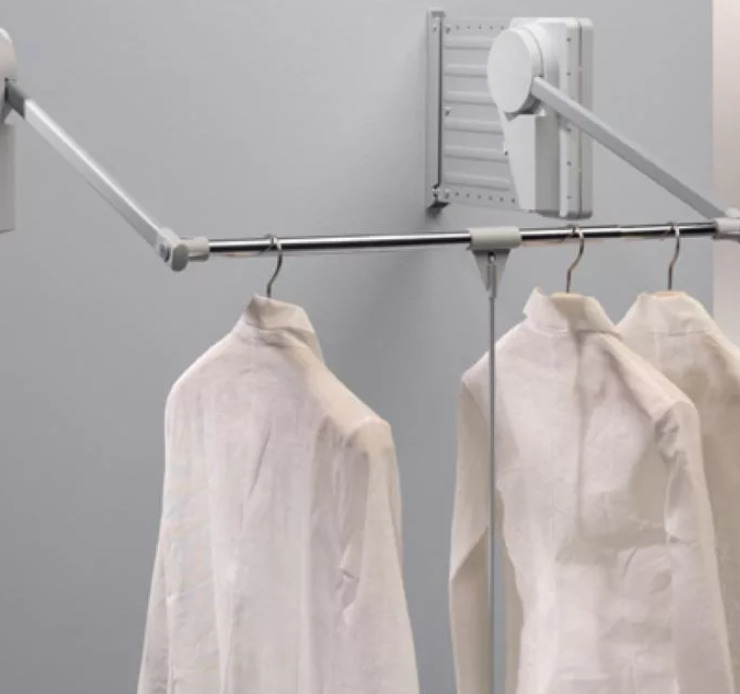
Install hook and bar elements for dresses and suits in the closet section of the pantry. You can mount a mechanism for hangers in any storage room, even the smallest - be sure to take advantage of this.
Well, upstairs, mount boards or boxes for those items that are rarely used in everyday life, because in order to get them, you will have to stand on a chair. Therefore, use the upper area of the structure to store large travel bags, various boxes, things your children grew up from, other rubbish that is practically no longer needed, but it is still a pity to throw it away.

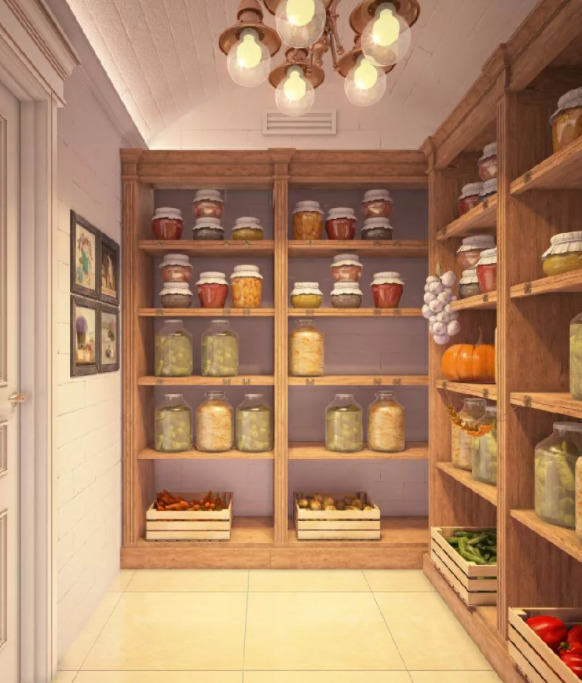
Be sure to fit a folding ironing board into the storage structure. Well, if the area allows, then you can set aside some shelves for cans with blanks for the winter. Some people equip a “pantry in a closet” - the case when special shelves for canned food are installed against one wall. This space can be separated by a sliding door.
Thus, you can not be afraid, for example, for your clothes, if suddenly some can "fly up" into the air. The rest of the pantry is used as usual: for things and household items. If the bike does not fit horizontally, tilt it or place it in an upright position.
For zealous owners, every centimeter of the pantry will be used with benefit, and there will always be order there due to timely repairs and compliance with storage rules. Feel free to get down to business and you, and try to arrange all this with your own hands.

How to convert a pantry into a dressing room, see below.


