What are the pantry shelves and how to make them?

During the Soviet era, houses were often built with built-in storerooms. Many young families who bought an apartment in "Khrushchev" inherited this legacy. The convenience of the shelves in them leaves much to be desired. In order not to waste space in the apartment, we suggest making comfortable shelves to meet your needs. You can store anything on them. From jars of pickles to household appliances.

Description of species
As a rule, shelves are divided into categories depending on their purpose. For example, in a closet, you hardly need a wall of bulky shelving. Therefore, before deciding to install or remove shelves in the pantry, think about what items you will place on them.
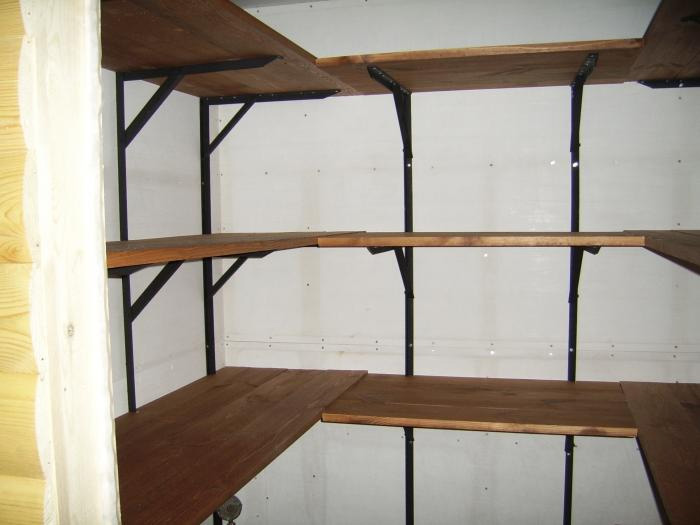
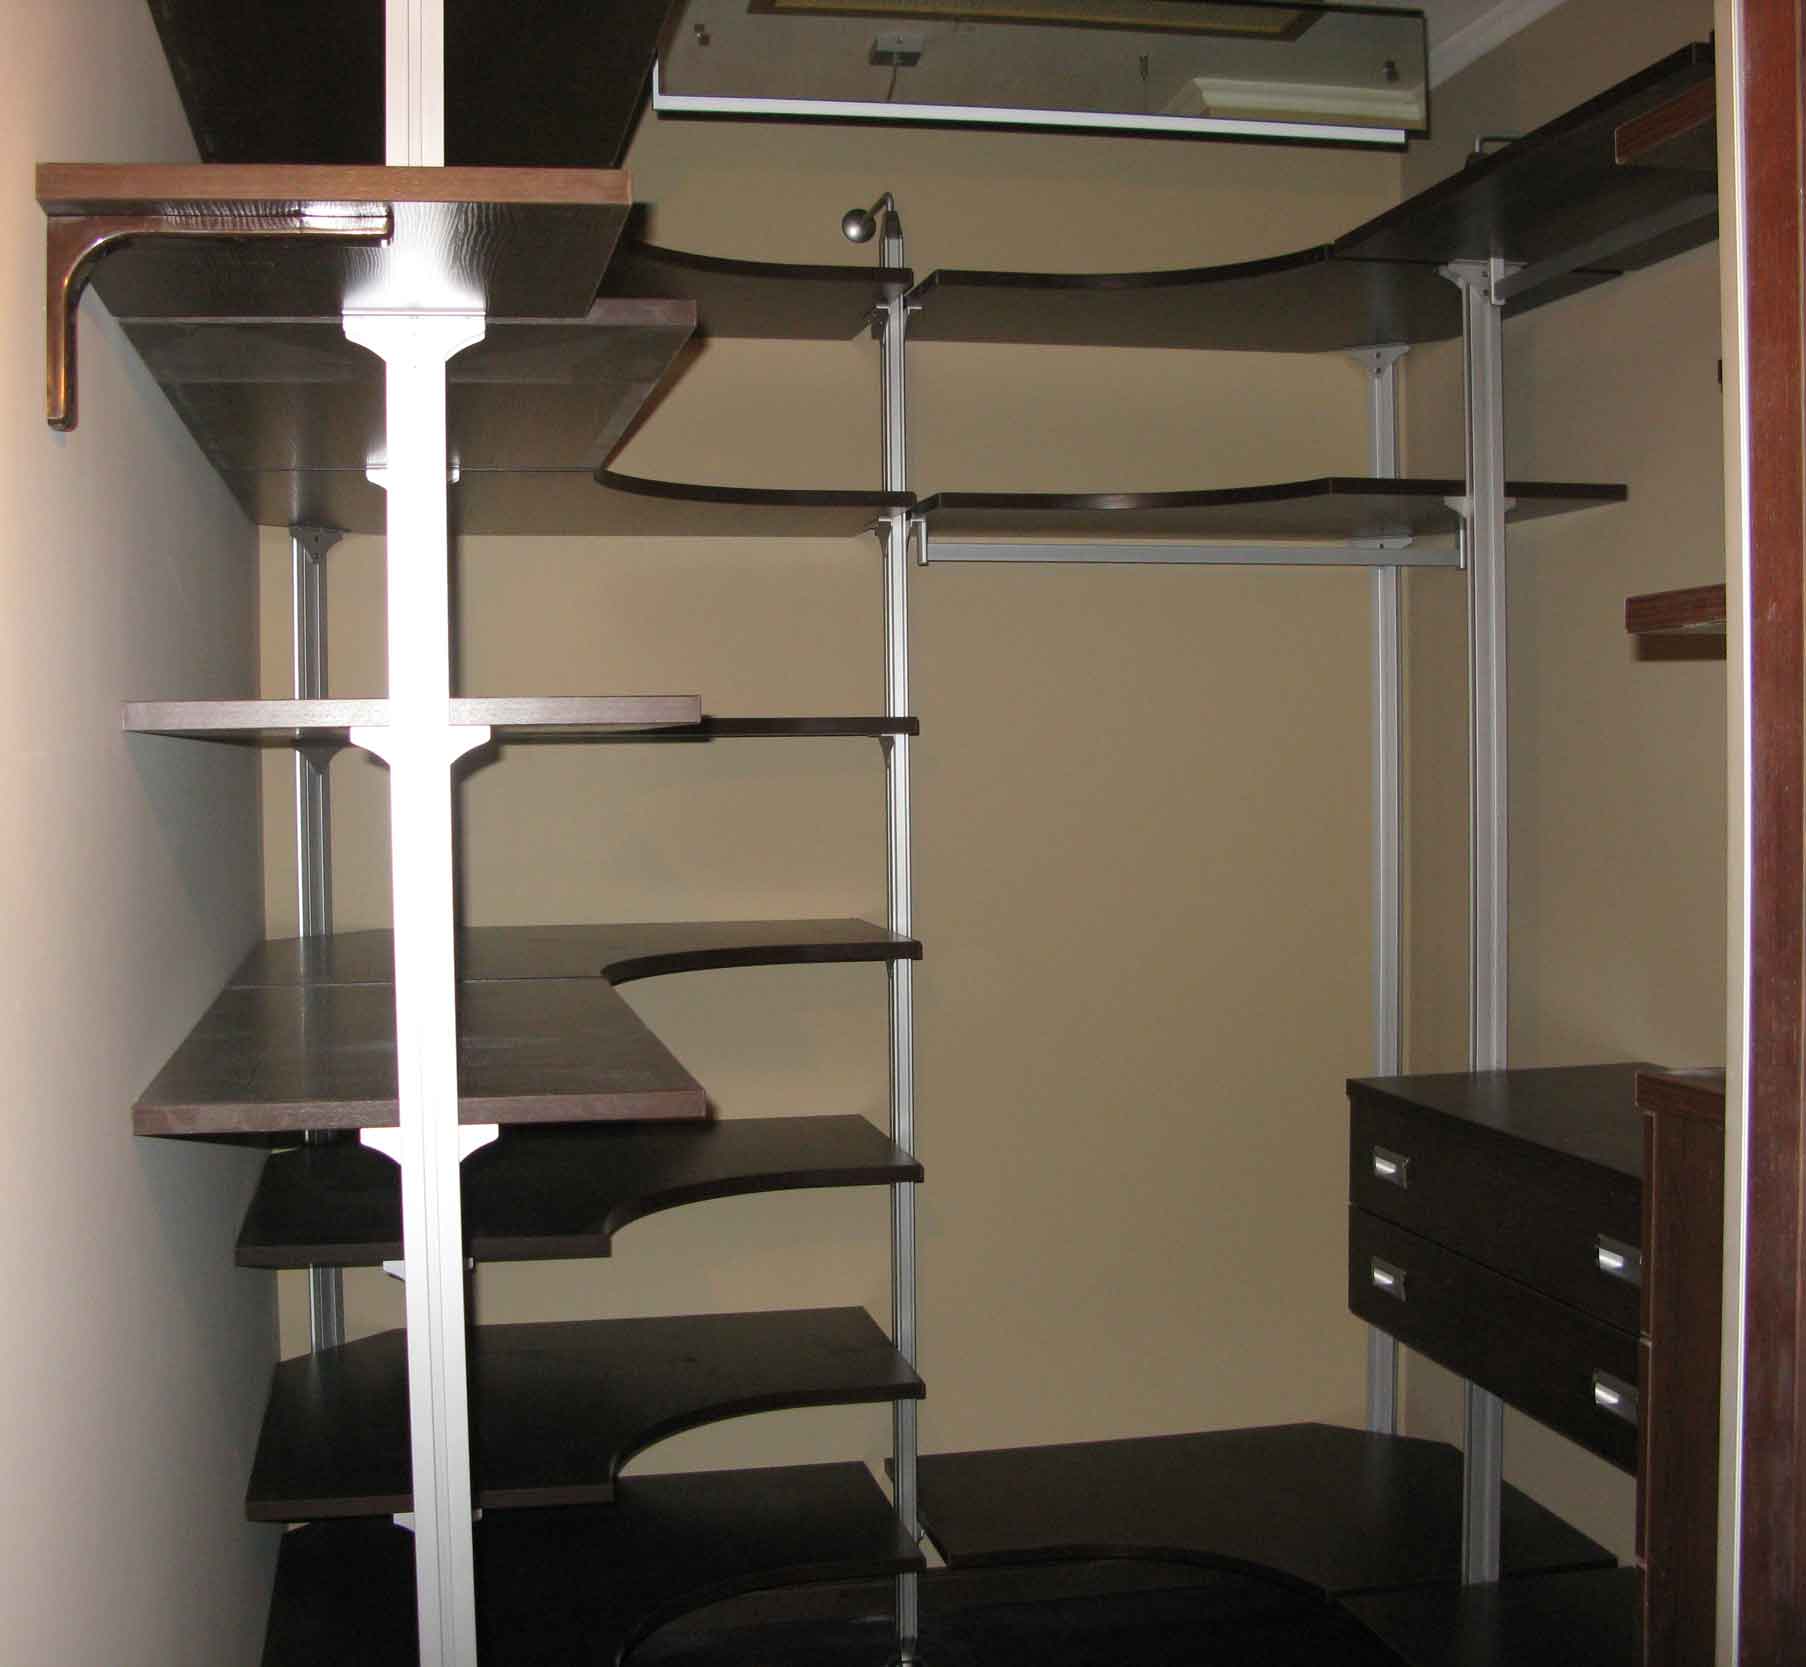
Corner shelves are used both in closets and in full-fledged storerooms. The distance during installation should not be less than 80-100 cm.With such structures, you run the risk of often banging your elbows, so wooden or metal curbs will become a precautionary measure. Even if you hit an object, it is unlikely to fall.
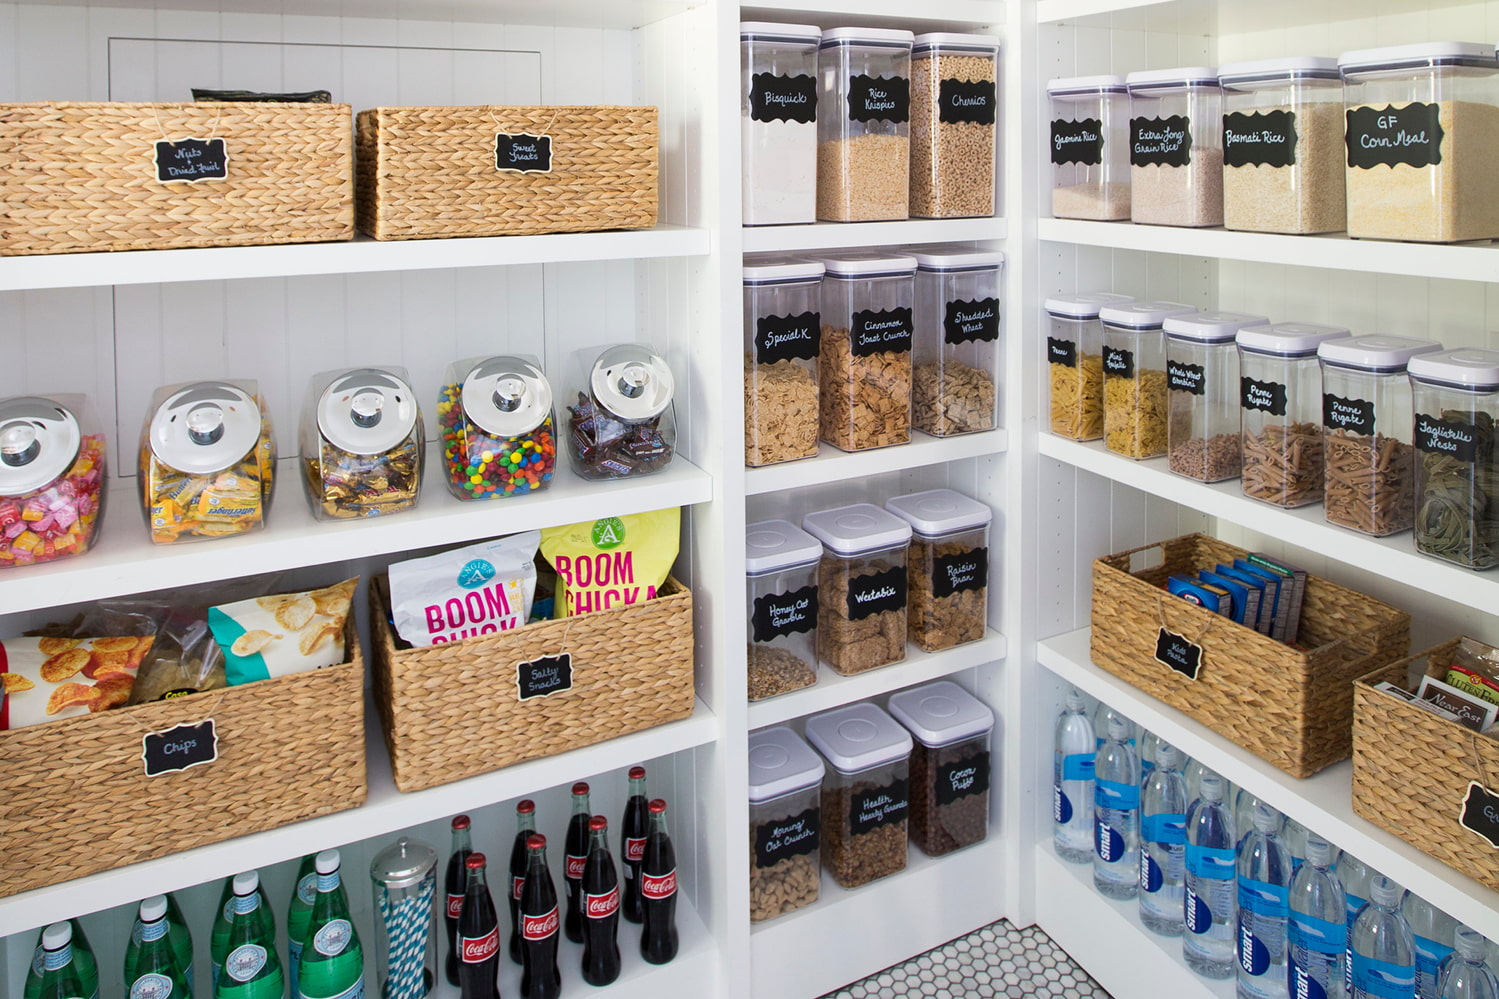
Wall shelves will be useful not only in the closet, but also in the apartment in general. Their construction is very simple. They are suitable for storing jars or household items (pans, pots, detergents). Such shelves do not require a special arrangement. What can not be said about the side ones.
There are two popular positions for their placement: the letter "P" and the letter "G". In the first case, you can close the far corners with side shelves. This option is well suited for a dressing room.
The main rule for wall shelves is that the heaviest items should be put down, and the lightest ones up. Otherwise, the shelves can bend, and in the worst case, break.

Therefore, they should be placed according to the principle “the higher the easier”.
By type of structures
All shelves can be divided into three types.
-
Prefabricated - assembled into a single structure using self-tapping screws and screws. The material is prepared from scratch. It takes a long time to disassemble such a shelf.
-
Collapsible - assembled and disassembled from ready-made parts, have a place for fasteners. Convenient for transportation.
-
Stationary - a single design, which is problematic to make on your own. If damaged, parts cannot be replaced.
Each design has its own pros and cons. We will focus only on the first two views, since they are the easiest to design.

By type of material
The most common types of shelf materials are:
-
Chipboard;
-
wood;
-
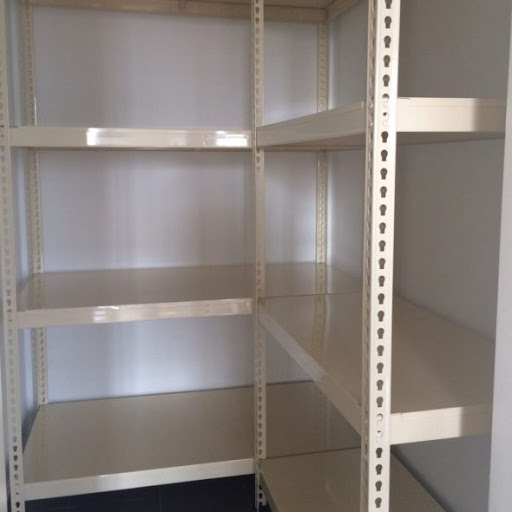
metal.
They are more durable than drywall or reinforced glass. Of course, with equal sizes.
Particleboard is the cheapest and most affordable material of the three presented. If you have an old bedside table, chest of drawers or wardrobe in your apartment, then the problem with shelf boards has already been solved. Just disassemble the old furniture, most of it will most likely be chipboard.

Steel or iron racks and shelves will be more expensive, but also sturdier than others. They, regardless of the thickness of the metal plate, will hold various small trinkets and household appliances.
Design
Before you start doing something with your pantry, you need to draw up a detailed diagram of it. And first of all, write a list of things that you will store there. Think about what you will need a pantry for:
-
store blanks, food from the garden, etc.
-
store various spare parts, household appliances, tools;
-
store things that you rarely use;
-
will you use it as a dressing room;
-
whether you will store your bike and other sports equipment there.
Consider how you will store these items and whether the shelves are suitable for the task.
After you have created a plan and understood what you will store in the pantry, you need to measure its walls with a tape measure and draw a detailed plan of the room. This will help you understand how to place shelves, even in a small, narrow closet, and how much space should be between them.
Here are the average parameters to be guided by:
-
the size of the pantry in which a person can move freely - 1x1 meter;
-
the depth of the shelves - 35 cm;
-
the distance between the shelves as they increase (from the top to the lowest) is 25-40 cm.
Remember, the size of the pantry depends on the room in which it is located. For example, in a small kitchen, you can make a pantry in a niche or on a mezzanine.


In a living room or bedroom, a pantry can take up a significant part of the room.
What to make of?
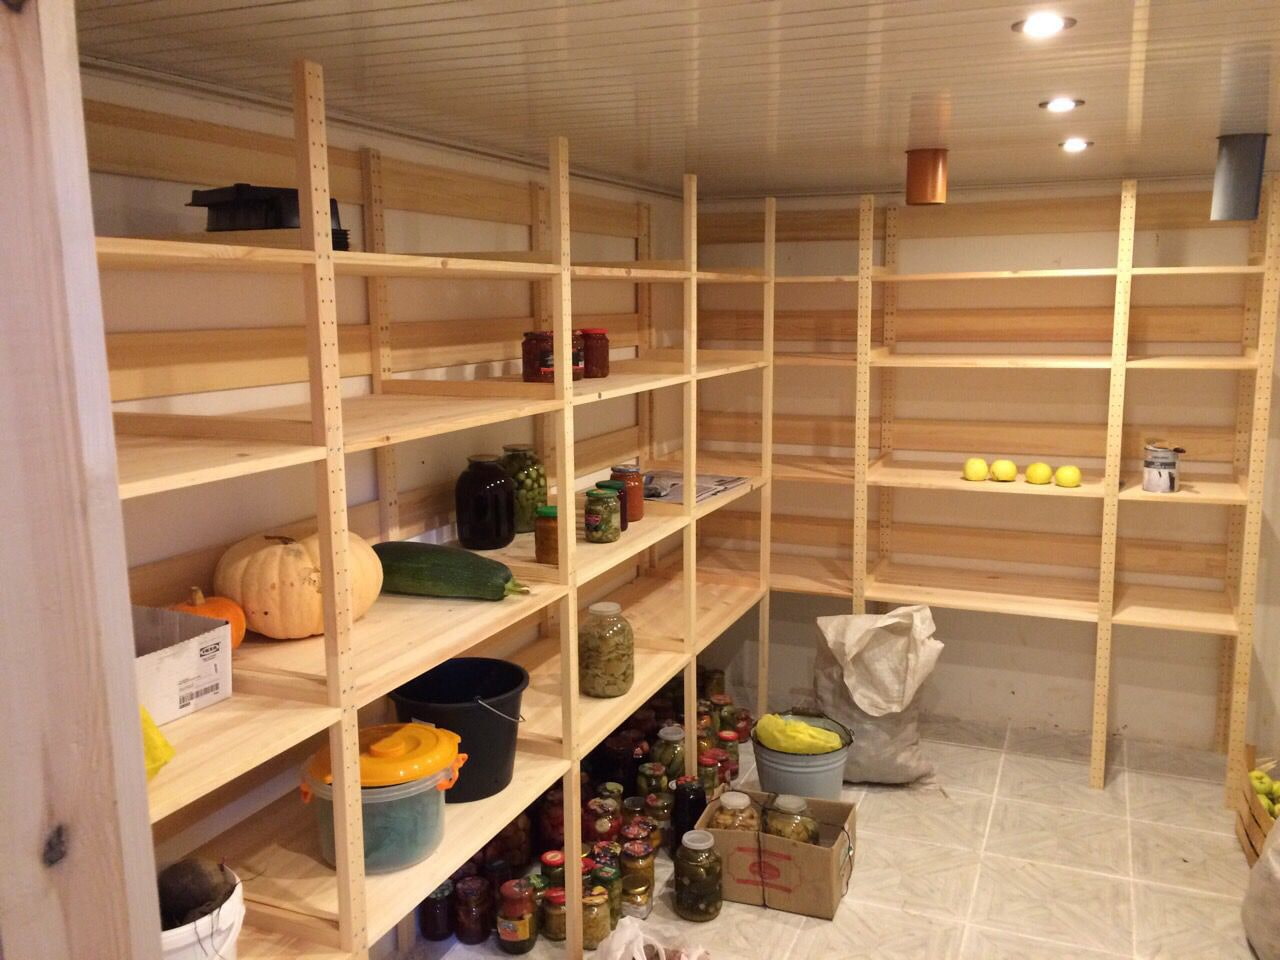
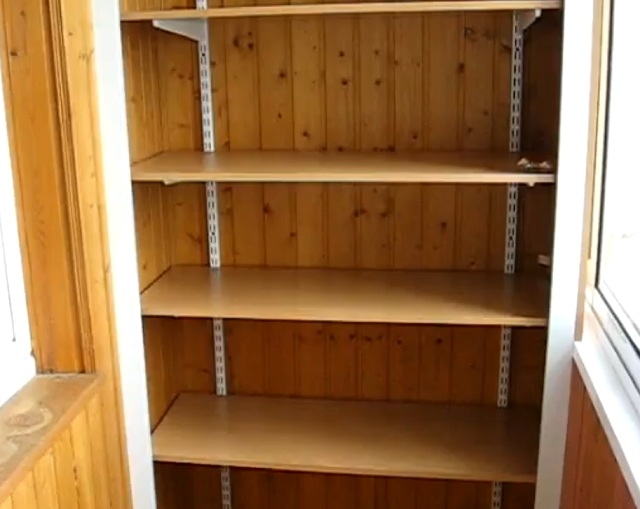
The simplest and cheapest option is a shelf of two bars and one wooden board. Unfortunately, the price is equal to the quality. Such shelves can easily break under the weight of objects, rot from dampness or mold.
This can also happen with chipboard. For example, when the pantry is located in a damp basement or apartment with high levels of humidity. Therefore, if you decide to make such a shelf, you will have to treat it with antiseptics at least once a month. The same goes for wood.
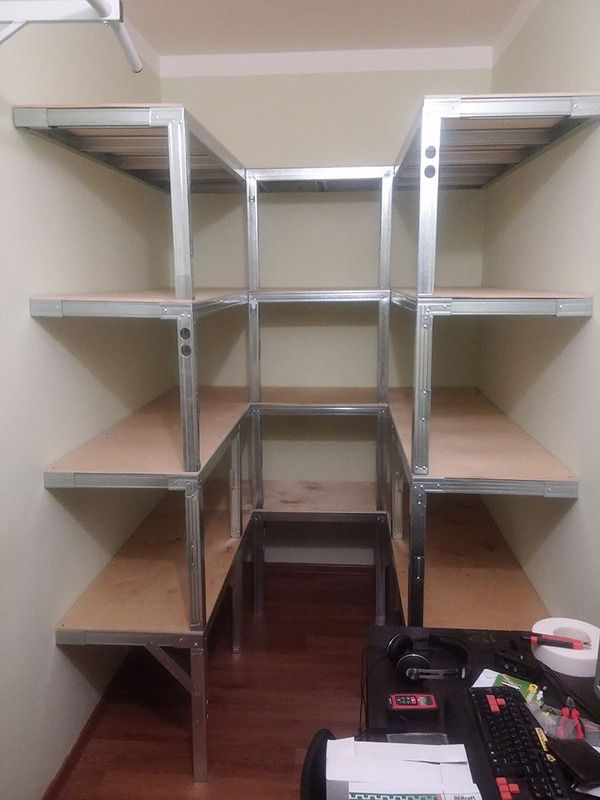
It is better to choose the shelves from the profile, but then there is a problem with their processing. If we can process wood and chipboard with sandpaper and give them the required size, then this will not work with the shelves from the profile.
You will have to spend more money on them. Even having all the tools for metalworking, you have to tinker with the purchase of profile sheets and their processing on the machine.
Profile shelves are stronger. They can be assembled and disassembled without tools, which will definitely come in handy with wooden shelves. Profile shelves are able to withstand much more weight than wooden ones. However, if you evenly distribute the weight on wooden boards, choose the right thickness, and maintain them in proper condition, then they may well replace the profile shelves. Plus, you'll spend less on purchasing and processing.


Required tools
Any repairs are dust, sawdust, lime and other types of building materials that cover your floor. Therefore, in order not to carry dirt around the rooms, we recommend that you prepare all the tools in advance.
To make a shelf, you will need the following:
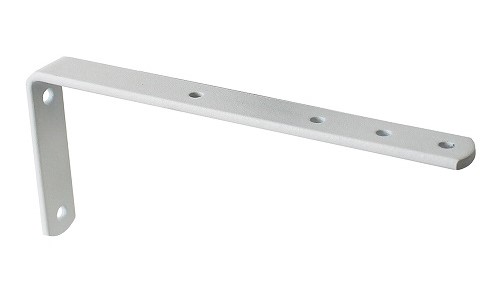
-
brackets;
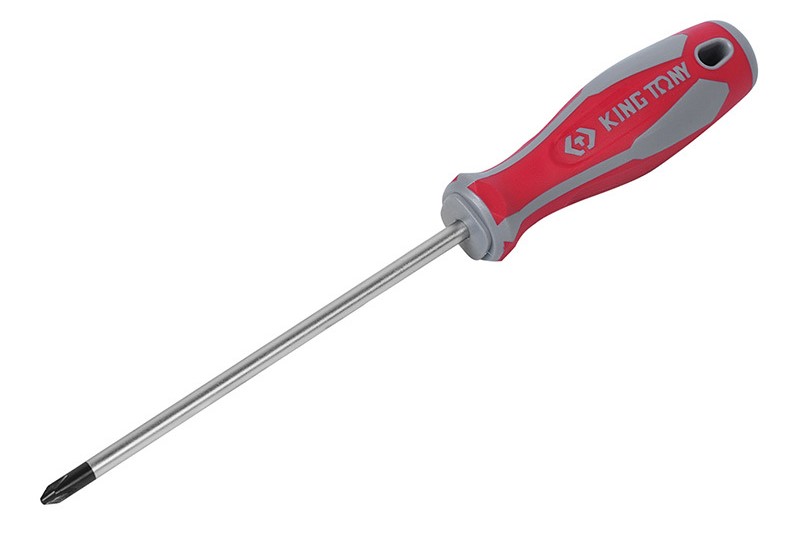
-
screwdriver;
-
self-tapping screws or screws;
-
screwdriver;
-
sandpaper or sander;
-
chalk or pencil;
-
knife for steel (if the shelf is made of a profile);
-
tape measure or building level;
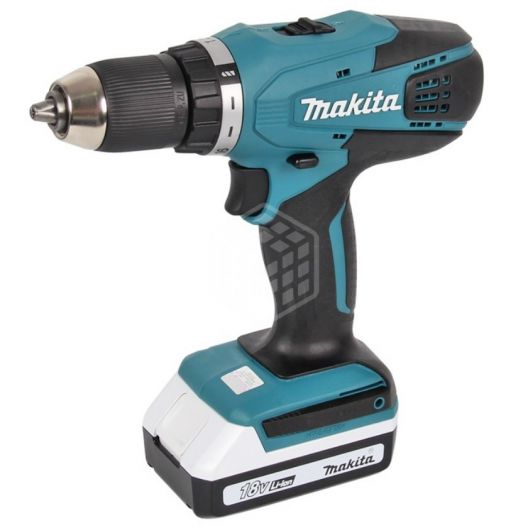
-
drill, puncher or hammer.

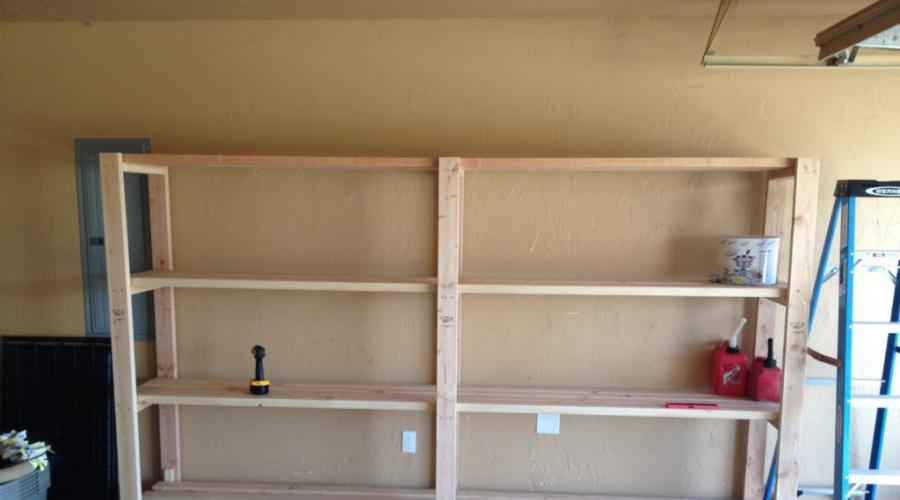
DIY manufacturing and installation
You can endlessly experiment in equipping pantry shelves. We offer you some simple options. They will help you save time and resources.
Wall shelf
In order to install the shelf yourself, in addition to the above, you will need:
-
electric jigsaw;
-
wood or boards from 2 to 6 cm.
We propose to consider step-by-step instructions.
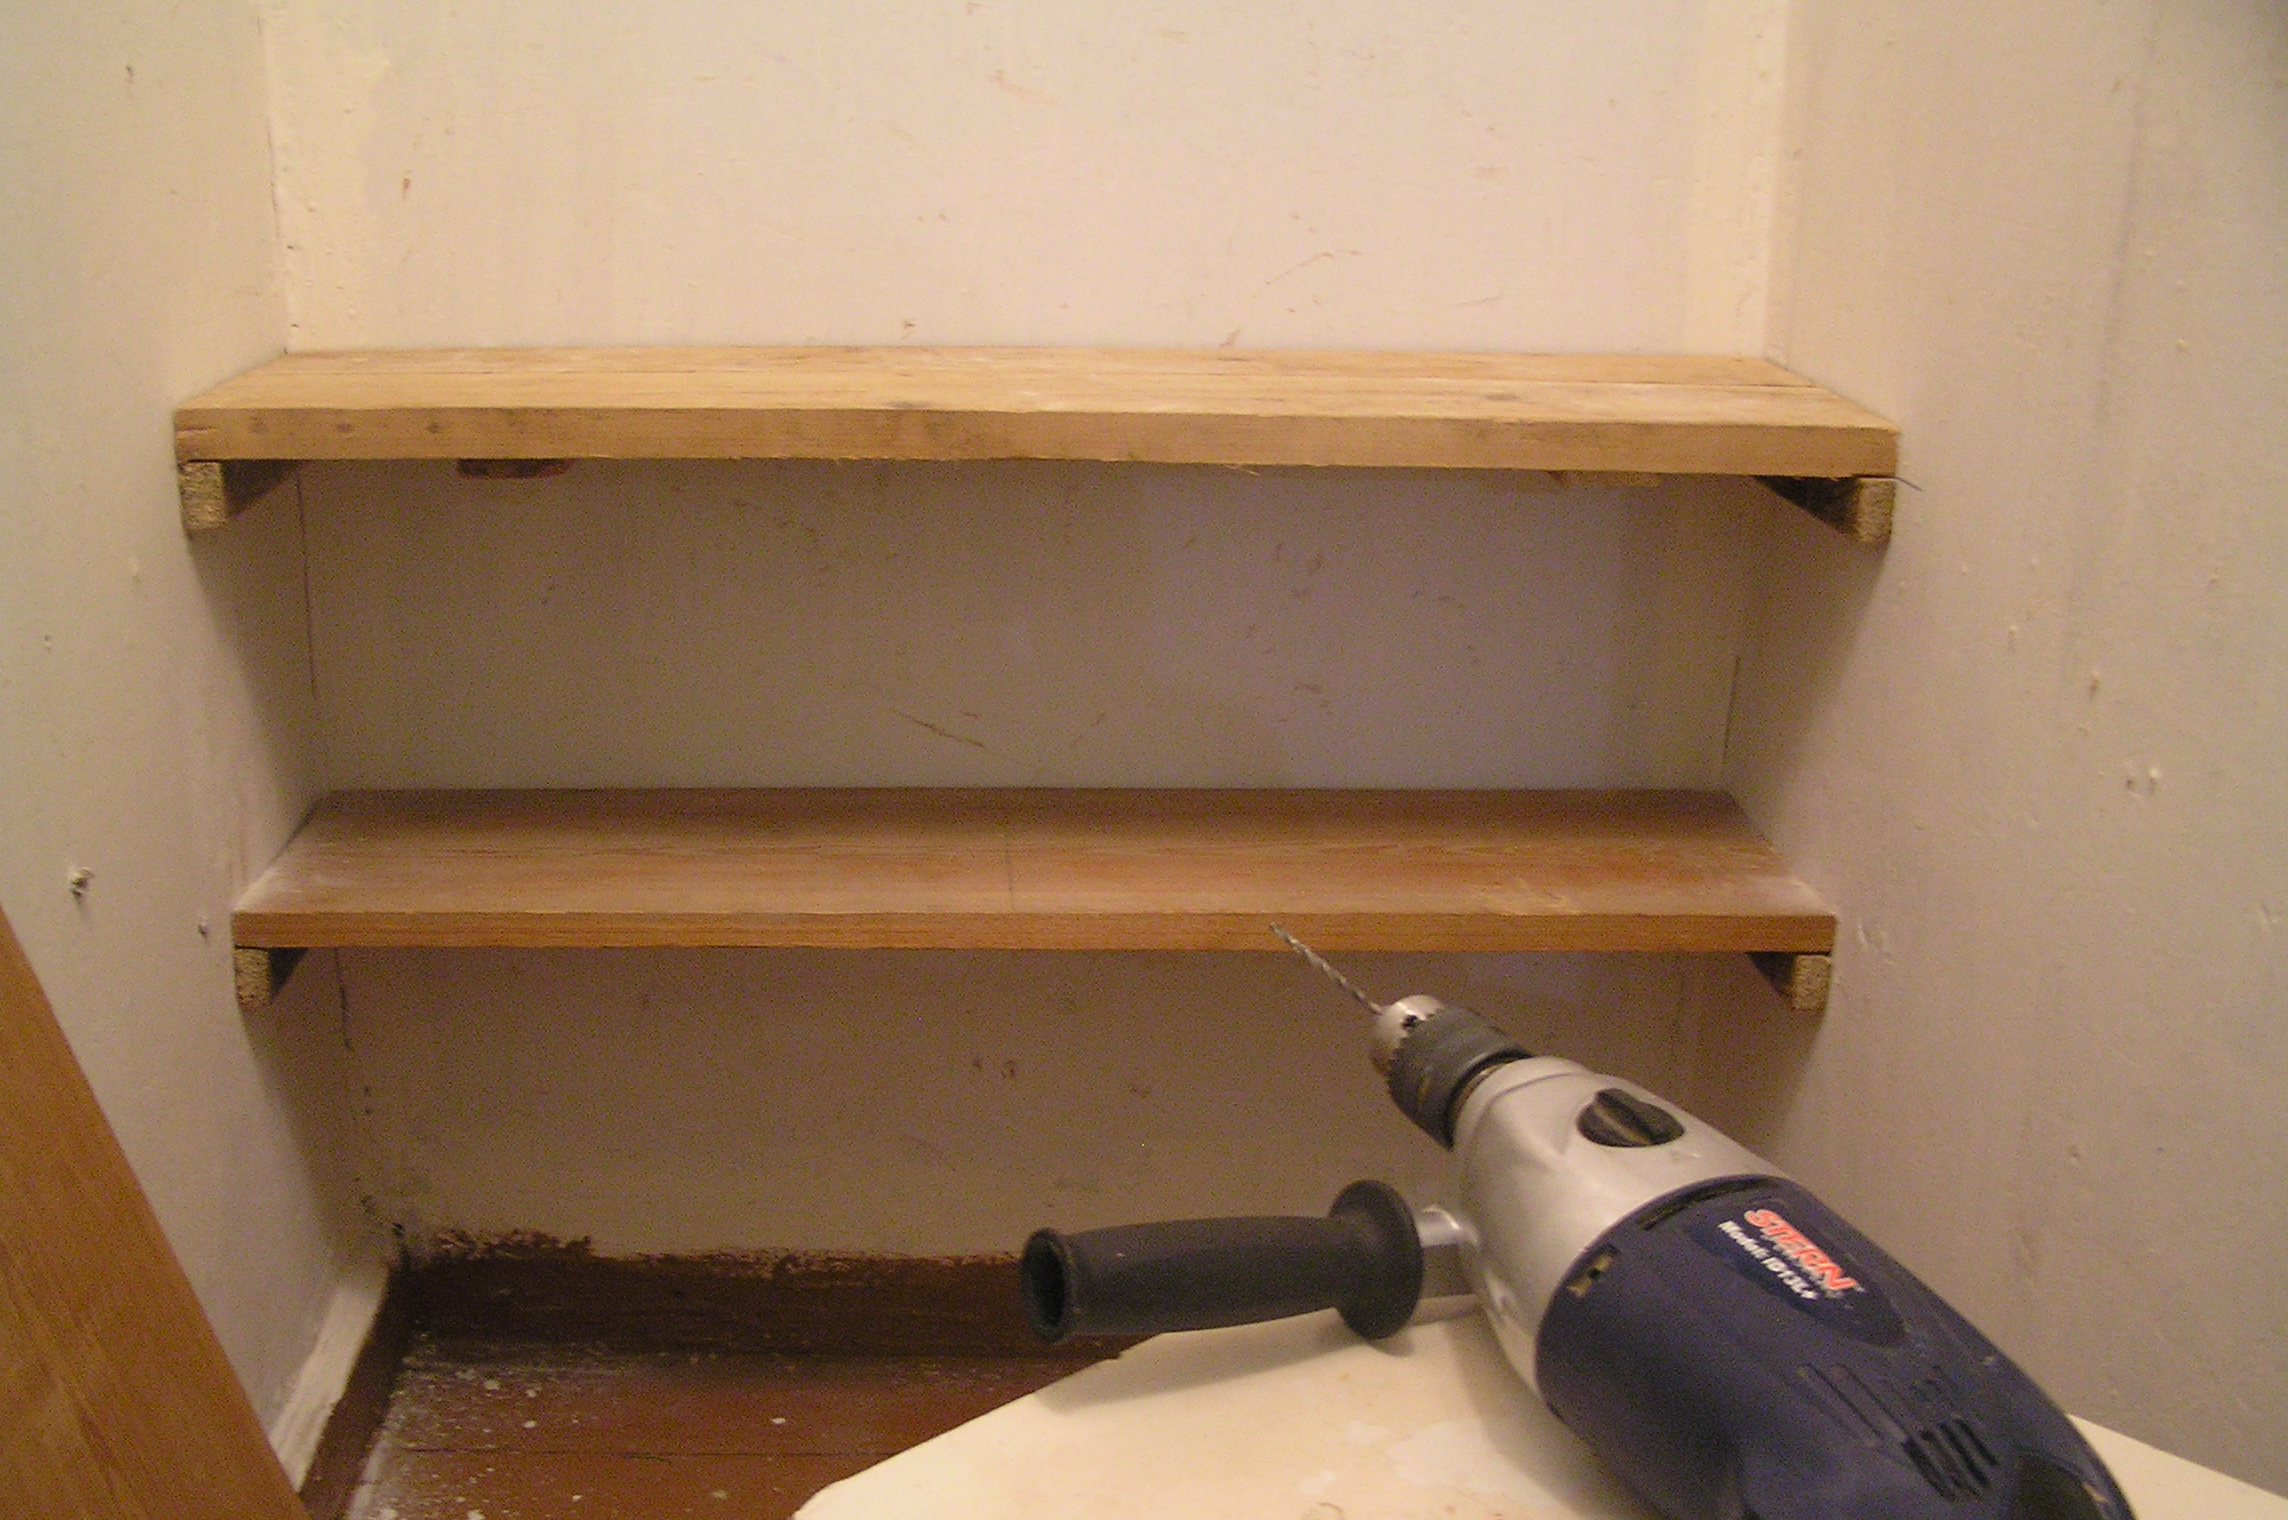
-
Mark the walls according to the pantry diagram you drew.
-
Punch holes for the brackets with a punch or drill.
-
Use a screwdriver or ordinary screwdriver to screw in the self-tapping screws.
-
Start processing wood. Saw out the necessary parts. The thickness of the main board should be between 2 and 6 centimeters.
-
Use sandpaper or a grinder to process the resulting parts. Cover them with varnish and let dry thoroughly.
-
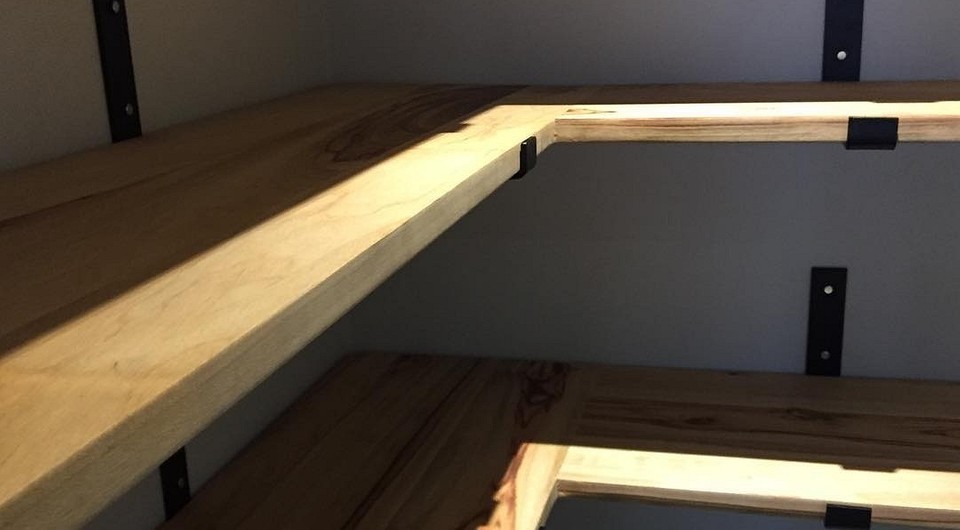
Attach the received parts with bars to each other using self-tapping screws.
The distance between the floors of the shelf should be between 40 and 50 centimeters.

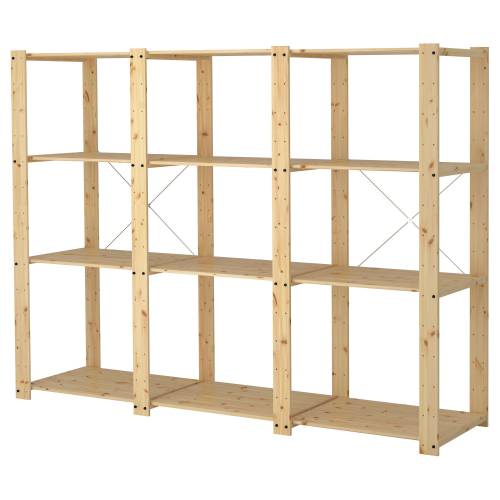
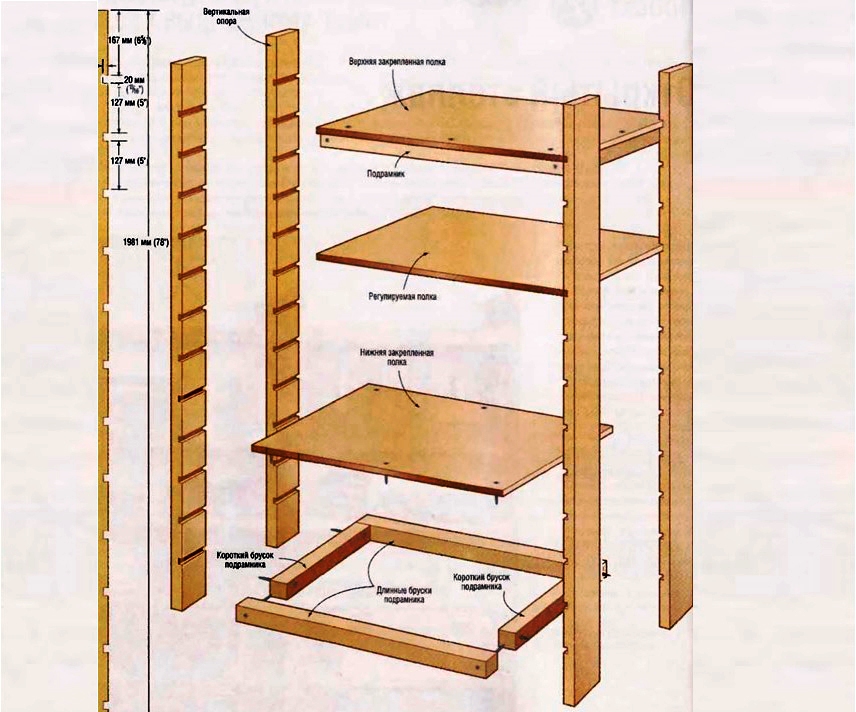
Shelf without fasteners
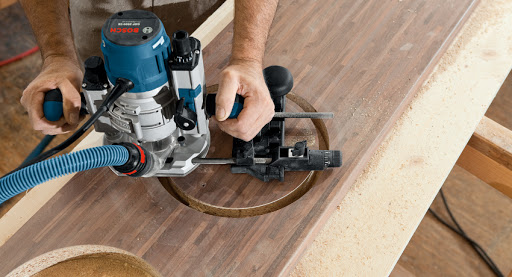
To create a structure that does not need to be fixed on the wall, in addition to the tools from the previous instructions, you will need a hand router. Prepare the side uprights.
On beams 2 m high, make grooves for the shelves on one side. The width of the grooves is 15-20 mm, the distance between them is no more than 13-15 cm.
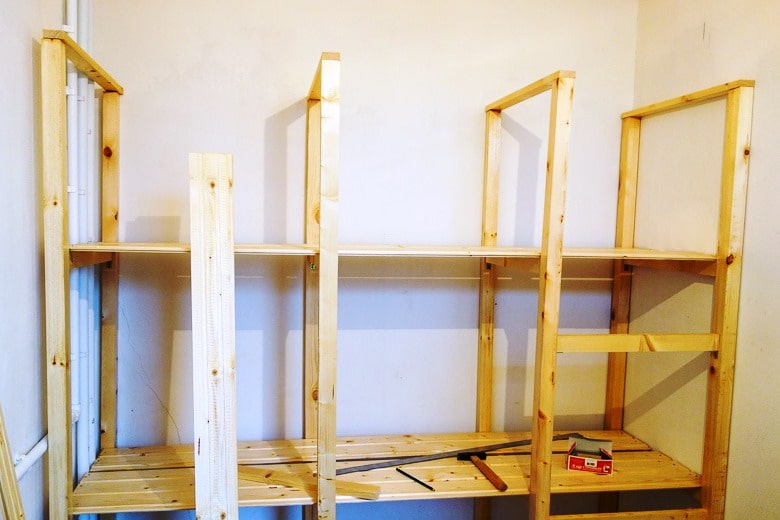
To fix the structure, hammer the stretchers from above and below with a hammer, cover them with sheets of plywood. This will give you two shelves: an upper and a lower one.
Connect the rest of the parts and insert them into the grooves.
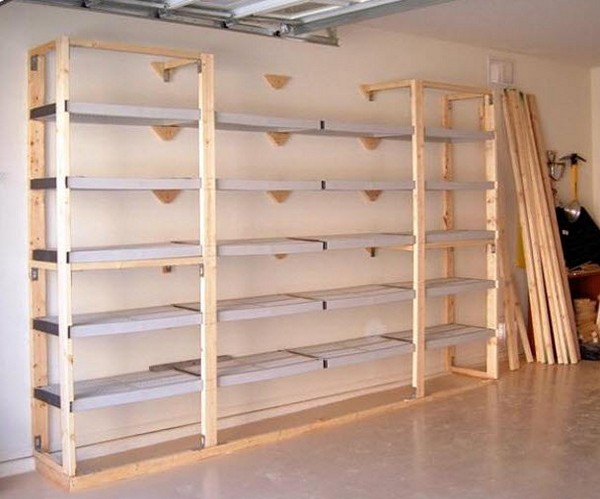
You get a beautiful modular system in which you can always change the height of the ledges, filling the pantry with bulky items. By adding details, you can make a warehouse for all the little things.
To make your shelf look even more beautiful, it is worth painting it in the color that prevails in your apartment. And also, if you decide to work hard on the design of your pantry, we recommend that you pay attention to the designs of the designers.
They will become your source of inspiration, help to make beautiful even such an inconspicuous corner of the house as a storage room.
What are the shelves in the pantry and how to make them, see the video below.


